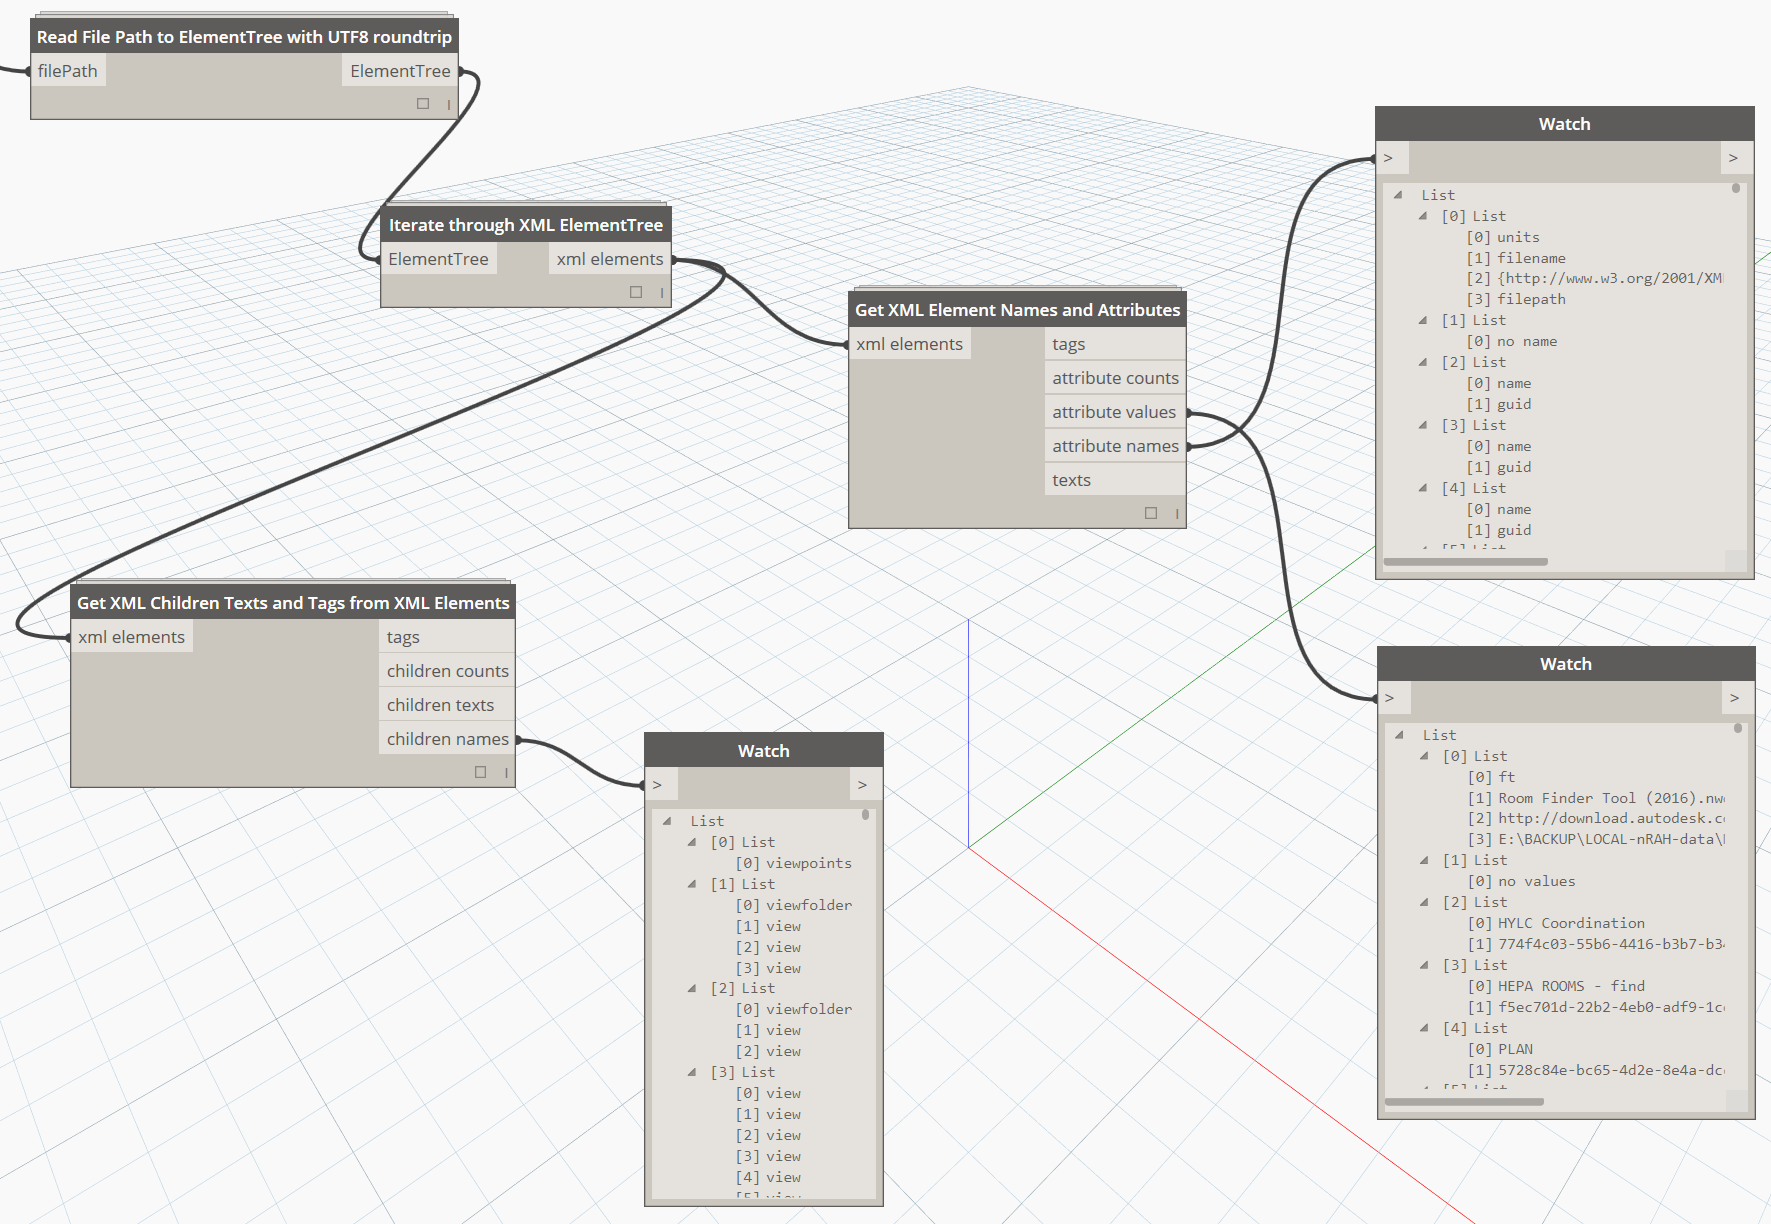
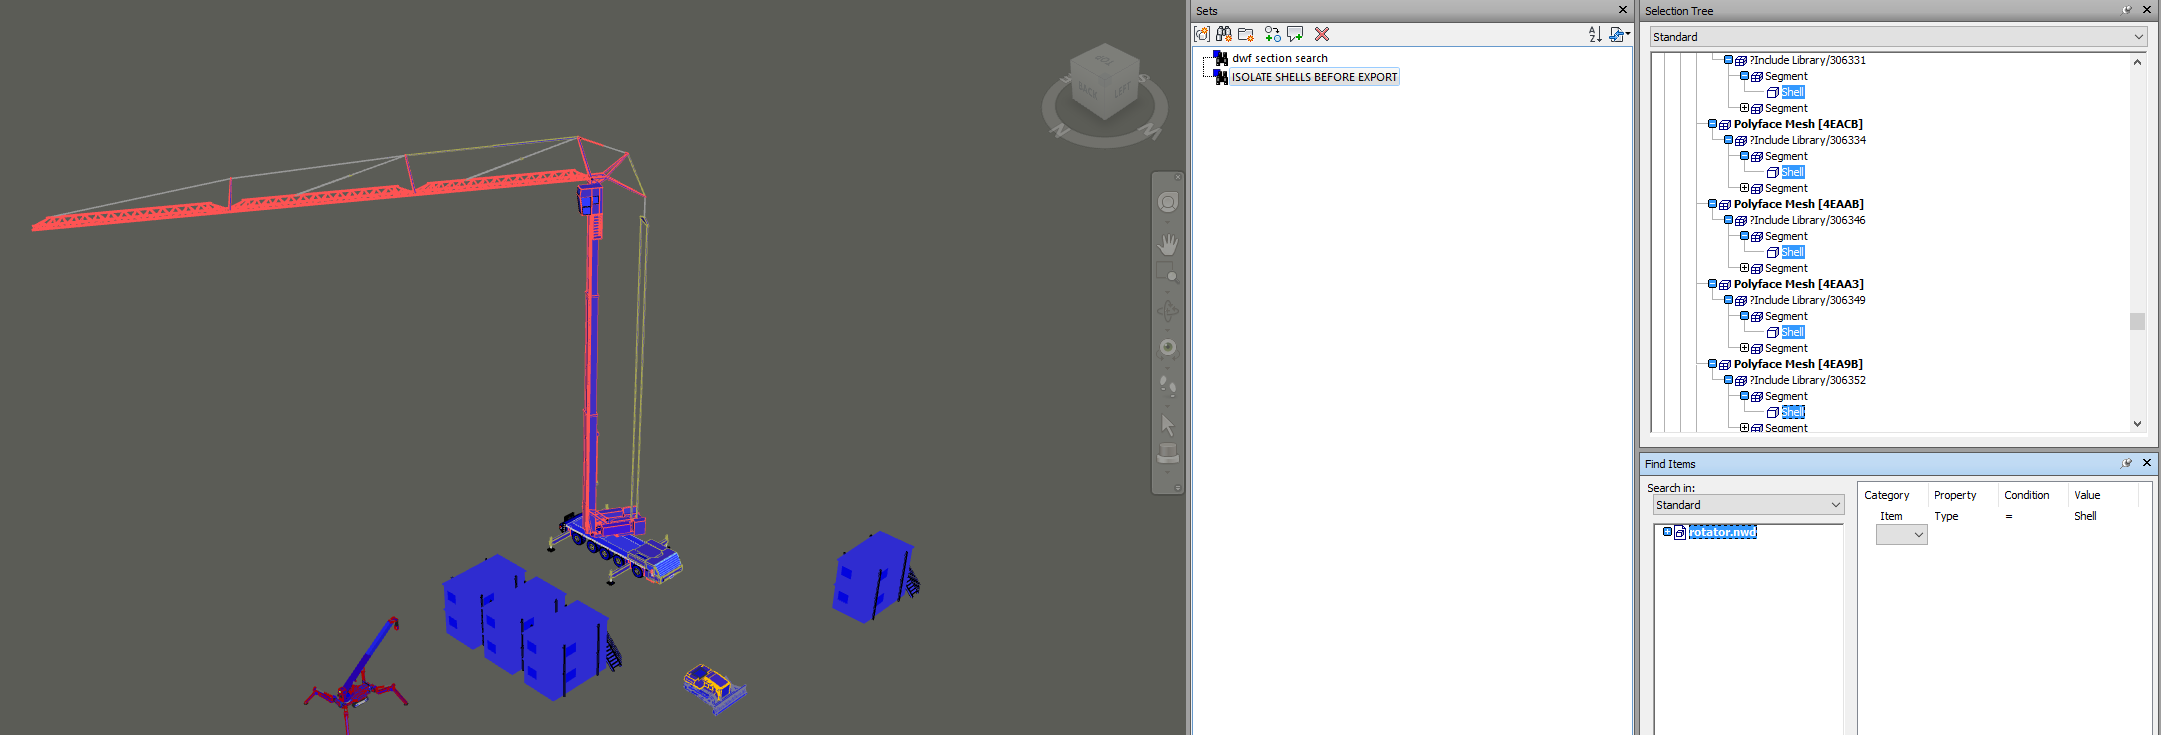
Recently I had an issue sharing colour overrides from Navisworks to BIM 360 Glue. This has been ok for a while, but something broke. After some investigation, it turns out that one of the sub-Models in the Glue merged model was causing the problem.

I typically convert IFCs using the Link method, which results in DirectShape objects. It seems that one of the Architectural files that I converted this way from ArchiCAD to Revit and then to BIM 360 Glue was stopping the colours from getting baked into the BIM 360 Shared View.

To workaround this issue:

  1. Determine what problem model/s you have (possibly those converted from IFC)
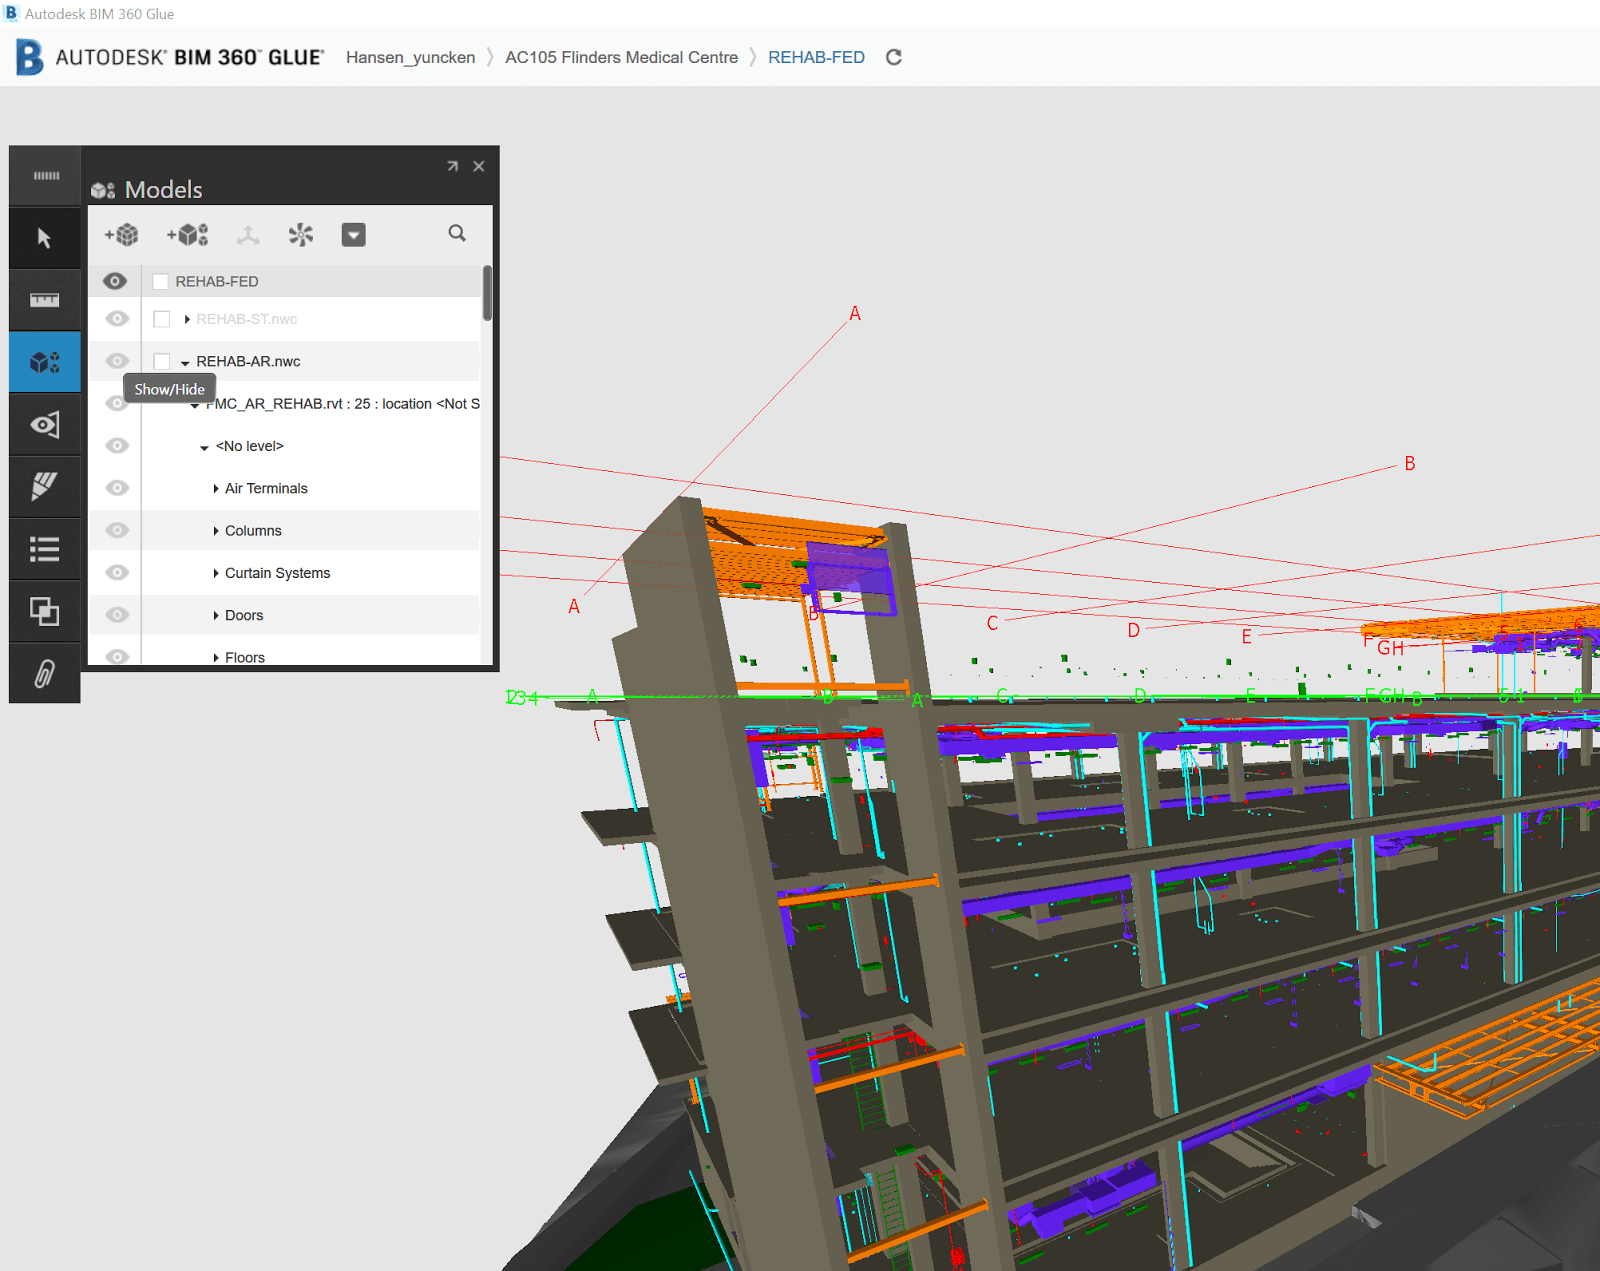
  2. Open your Merged Model in Navisworks for BIM360
  3. Hide these problem models in Navisworks scene
  4. Run Appearance Profiler or otherwise apply colour overrides
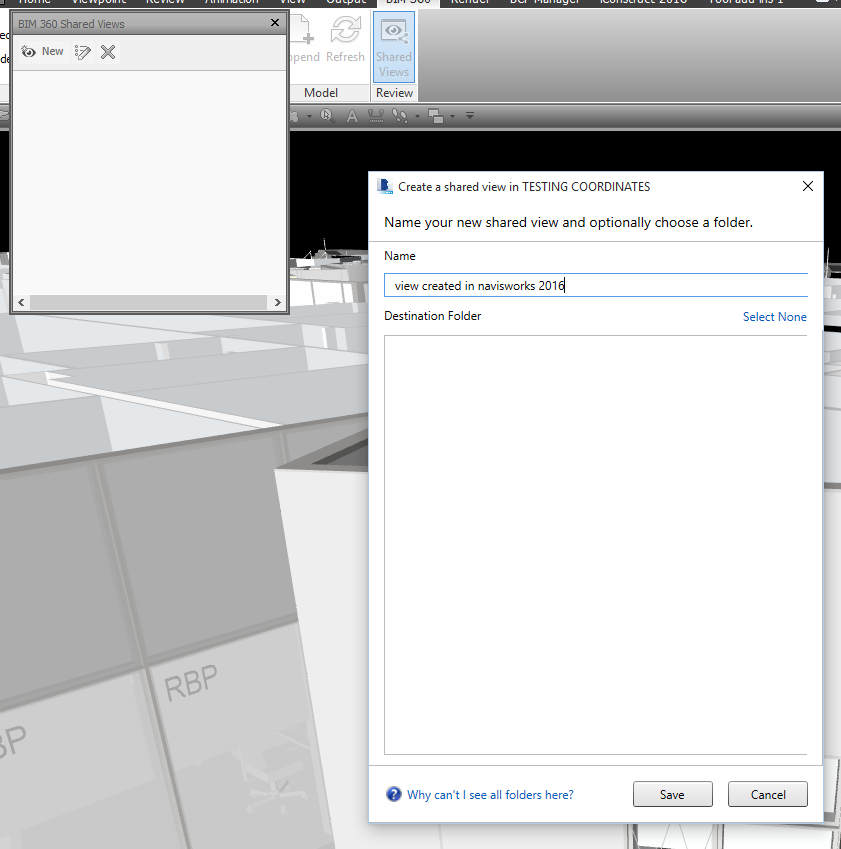
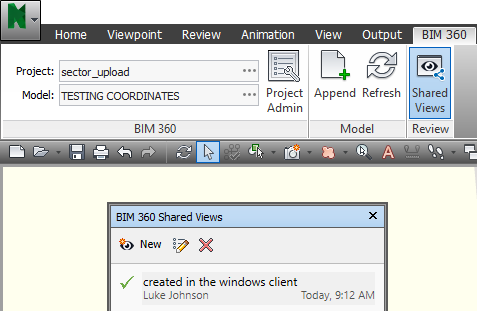
  5. In the BIM 360 Shared Views pane, click New to make a new Shared View on BIM 360 Glue with the colours ‘baked in’
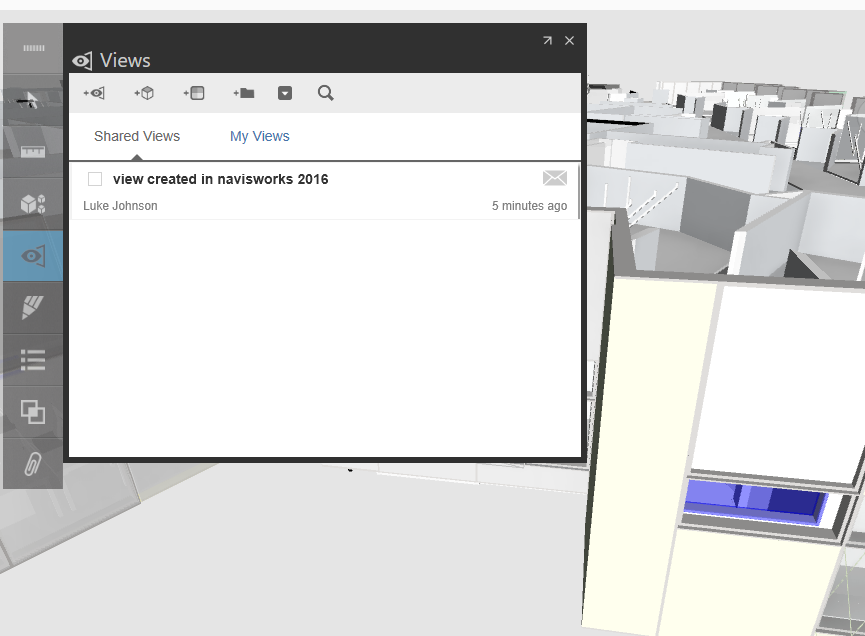
  6. Go to Glue desktop app and confirm the colours are working
  7. Then, Unhide the problem model here…
  8. And then make a new view in the desktop app
  9. This new view should have all models you want showing, and the colour overrides working ok.

On a related note, you may have seen this warning:

 
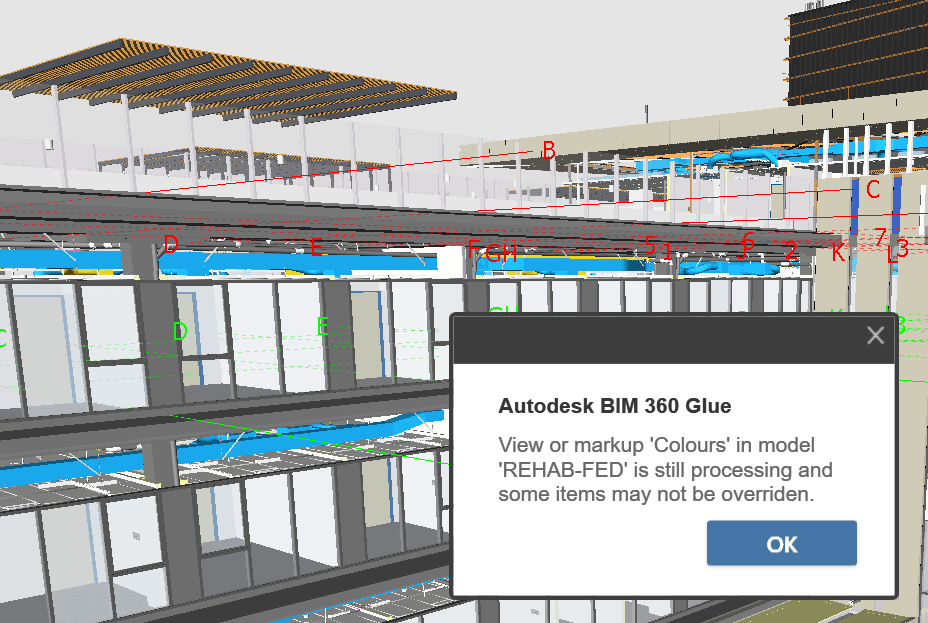
View in model is still processing and some items may not be overridden

It seems that this might put your Glue merged model in a dirty state? Try deleting all views with this message before trying to create Shared Views from Navisworks with colour overrides.

If you have a Navisworks crashing or Navisworks not starting up problem, you might try resetting Navisworks settings.

Here’s how:

  1. Open Windows Explorer
  2. Type %appdata% in the address bar
  3. Rename the relevant Navisworks folder here with a .bak extension
  4. Start Navisworks

Note: You can actually get to the options from the start menu, even if Navis won’t launch…


There are other places that Navis may stash some settings. You may also want to check out:
https://forums.autodesk.com/t5/navisworks-forum/apply-simulate-manage-default-settings-automatically/td-p/2778014

Have you ever wondered how to increase the image resolution exported by Navisworks during a Clash Report?

You can set this in the Registry, look in bottom left corner of image for the location of this key:

nwclimg

Also note, Navisworks 2016 is 13.0 in the Registry.

More Navis tips:
What Revit Wants: Thirteen Navisworks Tips to Boost your Productivity for 2014

I have posted some other methods before…
Batch Convert DWF to Revit using Navisworks
How to Convert a DWF to Editable Format, or How to Export from Navisworks and Keep Modelling in BIM
Export Geometry from Navisworks into Revit (and back again) using only AutoCAD

… but here is one going via 3dsMax:

  • Export FBX from Navisworks
  • Import to 3dsMax
  • Export SAT
  • Import to Revit

via

http://www.revitforum.org/architecture-general-revit-questions/7636-anyone-ever-import-navisworks-file-intorevit.html#post63006

Also, keep in mind that newer versions of AutoCAD can directly link NWC or NWD Navisworks files using CMATTACH (Coordination Model Attach).

Navisworks is pretty amazing at handling a huge set of properties across a large amount of elements. However, sometimes it can be hard to diagnose why a particular parameter, such as a Shared Parameter, is not displaying or grouping in a way that you might expect.

To figure out what is going on, go into Navisworks Options – Interface – Developer and tick the two boxes:
Show Internal Properties
Show Property Internal Names

Now, when you use the Properties palette you will see additional information in brackets, which essentially amounts to the Navisworks ‘internal parameter name’ for a given piece of data. Pretty cool!

Thanks for this tip goes to Jason Howden, from RTV Tools, a Platinum sponsor here at What Revit Wants.

props-3149205

Related forum post:
https://forums.autodesk.com/t5/navisworks-general-discussion/navisworks-manage-2015-amp-revit-project-parameter-problem/m-p/5672998#M9579


XML files are everywhere. And in the BIM world, we have to deal with a range of different xml file schemas, such as BCF, Navisworks Clash Reports and Viewpoints, and so forth. Hiding inside these XMLs there is some very useful information. For example, BCF files often have Element IDs in the viewpoint.bcfv component, and Navisworks XML files often have point XYZ values. Can we easily get access to this information for use in Dynamo, and then in Revit?

Yes, we can! There were one or two ways to do this in Dynamo before, but here is my take on it…

Dynamo ships with IronPython, which in turn ships with an XML handler called ElementTree. I have created some basic nodes that give us access to ElementTree functions in Dynamo. Along the way, I learnt a bit about encoding and character sets. It turns out that Navisworks often inserts tricky characters into the XML (like the diameter symbol), so as a workaround (for now) I do a string encoding roundtrip to get rid of these problematic characters. In the same node, I create the ElementTree object: this is a special object that essentially represents structured information about the XML data. The initial import looks like this:

Once we have this ElementTree object in hand, we can start to do some interesting things, like:
Iterate through tree to get individual XML elements

iterate-4268193

and Show a hierarchical representation:

With the individual elements, we can Get Attribute names and values, and the Get the children of those elements:

Obviously, you can immediately do some nice lookups against these lists in Dynamo, depending what information you want. However, on large XMLs this can be quite slow. Happily, ElementTree provides some basic XPATH support, which looks a bit like this:

With the XPATH support and an understanding of the xml hierarchy, I have created a node to do XPATH calls straight to the ElementTree object:

Now that we can ‘snip’ out useful information from the XML, we can do interesting things with it, like make some points:

When it comes to BCF, its a little bit more challenging. I haven’t figured out how to unpack the bcfzip directly to memory (yet), so we have do that manual step first. Once we have a ‘folder’ from the BCFZIP, we can get the bcfv files from inside it and then get information from them, like this:

So, in the latest Bakery package are the nodes needed to read a variety of XML files, get information from them, and do some useful things with that information. It was a learning experience for me, and I hope its useful to you 🙂

version-9817403

Sometimes you have a set of DWFs that you would like to work with in Revit. For example, you might have DWFs of site equipment, fences and trucks that would be useful for site modelling in Revit. Here is one way to get those dwfs into a more Revit-friendly format…

Note: You need to have iConstruct with their Smart IFC Exporter for this workflow

Phase 1
Create a container NWD for DWF files, so that you can fix rotation and coordinates:

  1. Append DWFs
  2. Save as rotator.nwd
  3. Append to an NWF
  4. Adjust units, 90 degree rotation about 1-0-0 axis as per this link:
    http://forums.autodesk.com/t5/navisworks-general-discussion/naviswork-imports-dwfx-file-incorrectly-quickpen-dwfx-export/m-p/2879154#M1154
  5. Save as container.nwf

Phase 2
Steps to convert DWF to IFC with colours and object selectability:

  1. Open two Navisworks 2016 instances
  2. Open the rotator.nwd from above in one instance
  3. Append any DWFs you would like to convert
  4. Adjust their Units and Transform until they look right
  5. Save the rotator.nwd
  6. Open the container.nwf
  7. Refresh to reload the rotator if necessary
  8. Now, hide everything but ‘shell’ elements using a search like this:
  9. Save the search set for Item Type = Shell
  10. Set up an iConstruct IFC config…

    IFC2x3
    New
    Type a Name
    Press Building button
    Expand to IfcBuildingElementProxy, userdefined
    Choose search set for Item Type = Shell from above

    Save

  11. Should look like this…

  12. Close config dialog
  13. Go to Smart IFC Export and choose the export config you just saved
  14. Fill out next dialog and press ok
  15. Choose target IFC location
  16. Wait for Navisworks to export the IFC

Phase 3 – into Revit
After IFC is created, open Revit. Ensure you have latest IFC updates installed, then open the the IFC. Wait for Revit to complete importing… For the most part, you should get a pretty good looking result. One exception is where the DWF had one ‘shell’ with multiple materials, like this:

In any case, now you have a bunch of ‘Revit elements’ (yes, I use the term loosely) that can be made into Model Groups. They aren’t in families, but you can make them into little rvts to load as links. I realise there are some limitations in this workflow, but in some cases there is no other way…

If you are interested in more to do with DWF conversions, check out these links:

What Revit Wants: How to Convert a DWF to Editable Format, or How to Export from Navisworks and Keep Modelling in BIM
What Revit Wants: Convert DWF to DWG using free tools

Future post: hope to see some Dynamo method to consume DWFs and create DirectShapes in Revit 🙂

One of my most liked posts on the Ideastation is this one, where I request the ability to share viewpoints between Navisworks and Glue.

This functionality has finally been provided in Service Pack 3 for Navisworks Manage 2016.

It is officially called “Shared Views”, as per the above details from the SP3 feature readme.

How does it work?

  1. In Navisworks 2016, connect with a BIM360 Glue project and model
  2. Navigate in Navisworks to a view you would like to save
  3. On the BIM 360 ribbon, open the Shared Views pane and then click New
  4. Name the view

After creating this view in Navisworks, you can open the Glue Windows client and open that model, and the view will appear in the Shared Views list:

Similarly, in the Glue web client you can now access this view:

 And, in the Windows client we can easily make and organize Shared Views. To see them in Navisworks, just click Refresh and they will show up in the Shared Views pane:

This update is a great advancement for Autodesk BIM interoperability, and combined with Switchback it now allows bidirectional viewpoint sharing between Navisworks, Glue and Revit. Very cool 🙂

Here is the Application Manager version of SP3 for Navisworks Manage 2016:
http://download.autodesk.com/SWDLDDLM/Updates/NAVMAN/2016/Autodesk_Navisworks_2016_SP3_ML_Manage_64bit.msp

Other links:

 Autodesk_Navisworks_2016_Service_Pack_3_Multilingual_Freedom_64bit.msp (msp – 101,280KB)
 Autodesk_Navisworks_2016_Service_Pack_3_Multilingual_Manage_64bit.msp (msp – 139,380KB)
 Autodesk_Navisworks_2016_Service_Pack_3_Multilingual_Simulate_64bit.msp (msp – 139,380KB)

 
Readme

 Autodesk Navisworks 2016 Service Pack 3 Feature readme.pdf (pdf – 259Kb)
 Autodesk Navisworks 2016 Service Pack 3 Installation readme.pdf (pdf – 120Kb)

Autodesk page:
Navisworks 2016 Service Pack 3 | Navisworks Products | Autodesk Knowledge Network

Simon Moreau has shared a nice addin for Navisworks that allows the automatic grouping of clashes. From his blog:
“This plug-in enables a lot of possibilities for sorting clash detection results in a meaningful report, and will become a full-time member of my coordination toolbox.

To install this plug-in, you can copy-paste the ClashDetective.ADSK.dll file available here in a new ClashDetective.ADSK folder in C:Program FilesAutodeskNavisworks Manage 2016Plugins. You can also see my edited version of the example code here.”

Original post: Grouping clash results | BIM 42
Heads-up from Michael Clothier

Here is what the installation folder looks like:

And the addin ribbon in Navisworks Manage 2016:

You can also download the Navisworks SDK from here:

  Navisworks 2016 SDK (Updated April 7th) (exe – 207 Mb)
  Navisworks 2015 SDK (Updated July 1st) (exe – 193 Mb)
  Navisworks 2014 SDK (exe – 217 Mb)