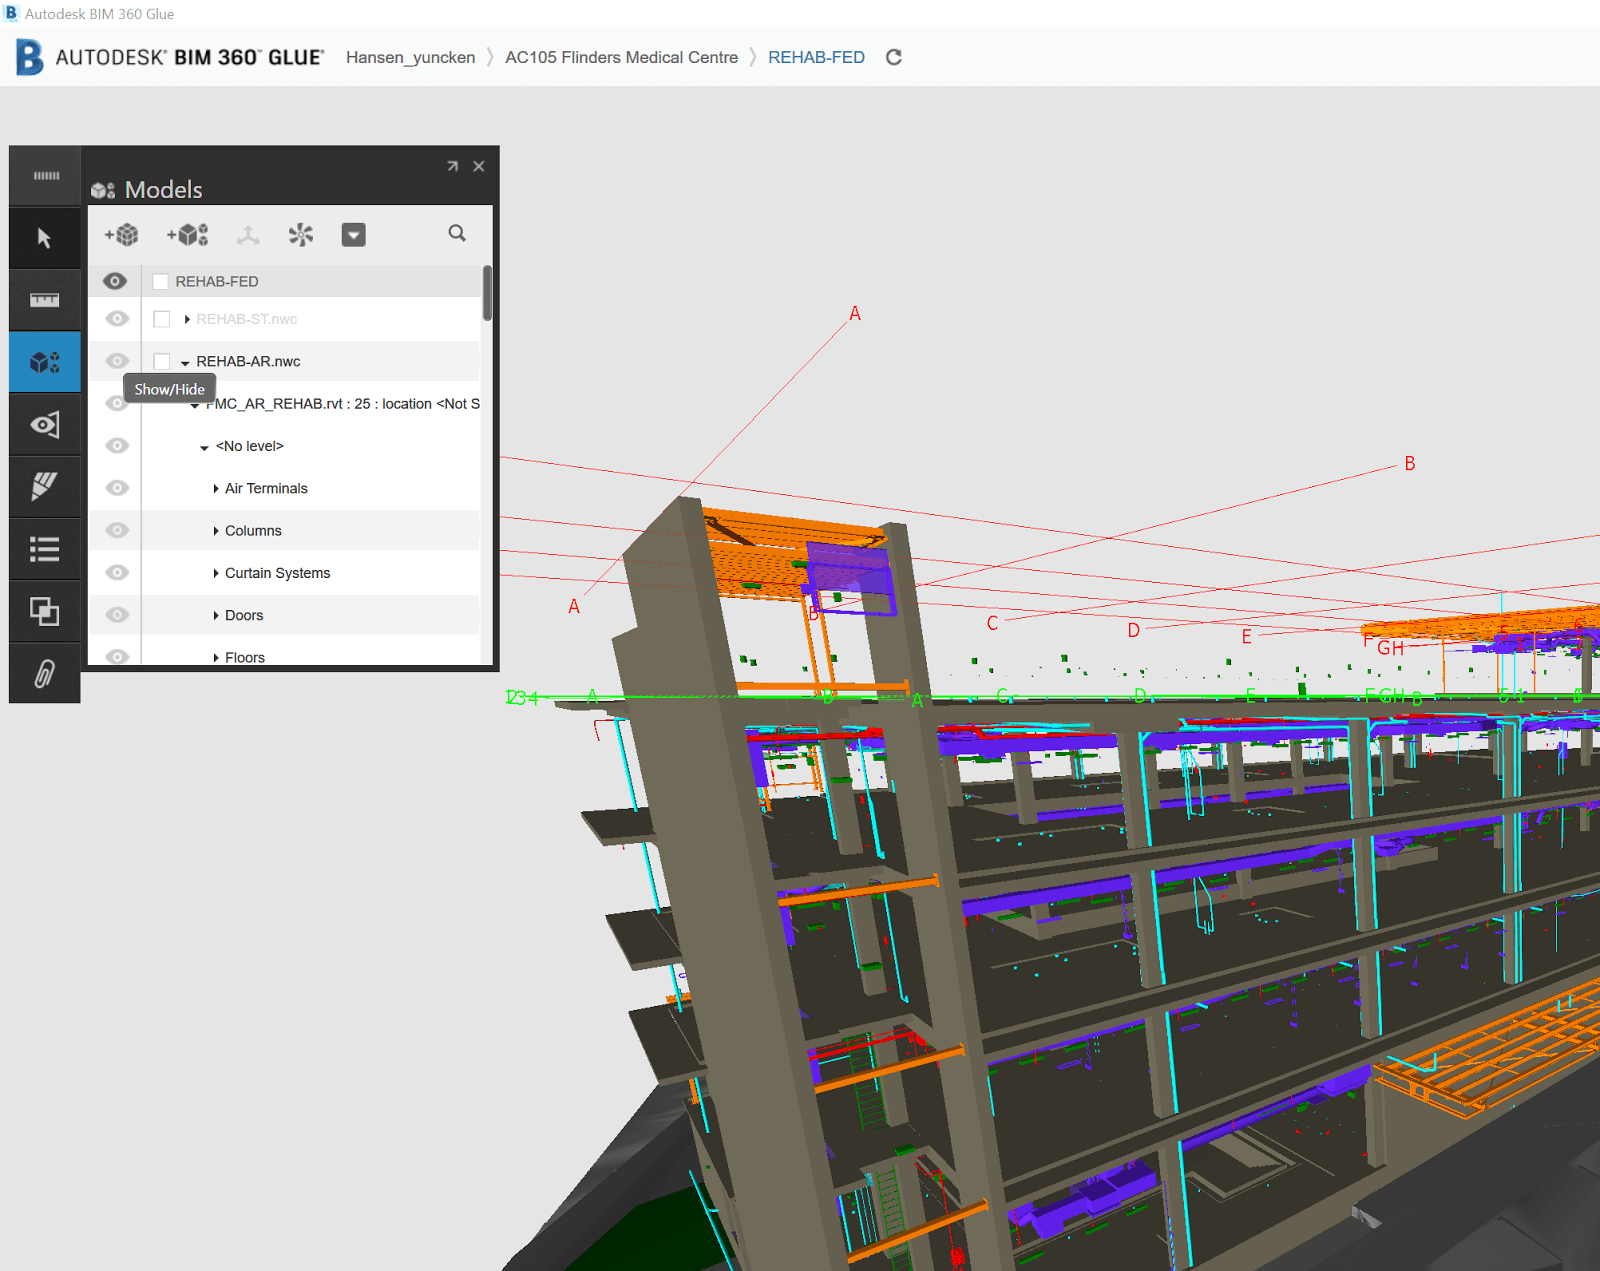
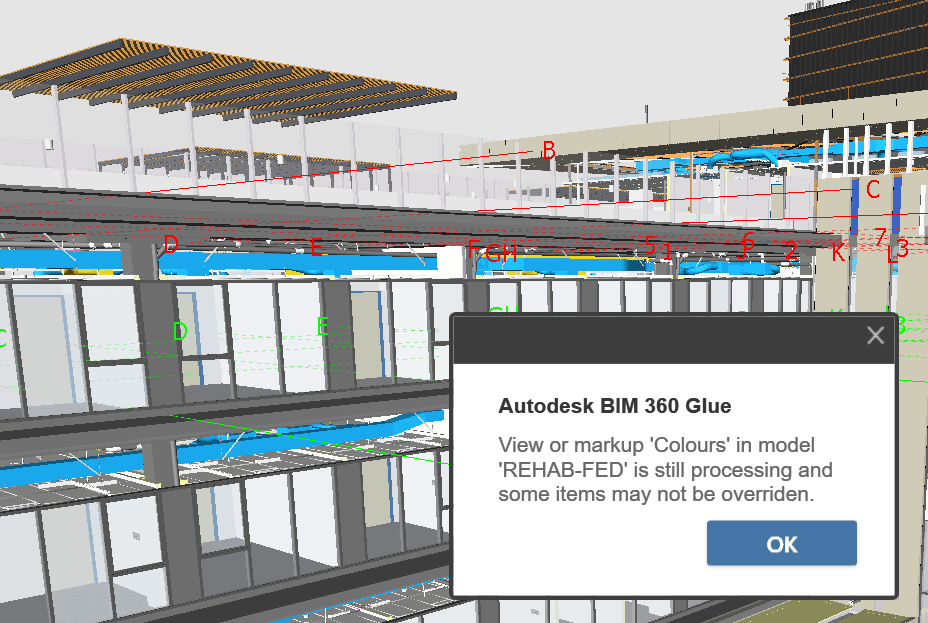
Having recently installed some more storage hardware, and previously posted about moving folders with symbolic links, I then decided to move my BIM 360 Glue cache folder and Navisworks Cache folder to a secondary hard drive. I did this using symbolic links.

You need to:

  • start a Command Prompt as Administrator
  • use the commands shown below

Moving BIM 360 Glue cache storage location:

if exist "%localappdata%\Autodesk\Bim360Glue 2016\LocalCache" rename "%localappdata%\Autodesk\Bim360Glue 2016\LocalCache" bim360glue2016.old
mklink /d "%localappdata%\Autodesk\Bim360Glue 2016\LocalCache" R:\BIM360Glue2016
if not exist R:\BIM360Glue2016 MD R:\BIM360Glue2016
robocopy /mir "%localappdata%\Autodesk\Bim360Glue 2016\bim360glue2016.old" R:\BIM360Glue2016\

Moving Navisworks cache storage location:

if exist "%localappdata%\Autodesk\Navisworks 2019\LocalCache" rename "%localappdata%\Autodesk\Navisworks 2019\LocalCache" Navisworks2019Cache.old
mklink /d "%localappdata%\Autodesk\Navisworks 2019\LocalCache" R:\Navisworks2019Cache
if not exist R:\Navisworks2019Cache MD R:\Navisworks2019Cache
robocopy /mir "%localappdata%\Autodesk\Navisworks 2019\Navisworks2019Cache.old" R:\Navisworks2019Cache\

After you have run the scripts above, you can delete the old folders with the .old suffix (Navisworks example shown below).

Recently I had an issue sharing colour overrides from Navisworks to BIM 360 Glue. This has been ok for a while, but something broke. After some investigation, it turns out that one of the sub-Models in the Glue merged model was causing the problem.

I typically convert IFCs using the Link method, which results in DirectShape objects. It seems that one of the Architectural files that I converted this way from ArchiCAD to Revit and then to BIM 360 Glue was stopping the colours from getting baked into the BIM 360 Shared View.

To workaround this issue:

  1. Determine what problem model/s you have (possibly those converted from IFC)
  2. Open your Merged Model in Navisworks for BIM360
  3. Hide these problem models in Navisworks scene
  4. Run Appearance Profiler or otherwise apply colour overrides
  5. In the BIM 360 Shared Views pane, click New to make a new Shared View on BIM 360 Glue with the colours ‘baked in’
  6. Go to Glue desktop app and confirm the colours are working
  7. Then, Unhide the problem model here…
  8. And then make a new view in the desktop app
  9. This new view should have all models you want showing, and the colour overrides working ok.

On a related note, you may have seen this warning:

 
View in model is still processing and some items may not be overridden

It seems that this might put your Glue merged model in a dirty state? Try deleting all views with this message before trying to create Shared Views from Navisworks with colour overrides.

It is Autodesk’s mobile-centric implementation of an integrated FM system… It hasn’t been around for long, but it already allows you to export Equipment directly from BIM 360 Field. It also allows you to view the equipment in context, and attach photos and other information.

It would seem like the current cloud model and sharing workflow from Autodesk currently looks something like this:

  • BIM 360 Glue – Design
  • BIM 360 Field – Construction
  • Building Ops – Facilities Management

 Here’s a video showing the Field connection:

More info:
How Do I Export Equipment from BIM 360 Field? | Building Ops | Autodesk Knowledge Network

If you are having trouble getting a particular NWC uploaded to Glue, here are some steps to try:

  • you can open it in Navisworks, export to DWF and try Uploading that using the Glue client
  • you could open it in Navisworks 2015 and then Glue It from there. Unfortunately, there is no ‘Glue It’ addin available for Navisworks 2016. As I understand it, the new Glue sync features in 2016 mean that a simple Glue It button for Navisworks will not be available in Navisworks 2016.

Also, there are new addins available today (11 May 2015):

Go to this link to download BIM360 addins (you will need to sign in to Glue first, then use the link below):
https://b2.autodesk.com/downloads/unknown

More at: To Install BIM 360 Add-Ins | BIM 360 Glue | Autodesk Knowledge Network

This update resolves some issues with using Merged Models and the new Navisworks Manage 2016 Glue Integration features.

Direct download links here:

Autodesk_Navisworks_2016_Service_Pack_1_Multilingual_Freedom_64bit.msp (msp – 200Mb)
Autodesk_Navisworks_2016_Service_Pack_1_Multilingual_Manage_64bit.msp (msp – 266Mb)
Autodesk_Navisworks_2016_Service_Pack_1_Multilingual_Simulate_64bit.msp (msp – 266Mb)

Readme
Autodesk Navisworks 2016 Service Pack 1 Feature readme.pdf (pdf – 177Kb)
Autodesk Navisworks 2016 Service Pack 1 Installation readme.pdf (pdf – 120Kb)

via
http://knowledge.autodesk.com/support/navisworks-products/downloads/caas/downloads/content/navisworks-2016-service-pack-1.html

To simulate a temporary search set in Glue, select an object and view its properties. Then, right-click on the desired “search” property and click Select Similar:

To merge Clash Groups in Navisworks:

  1. Select the Groups you want to Merge with Ctrl key
  2. Right-click, Explode (the child clashes will remain selected)
  3. Right-click, Group

Screencast of above:

I’ll be the first to admit that this is a bit clunky, but it does work:

  1. Go to the Navisworks viewpoint you want, and isolate a single element (hide everything else) that approximates the view extent
  2. Click nearest ViewCube corner that approximates the viewpoint you were just using
  3. Deselect everything and press Page Down to zoom extents
  4. Export to DWF and re-append
  5. Delete everything but this new DWF (with a single item in it)
  6. Glue this using the addin for Navisworks
  7. After Gluing, open this model, click the same ViewCube corner as in step 2, and immediately save the view as a shared view.
  8. Make a new Merged Model with this “view” model
  9. You now can view that viewpoint from Navisworks in your Merged BIM 360 Glue model 

Another option using Element ID, may suit your workflow better:

  1. Copy Element ID from Navisworks
  2. Paste the ID into BIM 360 Glue in the Model Search box
  3. Right-click and Fit to Window
  4. Save the View

I am moved to join ADN and get into the Glue API, more on that later…

Firstly, make sure you have a model on Glue that you can access. Did you know that when you Glue something from Navisworks, it makes an NWD and puts it in a folder like this:
“C:UsersLuke JohnsonAppDataLocalNavisworksPlugin63baac4b-76c8-4ff8-9039-d51645fd1ddc.nwd”

Once you have a model on Glue that you would like to download and use as modelling context in Revit, make a new Navisworks file and:

  1. Append that model back to Navisworks from Glue (it will look like you opened an NWD, with Clashes, Search Sets and Viewpoints all appearing. This tells us that BIM 360 Glue stores all that information in the cloud, at least when the model “originated” in Navisworks.)
  2. Use this method to export FBX and import to AutoCAD at correct scale (Limit your Navis view to only the elements necessary for modelling context. For example, walls or facade only.)
  3. Save the DWG
  4. Make a new Revit file. I had problems using the Construction template – it seemed to break the coordinates somehow… In any case, when I just used “None” template, it worked fine.
  5. Link the DWG into Revit, Origin to Origin
  6. Do your Revit modelling (in the screenshots below, I modelled part of a roof)
  7. Glue the new roof directly from Revit (you may want to Hide the DWG file prior to Appending). This will create a new Model. On BIM 360 Glue, you now have the original model plus this new model from Revit.
  8. Go to Glue app in Windows and make a new Merged Model. Tick the boxes for the original model, and this new model from Revit.
  9. Back in Navisworks, we can either choose to Append the entire new merged model, or just the new “piece” that we modelled in Revit.

If you have consistently used origin-to-origin “Revit zero” linking and project internal coordinates, you shouldn’t have any problems.

Some screenshots:

Notes:
55mb NWD took about 20mins to Glue

In this test, I used 2015 versions of Navisworks and Revit

Some people view Glue as a lightweight, cloud version of Navisworks.  So, in what scenario would you use desktop Navisworks and cloud Glue together?

These questions:

  • How do Navisworks and Autodesk® BIM 360™ Glue® work together? 
  • How can BIM 360 Glue bring value to my project? 
  • How does BIM 360 Glue integrate with other applications? 
  • Where does mobile app access fit into the workflow?

Are answered in the webcast Navisworks and the Glue Connection:
Link to on demand webcast here

via
https://twitter.com/Navisworks/status/425692536439861248

Hear more about Autodesk® Navisworks® and the Glue Connection, including answers to these important questions:

How do Navisworks and Autodesk® BIM 360™ Glue® work together?
How can BIM 360 Glue bring value to my project?
How does BIM 360 Glue integrate with other applications?
Where does mobile app access fit into the workflow?

To watch this on-demand webcast,
fill out form at link below:
Autodesk – On Demand Webcast: Navisworks and the Glue Connection

or

Use this link