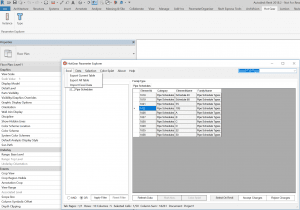
This includes quite a bit of functionality for a free addin, including the ability to collect elements from the current Revit project, override them, edit data, and Excel import and export:

Parameter Explorer can be used for filtering, modifying and checking Elements parameters, including synchronizing data with Excel, override colors and temporary isolate specific elements.

  • Access all Elements that have a Category within a Document
  • Quick Select Elements in Revit By Parameters & Category Filter
  • Read all Elements Data Instantly in a Table
  • Edit Data more efficiency
  • Excel Export and Import (Easy Charts Creation with Excel)
  • Visualization Elements Data on View by color override

Get it at:

https://apps.autodesk.com/RVT/en/Detail/Index?id=5052462497514539721&appLang=en&os=Win64

Documentation

https://hotgearproject.gitbooks.io/hotgear-project/content/

Video

Download

AutodeskAppStoreLink

Licensing/Activation

https://hotgearproject.wordpress.com/licensingactivation/


Check out the post at:

Parameter Explorer

Navisworks is pretty amazing at handling a huge set of properties across a large amount of elements. However, sometimes it can be hard to diagnose why a particular parameter, such as a Shared Parameter, is not displaying or grouping in a way that you might expect.

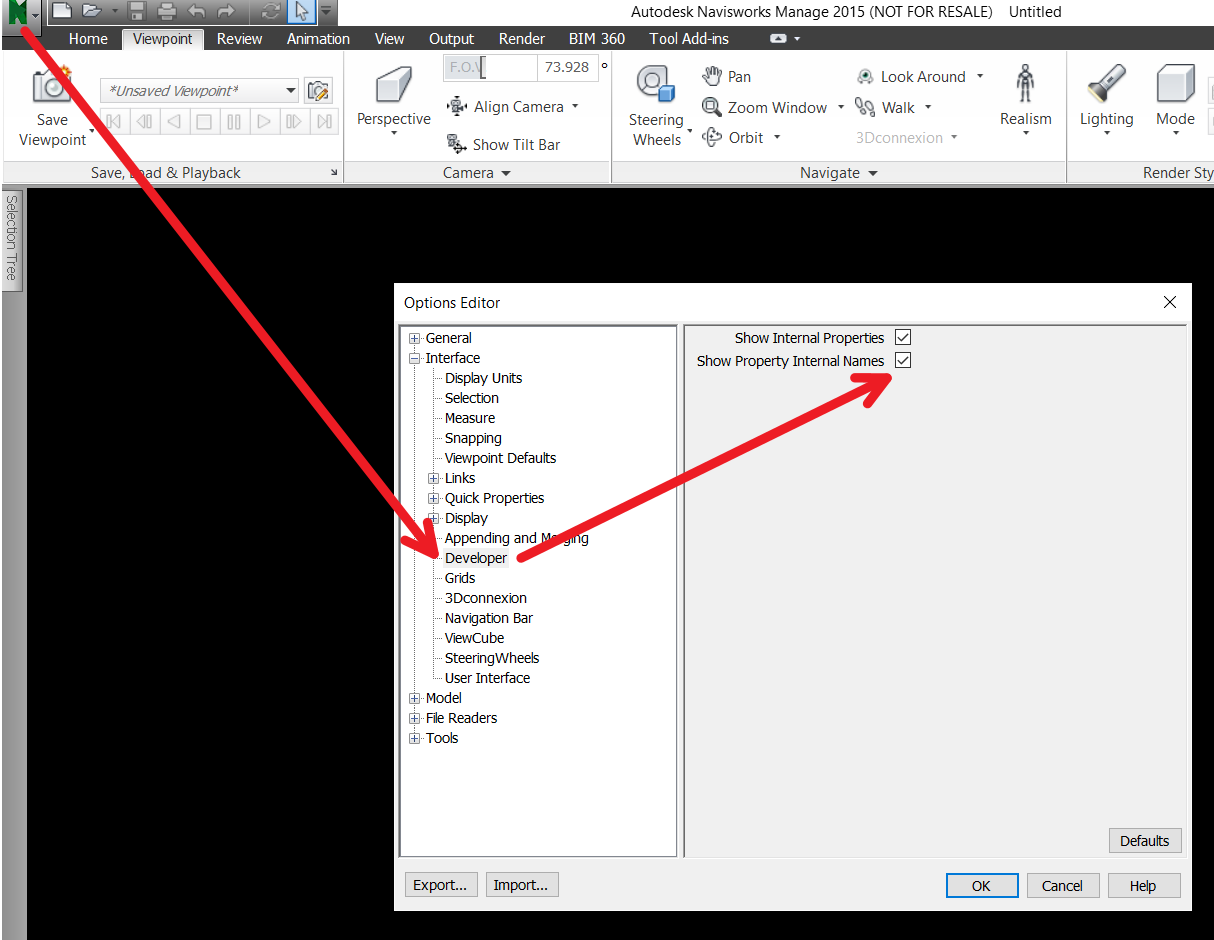
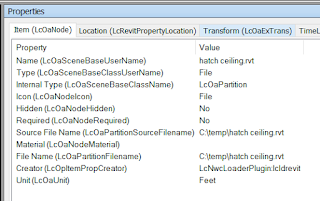
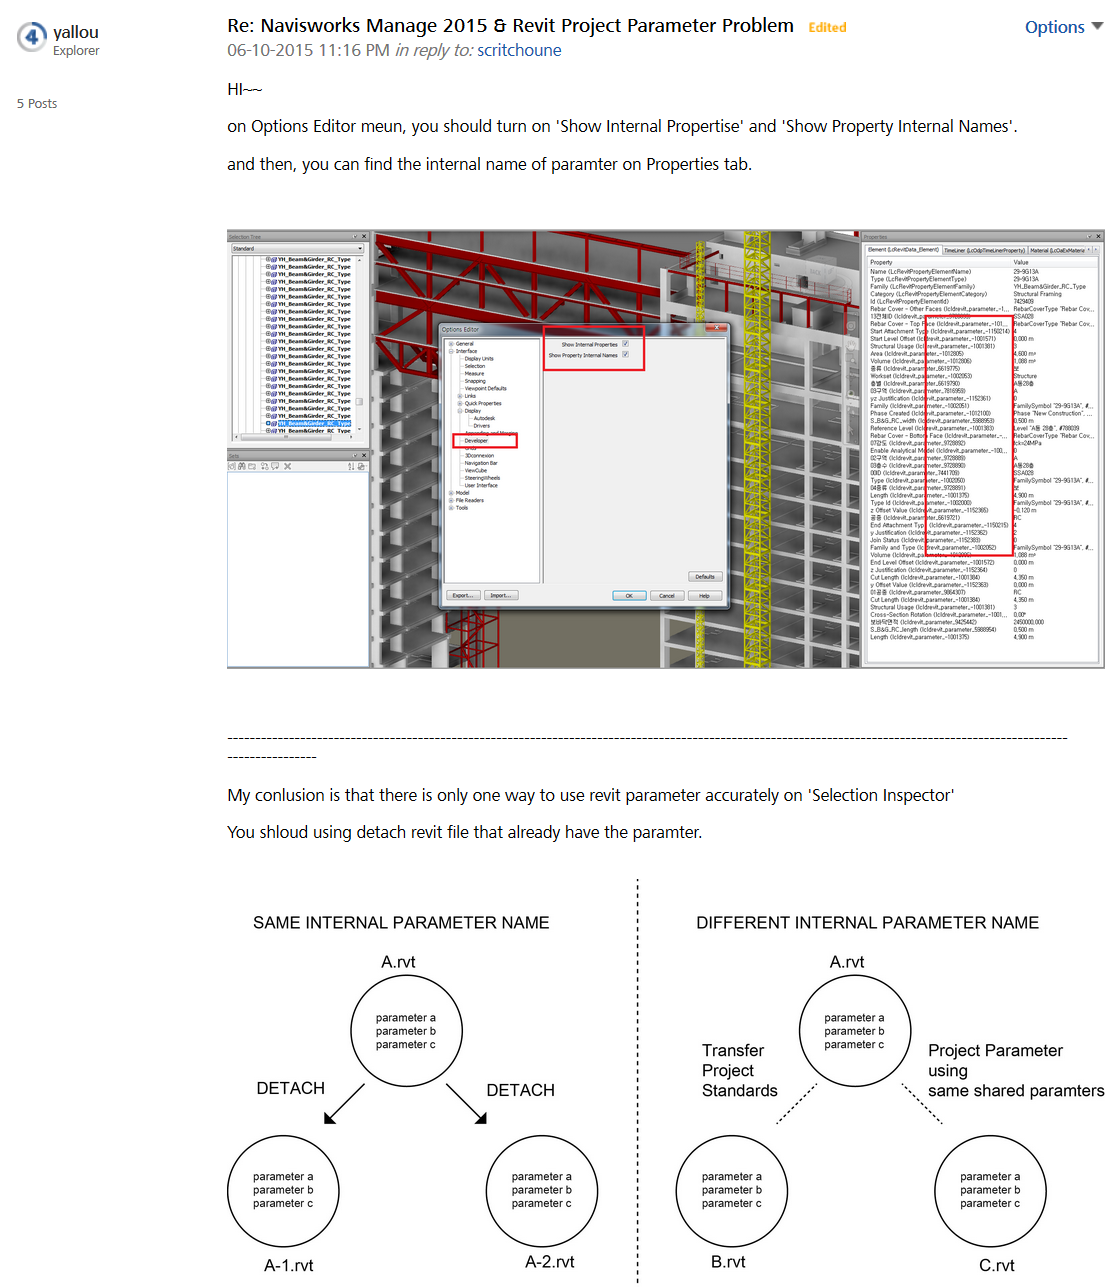
To figure out what is going on, go into Navisworks Options – Interface – Developer and tick the two boxes:
Show Internal Properties
Show Property Internal Names

Now, when you use the Properties palette you will see additional information in brackets, which essentially amounts to the Navisworks ‘internal parameter name’ for a given piece of data. Pretty cool!

Thanks for this tip goes to Jason Howden, from RTV Tools, a Platinum sponsor here at What Revit Wants.

props-3149205

Related forum post:
https://forums.autodesk.com/t5/navisworks-general-discussion/navisworks-manage-2015-amp-revit-project-parameter-problem/m-p/5672998#M9579


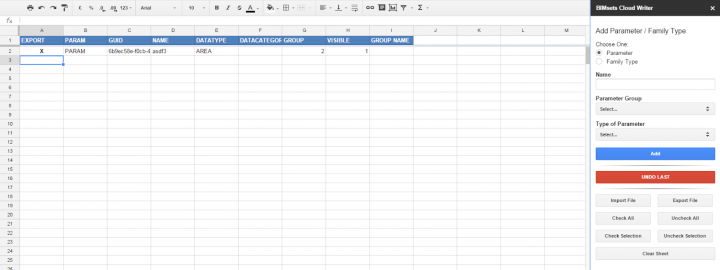
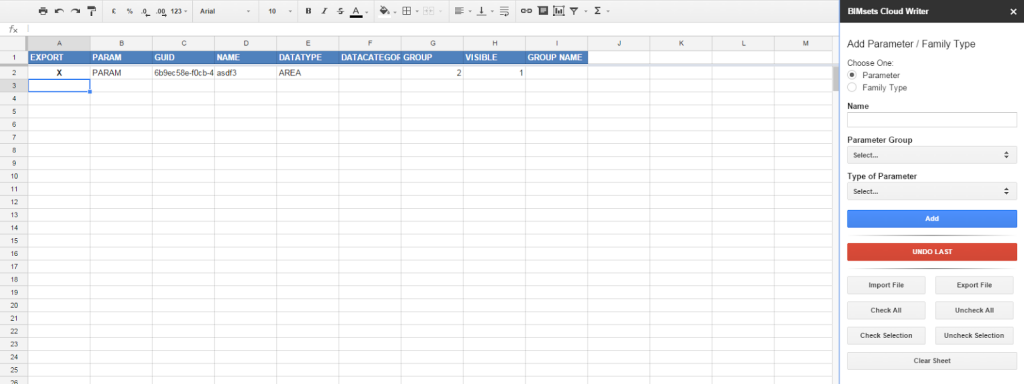
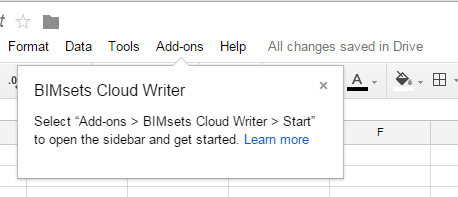
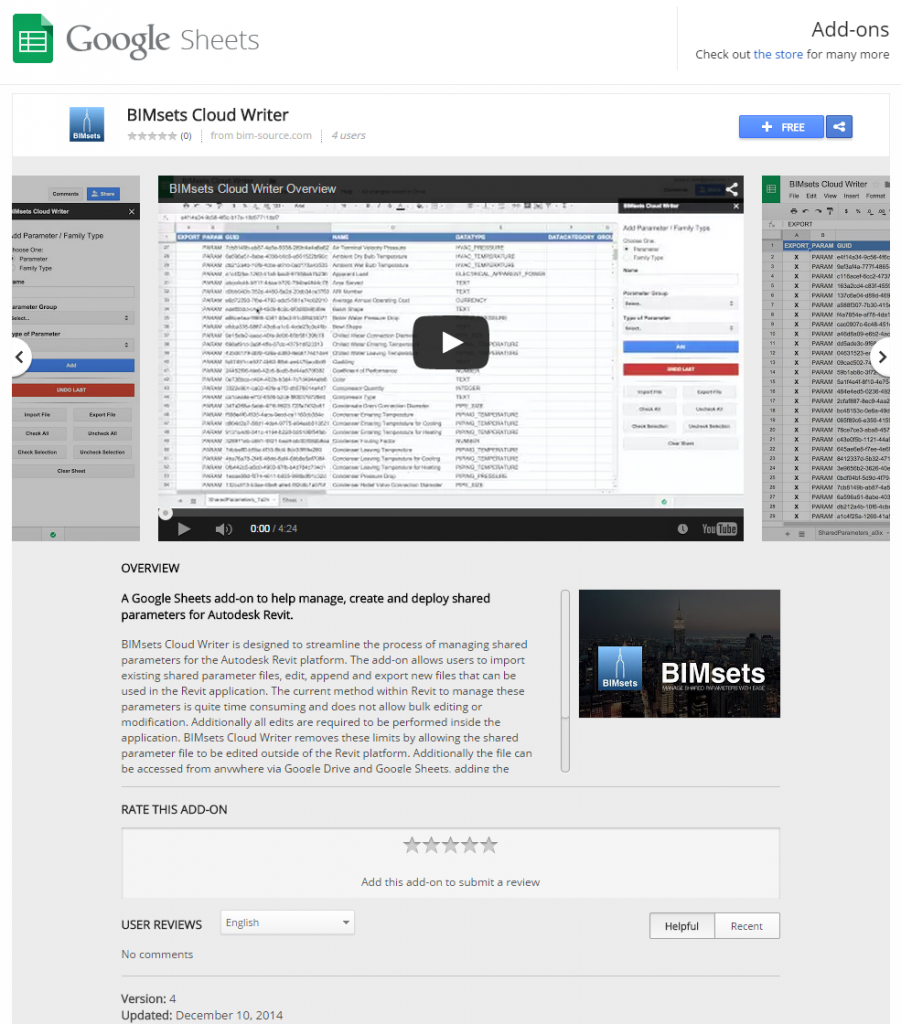
I have posted about SP.Writer before, but this is the next iteration: BIMsets Cloud Writer.

UPDATE: if you want to update to the latest version of the add-in, in Google Sheets you may need to go to Add-on > Manage Add-Ons and then remove it, and then search for it and install again.

If you just want to build a new parameter file from scratch:

  1. Go to https://chrome.google.com/webstore/detail/bimsets-cloud-writer/mkcicdhocfdpjpdljamehafdafonfodh?authuser=1
  2. Press the Free+ button to install
  3. Say yes to all the prompts  
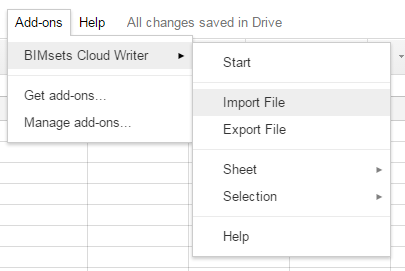
  4. In the new Spreadsheet, go to Add-ons, BIMsets Cloud Writer, and press Start
  5. Start filling in the form and pressing Add for each new parameter
  6. Parameters are created and you can choose to Export to a TXT file

If it keeps failing to Import for you, this will probably be the reason:
Can I use custom groups with this add-on? No. The add-on uses a specific set of parameter groups designed to be compatible with the Autodesk Seek Style Guide. If you have a parameter file that uses the same groups as the Style Guide it should be compatible. If you are starting brand new there should be no issues. If you have used the old SP.Writer Excel tool in the past, those files will also be compatible.
via
BIMsets – BIM Source

If you have any other issues you can contact the developer.

Heads-up:
https://twitter.com/MattBeNimble/status/542825879919792129
and

Download:
v2 of the Style Guide is here
and 2.1 here
http://revit.autodesk.com/Library/RMCSG/Revit_Model_Content_Style_Guide_v2_1.zip

In one recent post, Paul Crickard describes how you can use a URL field in a Revit schedule to:

  • open documents or images
  • open a video
  • open a map or facility plan to a specific geographical location
  • retrieve data from an external database

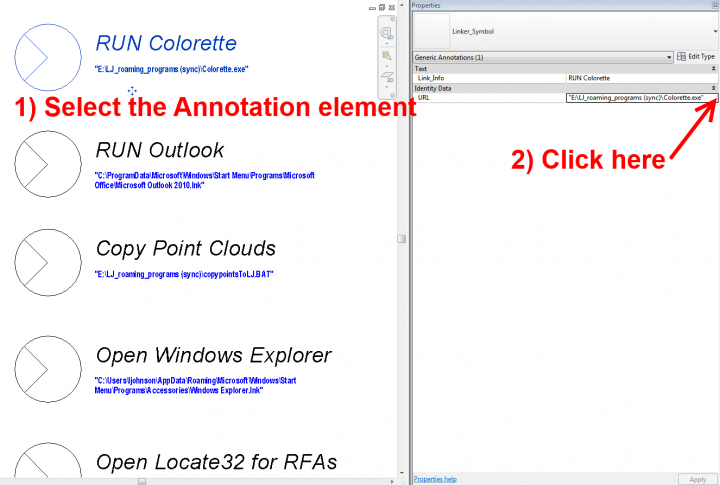
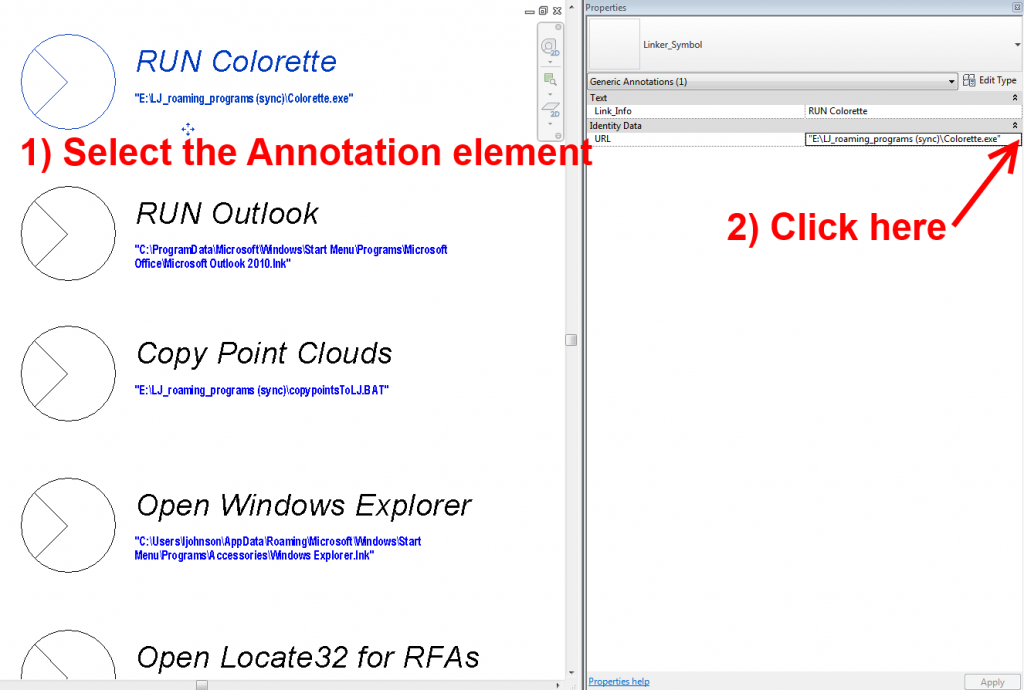
These points are along similar lines to my post about launching scripts and programs directly from Revit. The same principles apply to families with a URL parameter.

From Architecture and Planning:
Changing HTTP to FILE makes it a local file browser. I created a room in Revit and added a parameter of type URL. The URL added is:

file:///c:/Users/Paul/Desktop/efpGIS/Config/Splash.png

This URL links to a picture on my desktop. If I click the link in Revit, I get the image on the right. The computer knows to launch the appropriate program to open the file. A link to a AVI file opens my Divx Player.

Read the whole post:
URL Tricks in a Revit Schedule | Architecture and Planning

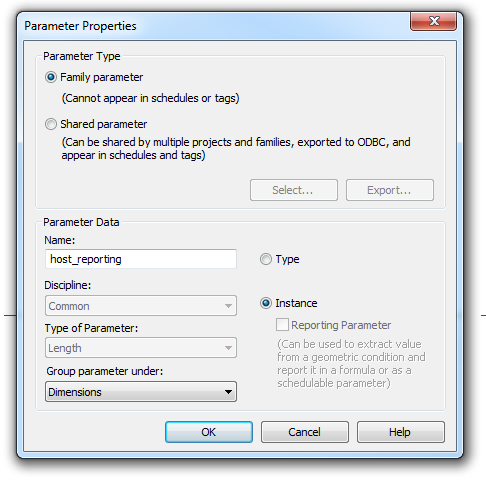
Let’s say you have a nested family with a formula driven parameter, something like =Length/10. You want to expose this to a host family and make it a Reporting Parameter, but that option seems to be grayed out (firstly, because its formula driven, secondly because its a nested family):

Here’s what to do:

  1. Remove the formula from the nested family and reload it (so you can now apply a parameter to it in the host)
  2. Add an instance parameter as per the image above
  3. Close this dialog by clicking OK
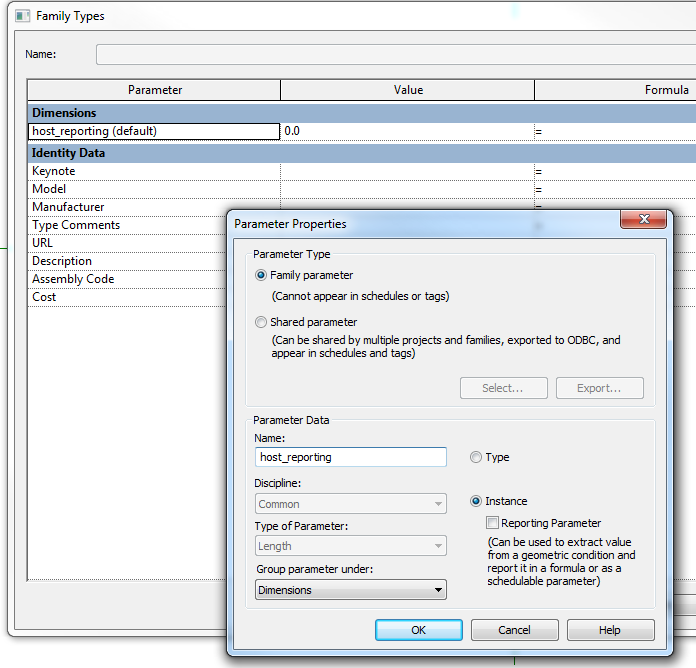
  4. Go to the Family Types dialog
  5. Select and Modify that parameter
  6. Now you can tick the Reporting box
  7. Edit the nested family again – reinstate the formula
  8. Reload the family
  9. You now have a Reporting parameter in the host family that tells you the value of a nested, formula driven parameter

Another workaround that may assist with reporting parameter restrictions is to:

  1. Save the family and close it
  2. Rename with extension .rft
  3. Make a new family based on this “template”
  4. Maybe the problems you were having with Reporting parameter restrictions are gone, but you might have mixed results

Sometimes you just need to hear an idea and you innately know “this is going to be useful…”

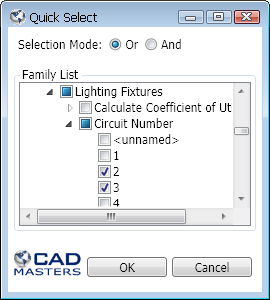
Quick Select command for Autodesk® Revit® to select by element type and its properties. Expand the element or family type and select the properties that you wish to filter by. Click OK and all those elements will be selected. 

  • When in “Or” mode, the command will select all elements that match any of the properties. 
  • When in “And” mode, the command will only select elements that match all the selected properties. 

Example of potential uses:

  • select all Casework on a particular Level – done
  • select all Filled Regions with a given area – done
  • select all Walls whose Top is Attached – done

As with most addins I post about – its free.  Download on Exchange at:
this link

Heads-up via:

To make the swappable profile, use a Generic Model Adaptive template, but don’t add any Adaptive points.  Set the 2 reference planes in the template to “Defines Origin”.  You can parametrize this as much as you like (just don’t use Reference Lines – you need a closed profile of Model Lines as per any Profile).  Then, load this into another new Generic Model Adaptive family.  Host the Profile component on a hosted point (that is, one that has been placed on a line).  You will need one of these nested Profiles at each end of a line to control the form properly.

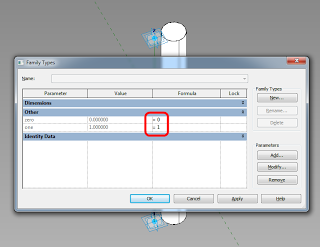
I am in the habit of using hosted points to host Profiles now.  For example, in a 2pt Adaptive with a Reference Line, I will add 2 hosted points to the Reference Line to carry the Profile instances.  These hosted points will be forced to the end points by using a parameter for zero, and another one for one, and forcing these values by putting 0 and 1 in the Formula box of the Family Types dialog (see image).

If you are using hosted points (make a new point, and drop it on a Reference Line – it will be come a small dot if it is hosted on the line), you can actually adjust the rotation Angle using a parameter – this makes it easy to rotate the profile around the hosting line.

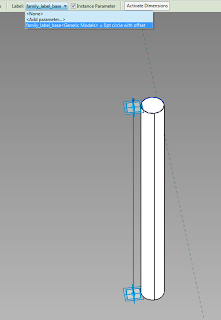
Here is the really cool part – you can apply a Label parameter to the Profile instance in the host family, and then directly swap Profile shapes (different nested RFAs or types in the same RFA, both work).  This even works from the Project Environment.

If you want to drive the profiles parametrically via the host family, you will have to make them un-Shared (otherwise you can’t map parameters from Type to Host).  You can swap between un-Shared and Shared profiles using the Label parameter.

Finally, to create the form, select the Profile families (the ones at each end of the Reference Line) and click Create Form.  Unlike other form creation scenarios, you do not want to select the “lines” by Tabbing through – you actually want to select the family itself.  The Label parameter will allow you to swap these families, which will drive the Form.

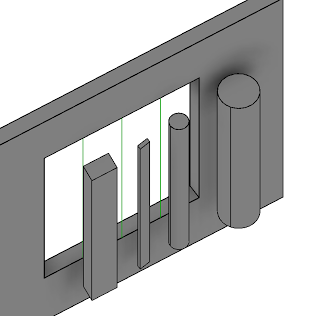
In the image below, all of these are one Adaptive family – with profiles swapped, and parameters adjusted, including rotation about the axis.


Download the above example here

Credit:  I’m fairly sure I read about this general idea somewhere… it was a while ago.

Another nice workaround by Philip Chan – if you want to change one of Revit’s built-in Type Parameters (derived from a Family Template, such as Door Fire Rating) to an Instance Parameter, you just have to take the Family on a little round trip to a more flexible Family Category.

For example:

  1. New Door based on Door Family Template
  2. Switch to Generic Model Type
  3. Change built-in Type Parameter for Fire Rating to Instance
  4. Switch back to Door Category

You can read Philip’s whole post at:
Phil-osophy in BIM: Hacking System Parameters in Door Family