A DWF file is somewhat of an an end-point when it comes to 3D data and BIM workflows. By design, it is difficult to repurpose a DWF into a format where you can then alter the model, or use it in a design environment for context. It is even harder to export it to a form that includes both geometry and data, such as IFC.
It is an enticing prospect, however, because virtually all Autodesk software exports to DWF. For example, Navisworks can export the elements visible in any view to a nice, lightweight DWF that inherits all the associated BIM data from the original element. Therefore, if we are able to convert DWF to an editable format, we would also be creating a way to Import Navisworks data into Revit.
Thus begins my pursuit of how to get Navisworks exported to IFC, or DWF converted to IFC. I explored 5 options:
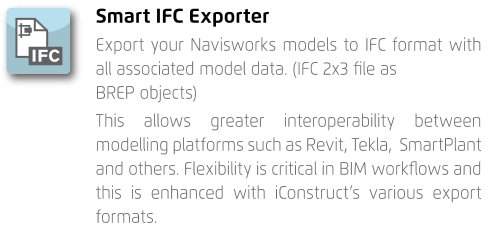
- Direct IFC Export from Navisworks using iConstruct [geometry + data]
- Navisworks to DWF to various 3D formats using Okino NuGraf [geometry]
- Navisworks to DWF to Adobe 8 or 9 Pro Extended [geometry]
- Navisworks to FBX to SAT (using 3dsMax) to Revit [free option if you have Suite, material data to 3ds Max, geometry to Revit]
- Use Simlab DWF Importer for Sketchup [some data to SKP, then geometry to IFC OR
v7 SKP to Revit for Category data]
It’s a long post, so here is the summary. At the moment, Option 1 – iConstruct Smart IFC Exporter for Navisworks is probably the best way to get data from Navisworks or DWF into IFC and then into a BIM target application. If you just want geometry for context, I would probably go with Option 4 if you have a Autodesk Suite, because you probably already have everything installed that you need. Finally, Option 5 isn’t actually too bad, but you probably need to buy 2 products (Sketchup and the importer).
Now, onward to the experiments…
Option 1:
Downloads for iConstruct Navisworks add-in are at:
iConstruct Downloads page
(you will need to request and wait for a trial license)
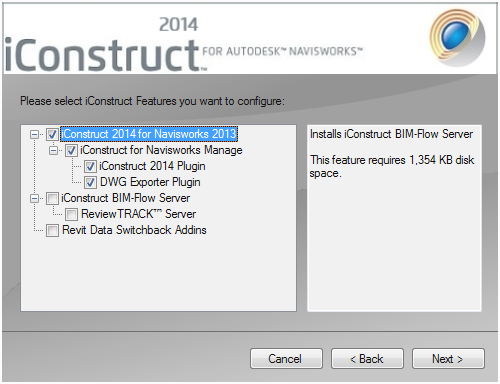
iConstruct install options:
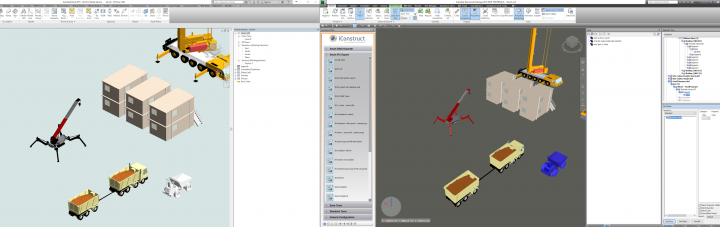
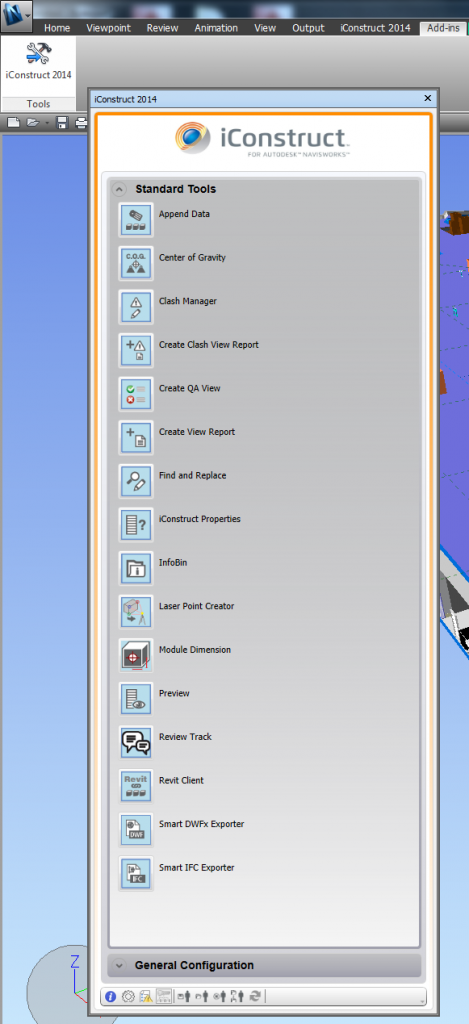
After install, iConstruct will be available on your ribbon:
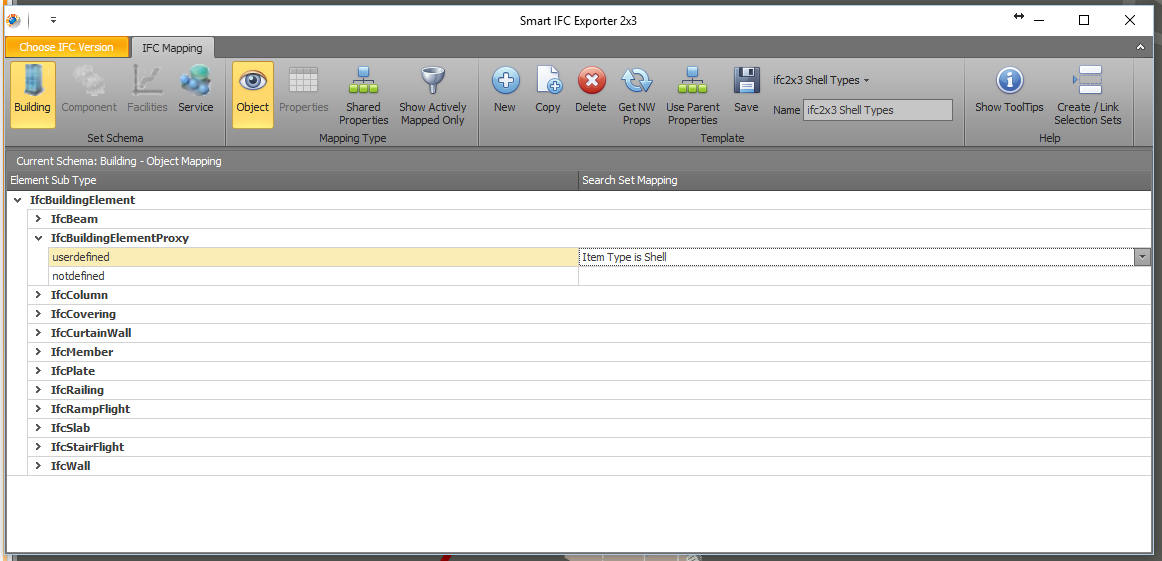
So, we have the Smart IFC Exporter, but where is the DWG Exporter? More on that later.
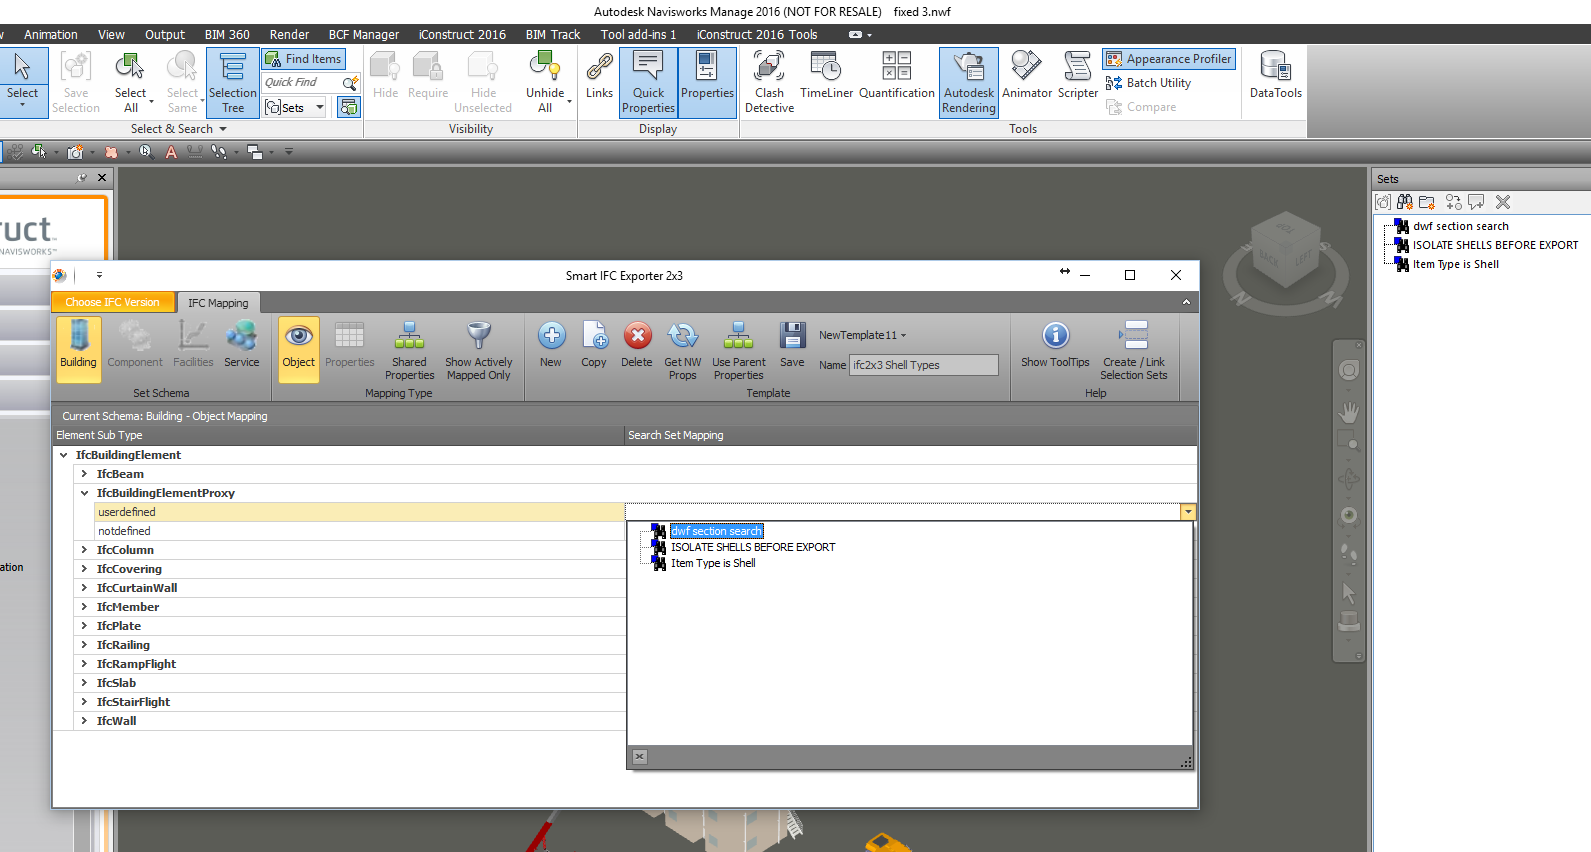
Let’s try IFC. Go to a view that you want to export. Here’s what happens when you click on the export button:
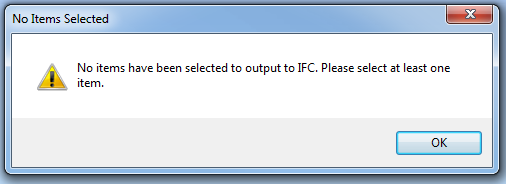
If you try to export without selecting anything, you will get this message:
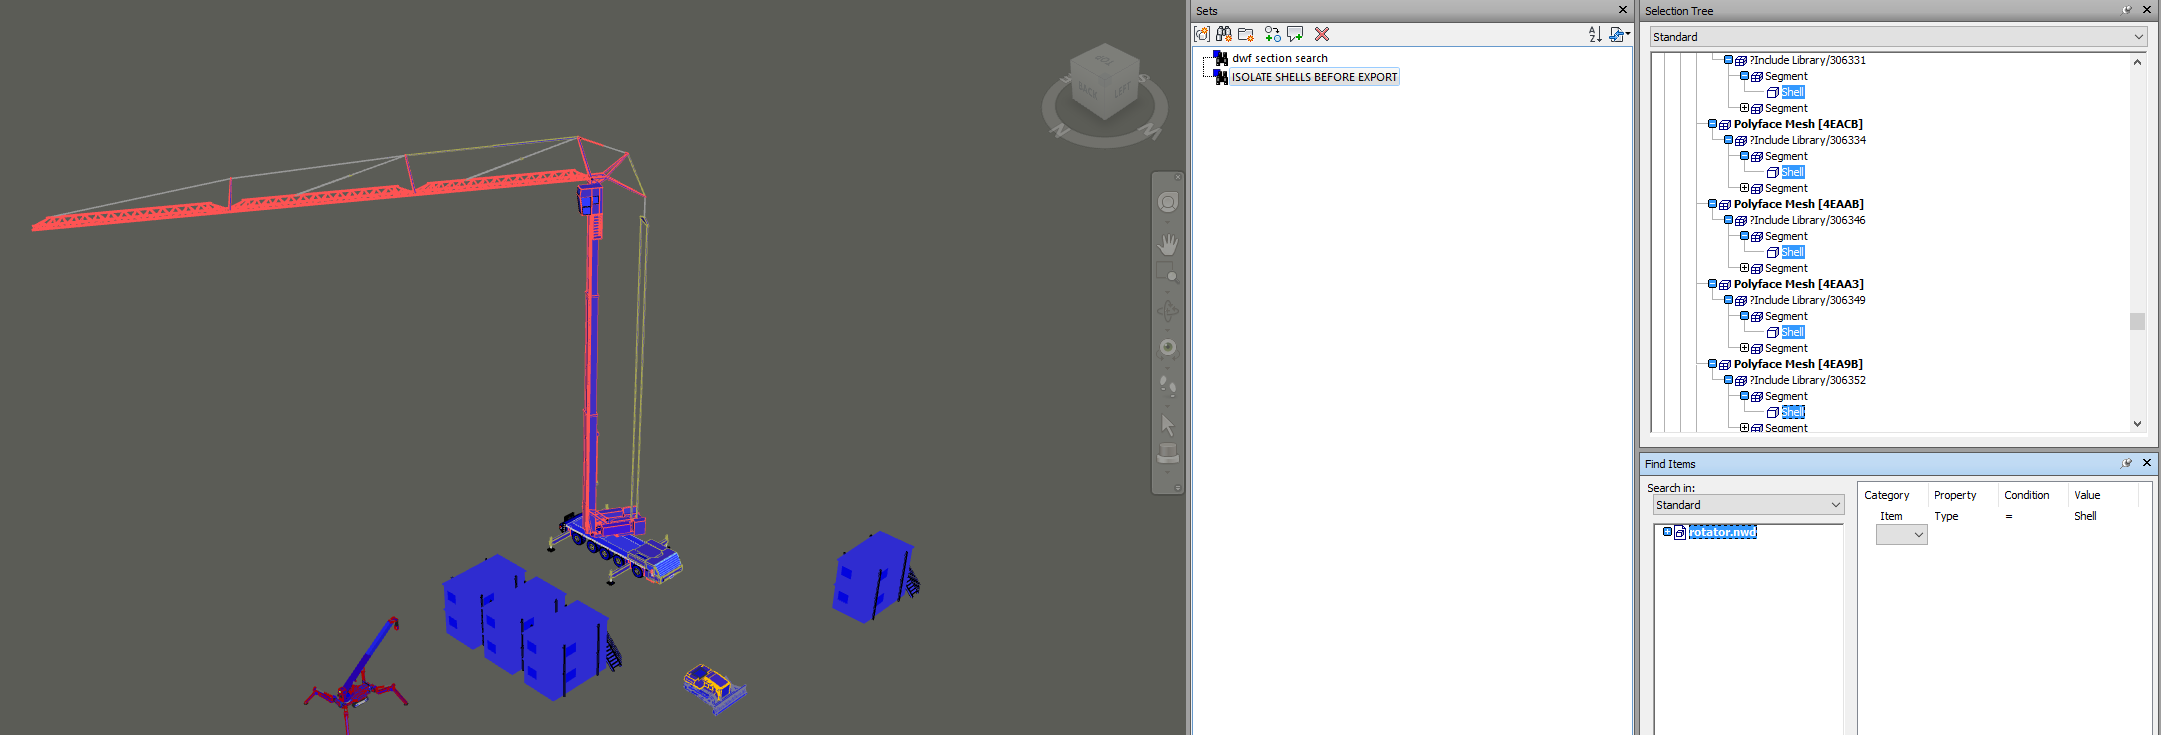
Ok, so here is a step by step:
- Go to the view you want to export
- Hold down Shift+Spacebar and do a crossing window to select everything visible
- Start the Smart IFC Exporter
- Wait for the export to finish. This could take a while. My federated model of a single sector/level triggered a “geometry filter” stage during export of over 180000 items. Overall, it took 28 hours to export using the “smallest sub-component” option. The resulting IFC file was over 2000mb in size – and it was essentially unusable (it appeared to be corrupted). After this, I tried a much simpler model, with only about 30 items. It was much quicker to export.
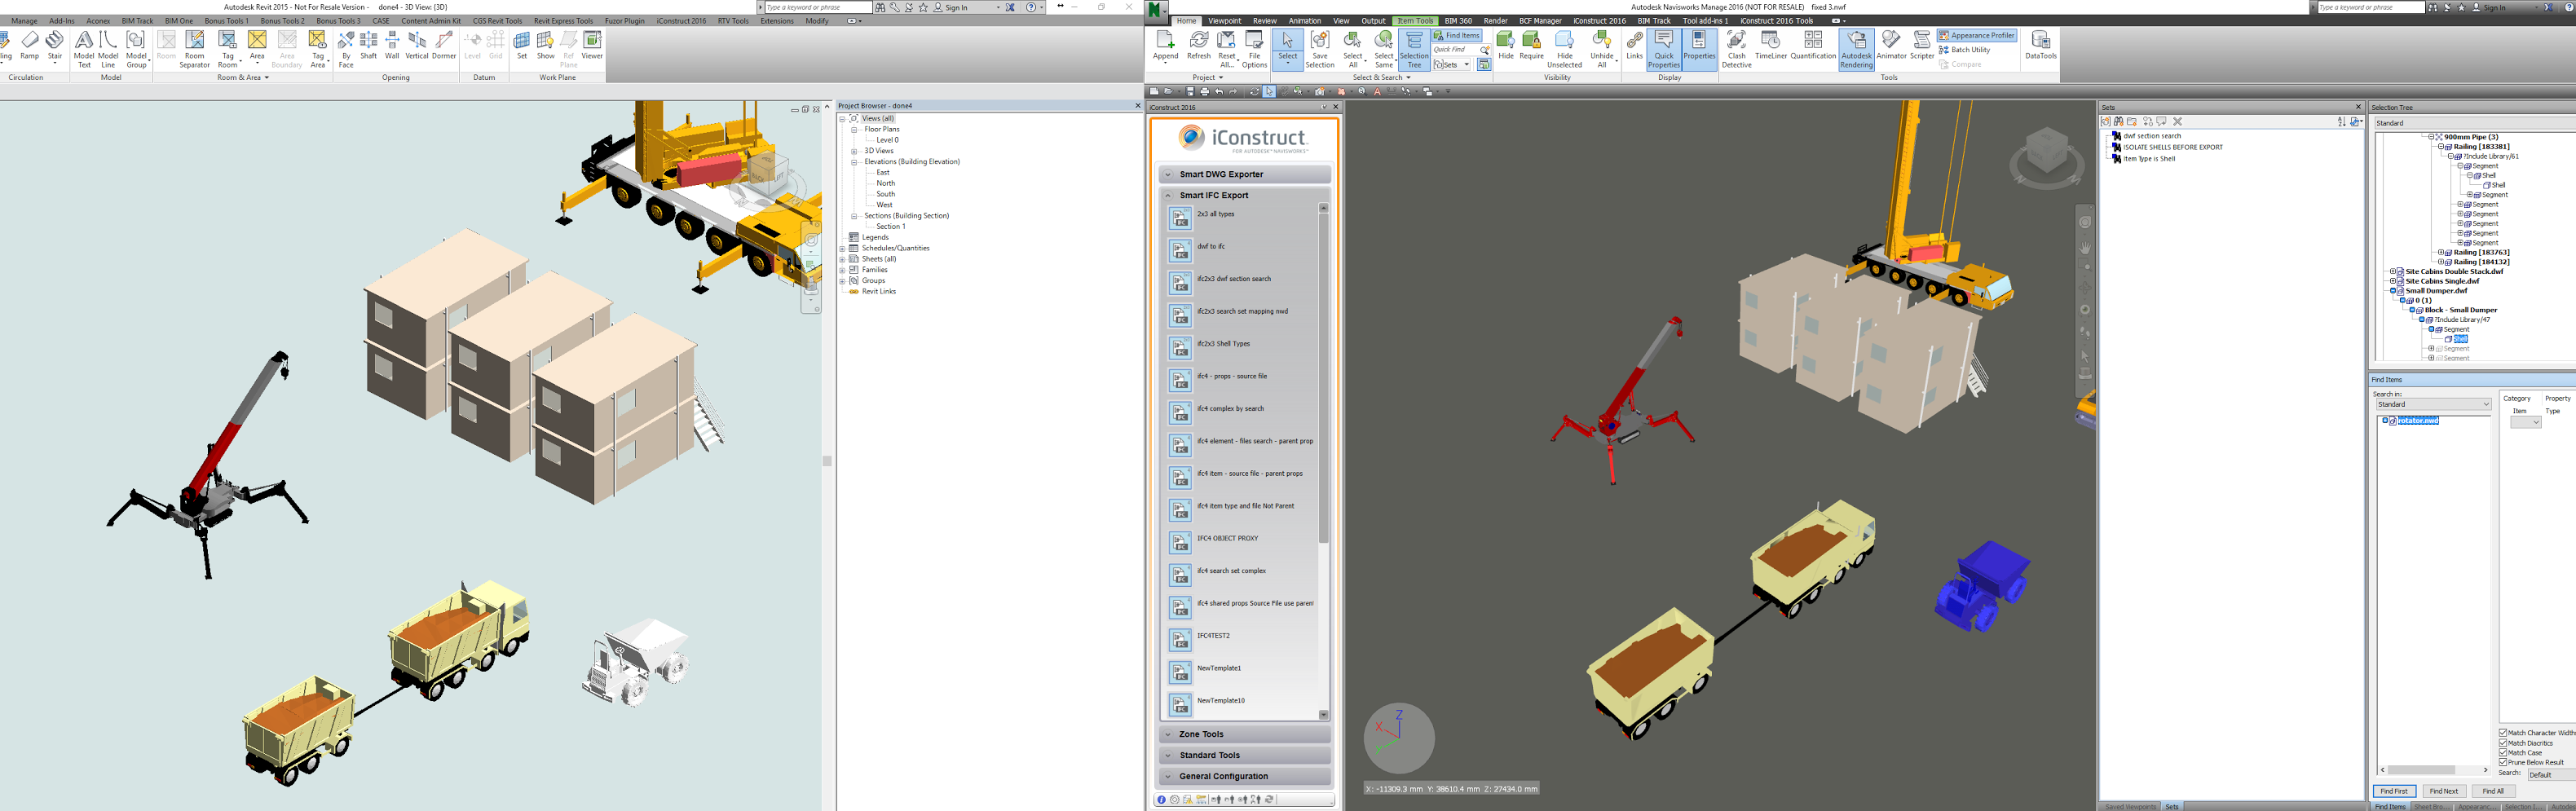
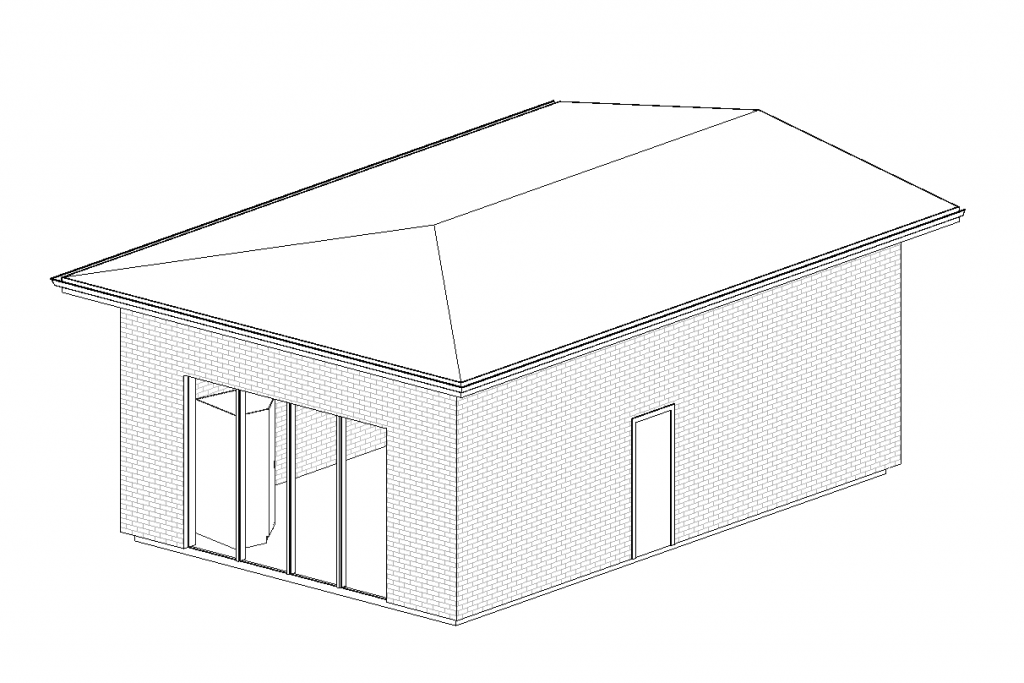
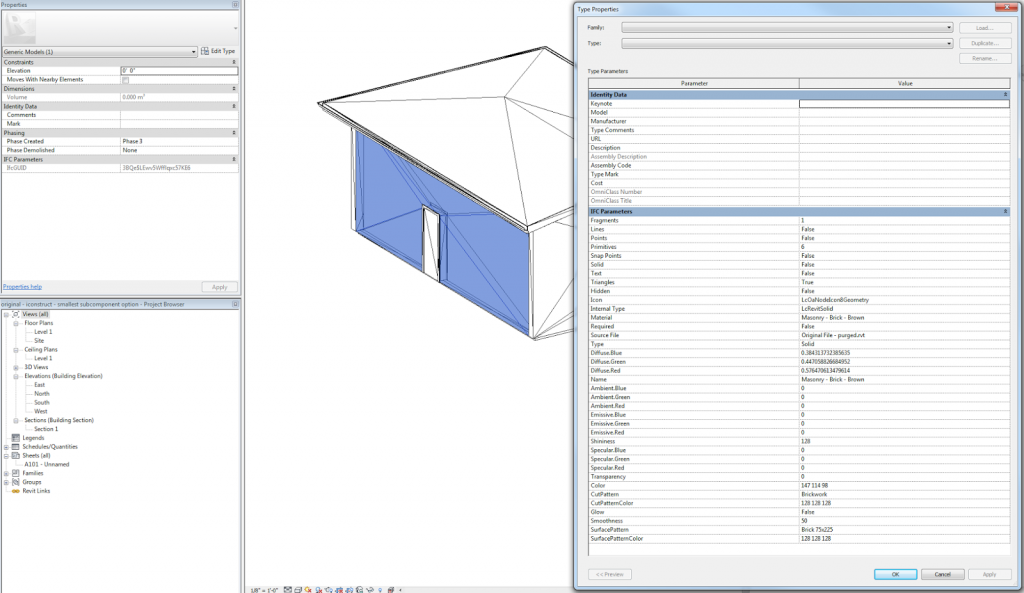
This was the “simple” model in Revit:
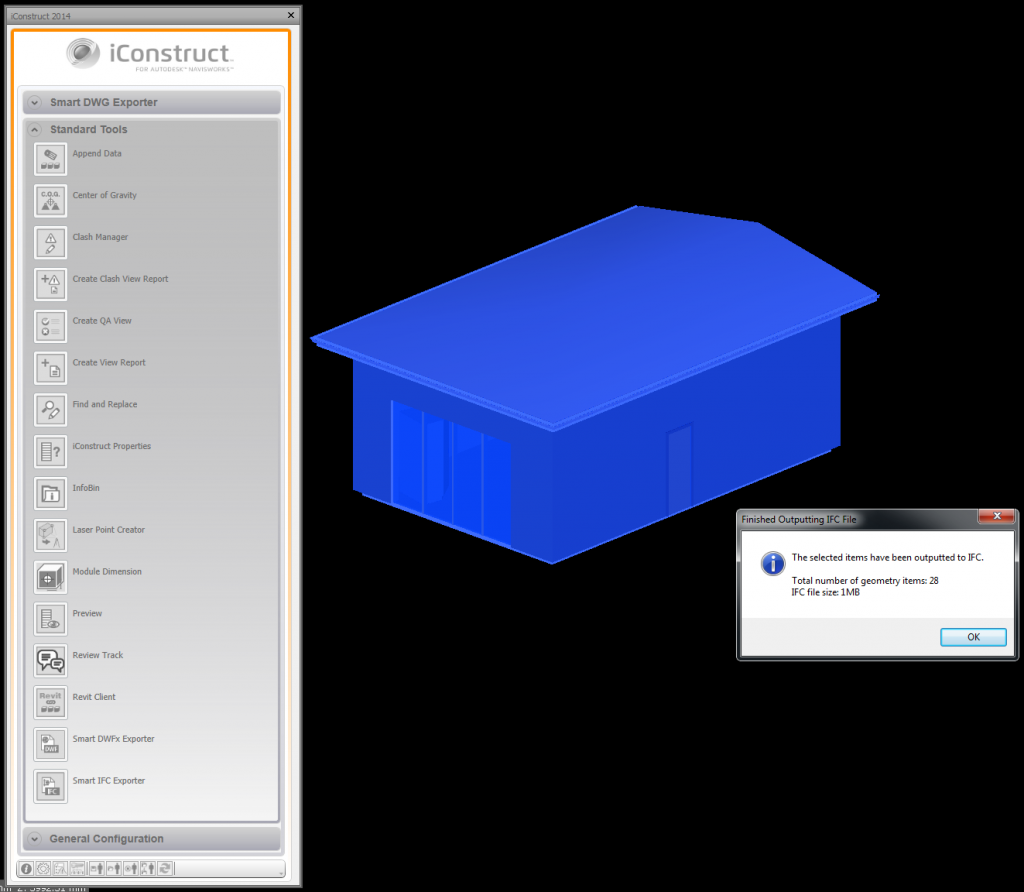
This was the IFC export from Navisworks:
And the IFC file imported back into Revit 2013. Category information seems to be lost, but otherwise we have a geometry + data roundtrip:
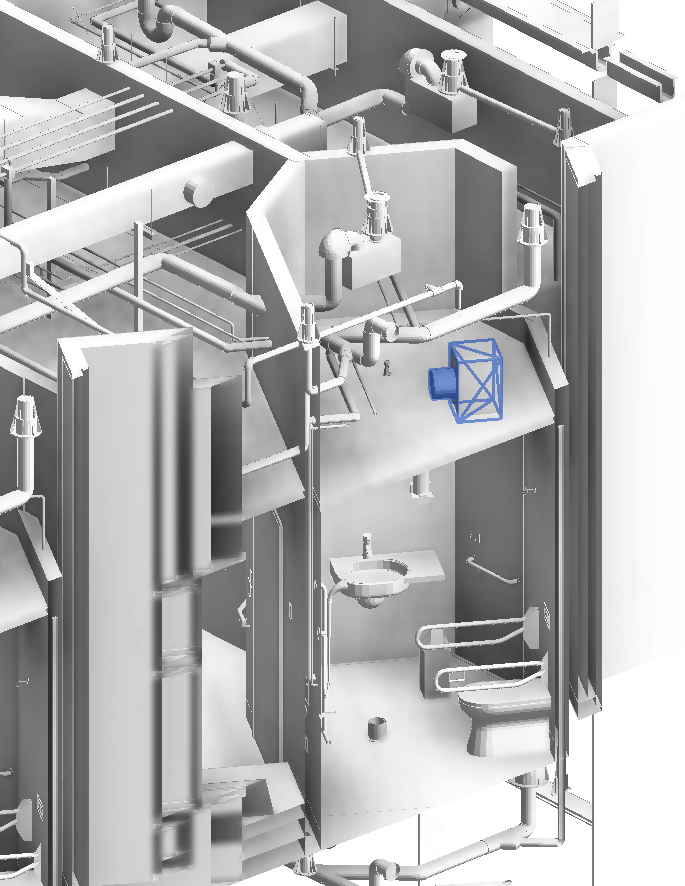
Here are a couple of other views from a different Navisworks to IFC conversion:
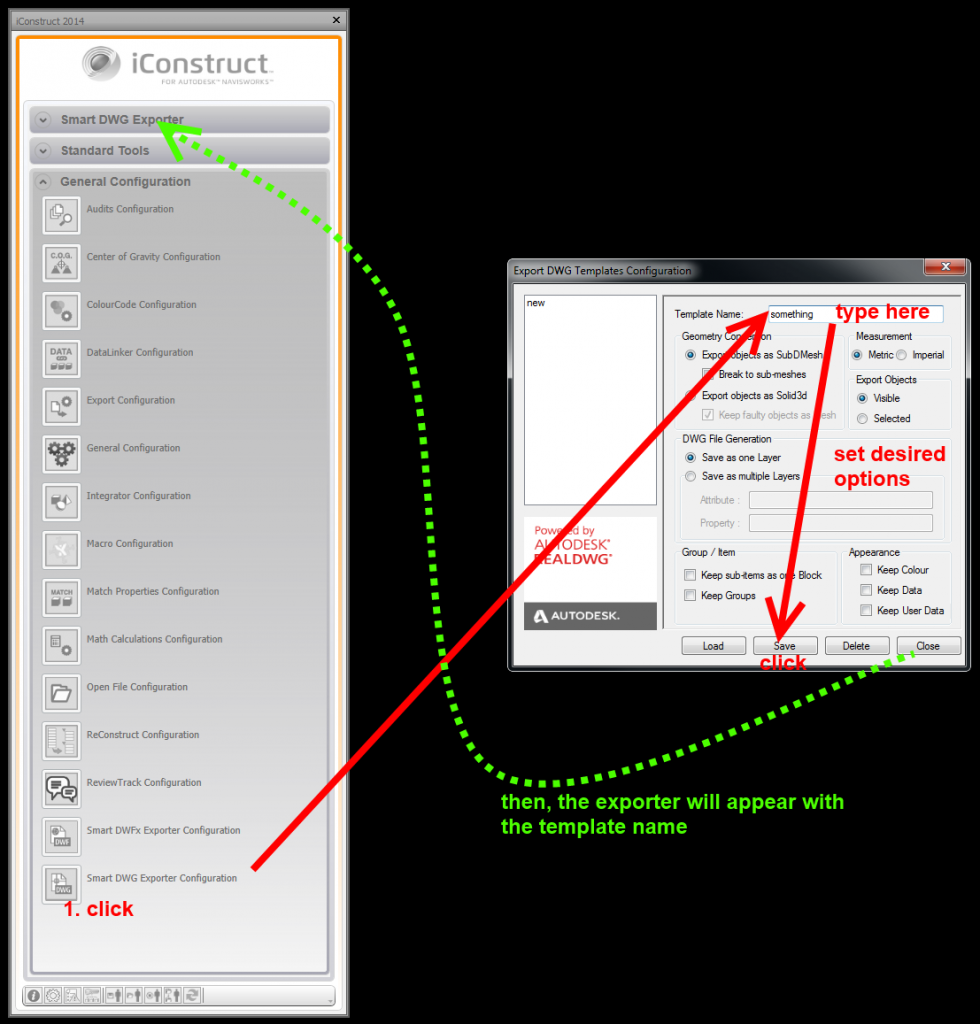
Note – to get the DWG exporter to show up, you need to save at least one template, like this:
Here is my sample file using the Smart DWG Exporter from Navisworks to DWG:
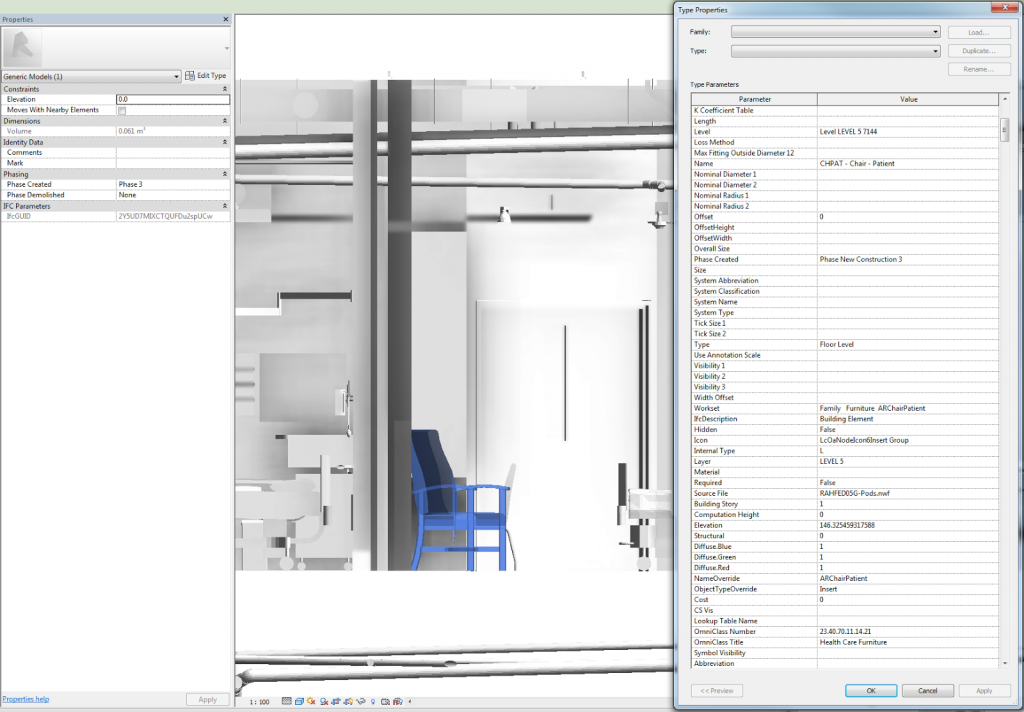
(If you are interested – the large, complicated, federated IFC model failed to import to Revit 2014. It also did not display in Tekla BIMsight However, it evidently contained data, as shown:
)
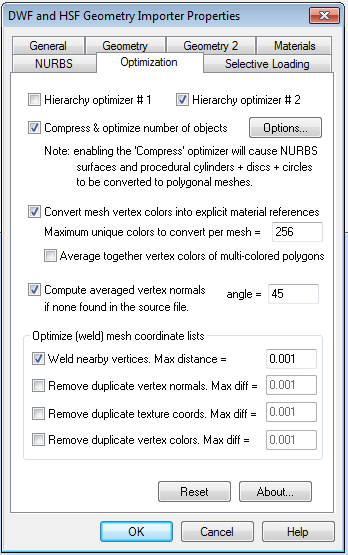
Option 2:
You can download a demo of NuGraf / PolyTrans at:
http://www.okino.com/download/demos/x64_okino_nugraf_and_polytrans_full_demo_2013.053-g8.exe
Install choice:
It prefers DWF?
DWF import options:
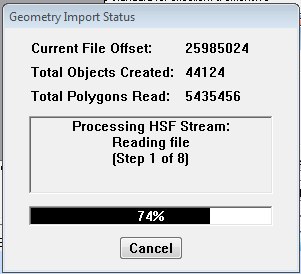
Progress:
View generation:
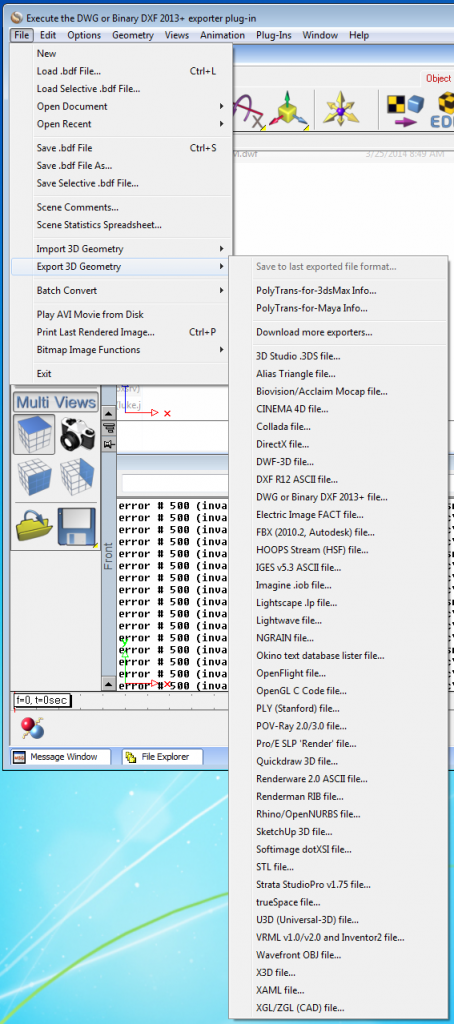
Export options:
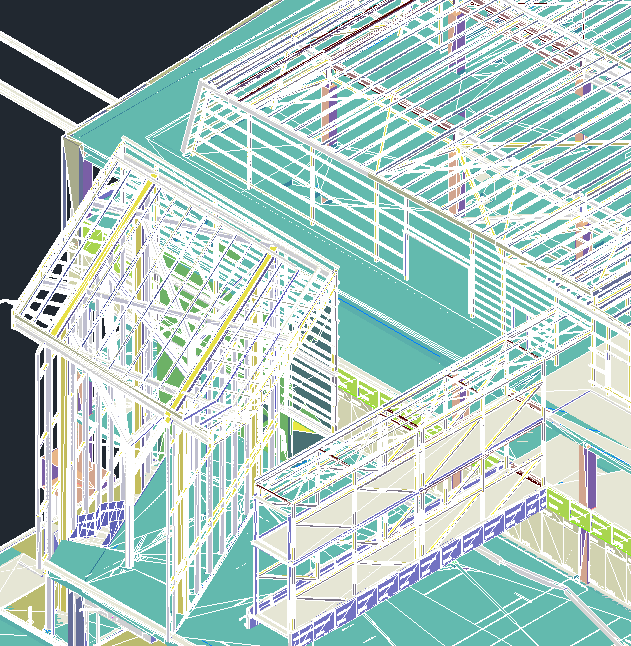
Let’s try DWG, because we know we could import or link this to Revit for modelling context. In this case, a 34mb DWF became a 260mb DWG. However, the quality and definition of the exported geometry is impressive, once opened in AutoCAD:
More info:
Okino PolyTrans and NuGraf Software Demo Downloads – Page 2
Option 3:
Read more about why Acrobat 8 and 9 are more powerful for 3D than later versions, and find download links here.
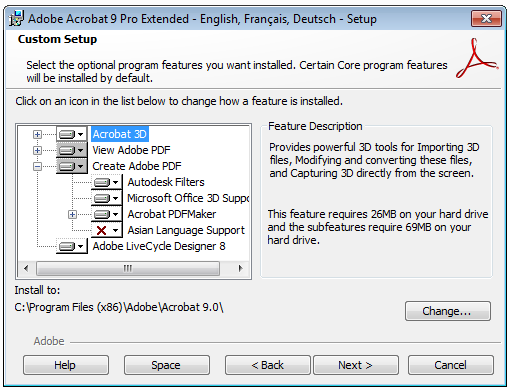
Autodesk filters are an install option:
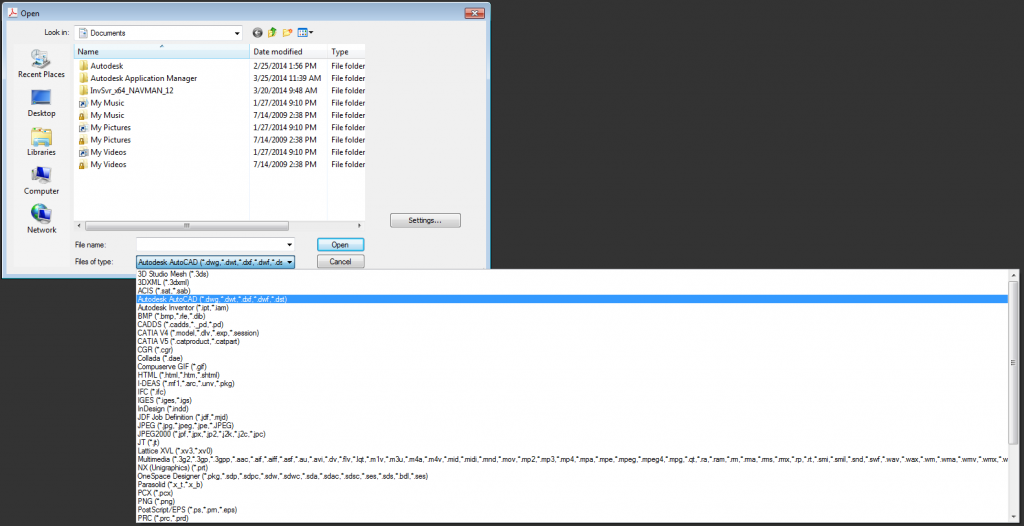
Import file formats:
Import options for DWF:
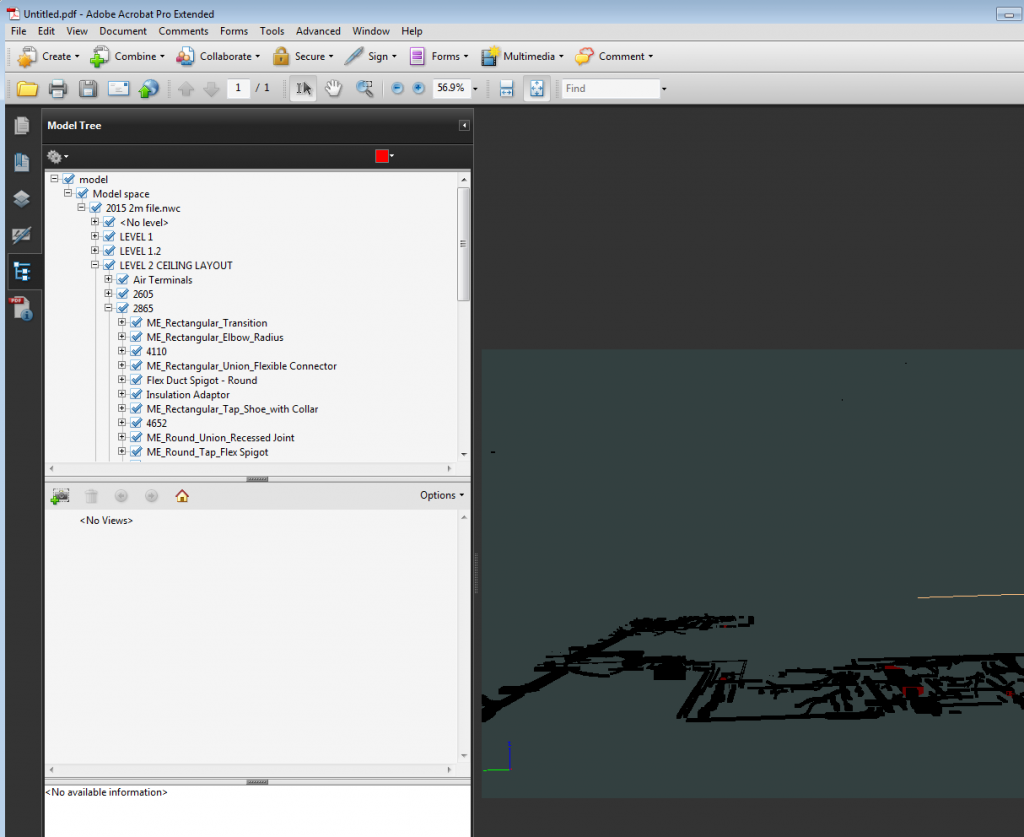
The model tree comprehends some of the BIM structure:
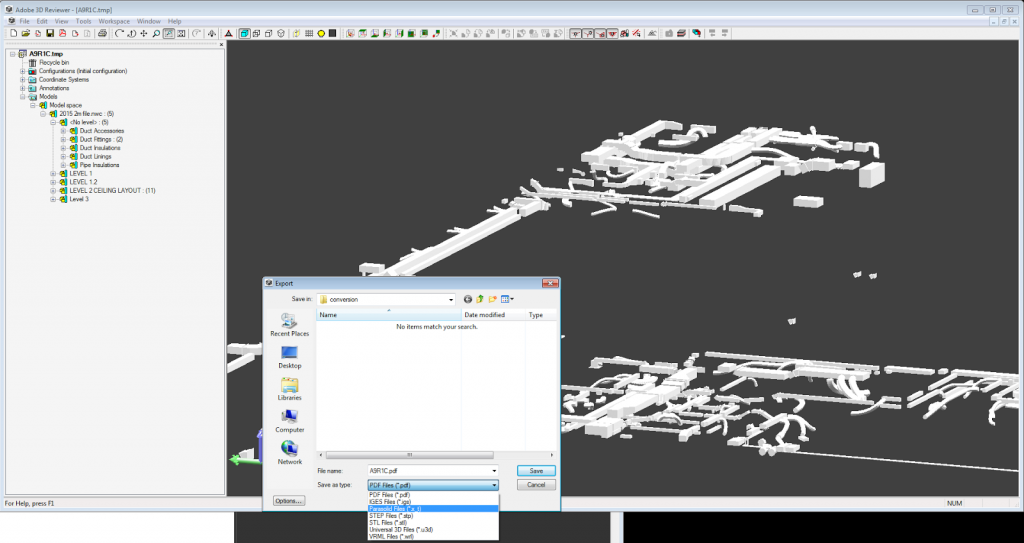
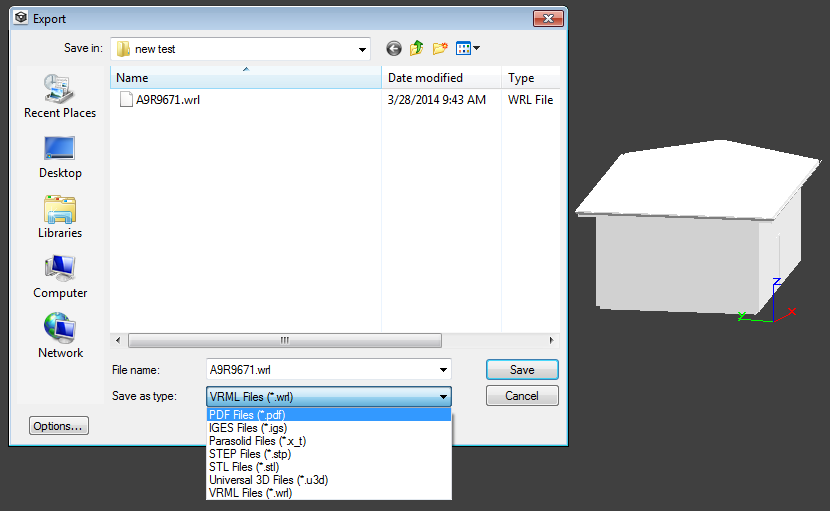
Select the model and right click to edit in Adobe 3D Reviewer. From here, there are various export options:
Export options:
Option 4:
If we go from Navisworks to FBX to SAT (using 3dsMax) to Revit, the material information actually gets as far as 3dsMax:
But once we export from there to SAT and import to Revit, we just get geometry.
Option 5:
Install Sketchup.
Download SimLab DWF Importer from:
https://s3.amazonaws.com/SketchUp/Installers/Win/dwf_importer_64.exe
(you will need to request and wait for a license)
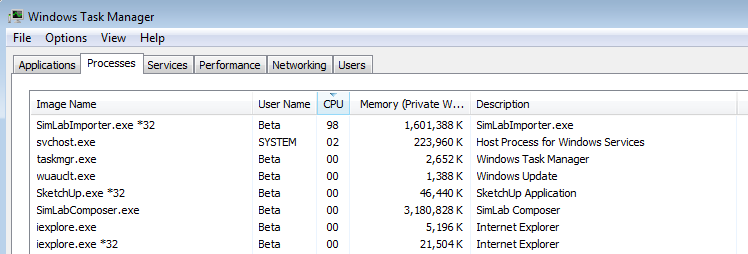
Export DWF file from Navisworks. In the example I tested (same model / view as I used in Option 1), the DWF was 40mb. Then use, the Plugin to import the DWF. This never completed, just thrashed the system for ages:
So, as with Option 1, I tried a simpler model.
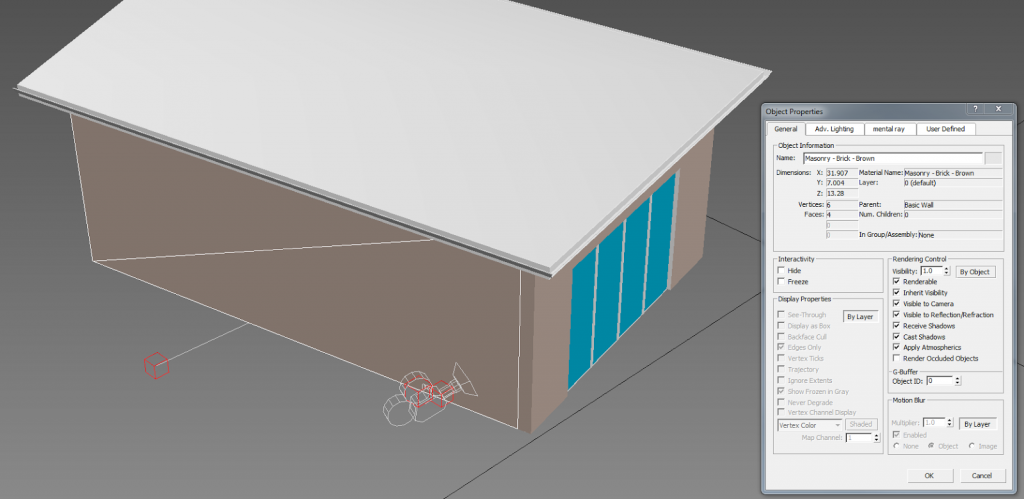
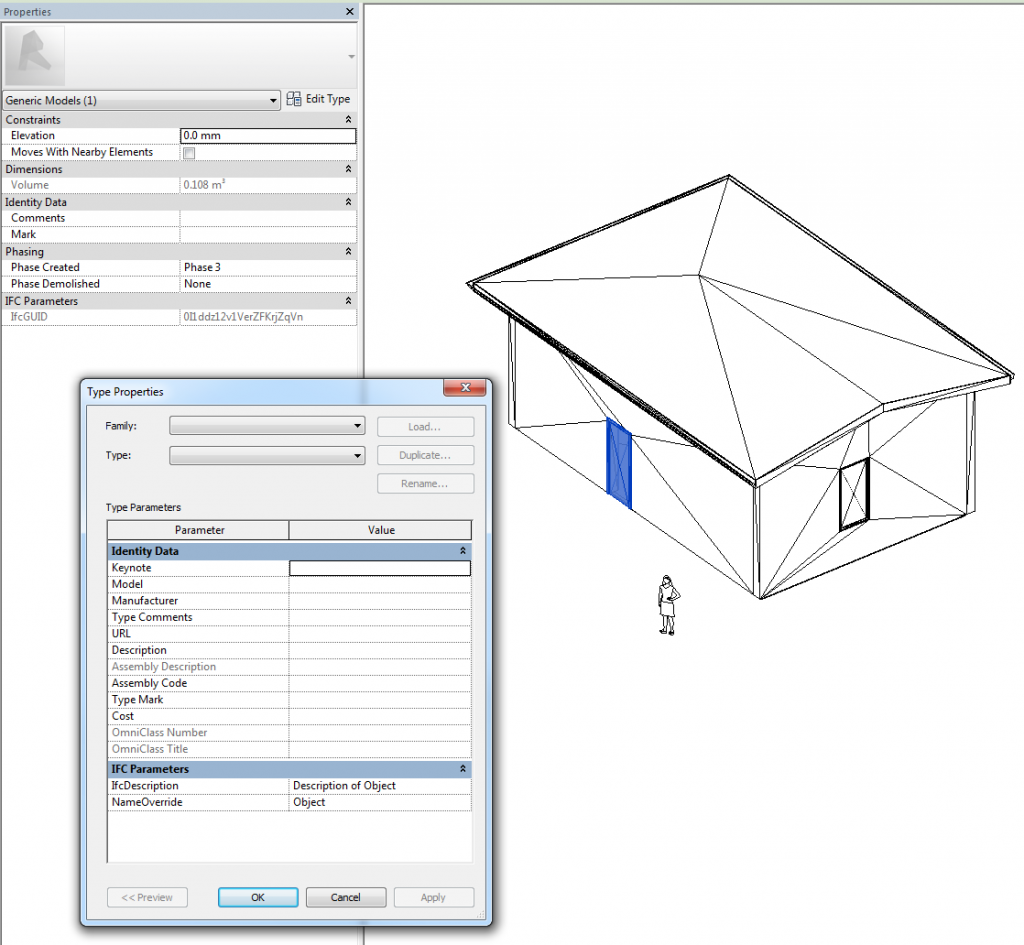
This was the DWF imported to Sketchup. As you can see, the model has some awareness about the Category of the element:
Then, I used the IFC export option from Sketchup 2014. The geometry and “object resolution” imported OK to Revit 2014, but it looks like the actual BIM data was lost in translation:
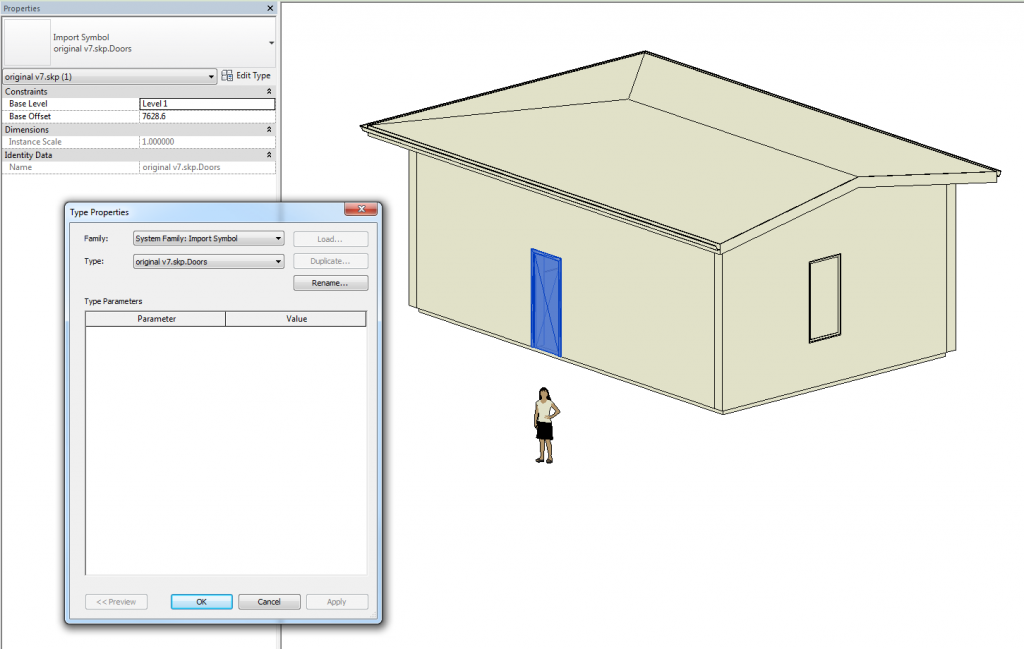
I had almost given up, but then I tried saving from Sketchup 2014 to Sketchup version 7, then importing that to Revit. Guess what? We get some Category information in the actual name of the Import Symbol!
For an interesting discussion around DWF, NWC and IFC, check out:
http://www.linkedin.com/groups/Revit-Export-DWFX-v-NWC-3004022.S.91588526