When using MySQL with Power BI Desktop, you may come across this error:

Value 'preferred' is not of the correct type


It seems that this is caused by an incompatibility between Power BI Desktop and a later MySQL Connector Net version. First, check your version:

If you are running the MySQL Connector Net 8.0.11, you may experience the error described above. To resolve the issue, install the older version:

  1. Close Power BI Desktop
  2. Uninstall MySQL Connector Net 8.0.11
  3. Install MySQL Connector Net 6.10.7 (from here)
  4. Open Power BI Desktop
  5. The error “Value ‘preferred’ is not of the correct type” should be resolved, and you can use MySQL with Power BI again

A few years back, everyone was excited about the 3D and visualisation aspect of BIM. It seems that more and more, people are getting excited about BIM Data. Many companies are building and adapting business intelligence solutions that somehow connect to or wrap-around the BIM world. One of the most popular tools at the moment is Power BI. It is extremely flexible and easy to set up and use for data analytics.

When you connect the Power BI web service to your own database, you also have to provide some mechanism for Power BI to periodically update the base dataset. The common answer to this question is the “On-premises data gateway”.

When you install the gateway on your own hardware, there are two types of gateway to choose from:

On-prem-data-gateway-install-powerbi

If you are already running a data gateway for Power BI, what happens if you want to transition the ‘gateway’ role to a new machine? Well, you need one key piece of information: the Recovery Key from the gateway when you set it up originally. If you do have this, you can simply ‘take over’ the role from an old machine and apply it to a new machine:

  1. Download the PowerBIGatewayInstaller.exe gateway installer from this page
  2. Choose your gateway type
  3. Choose to “Migrate, restore or takeover an existing gateway”

  4. Enter the information, including the recovery key

  5. Done

If you don’t have a recovery key, you will have to:

  1. Install a completely new gateway:

  2. Switch the gateway used on the web app side (Scheduled Refresh page). You will probably have to do this for every dataset.

Feel free to reply with any of your cool BIM data workflows 🙂

When working with serious hardware and big 3D models, computer memory management is an important thing. You want every byte of RAM to be doing a job for your system. So I was very interested to read this detailed write-up by randomascii where he describes ‘zombie handles’ that can hold or consume memory on your system. His post is very detailed, but I will go ahead and over-simplify it for you:

  1. Download findzombiehandles_prebuilt package from here (or clone the github here)
  2. Unzip it and open an elevated Command Window at that location
  3. Run FindZombieHandles

You should get a list of zombie processes and the parent executable that initiated them.

From here you could investigate further with Process Explorer or attempt to kill them with Task Manager or taskkill.

In Windows, you will often use either Map Network Drive dialog or net use command to map a network drive. You can use that method with a shared folder trick to map a local folder as a drive too, as described here.

But there is an even easier way, that is more flexible in some ways. It is the subst command, and it basically tells your Windows system to refer to a folder as a drive letter. Its usage is very simple, for example:

 
subst J: "E:\some folder\J_DRIVE"

If you want that to show up as a ‘drive’ at each reboot, just put the above command into a CMD file and point to it from your Windows startup folder.

For your assistance, here is the path to your typical User Startup folder in Windows:

I experienced an issue where some Windows 10 updates broke my favourite screen clipping tool, OneNote. Typically I’m using it all day long with the Winkey+Shift+S shortcut to send screenshots to OneNote. Is yours broken too, perhaps by Windows replacing it with the built in clipping tool? Here’s how I fixed mine:

Disable the Global Windows + S Shortcut Key

Another workaround is to disable the global shortcut key Windows + S. Follow this how-to article or make the registry changes using command line:

  1. Press the Windows key + X to open the WinX menu, and then click “Command Prompt” or “Windows PowerShell“.
  2. Copy the following command and then paste it into the command line. Press Enter.
    reg.exe add HKEY_CURRENT_USER\Software\Microsoft\Windows\CurrentVersion\Explorer\Advanced /v DisabledHotkeys /t REG_SZ /d S /f
  3. Reboot your computer and OneNote screen clipping shortcut key should resume to work.

from https://www.top-password.com/blog/fix-onenote-screen-clipping-shortcut-not-working-in-windows-10/

Recently I wanted to start ‘unduplicating’ some files in my Pictures folder on OneDrive. There are a lot of tools out there to look for duplicate files, but here were the two that I found to be the best:

The Auslogics Duplicate File Finder works really well and is very simple to use. All you need to do is

  1. put all of the files in one directory,
  2. select that directory, and
  3. press Search

Once you have the results, you can choose how to handle the duplicates.

Process Explorer is a free and very powerful task manager that let’s you really see what is going on with your system… One of those things every IT person should have in their toolkit. You can get it here:

 Download Process Explorer (1.8 MB)

from this page

and here’s how to find out which process or program is locking a file or directory in Windows:

Go to Find > Find Handle or DLL. In the “Handle or DLL substring:” text box, type the path to the file (e.g. “C:\path\to\file.txt”) and click “Search”. All processes which have an open handle to that file should be listed.

Have you experienced a blank and somewhat non-responsive Print dialog in Revit? Pressing Setup does nothing in this situation:

What’s going on here? Well, there is something in the Microsoft Print to PDF driver that Revit doesn’t like, possibly to do with paper sizes or something. How do we fix it?

Just set your default printer to something else, like Bluebeam or CutePDF. Then, Close and re-open the Print dialog in Revit:

As you can see, now the dialog is happier and you can proceed to setup your sheet print settings.

Setting up a BIM workstation can take some time. From unboxing to actually being ready-to-work you have to go through various ‘layers’ of installation, like:

  • updating Windows
  • installing major software packages
  • installing addins
  • installing useful system utilities that speed up your day

In a large, corporate IT environment, most of this is handled by an IT department, and usually these are set up as deployment images. However, in a small or medium office, you may have to do some of this work yourself.

With that in mind, I’m sharing my notes on the steps I took to get my Metabox portable BIM workstation up and running. I may start to put links against most of these steps as time allows, because I have posted about a lot of these programs before. Feel free to comment if you have any thoughts or advice.

Installation Order – from unboxing to System Image:

  1. Windows 10 Pro (preinstalled)
  2. Sign in with a new, temporary, local user admin
  1. Do Windows Update Fix (see below)
  1. Setup E: drive (secondary large HDD, change drive mapping)
  2. Login with Microsoft (personal Id)
  3. Place OneDrive onto E: drive
  4. Change PC name
  5. Move Windows Downloads folder to E: drive
  6. Samsung Magician install – test speed of SSD. Very nice.
  7. Install Office 365 64-bit (work Id)
  8. Login with both Ids
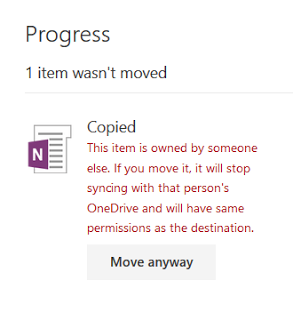
  9. Change OneNote backup storage location to E: drive
  10. Delete previous Windows installations using Disk Cleanup
  11. All Windows updates again
  12. Box Sync install
  13. 3dconnexion software install
  14. Ccleaner install
  15. Teamviewer install, setup, login
  16. Set Desktop Scaling to 150%
  17. Revit 2015 install (not entire suite) from IDSU2015 media, perpetual license
    1. Transfer activation via Export / Import to Autodesk Id
    2. Confirm activation
  18. Building Design Suite Ultimate 2016 (subscription)
    1. Revit 2016
    2. Navisworks 2016
    3. AutoCAD MEP2016
    4. Raster Design
    5.  (not entire suite) via Install Now
    6. Confirm activation
  19. Infrastructure Suite 2017 (subscription)
    1. browser download method
    2. Revit 2017
    3. Navisworks 2017
    4. Civil3D 2017
    5. Raster Design
    6. Confirm activation
  20. Install Revit 2016 SDK R2
  21. Download and install latest version of Autodesk Desktop App
  22. Install Locate32
  23. Change Desktop App storage location to secondary drive?
  24. Autodesk Updates
    1. 2015 Updates

2016 Updates

  • Revit 2016
    • Revit 2016 Release 2
    • Revit 2016 R2 Update 6 Fixes
  • AutoCAD MEP 2016
    • AutoCAD MEP 2016 Service Pack 1
  • Navisworks 2016
    • Navisworks Manage 2016 SP4
    • SP4HF1
  • AutoCAD 2016
    • AutoCAD 2016 Hotfix 4

2017 Updates

  • Revit 2017
    • Revit 2017 SP2 Fixes
  • Autodesk Vehicle Tracking 2017
    • Autodesk Vehicle Tracking 2017 SP1
  • Recap 360 Pro 2017
    • Update 2 v3.0.2.12
  • Map 3D 2017
    • Map 3D 2017 SP1
  • AutoCAD 2017
    • AutoCAD 2017 SP1
  • 3DS Max 2017
    • 3DS Max 2017 SP2

Install BIM 360 Glue desktop app

Install latest Glue addins (Revit 2015, 2016, 2017)

Bit of a strange dialog box menu disappearing issue… so:

  1. Reinstall Chipset drivers
  2. Install Extreme Tuning Utility (for CPU overclock)

Had to manually remove ‘old’ Bim 360 glue addin from 2016 install, %programdata% location

Navisworks Exporter updates

  1. Navisworks 2016 R3 Exporter install
  2. Tested ok

Revit addin install:

  1. RTV Exporter
  2. Bonus Tools
  3. Unifi
  4. Revitlookup?
    1. All versions?

Uninstall Dynamo 0.9.1 (from 2017 install)Install Dynamo 1.1Install Autodesk ScreencastInstall Revizto

  1. Download building models

Set up Outlook

Install Firefox

Install Github Desktop

Install 7-zip https://sourceforge.net/p/sevenzip/discussion/45797/thread/3097bf8b/

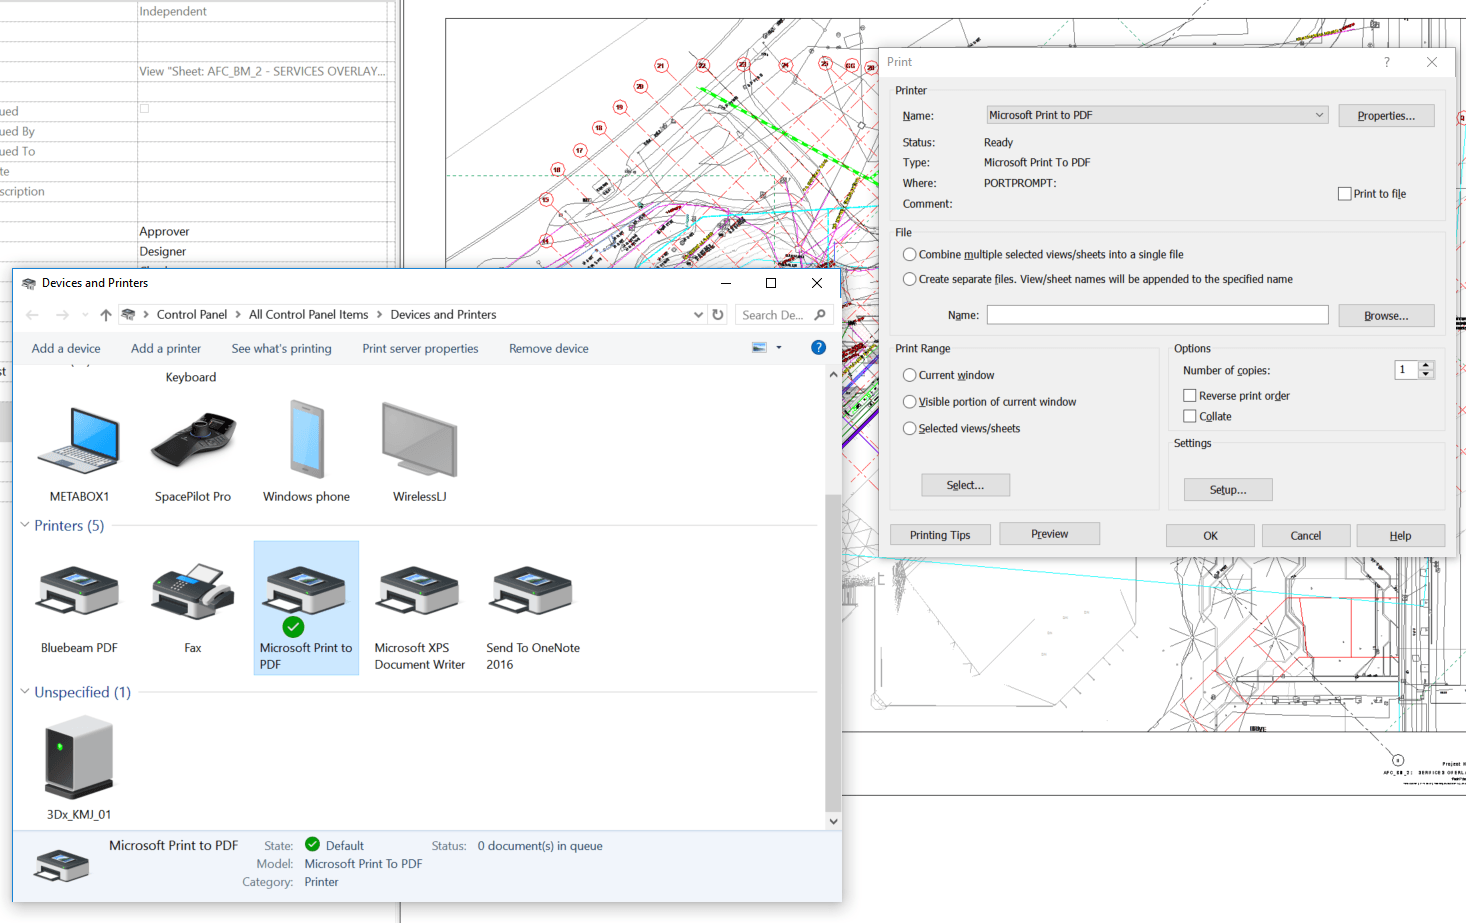
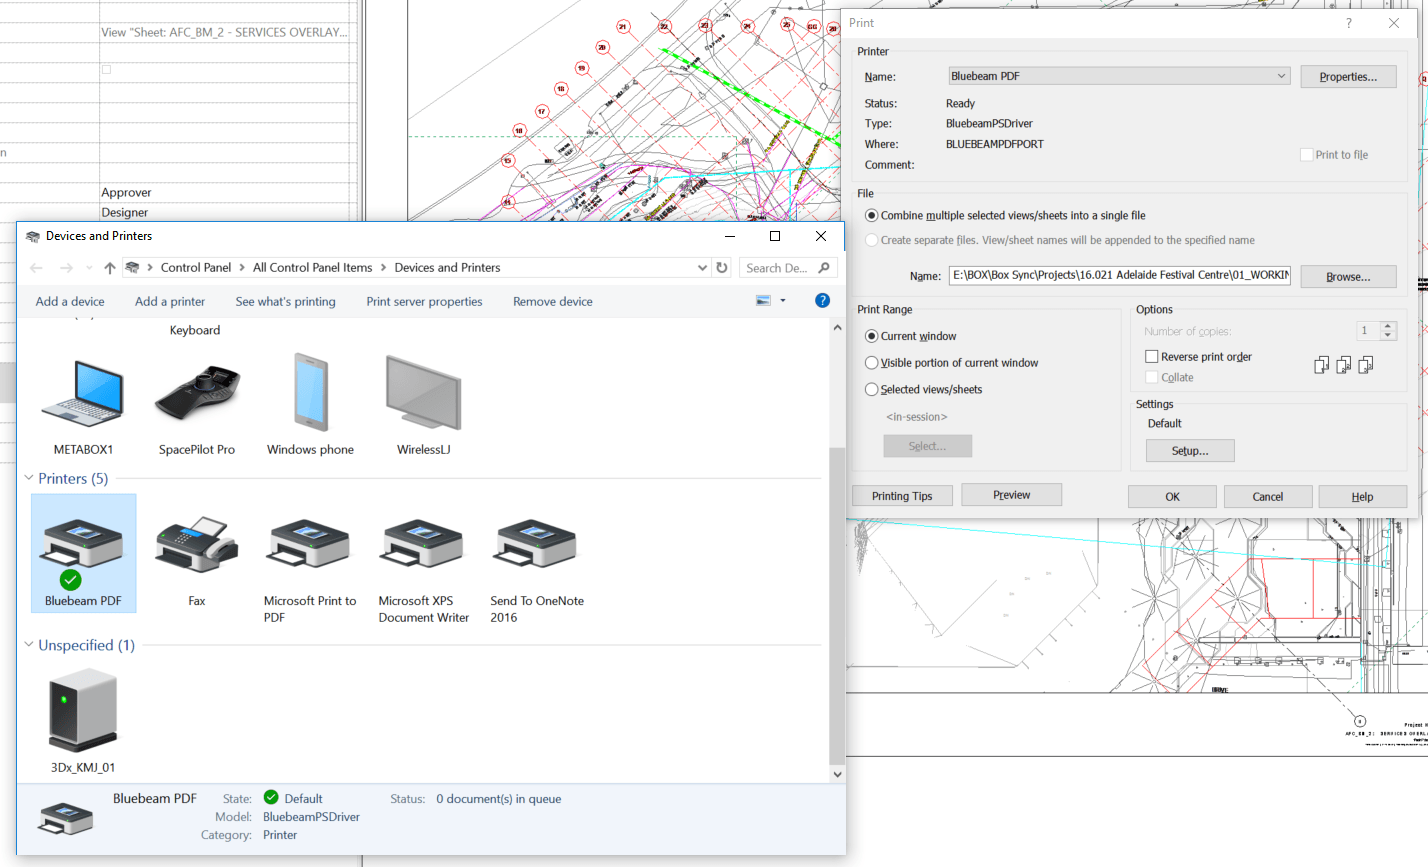
Install Bluebeam Revu and activate

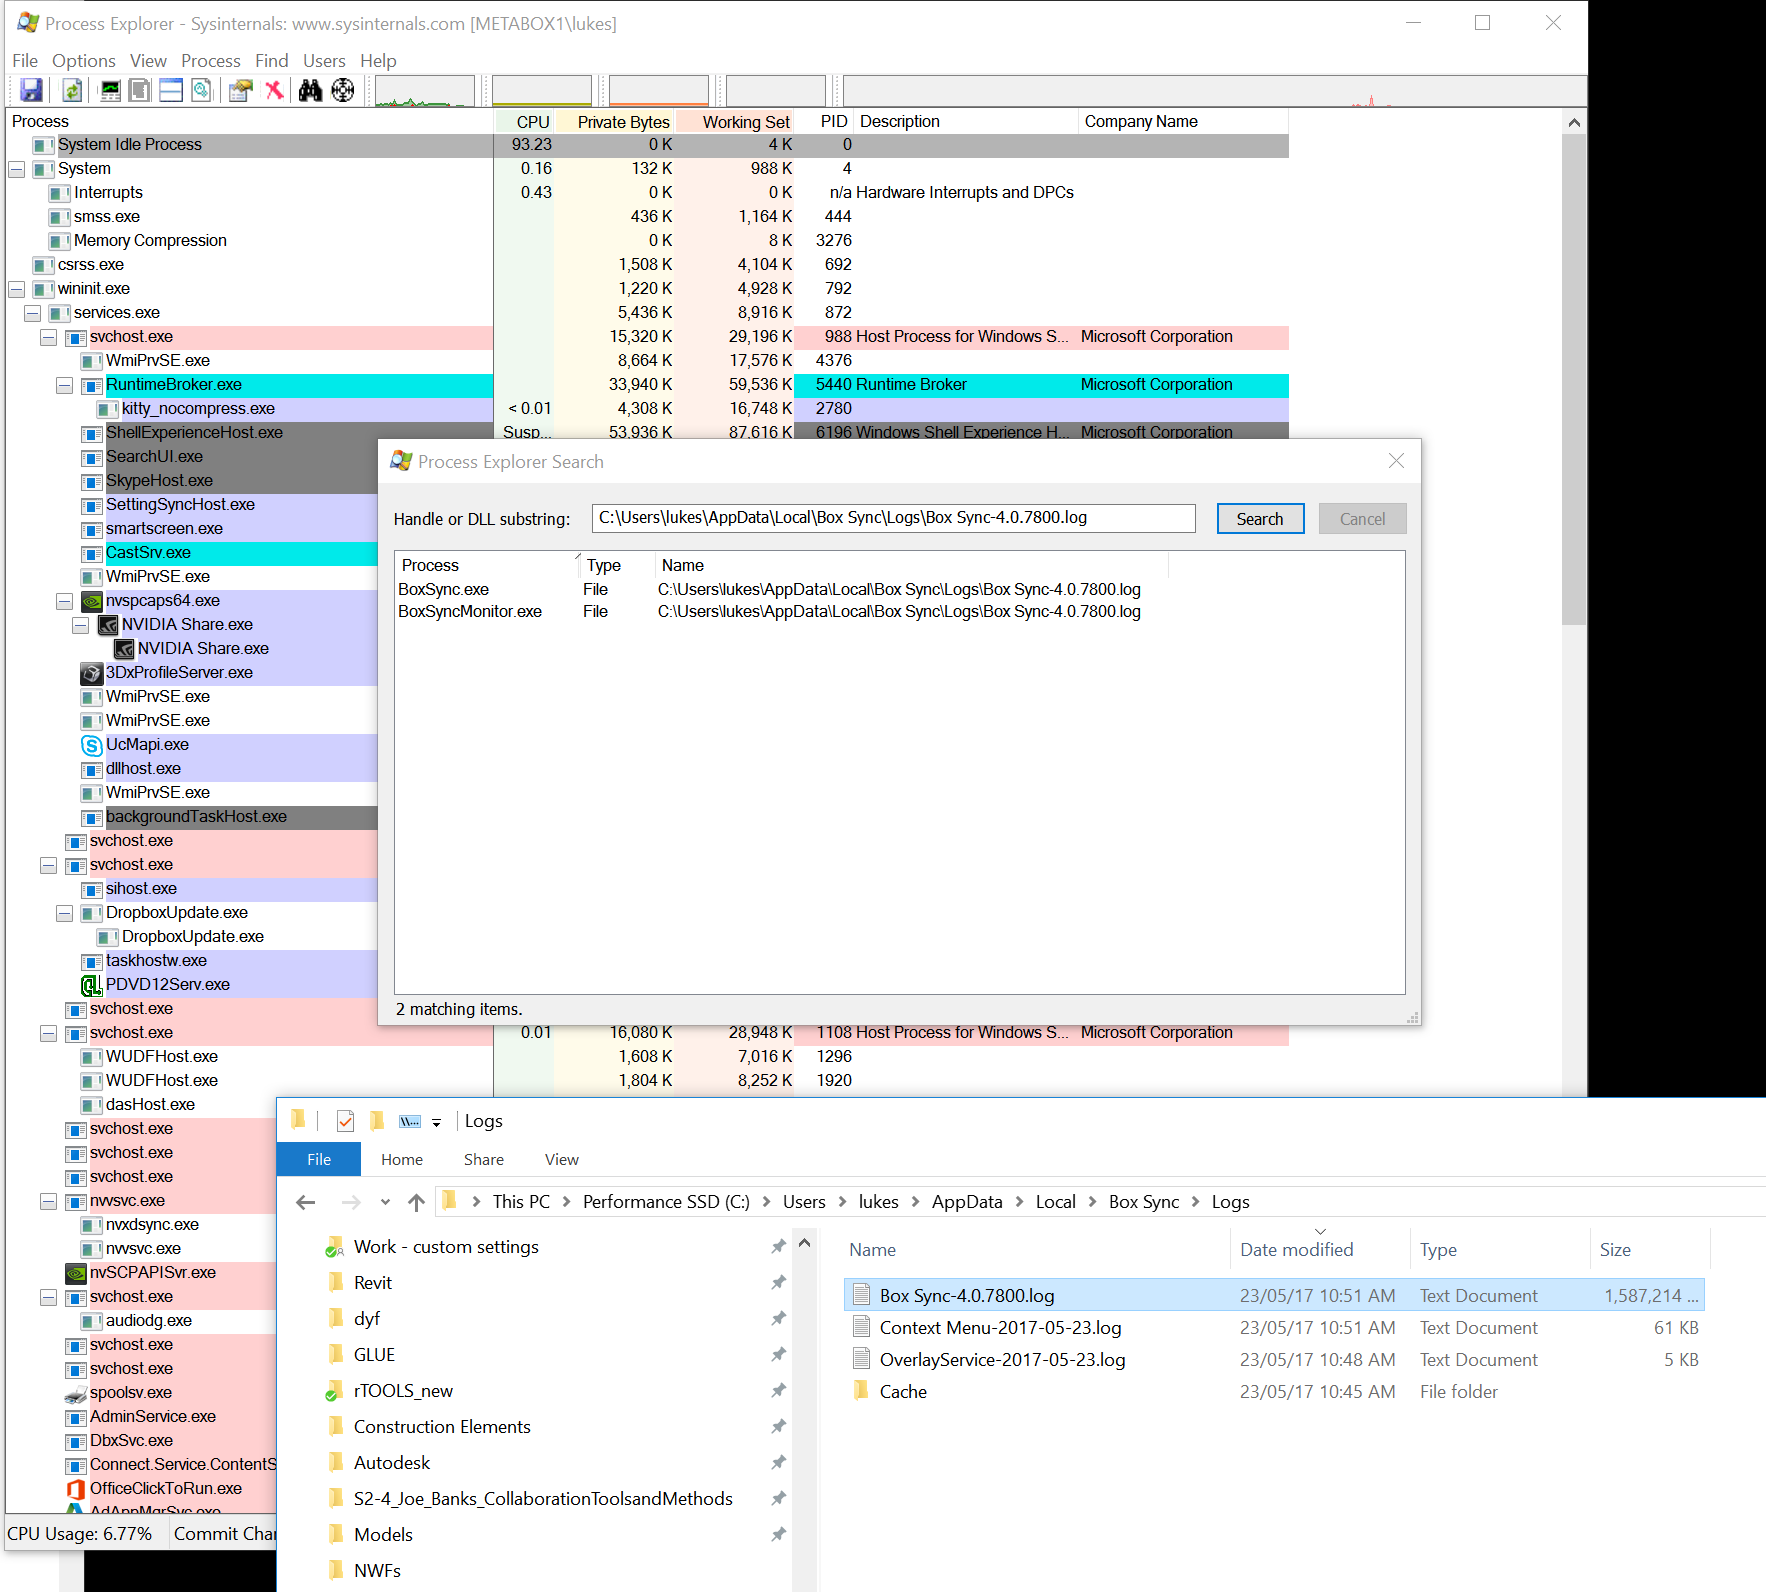
Reinstall Box Sync (due to some sync errors)

Install FreeFileSync

IFC Exporter Addins for Revit

  1. 2016
  2. 2017

Install Tekla Bimsight

  1. Move BIMsight storage location to E: drive

Properties+ addin for Navisworks

  1. Version 2.1.0 covers 2015, 2016, 2017

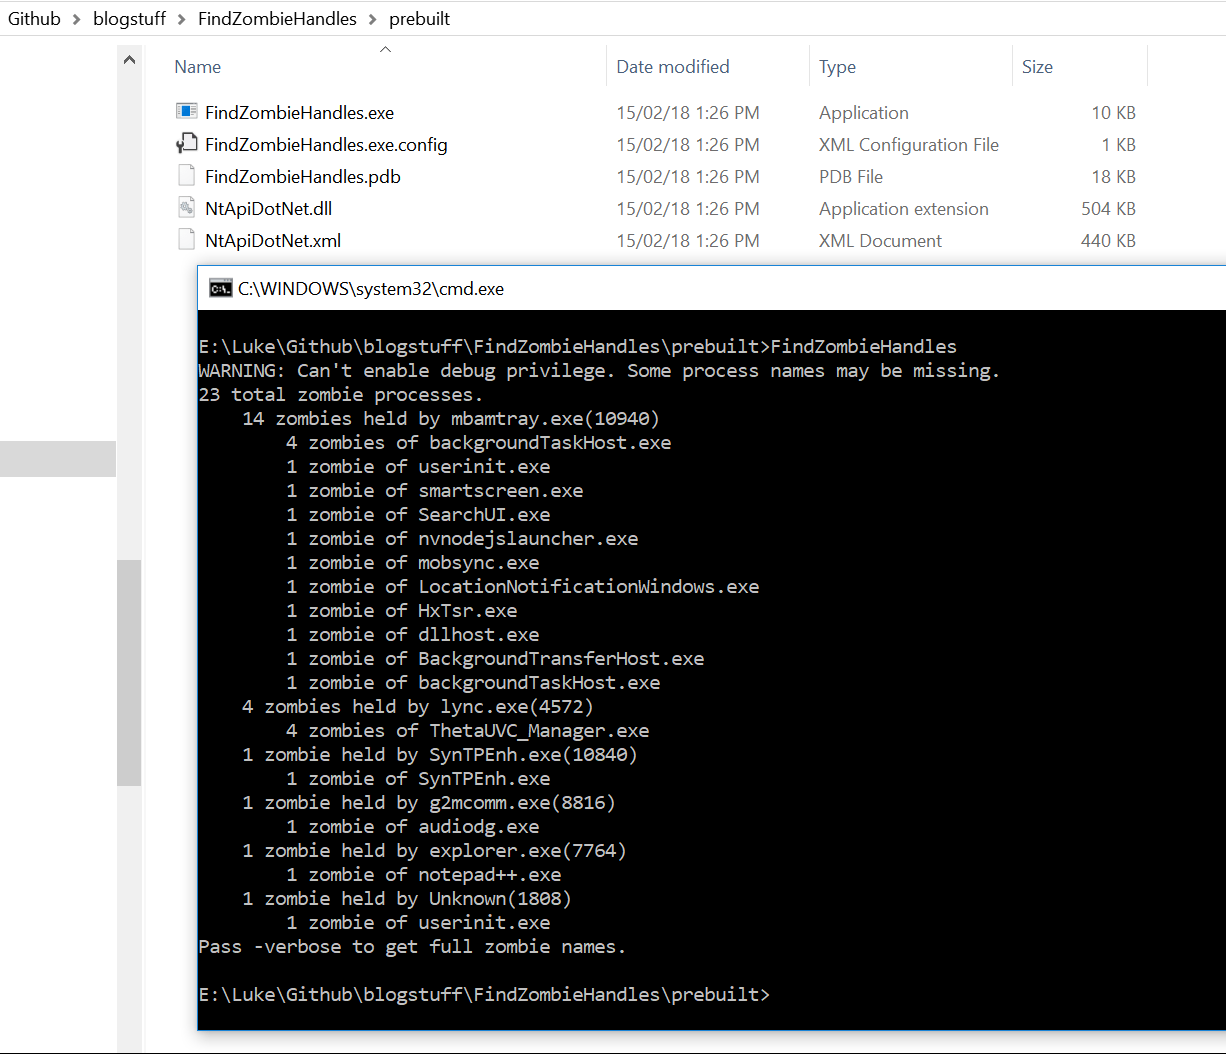
Install Advanced RenamerExport the ‘currently installed programs’ list from CcleanerInstall NotePad++

  • XML tools plugin
  • Use Language – XML for dyf etc editing.
  1. Install Paint.Net
  2. Install drivesnapshot
  3. Ccleaner – cleanup, empty recycle bin etc
  4. Revizto
  5. Create system image – done


Windows Update Fix

All Windows Updates

  1. Failed!
    1. And rolled itself back
    2. And wifi died
  2. Reset the pc using Windows Reset
  3. Connected to Lan port (no need for drivers)
  4. Internet problems so:
    1. Download all metabox drivers (1.8 Gb)
    2. Install Chipset
    3. Install Killer Wifi (2 x reboots)
    4. Killer BT (1 x reboot)
    5. Airplane mode utility (1 x reboot)
    6. Intel Management Engine interface
    7. Control Centre Utility (1 x reboot)
    8. Now, use Fn + F11 to turn off sleep mode.
  5. Almost thought wifi was working, but then…
    1. IRQL_ error again, BSOD
    2. Reboot BSOD
    1. Reset PC again!
    1. Now, use this page first https://www.microsoft.com/en-us/software-download/windows10
    2. Download 3gb and update
    3. Multiple restarts
    4. Finally windows is up to date

Other software installed:

  1. Install BD writer software
  2. Install imgburn
  3.  Install Collaboration for Revit 2016
  4. Install Killer network software (updated)
  5. 1-jpg-5367785

  6. Install Onetastic (for OneNote macros etc)
  7. Install Dynamo Studio
  8. 2-5758332

  9. Install Google Chrome (For Flux.io etc)
  10. Install JDK 64 bit
  11. 3-8519654

  12. Install Bimserver:
  13. bimserver-1.4.0-FINAL-2015-11-04
  14. bimserverjar-1.5.55
  15. Install Adobe Flash Player
  16. Install Oculus software
  17. Install Vive software
  18. Install Irfanview
  19. Install Unity
  20. Install Enscape
  21. Install Wix https://wix.codeplex.com/releases/view/624906
  22. Install Q-Dir

Other errors and notes:Boot error fix:

  1. Received the winload.efi error
  2. Disabled UEFI boot
  3. Restart
  4. Enabled UEFI boot
  5. Restart
  6. Working again

XTU Update error:

4-9006891


C:\ProgramData\Intel\Intel Extreme Tuning Utility\Temp
Or

By using a shared folder on OneDrive, you can Copy an entire OneNote notebook from one user to another.

Here’s how:

  1. Let’s call the user hosting the notebook OriginalUser, and the account we are going to copy to TargetUser
  2. In OneDrive web app on the OriginalUser account, share a folder to TargetUser
  3. Confirm you have access to the shared folder by logging in to the OneDrive web app for TargetUser. Select the folder and “Add to my OneDrive”
  4. Now, back in the OneDrive web app for OriginalUser, select a Notebook and Copy it to the folder you shared with TargetUser. Wait for it to complete copying…
  5. In the OneDrive web app for TargetUser, navigate to the shared folder and click to open the ‘copied’ Notebook in the OneNote web app
  6. Wait for the opening process to complete (this may take a while)
  7. Rename the Notebook on the TargetUser OneDrive web app
  8. Move to desired, non-shared folder in the TargetUser OneDrive. You will receive this message, and you have to press “Move Anyway”

onenote.png