The coordinate scheduling tool, developed by Excitech for the Revit Platform will allow accurate and simple scheduling of X,Y and Z coordinates from Revit model elements. This is suitable for a whole range of applications but particularly the easy production of Piling schedules. 

It is part of the free Excitech Revit Toolkit.  It has also been around for a long time, as Revit add-ins go.  The other key function of this tookit is the Element Renumber tool.

Download by clicking on appropriate version link at the bottom of this page.  You will need to register / login.

Other info:
http://www.excitech.co.uk/products/syndicated_content/revit-toolkit.asp

Heads-up:
Revit @ Waterman: Schedule those Levels – A Method (with a little help from our friends)

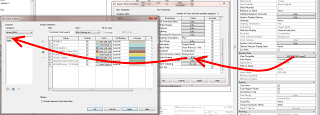
It may not be immediately obvious how you can quickly transfer Project Parameters or Area Schemes between linked models (to allow scheduling of linked RVT data in a host project).

Turns out the answer is pretty simple – just use Ctrl+C (Copy to Clipboard) to copy the required Schedules from one RVT to another.

The full process is described at:
Including Project Parameters or Area Schemes from Linked Models in a Schedule – WikiHelp

WhiteFeet Tools for Revit is a powerful set of add-ins that can make the impossible, possible.  I have posted about them before.  In this brief post, we look at how you can effectively Schedule the Reference Planes you have in a model.

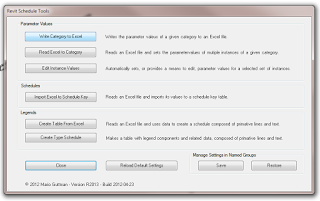
On the Add-ins Ribbon, choose Utility Tools – Schedule Tools:

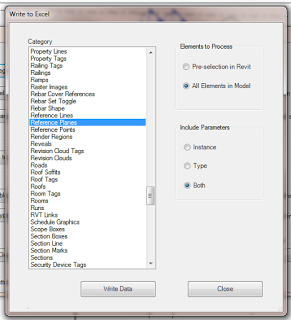
Pick Write Category to Excel, then select the Reference Plane category, All Elements in Model:

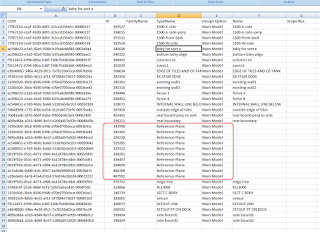
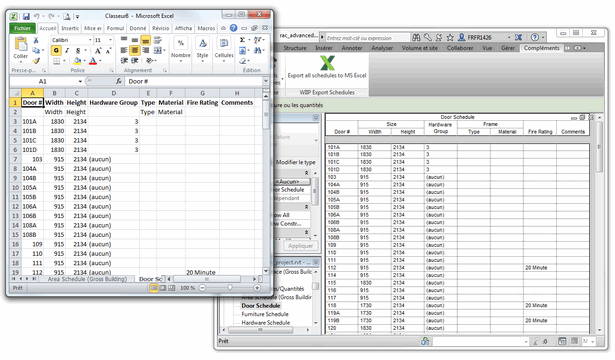
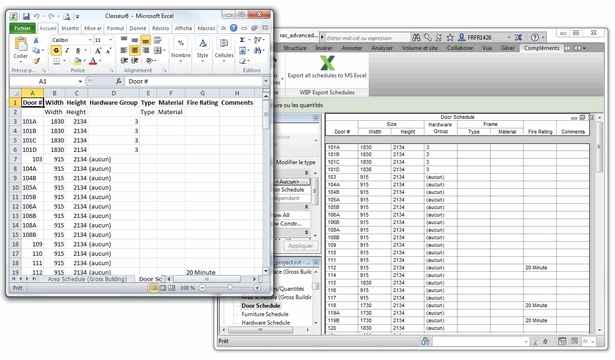
After you press Write Data, you will get something like this:

You can then sort the Data to find the unnamed versions, and then use the Element ID to select and name those Reference Planes, if you so desire.  In our office, an unnamed Reference Plane is fair game for deletion…

Also, some of you may have picked up that you can use this same process to export data from ANY CATEGORY in Revit – including those that you cannot schedule!

Find out how to obtain the Whitefeet software here:
Tools

The problem – even when you use Rounding (by changing precision settings in the schedule), the totals are still calculated from the most accurate measurement Revit has available.  So, for 3 areas of 4.4m² Revit says that:
4 + 4 + 4 = 13m²

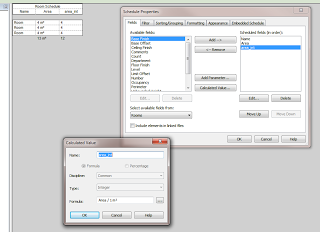
One workaround is to convert the Areas into Integers (using a Calculated Parameter), and hide the original Area column … still doesn’t exactly work sometimes.  While you get an illusion of consistency, you tend to lose precision.  The reason is that the overall rounding of the figures does not necessarily match the individual rounding of figures.

For example, lets say you have 3 areas of 4.4m² each.  Using rounding to 0 decimal places by using the precision settings, you will get 13m² for the total, but using the integer method above you will get a less accurate but more consistent 12m².

I wonder if a percentage based technique could be used?  It still wouldn’t be ideal, particularly if there were some ‘dumb’ constants that had to be added to Calculated Parameters.

What about you?  How do you solve this precision vs consistency problem?  One obvious way is to simply use more decimal places in your schedule – but then you cannot use the Integer method, and you can still run into the same problem…  For example, 3 areas of 14.45m², using rounding to 1 decimal place:
4.5 + 4.5 + 4.5 = 13.4m²

Download the example file here

Here is what the Integer method looks like:

Some other info:
It’s possible with ordinary schedules too… There are a few things you need to do:

1. Sort your schedule on the units you want to differentiate on.
2. Add a calculated value, percentage, which calculates the percentage of a single element to the unit total (that’s why you need to sort on units, otherwise you can’t use the unit total in the percentage calculation)
3. Multiply Area by percentage in a calculated value, and check the “calculate totals”
4. Check off “Itemize every instance”. If you did it correctly it now shows proper totals.

This takes some fudging to get it right. If you can’t get it done, post an example. 
via
2012: Total Cost in a schedule – Page 2

I have run into an issue when using a Key Schedule, Area Plan and View Template.  My Area Plan uses a Color Fill Scheme which uses a Key Schedule as its basis for the different colors of shading. If I change an entry in the Key Schedule, it seems to ‘break’ the Color Scheme on the Area Plan.

To correct this issue:

  1. Un-apply the View Template (set view to
  2. Open the View Template Properties
  3. Open the Color Scheme dialog for the affected View Template
  4. Set the Schemes to (none), then
  5. Reapply the original Color Scheme by clicking its name.
  6. Press OK a few times

The Color shading for the scheme should now re-appear.

Let’s say you have a number of different Door families in your project, and you want to determine the percentage of the total number of Doors that are Family 1, Family 2 etc, and then you want to show this in your Door Schedule.  First, sort by Family and untick ‘Itemize every instance…’, then use the process shown below.

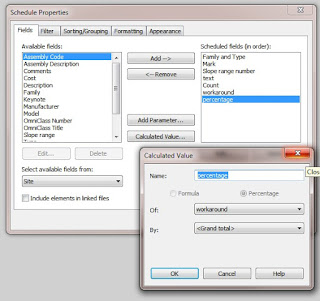
In this workaround, a Calculated Value is added to be used as a ‘constant’ (it doesn’t really matter what number is used here).  Then, another Percentage calculated value is created against that constant…

Count to grand total ratio in a schedule
Here is how you can do it.
1. Define a formula calculated value: Name – Workaround, Type – Number, Formula – 1.0; Hide the column showing this value
2. Define a percentage calculated value for Workaround.Leonid Raiz

via
Count to grand total ratio in a schedule – AUGI

You can’t make a schedule of Levels in Revit.  I won’t get into the argument of “should you be able to” or not.  The fact is, some people want to make a Level Schedule.  Here I provide one workaround that works for the current version of Revit.

  1. Download this example Revit project file
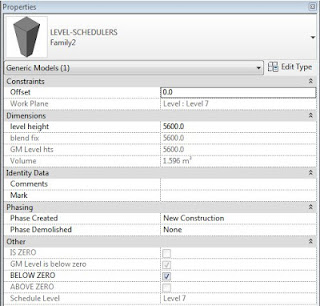
  2. Copy / paste an instance of the LEVEL SCHEDULERS family into your project
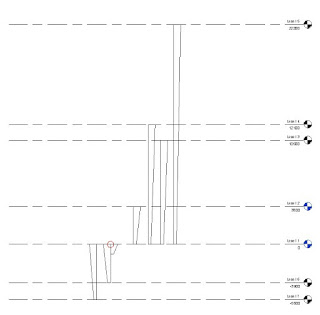
  3. Make a section view where you can see the family in profile, just like in the example RVT file:
  4. Copy / paste the LEVEL SCHEDULE into your project
  5. You need to place one instance of the family ON EACH LEVEL, and then lock the handle to the ZERO LEVEL (always).  If your level is BELOW ZERO, then use the Yes/No tickbox for that instance.
  6. Once all the families are placed and locked, you have a Level Schedule that will adjust when (if) your levels move.  Obviously, if a new level is placed, you will need to add a new instance of the LEVEL SCHEDULERS family.

Do you have another workaround that is perhaps easier or quicker or more BIM than this one?  Feel free to comment…