If you have an analogue watch and a laser mouse, you can easily keep your computer “active” by setting the mouse on top of the watch, no software or computer tweaking necessary.
Keep Your Computer Active Sans Software With A Watch (LifeHacker)
AI Empowered Project Management
If you have an analogue watch and a laser mouse, you can easily keep your computer “active” by setting the mouse on top of the watch, no software or computer tweaking necessary.
Keep Your Computer Active Sans Software With A Watch (LifeHacker)
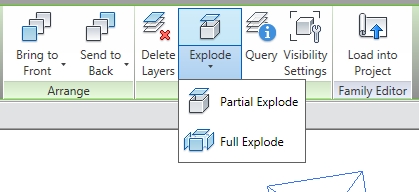

You can locate Point Based Generic Models in your whole model. You are able to nest such a Family within another. These points are exported as well when you make this family Shared.
You can download the extension here.
(It has been compiled for Windows XP 32 bits)

|
subscription.autodesk.com – This video demonstrates how to start a conceptual energy analysis and view the results.
|
||
|
Time: 01:37
|
|
subscription.autodesk.com – This video demonstrates how you can modify energy settings to change zoning, glazing, and skylights before performing energy analysis on the model.
|
||
|
Time: 02:12
|
|
subscription.autodesk.com – This video demonstrates how intelligent energy settings are used to rationalize the mass form into mass surfaces and zones for energy analysis.
|
||
|
Time: 02:43
|
|
subscription.autodesk.com – This video describes how to specify the location and a weather station for the project, so the correct climate information will be used during energy analysis.
|
||
|
Time: 01:57
|
|
subscription.autodesk.com – This video illustrates importing, resizing, and placing an image file for use in a Revit project.
|
||
|
Time: 01:28
|
|
subscription.autodesk.com – This video demonstrates when sketching is required to create geometry, such as slabs and roofs, in Revit.
|
||
|
Time: 01:36
|
|
subscription.autodesk.com – This video presents the concept behind Revit Server, and demonstrates how to connect to Revit Server and the Revit Server Administrator.
|
||
|
Time: 03:22
|

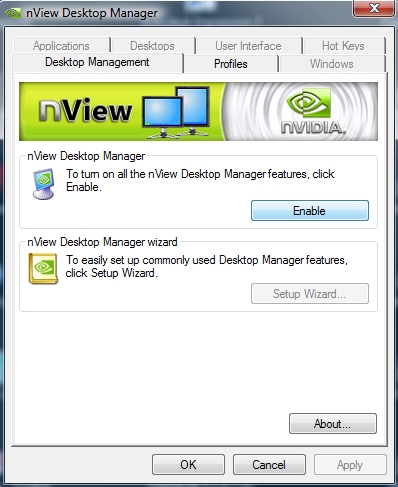
Step 2 – Download WinRAR (you could use 7-zip)
Step 3 – Open the Driver file with WinRAR and extract the nView.CAB file (onto your desktop for now)
Step 4 – Open the nView.cab file with WinRAR and extract all the files into a folder on your desktop
Step 5 – Run the nviewsetup.exe file as normal.