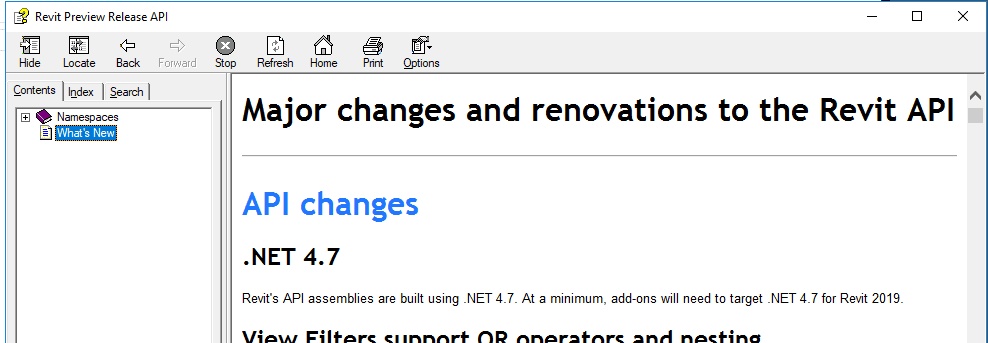
After a new version of Revit comes out, we all take some time to catch up. Revit API developers often have to get up and running really quickly so they can upgrade their apps for Revit 2019 compatibility. The first few things you will need are: the Revit 2019 SDK and help file, RevitLookup installed, and an understanding of What’s New in the Revit 2019 API.

To install RevitLookup for Revit 2019, head over to this page and grab the latest version, currently 2019.0.0.1. Put RevitLookup.addin and RevitLookup.dll into one of your Revit Addins folders, like:

%appdata%\Roaming\Autodesk\Revit\Addins\2019\

To install the Revit SDK, follow these steps:

  • Install Revit 2019 (or access the install media)
  • Look in the installation folder
  • In the Utilities subfolder, you will find the Revit 2019 SDK installer – RevitSDK.exe

This will basically unzip a whole heap of Revit API samples and goodness into a folder of your choosing. The key thing I look for initially is the RevitAPI.chm help file. I put this somewhere I can get to it easily (like OneDrive).

Until http://www.revitapidocs.com/ is updated for Revit 2019, the help files is the best way to access information about the Revit 2019 API.


Useful links, mostly from Jeremy over at The Builder Coder:

My Revit API 2019 Notes:

  • Building site export removed from API and Revit 2019
  • Project browser organisation for schedules added
  • Can now read the Phase Map parameter for the link. The phase map is a correspondence between phases in the host document and phases in the linked document…

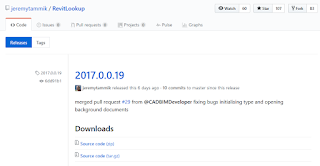
Updated source code for RevitLookup available at:
https://github.com/jeremytammik/RevitLookup/releases/tag/2017.0.0.19

Notes from The Building Coder:
In the last few weeks, it was significantly restructured to use Reflection and reduce code duplication:

revitlookup-4463299

via
http://thebuildingcoder.typepad.com/blog/2017/03/q4r4-tbc-import-and-revitlookup.html

Try it out

Info on exporting from Revit to this viewer, from The Building Coder:
The va3c project landing page displays the main projects addressed:

  • viewer – HTML viewer
  • GHva3c – Grasshopper va3c exporter
  • RvtVa3c – Revit va3c exporter
  • 3DS Max – JSON Exporter Max Script
  • Sketchup – Export to DAE Collada & View
  • json – JSON sample files
  • va3c – web viewer for AEC models

Take a spin with the va3c viewer demo for a quick and immediate impression of what we have achieved so far.

Read the whole post:
The Building Coder: AEC Hackathon From the Midst of the Fray

Jeremy Tammik has kindly upgraded and released BipChecker for Revit 2015, you can download it at:
https://github.com/jeremytammik/BipChecker

Steps to get it going:

  1. Download ZIP
  2. Extract
  3. Open SLN in Visual Studio 2013 Express (free)
  4. Right click on BipChecker in Solution Explorer and open Properties
  5. Go to Reference Paths and add your Revit program directory
  6. Build Solution

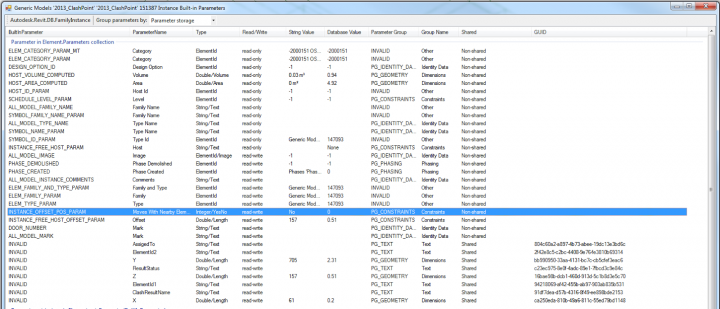
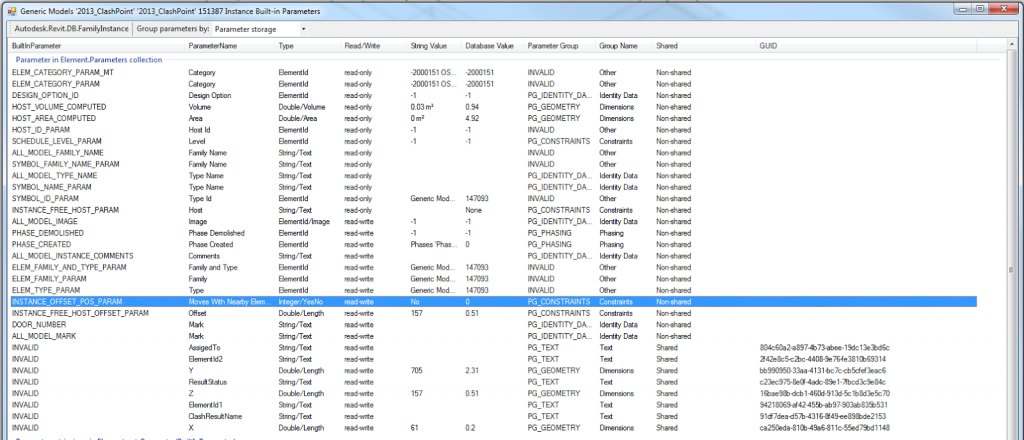
It should instantly be visible in Revit 2015, Addins, External Tools – even if you have Revit open. While it has many uses, immediately obvious are the fact that it shows whether a parameter is read-write and it also displays GUIDs for Shared Parameters. You can choose whether to display Instance or Type Parameters. Cool.

Here is some sample output:

Jeremy Tammik has done all the heavy lifting on this one, but here is how you can get up and running with it quickly:

  1. Download this
    (or you can also go here https://github.com/jeremytammik/AddMaterials, Download ZIP, Extract and Open in Compiler, Build Solution etc)
  2. Put the addin and dll here “C:ProgramDataAutodeskRevitAddins2014”
  3. Put the XLSX here “C:RevitAPIMaterialList.xlsx”
  4. Open Revit 2014
  5. Open the sample Revit file from the zip you downloaded in Step 1
  6. Go to External Tools – AddMaterials

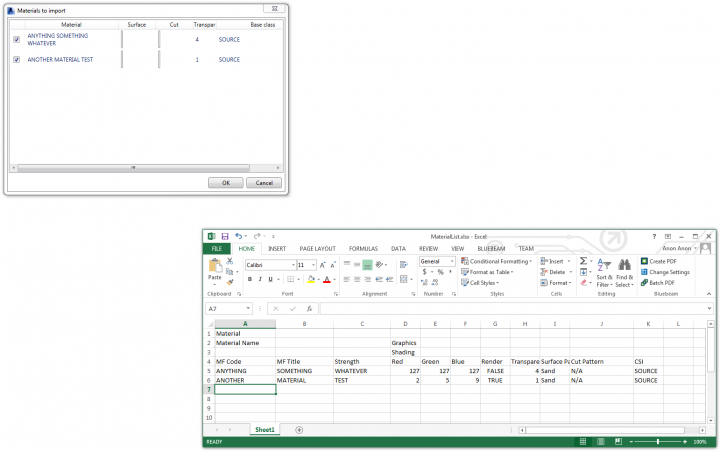
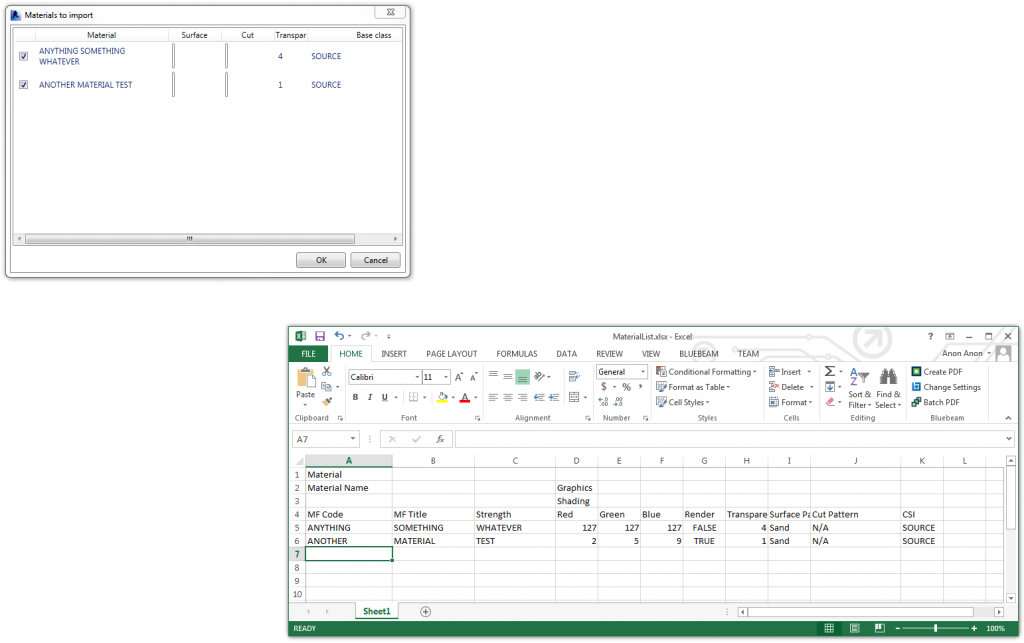
You should see something like this:

A couple of things to keep in mind:

  • the addin will copy an existing material from the CSI column as the ‘base’ material, and then modify the other values accordingly.  Therefore, there must be a source material in place.
  • Similarly, the Revit project file will need Surface and Cut patterns with the appropriate matching names already in the file prior to running the addin.  The addin won’t import new Cut / Fill patterns into the project for you.

Recent post by Jeremy about this addin:
The Building Coder: Adding New Materials from List Enhancements

Other posts:
http://thebuildingcoder.typepad.com/blog/2014/03/adding-new-materials-from-list-updated.html
http://thebuildingcoder.typepad.com/blog/2014/03/adding-new-materials-from-list-updated-again.html 
http://thebuildingcoder.typepad.com/blog/2014/04/wpf-fill-pattern-viewer-control.html
http://thebuildingcoder.typepad.com/blog/2014/04/getting-serious-adding-new-materials-from-list.html

There are quite a few interesting ways to animate a Revit model these days.  You can use Image-O-Matic, things like Level Displacer, and there is also an interesting SDK sample for animating structural elements.

From The Building Coder:
One of the very visually impressive Revit 2014 API samples is the DisplacementElementAnimation application.
It automatically animates groups of structural building members in any Revit BIM, proceeding sequentially from bottom level to top.
It creates and executes an animation of the model by disassembling and then reassembling it from the ground up. The members are sorted into groups based on category and level and displaced from their actual position. Each group is then animated using the Idling event until the model is reassembled.
It is an external application, so it is not automatically made available by installing RvtSamples, which just provides access to the external command SDK samples.

Read more:
http://thebuildingcoder.typepad.com/blog/2013/08/animation-and-the-displacementelement-class.html

To get this running, you will need to install the 2014 SDK, open the applicable CS project, add the Reference Paths, Build it, add the dll and create the necessary .addin file.  However, if you want this type of animation – it will probably be worth it!

Along similar lines, you may be interested in the 2014 DevDays resources:
… here are the complete materials from the Revit 2014 DevDays presentations:

There are a few interesting things there already, including:

  • The Building Coder samples
  • Export to CNC addin
  • Place Family instances based on Text file
  • updates to RevitLookup

To get Revitlookup 2014.0.0.5, do this –
Download the ZIP:
https://github.com/jeremytammik/RevitLookup/archive/2014.0.0.5.zip

Add Reference to Revit Program folder, then Build.  Copy DLL etc as necessary (other steps here).

Read more:
The Building Coder: ExportCncFab on GitHub and RevitLookup Update

Heads-up:
Revit Add-Ons: The Building Coder Repository on GitHub

Just installed CloudWorx (more on this later) and it had a GUID conflict with CADtoEarth – weird?  Wonder if the installer somehow couldn’t properly generate a unique identifier (see image).

In any case, Jeremy describes how to generate a new GUID over here, but I couldn’t find GUIDgen.exe easily on my XP 64-bit PC, so I downloaded GUIDgen from:
http://www.microsoft.com/en-us/download/details.aspx?id=17252

  1. Generated new GUID, copy to clipboard
  2. Open offending (ie. most recent) .addin file that caused Revit to show the error on startup
  3. Paste the newly generated GUID into the ClientID field
  4. Save the .addin manifest and restart Revit
This resolved the GUID conflict.

Jeremy shows how you can review a DWG file to determine if the source entities were Text or Labels in Revit.  This principle extends further, as he describes:

The differing TypedValue 11 is consistently -2000300 for a text and -2000280 for a label element.
What does this mean?
Well, is actually quite easy.
On seeing these large negative numbers in this specific range, an experienced Revit developer will quickly suspect built-in category or parameter enumeration values.
You can check what they actually represent in the Visual Studio debugger, by jumping to the definition of these enumerations and searching for the specific values.
Looking back at an ancient blog post on the DWG and DXF export Xdata specification confirms that these numbers do indeed represent the built-in category of the source element and thus can be used to distinguish the two.

via
The Building Coder: DWG Issues and Various Other Updates

Two great tips via The Building Coder today.  Firstly, the updated Revit SDK is available for download from here.  Here are some links:

Revit 2014 SDK (Update April 24, 2013) (exe – 217899Kb)
Revit 2013 SDK (Update April 11, 2012) (exe – 161112Kb)
Revit 2012 SDK (Update June 22, 2011) (exe – 151105Kb)

Secondly, did you realise that Revit 2014 comes with a tool to convert gbXML data into a dwfx file?    Look in your Revit program folder for a file called gbXML2dwfx.exe