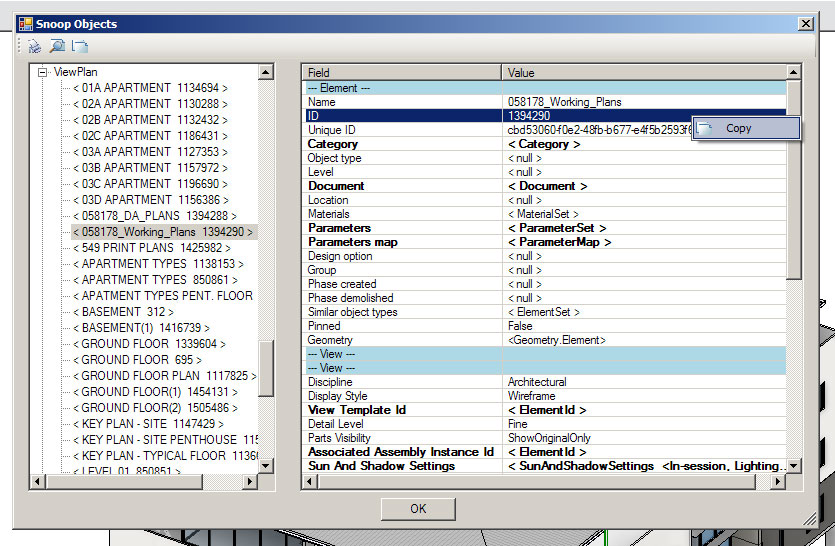
After a new version of Revit comes out, we all take some time to catch up. Revit API developers often have to get up and running really quickly so they can upgrade their apps for Revit 2019 compatibility. The first few things you will need are: the Revit 2019 SDK and help file, RevitLookup installed, and an understanding of What’s New in the Revit 2019 API.

To install RevitLookup for Revit 2019, head over to this page and grab the latest version, currently 2019.0.0.1. Put RevitLookup.addin and RevitLookup.dll into one of your Revit Addins folders, like:

%appdata%\Roaming\Autodesk\Revit\Addins\2019\

To install the Revit SDK, follow these steps:

  • Install Revit 2019 (or access the install media)
  • Look in the installation folder
  • In the Utilities subfolder, you will find the Revit 2019 SDK installer – RevitSDK.exe

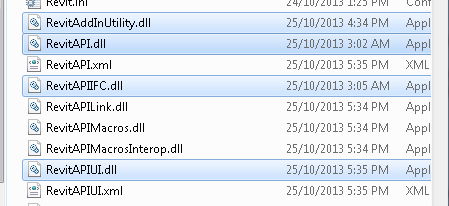
This will basically unzip a whole heap of Revit API samples and goodness into a folder of your choosing. The key thing I look for initially is the RevitAPI.chm help file. I put this somewhere I can get to it easily (like OneDrive).

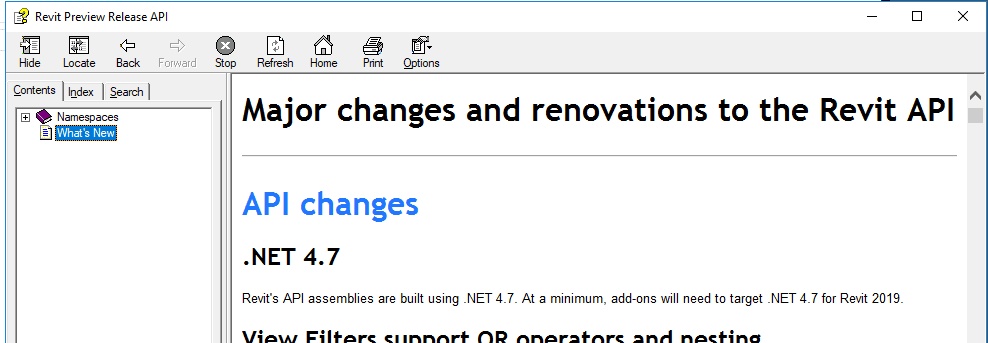
Until http://www.revitapidocs.com/ is updated for Revit 2019, the help files is the best way to access information about the Revit 2019 API.


Useful links, mostly from Jeremy over at The Builder Coder:

My Revit API 2019 Notes:

  • Building site export removed from API and Revit 2019
  • Project browser organisation for schedules added
  • Can now read the Phase Map parameter for the link. The phase map is a correspondence between phases in the host document and phases in the linked document…

You might be surprised at some of the cool samples that are included in the Revit SDK – which is likely already installed on your system.  Here are a few notes on pathing that may assist:

Build Revit API Samples:
C:Revit 2014 SDKSamplesSDKSamples2014.sln

Copy these files

to
C:Program Files (x86)Reference AssembliesMicrosoftFramework.NETFrameworkv4.0

Build solution

Modify DLL path in:
C:Revit 2014 SDKSamplesRvtSamplesCSRvtSamples.addin
to
C:Revit 2014 SDKSamplesRvtSamplesCSRvtSamples.dll

Save the .addin to:
C:ProgramDataAutodeskRevitAddins2014

This is using XP 64-bit with Revit 2013 Update 3, but similar principles will apply to other OS and software versions:

  1. Install Revit 2013 SDK if you don’t have it already, from here
  2. Install RevitAddinManager from SDKAdd-In Manager folder
  3. Open Sharpdevelop, you should be able to find it at:
    C:Program FilesAutodeskRevit Architecture 2013ProgramSDAbin
  4. Drag and drop RevitLookup.csproj to the Projects panel on the left
  5. Compile Revitlookup.  Make sure to Add Reference Path (project / properties) to your Revit 2013 Program folder.  Then click Build, Build Solution.  I received a bunch of Warnings about obsolete classes and properties, but no errors.
  6. Open Revit and any project
  7. External Tools – Add-in Manager (automatic)
  8. Load the compiled RevitLookup.dll and then use the Save to Add-ins folder option
  9. Restart Revit
Now, to use RevitLookup to find the Element ID of a View Template and copy it to another project:
  1. Open a Project
  2. Add-Ins, Revit Lookup, Snoop DB…
  3. Scroll down and select the appropriate View reference, ie. ViewPlan for a Template that was created from / for a Plan View
  4. When you select it, the Element ID will be shown on the right and you can copy it to Clipboard
  5. Select By ID, Paste
  6. Ctrl+C
  7. Switch to another project
  8. Paste – Aligned to Selected Level
  9. Done 🙂

Two great tips via The Building Coder today.  Firstly, the updated Revit SDK is available for download from here.  Here are some links:

Revit 2014 SDK (Update April 24, 2013) (exe – 217899Kb)
Revit 2013 SDK (Update April 11, 2012) (exe – 161112Kb)
Revit 2012 SDK (Update June 22, 2011) (exe – 151105Kb)

Secondly, did you realise that Revit 2014 comes with a tool to convert gbXML data into a dwfx file?    Look in your Revit program folder for a file called gbXML2dwfx.exe

In addition to Project Vasari itself, you can now download a Software Development Kit (SDK). This kit is intended for power users who wish to use the Application Program Interface (API) to work with Project Vasari.
The API allows a programmer to:

  • Create add-ins to automate repetitive tasks in the Project Vasari UI
  • Enforce project design standards by checking for errors automatically
  • Extract project data for analysis and to generate reports
  • Import external data to create new elements or parameter values
  • Integrate other applications, including analysis applications, into Project Vasari
  • Create Project Vasari project documentation automatically

// Download Project Vasari SDK via Autodesk Labs

via
Project Vasari Software Development Kit Now Available – It is Alive in the Lab

Some direct links:

Vasari Software Development Kit (SDK)
Project Vasari 2.5 offers an API designed to allow power users and external application developers to integrate their applications with Vasari. It is strongly recommended that you become familiar with Project Vasari and its features before attempting to use the API. Training can be found through the Autodesk Developer Network (ADN).
// download
// more

via
http://labs.autodesk.com/utilities/vasari/