There are a number of lists provided in a recent KnowledgeSmart post – these basically summarise the main problems people are currently having with Revit.  Things like:
• Resetting Shared Coordinates (when they go wrong – which they do!)
• Use of Copy Monitor & Limitations
• Use of Phasing & Limitations
• Managing Project / Shared Parameters
• Wall / Window / Door layer clean-ups
• Managing who draws / owns cross discipline elements such as Ceilings / Slabs / Stairs

So… all of you bored Revit bloggers out there, now is the time – pick something on one of these lists from this post and Wow us with your expertise and brilliance…

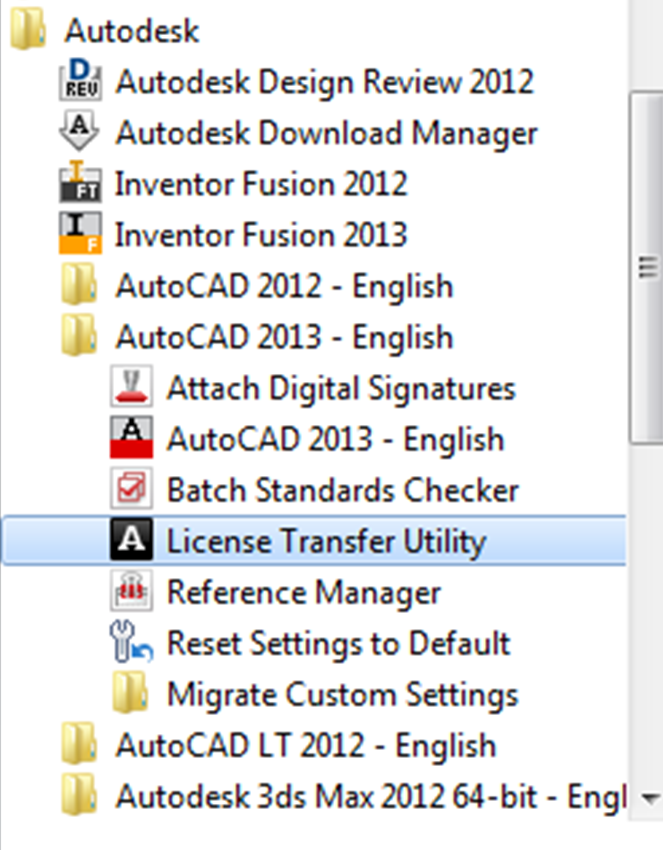
You need to move your Stand Alone Autodesk license to a new computer, either permanently or temporarily.

Solution

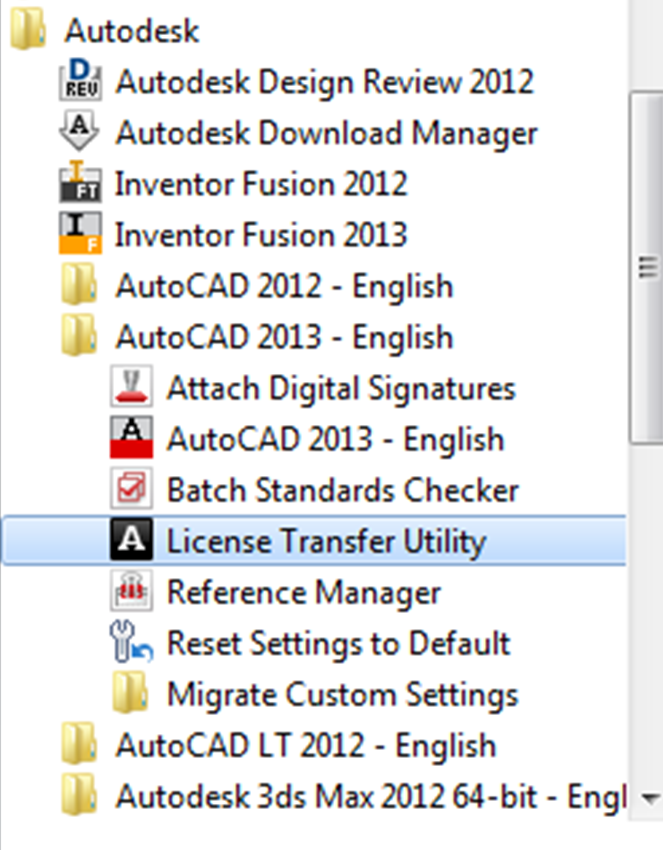
Most Autodesk products (including those available for Mac) include a tool called the License Transfer Utility (LTU) that enables online license transfer of stand-alone licenses from one machine to another over the Internet.
Note: The LTU is only available with our 2010 and later products. If you’re using a 2009 or earlier version, use the Portable License Utility instead.

Read more at:
How to Transfer Stand-Alone Licenses Online

I previously posted about my large library of archived Revit blog posts.  I then got a request from Mr Stewart to shed some light on how I automate the RSS to PDF process.  It is a lengthy process, and I’m sure there are easier and better ways, but here is how I did it:

  1. Set up a dedicated Google alias, for Reader and Gmail
  2. Make a big RSS list in a specific folder in Reader.  Mine is shared here.  Share that feed folder from Reader.
  3. I then burnt this shared feed in Feedburner:
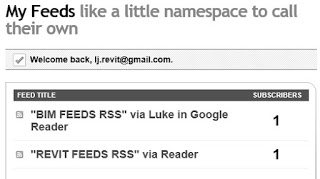
  4. Then, I subscribed to my own burnt feed via email (Gmail address from step 1), by using the Feedburner page here:
    http://feeds.feedburner.com/revitFeedsRssInGoogleReader
  5. I then installed and set up a portable Thunderbird profile, using my Gmail alias from step 1
  6. So now, Thunderbird was receiving daily email summaries of all Revit related blogs – I just had to get this info into a PDF somehow.  I used PDFCreator, due to its autonaming functionality.
  7. Install PDFCreator
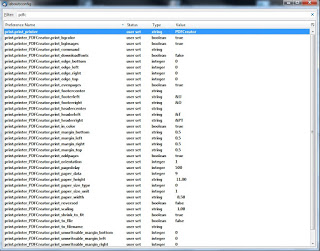
  8. In Thunderbird options (Tools – Options – Config Editor), set PDFCreator as the default printer using print.print_printer.  Here are my printer settings in Thunderbird:
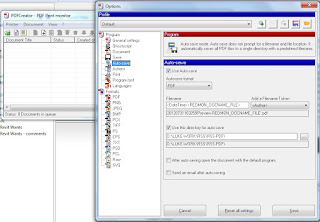
  9. Go into PDFCreator to set the Auto-save options:
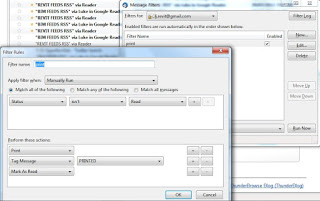
  10. Now, back to Thunderbird.  Set up a filter like this
  11.  To auto-create the PDFs, just – Open Thunderbird, Get Mail, Tools – Run Filters on folder.  Once it is set up, it is very easy to use.

Here is an example of the kind of PDF output I get – link here.  The formatting is perhaps suboptimal, but most images are retained and the text can be indexed by a search program like Google Desktop.

Graham’s message:
Graham H Stewart BIM Associate at Ramboll UK
To: Luke Johnson
Date: July 11, 2012
 

Hi luke
Seen you blog regarding automation of rss feed via PDF
. Can you shed some light on this as I would like to know more

Cheers
G
#livefromitaly
Sent from LinkedIn for iPad

Another request I received was about how I sort and organise all the info I collect.  I will add some info on this later:

Plessey Mathews
Wow. Please share how you categorize the videos, the pdfs’s – by expertise level, by workflows… ? And what about videos for older versions PRE ribbon interface. Do you still keep them or weed them out. What front end do you use to access this information. Windows explorer would be overwhelming. Thank you. Now I am going to beg IT a NAS box for training videos.

Using my laptop with Revit 2013 and an ATI Mobility Radeon HD 4570 graphics card, I came across an interesting bug.  Using the Tab key, nothing seemed to be working.  But this is what was actually happening – I would:

  1. Hover over something
  2. Press Tab key, pre-selection does not cycle (but Status bar is correct, showing next item under cursor)
  3. Press Tab key again, pre-selection shows item from step 2, but again, Status bar shows the correct (next) item.  Left-clicking will select the item shown in the Status bar, not the one that is pre-selected.

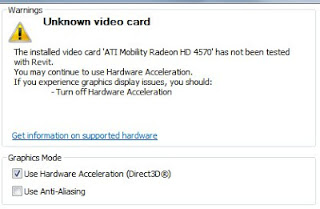
Obviously, the first port of call for these types of problems is Graphics Hardware.  And yes, I was using Hardware Acceleration, and yes, the Hardware had not been tested with Revit, as the Options dialog shows:

Simply turning off Hardware Acceleration fixed this issue, as it will for many graphic-related bugs and errors.

If you really, really want the nice Hardware-accelerated stuff in Revit 2013 and you are using suboptimal hardware, you will need to either:

  • look for better graphics drivers for your hardware (may not work anyway)
  • replace your graphics / video card with one that Revit Wants (very hard if you are using a laptop!)

Similarly:
RevitCity.com | Problem selecting glass using tab key

The more difficult question in light of this article would seem to be – how do you separate and distinguish your BIM revenue / ROI from that you would be producing as a simple CAD firm?

A couple of interesting quotes:
“BIM implementation has been a long-term effort and a considerable one,” says Phil Harrison, FAIA, LEED AP, CEO of Perkins+Will. The firm has overcome the technical and training issues and is now “focusing on innovations and efficiencies,” he says.

President Steven Straus says Glumac made “an enormous investment” in BIM training and software development. “BIM is a new technology that is improving coordination,” he says, “but the software is not ready for prime time.”

Read more / via:
BIM finally starting to pay off for AEC firms | Building Design Construction

I rarely advertise for paid programs.  In this case, the program is still useful in Trial mode, so I’ll make an exception.

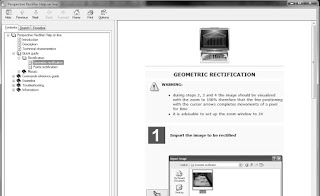
Basically, download the trial and install it.  Then open Help and go to Geometric rectification.  Follow the steps and guess what?  You can use a single photo of a building as a scaled, rectified background to help you model an existing elevation.

Unlike Photofly / 123D Catch, you don’t need a stack of images to make this happen, just one.

You can then use Export button to export a DXF file with a PNG linked in – all at the correct scale.  To bring this into Revit, I just drafted some lines in AutoCAD around the image frame in the DXF and exported those 4 lines to a DWG.  This was linked / imported into a Revit view.  Then, I placed the PNG in the same Revit view and used the 4 lines to scale the image appropriately.

The only real caveat with the Trial version is that it watermarks the image severely – but if you just want to use it as a reference, it is fine.

Download link:
Download

Company site:
Perspective Rectifier