Over the years I have posted a lot of workflows for PDF creation and management, including the use of CutePDF Writer and PDF Creator. I’m also a regular user of RTV Xporter Pro, as it is the quickest and easiest way to generate PDFs from Revit, and its pretty affordable too.
To automatically create PDFs with automatic naming from RTV Xporter, you need a PDF print driver that supports automatic naming. Adobe PDF can do this with the correct settings, but you can also do it with the correct version of the free PDF Creator print driver. CutePDF does not support automatic naming. You need a PDFCreator version equal to or older than 2.5.3.
What you need:
- PDF Creator 2.5.3 direct link from version history
- RTV Xporter or Xporter Pro
Below I will describe:
- How to install PDF Creator without the bloatware
- How to configure PDF Creator (thanks to Jason Howden at RTV for these slides)
- Some basic settings of RTV Xporter for batch PDF printing
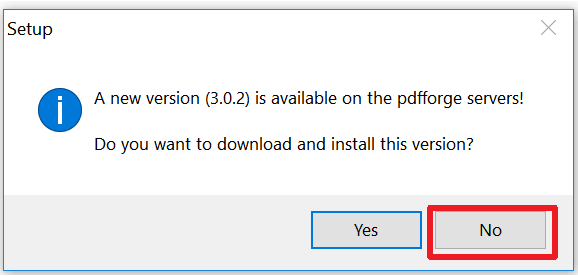
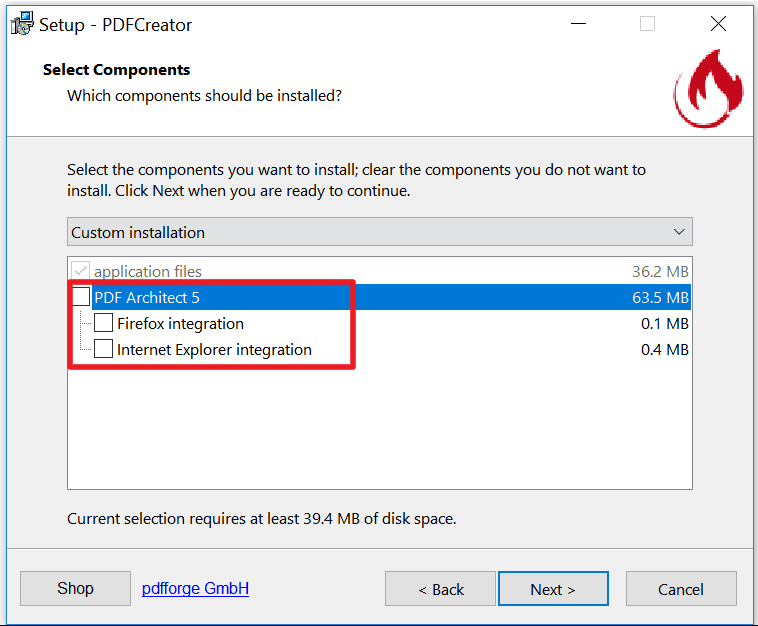
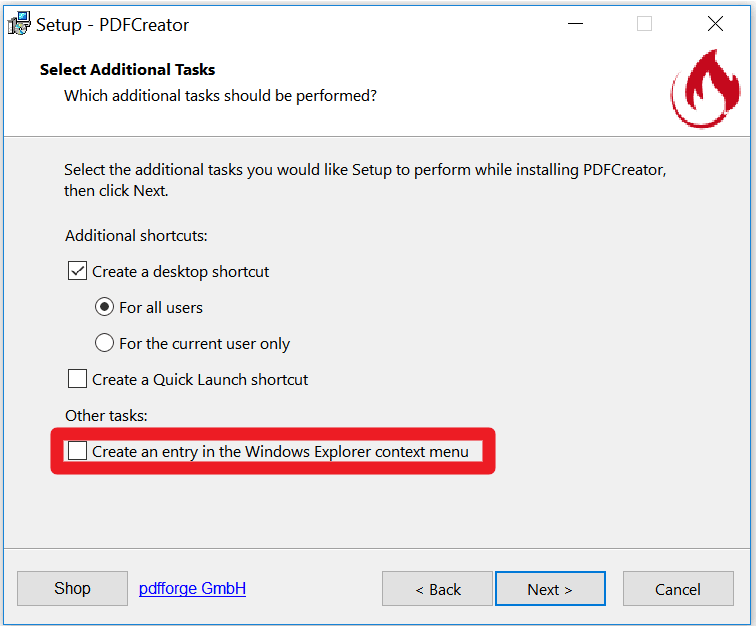
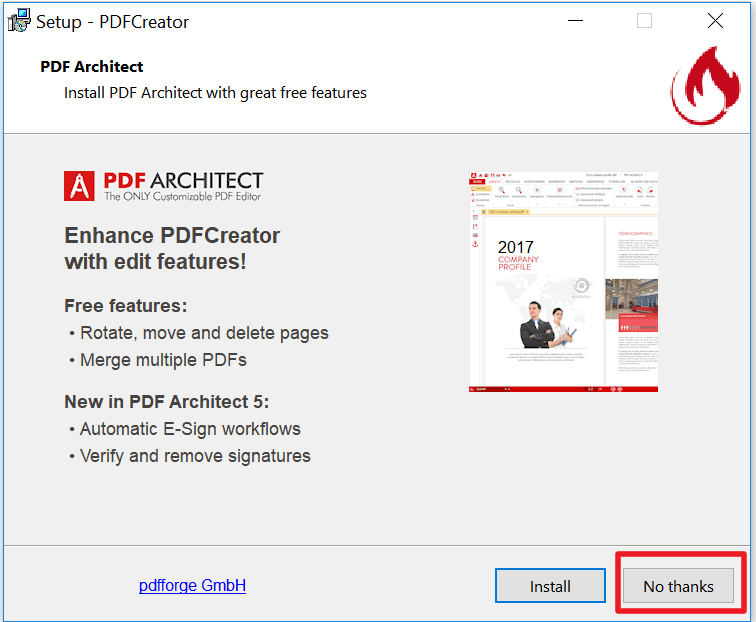
Installing PDF Creator:
Screenshots below show some suggested options to avoid getting things installed that you don’t want.
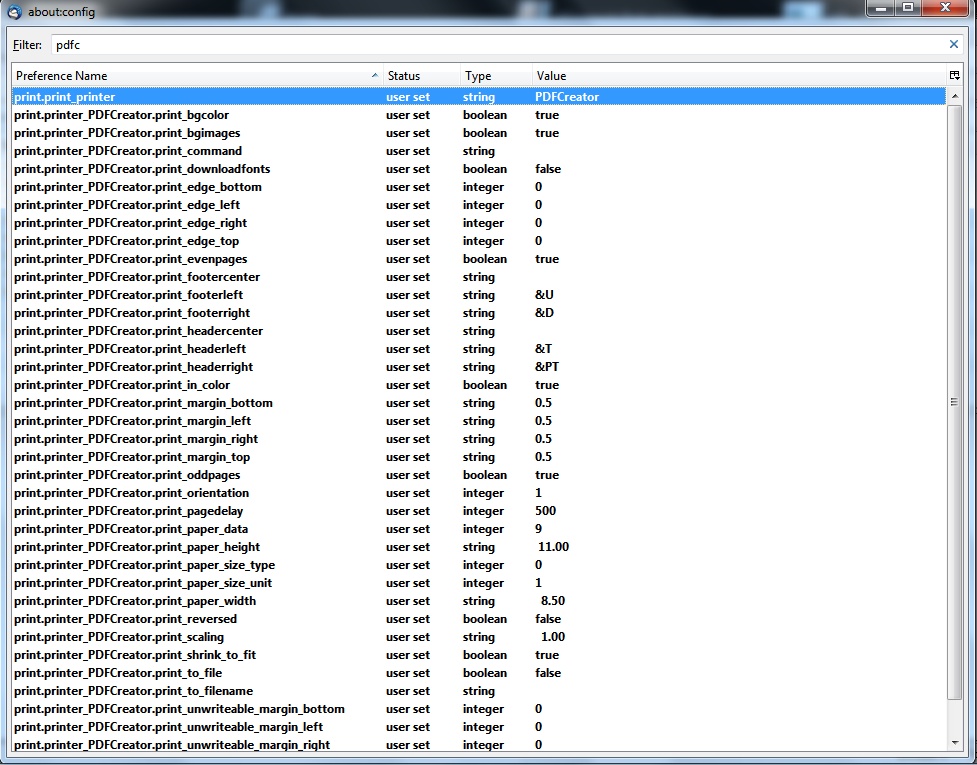
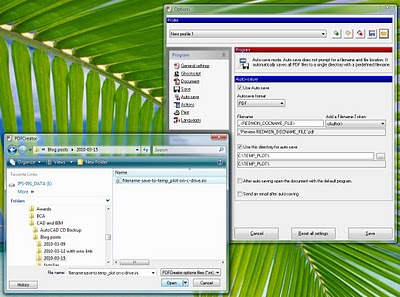
Accessing the Settings:
- Launch PDF Creator
- Skip any update prompts
- Click Profile Settings
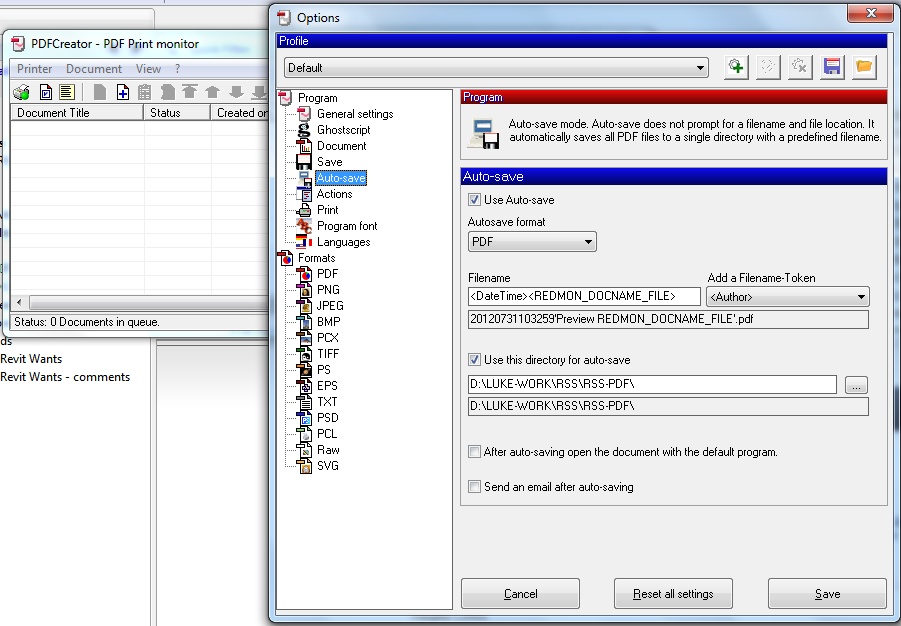
RTV Tools PDF Creator 2.2 Configuration/Profile Settings
Printing to PDF automatically from Autodesk Revit with RTV Tools (Xporter/Xporter PRO/Drawing Manager) and PDF Creator (versions 2.5.3 and prior) can be enabled with the below settings.
Document (Tab) Settings
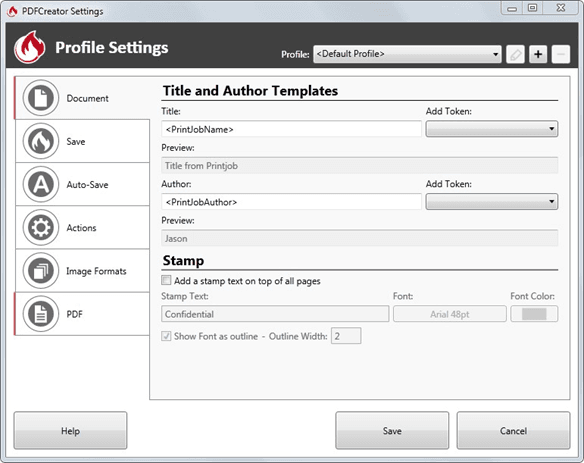
No changes required (optional)
Save (Tab) Settings
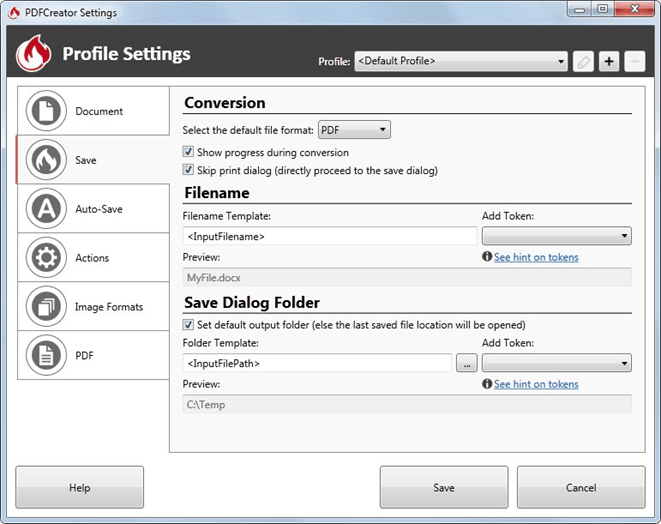
- Tick Show progress during conversion
- Tick Skip print dialog (directly proceed to the save dialog)
- Add Token <InputFilename>
- Tick Set default output folder (else the last saved location will be opened)
- Add Token <InputFilePath>
Auto-Save (Tab) Settings
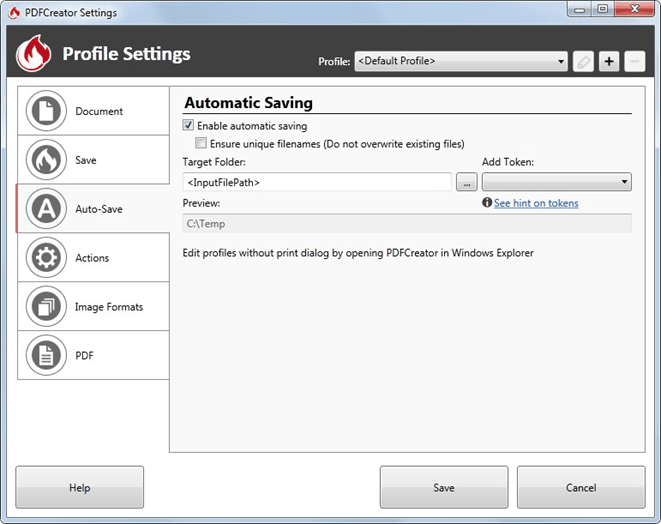
- Tick Enable automatic saving
- Un-Tick Ensure unique filenames (Do not overwrite existing files)
- Add Token <InputFilePath>
Actions (Tab) Settings
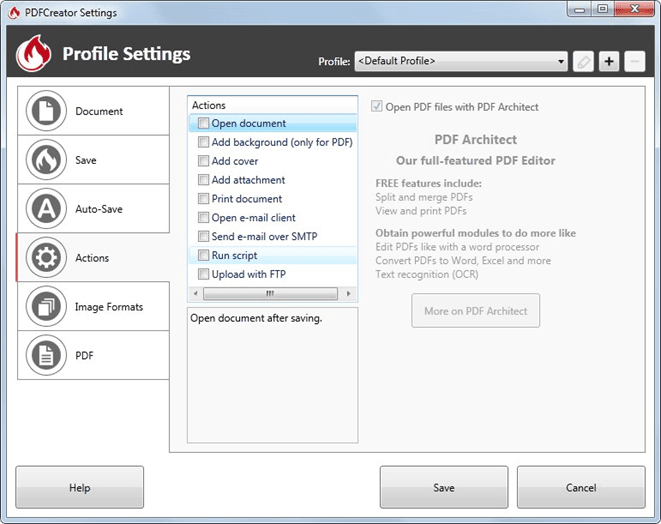
- Un-Tick Open Document
Image Formats (Tab) Settings
No changes required (optional)
PDF (Tab) Settings

No changes required (optional)
For more help and assistance with RTV Tools: http://help.rtvtools.com/
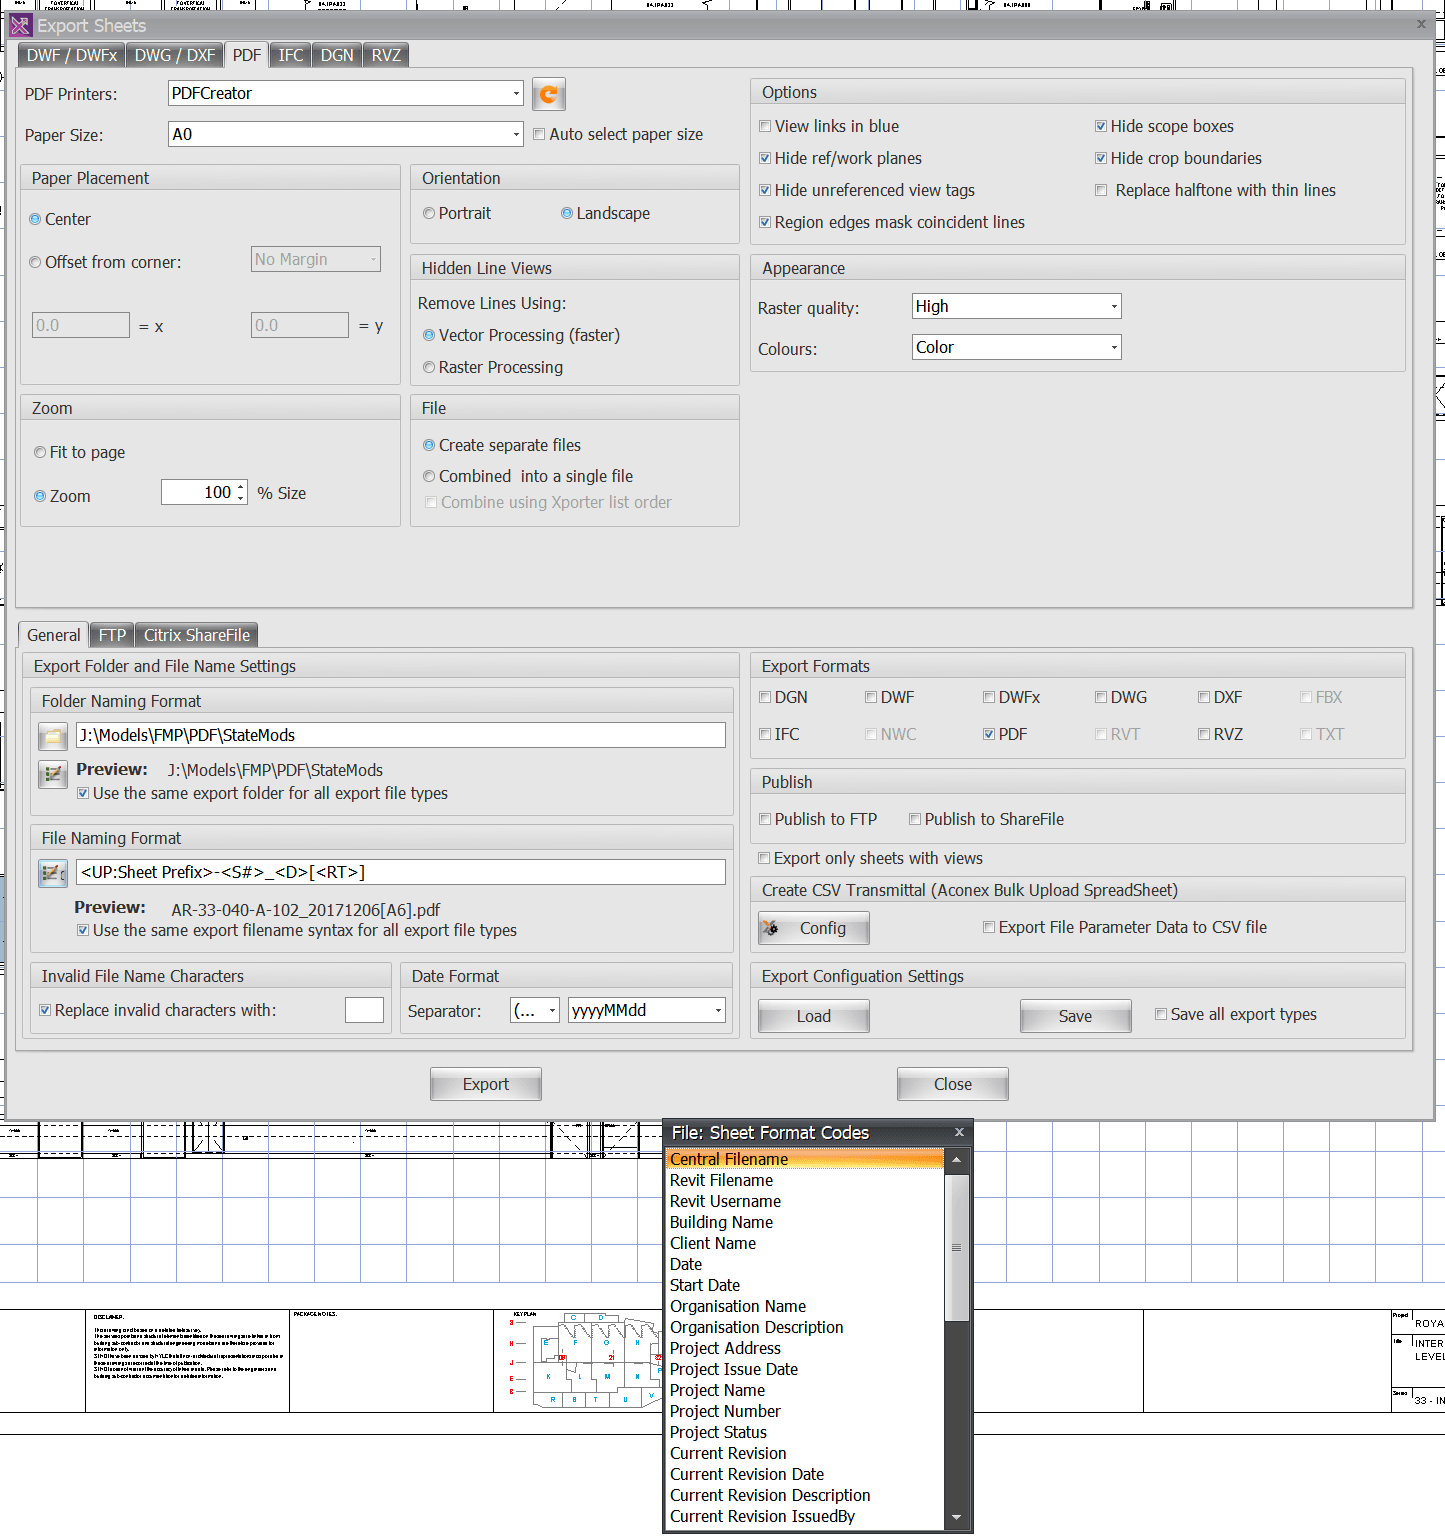
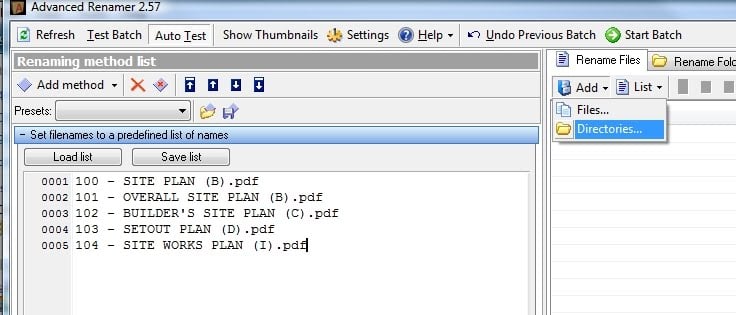
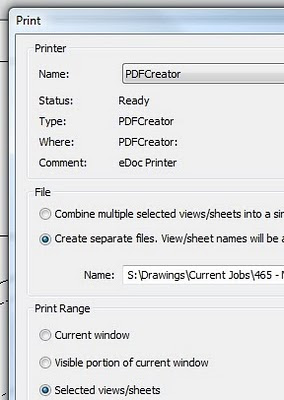
RTV Xporter Pro Settings:
The screenshot below shows the settings I use.