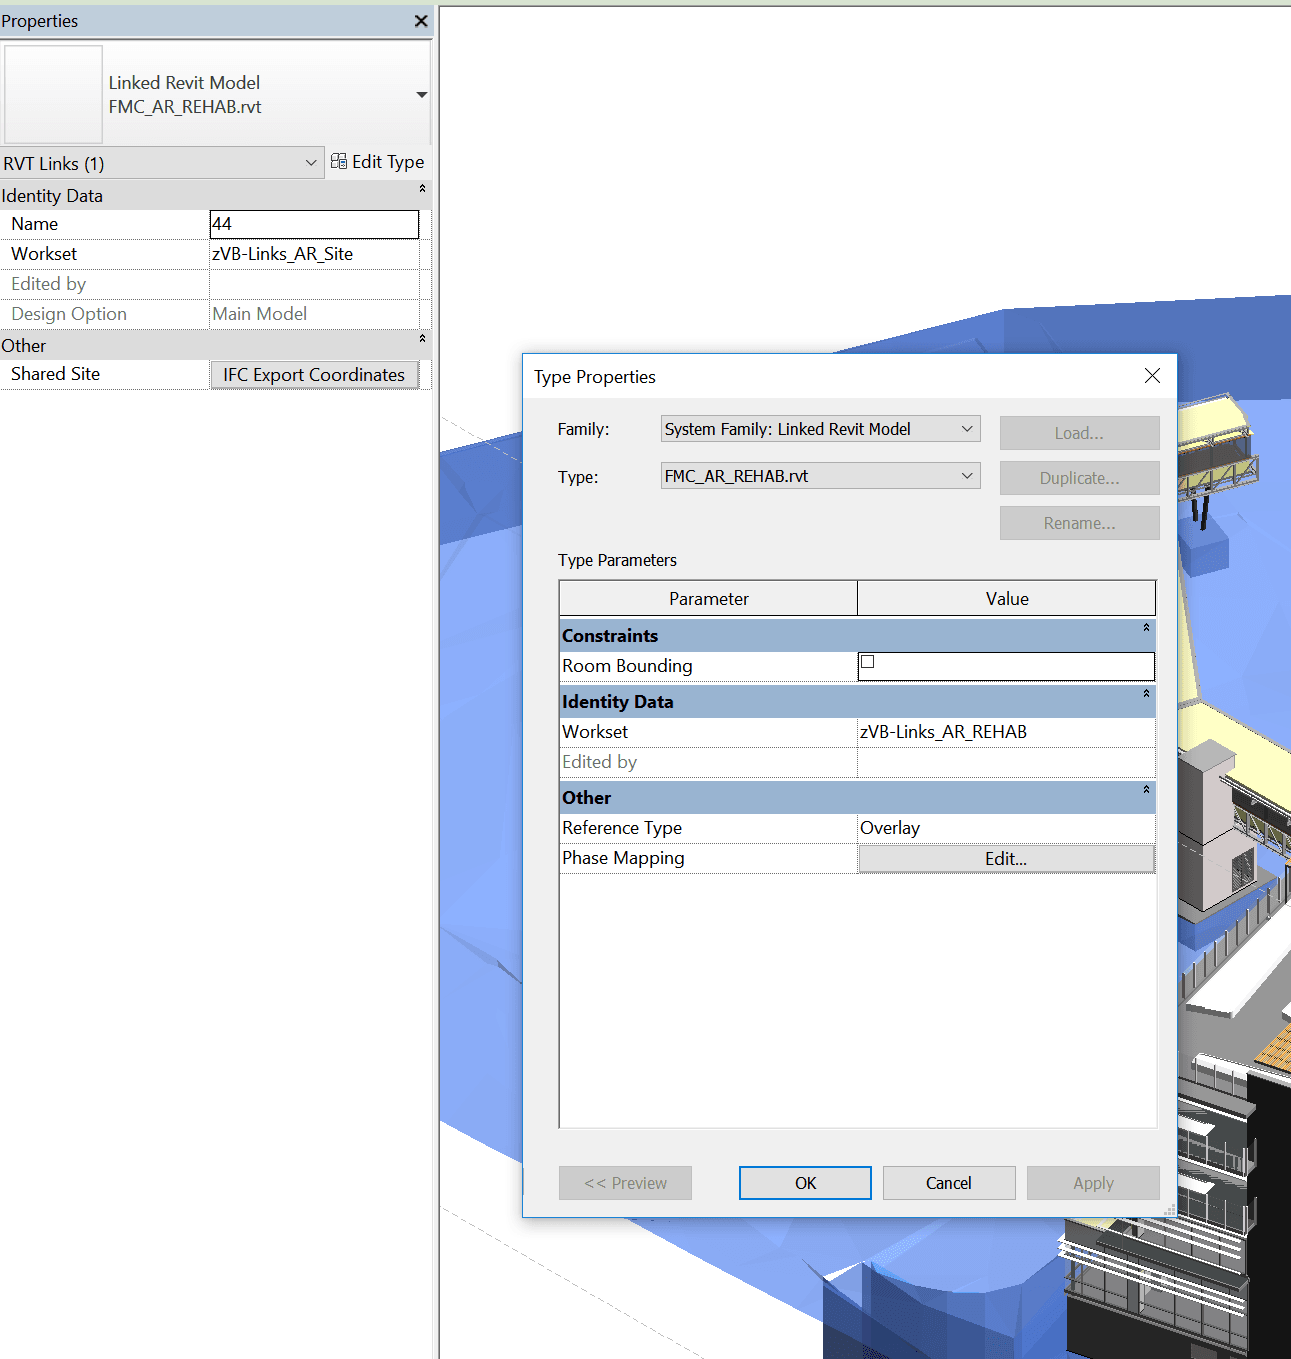
In Revit, each Link is bound to both a Type and an Instance. So you can have one Link ‘Type’ – relating to a single RVT file that is linked into the project. But it can be placed multiple times in the project, thus having multiple instances. In workshared projects, the Type and the Instance can belong to different Worksets.

Did you know you can use Linked Views to display two identical copies of the same linked model in different ways?

To add control, you should create 3 worksets – 1 for the Type, and 1 for each Instance, as shown below:

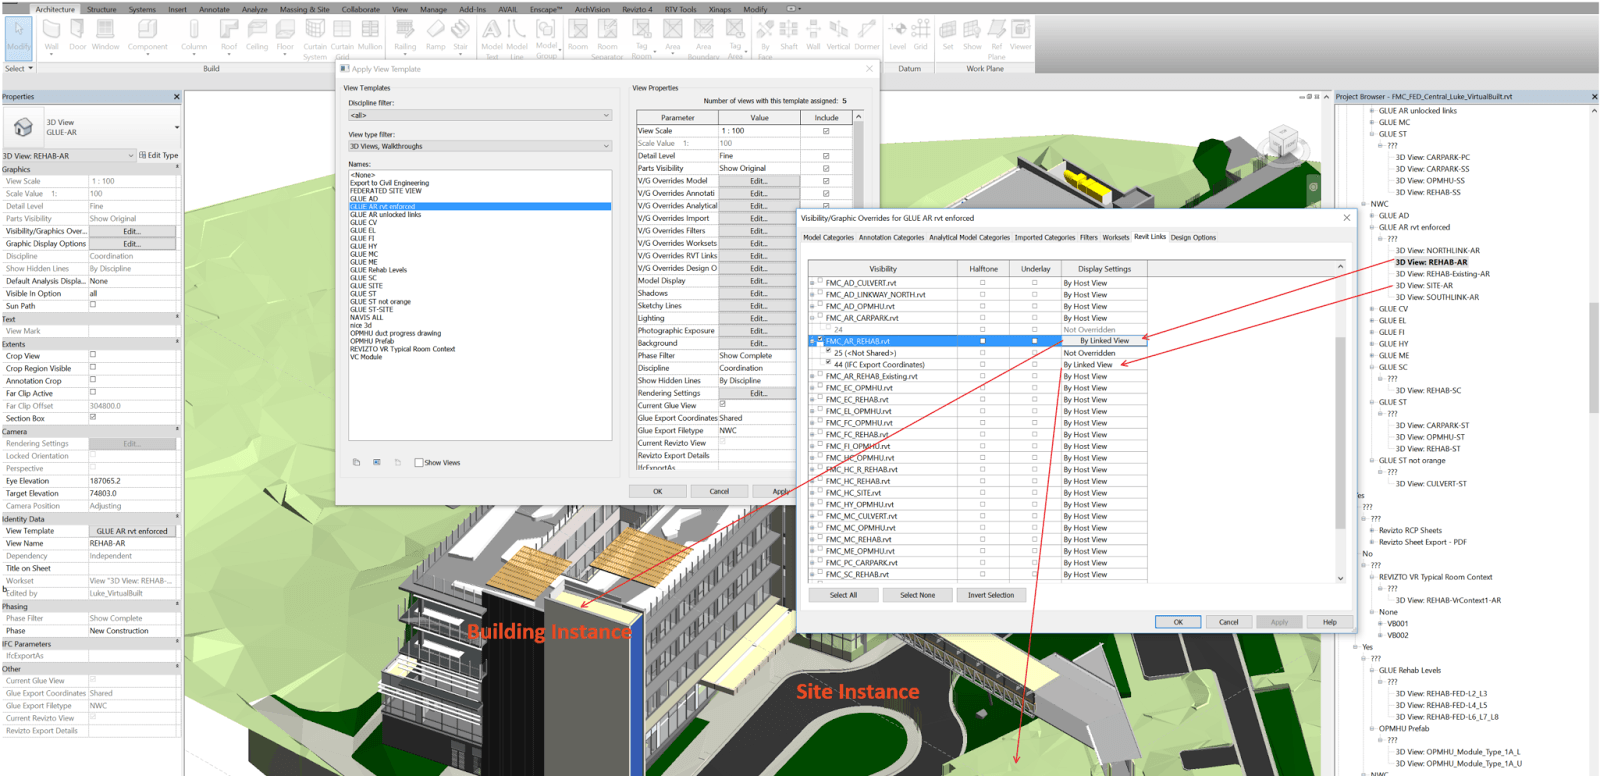
Then, set up two different Linked Views in that linked model. In this particular case, I want to use a model converted from ArchiCAD to a single Revit file. But I want to be able to separately load and display the Site objects, and the Building objects. So I have an Link Instance for each, and linked views for each. The whole rig can be seen in the image below.

Using the worksets, I can separately Load / Unload each Instance (closing a Workset unloads any Link instances on that Workset from memory). And using the Linked Views and Overrides for the Instance, I can display each instance as I like. I can also load both instances and show both in a ‘combined’ view.

Final note: Link Instances can be located in different positions in the Host model, and they can have different Shared Coordinates. Using the methods above, you have a lot of flexibility to be able to use a single linked Revit model in many different ways…
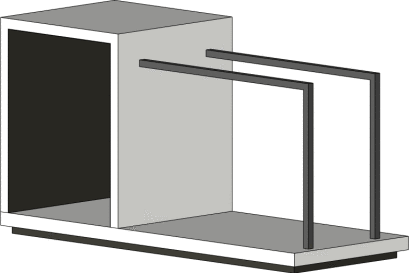
Dieter Vermeulen describes an interesting workaround – when using a Family Type parameter, how can you turn “off” the family without using Visibility parameters?

His solution is essentially to delete geometry out of a copy of the Nested instance, and leave only one Type in that blank instance.  Call it None, and it shows up in the Family Types list that way.

Read the whole post:
http://revitbeyondbim.wordpress.com/2013/12/03/how-to-set-family-type-parameter-to-none/

via
https://twitter.com/RevitbeyondBIM/status/407975518768594945

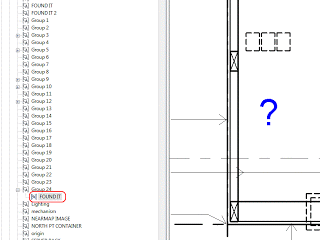
I previously posted about how to duplicate Array Group types and swap them in and out here.

Interestingly, I created a detail Array Group in Revit 2013 today and noticed that it did not immediately appear in the Project Browser.  Further to this, I could not Duplicate or Rename the Array Group Type.  What to do?

The short answer – group the Array Group.  This will force Revit to populate the Project Browser with the Array Group type name.  It also allows you to Duplicate and Rename the Array Group.  All of this then allows you to use the swap-in-swap-out method I linked to above.

Watch the short video here:

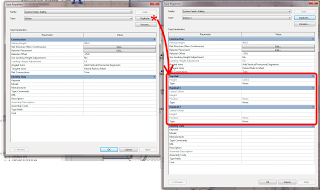
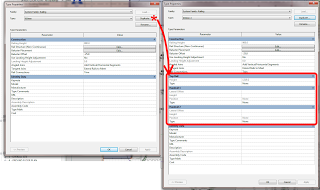
Interesting tip from the Autodesk BIM Blog – after you upgrade Railings to 2013, the actual extended parameter values are not populated until you Duplicate the upgraded railing types…see image.

This goes for upgraded Project Templates too – you won’t see the additional parameters until the types are Duplicated.

via
Google Translate
of
http://bimblog.typepad.com/autodesk_bim_blog/2012/05/erweiterte-typenparameter-von-gel%C3%A4ndern-aus-vorg%C3%A4ngerversionen-anzeigen-revit-2013.html

It’s an old trick, but if you want to get rid of excess gridlines and mullions on a wall, just make a new Curtain Wall type that has no type-driven gridlines or mullions:

When you switch to this wall type, Revit will prompt you to delete the gridlines and mullions…

If you want to download an Empty Curtain Wall, use this link:
Empty Curtain Wall file

This video demonstrates a peculiar workflow, in which Revit allows you to change the Type of an Array member without breaking the array.

This example uses a Polar array based on a copy-to-2nd method. You will notice that the reliability of this method actually depends on how far the array is pushed. In general terms though, this hack may prove useful in some situations.

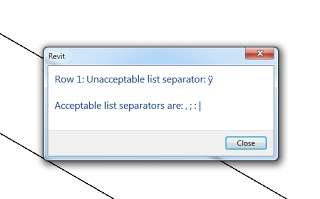
I received the ‘Unacceptable list separator’ error while trying to:

  • load a family from file into a project, and
  • load types into the family from a Type Catalog.

I assumed the problem was to do with Type Catalog.  The family I was trying to load was from the ‘Australia’ default content – 

AustraliaStructuralFramingSteelCHS-Circular Hollow Sections (AS 1163).rfa

To fix this issue I followed these steps:

  1. Open the Family
  2. Export the Types to a Type Catalog file.  The exported Type Catalog should only include one type, but the syntax should be correct…
  3. Open the exported Type Catalog in Excel – as a comma-delimited file
  4. Open the ORIGINAL Type Catalog in Excel – as a comma-delimited file
  5. Copy the fields from the ‘Original’ default Type Catalog into your new ‘fixed’ Type Catalog (there may be more columns in the ‘fixed’ version, just Auto-Fill the other fields as necessary)
  6. In Excel, save the ‘fixed’ version as:
    Other Formats – CSV (MS-DOS)
  7. After closing the file, rename it so that .TXT is its extension.
  8. Use this fixed Type Catalog to load all of the types into the opened Family.

Do you get annoyed by the warning:

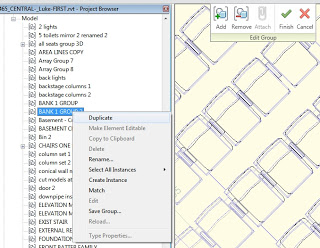
Can’t create duplicates in Edit Group mode.

If you are editing a group, and want to make a Duplicate of something, simply scroll to the item in the
Project Browser – right-click – Duplicate.

EDIT (added 5 Dec 2011):

In other words, this tip allows you to create a new Family Type in Edit Group mode. You may get annoyed when you aren’t allowed to make new Family Types when you are in Edit Group mode and Revit just keeps telling you:
Can’t create duplicates in Edit Group mode.

Just use the Project Browser instead – scroll down to the family in question, right click on a Type and Duplicate.  Revit will let you do this, even while in Edit Group mode.