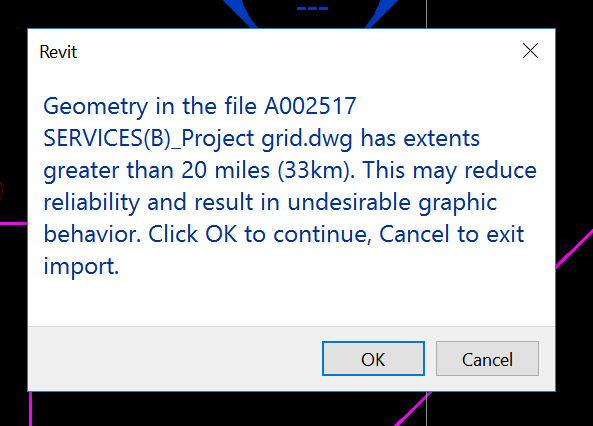
You may have seen the “extents greater than 20 miles (33km)” warning in Revit before:

Geometry in the file dwg has extents greater than 20 miles (33km). This may reduce reliability and result in undesirable graphic behavior. Click OK to continue, Cancel to exit import.
Extents greater than 20 miles (33km)

I have previously posted about ways to clean up DWG files, best and worst practice, and also how Revit deals with accuracy and precision of big models. The short list of steps to take in AutoCAD to clean up a survey DWG is:

  1. PURGE
  2. SCALE all objects to mm instead of metres
  3. WB – write block to a new file
  4. AUDIT
  5. EXPORTTOAUTOCAD (from a vertical product)

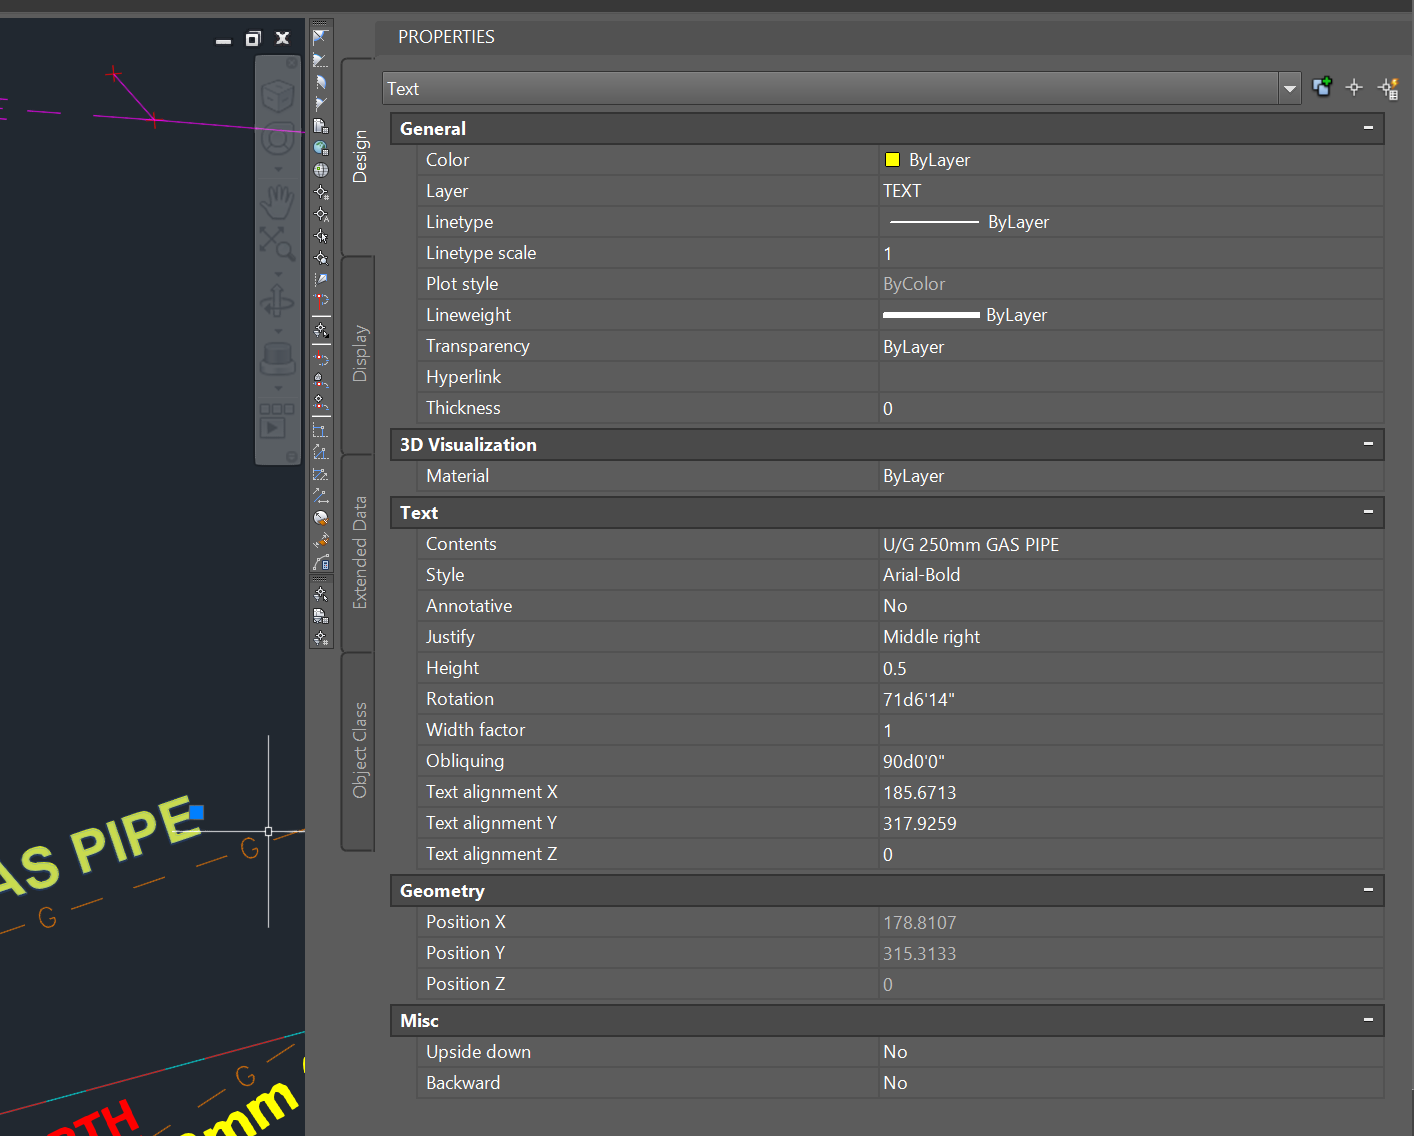
What if, even after all of the usual steps, you still have the ‘extents’ problem? And what if you can’t find the problem in a plan or top view in AutoCAD? That means that you have large Z extents. And you can even have large Z extents from some wayward Text objects with a Z value of like 35000 metres, which will trigger the same message in Revit.

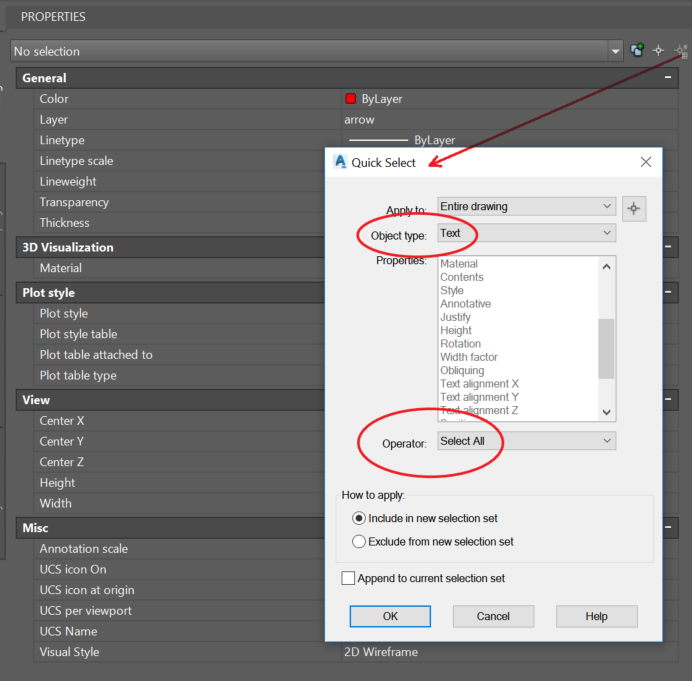
How do we fix these? We need to directly edit the Text Alignment Z in AutoCAD. Here’s how:

  1. Select All Text with Quick Select tool

  2. Then change the ‘Text alignment Z’ value to 0. This also sets the Position Z to zero.

  3. Then either Save As or use the EXPORTTOAUTOCAD command to remove the proxy objects

Now the DWG should Link to Revit without error. Hope this helps some of you 🙂

If you want to Move Text to the Elevation corresponding with the text value, such as for a Civil elevation, you can use this command. With a Civil or other vertical product, start the special command:

  1. _AECCMOVETEXTTOELEVATION
  2. At the ‘Select text objects’ prompt, type All and hit Enter
  3. The text should have been moved automatically

Forum link

Ever had that annoying problem of your entire dwg showing up in Section Views, regardless of where it is cut? If so, check out this tip from Chad at Revit KB:
…if you link the DWG into an In-Place Mass instead, then when the section cuts through the Mass/DWG it will only show just the elements which are being cut by the section.

when placed inside a Mass, that Mass can then be Phased which also means the DWG inside it will too.

via
https://plus.google.com/app/basic/stream/z12zslgqpmqedbufj22wxlrybve1xpb0i

There are two additional recommendations I would make to the Autodesk solution below: use a Generic Model inplace family, and the import can be placed on an additional Subcategory to allow for easier control over visibility in the project environment.

Here is the Autodesk solution:

Issue:

You want to display cut 3D drawing models in section views. Revit displays the entire drawing without regard to cutting plane, both in section and floor plan views. 


Causes:

Revit cannot currently display cut 3D drawing models in section views.

Solution:

  1. In AutoCAD, run EXPORTTOAUTOCAD to export a DWG file.
  2. Import or link the DWG file into an in-place family.

Support page:
3D drawing is not being cut in section or elevation in Revit | Revit Products | Autodesk Knowledge Network

(using Paolo’s addin:)
  1. Download and copy dll and addin and copy to C:ProgramDataAutodeskRevitAddins2014
  2. Unblock the DLL (right click Properties in Explorer)
  3. Addin should automatically be available in Revit 2014 without restarting
  4. New Generic Model Adaptive family
  5. Import 3D DWG
  6. Start the Reference Points from 3D DWG command (Addins – External Tools)
  7. Select the DWG
  8. Click Finish in the Options bar
  9. Wait a while – you will get something like this:
Download links:

file DLL and ADDIN that should be copied here:
C: ProgramData Autodesk Revit Addins 2014


Original post:

We have come across a slightly annoying issue: someone modifies a Linked DWG file in AutoCAD, and upon reloading in Revit, the Import Scale will have been somehow automatically and incorrectly set to some Imperial conversion factor.

The fix is relatively simple – just reset the Import Units and Scale Factor to correct settings:

The cause of this particular seems to be that some users are modifying DWGs in versions of AutoCAD and saving them in newer formats than Revit can understand.  In this case, Revit 2012 was not impressed with 2013 DWG files from AutoCAD 2014…  If the AutoCAD Options Dialog, Open and Save was set to save as an older DWG version (like 2004), there was no problem.  However, if the file was saved to 2013 version, this would trigger various errors from Revit 2012 when trying to reload it.

In the course of this change (including messages about “Do you want to import from Paper Space” etc), Revit 2012 basically modified the Scale of the DWG.  The trigger point for this could actually be when you try re-linking the DWG, because it seems to have “disappeared” after the version problem.  When finally resaving the dwg to an older version and reloading to fix the scaling problem (often associated with a fatal error / crash), the Scale would probably have to be reset as detailed above.

This PDF may be useful:
http://communities.autodesk.com/india/sites/default/files/india/resources/Acad-imports-issues.pdf

If you want your entire geographically separated team to have access to the same linked files, you need to upload them to Revit Server. This also goes for CAD / DWG files, which will need to be imported into an RVT if you want to save them directly to RS.  2D DWG files can be referenced by Linked View in the host project if necessary.

Here is a bit of a workflow that may help:

1 Open the consultant model in appropriate version of Revit
2 Enable Worksharing (if it isn’t already)
3 Save As … 
a) if this is the first “save” of the consultant model to Revit Server, use a generic name like link-Structural.rvt and save onto Revit Server in the appropriate folder (if you have one for links)
or/ 
b) if this is an updated model, overwrite the existing consultant model, using current name in the Revit Server Link folder
4 Use Reload on this new Consultant model in Manage Links of Architectural (our) host model
5 Close the Shared Levels and Grids workset for the Consultant Model, like this:
 
6 Sync with Central.  The Consultant model has now been imported / updated onto Revit Server, and other team members should be able to access it.

More info:
Help: Linking Server-Based Workshared Models

Other links and info:
This RFO post details what some firms are doing with Revit Server and links:
Revit Server & Linked Consultant Files

Revit Server Administrator 2013 displays “Server Error” upon loading the GUI

10 Things to Know About Revit Server – The Revit Clinic

Removing and Replacing Models on Revit Server – The Revit Clinic

Check it out:

Download page

Quote:
“nanoCAD is a well-proven DWG-compatible CAD program that includes AutoCAD-like APIs. It’s totally free. No catches. No adware. No crippleware. No incessant nagging. Up until now, the free version has been the only version of nanoCAD offered to the USA. No doubt, the best value in the industry (even better than DraftSight [it lacks APIs in the free version]).”

via
Exclusive: Evan Yares on nanoCAD USA – WorldCAD Access

Jeremy shows how you can review a DWG file to determine if the source entities were Text or Labels in Revit.  This principle extends further, as he describes:

The differing TypedValue 11 is consistently -2000300 for a text and -2000280 for a label element.
What does this mean?
Well, is actually quite easy.
On seeing these large negative numbers in this specific range, an experienced Revit developer will quickly suspect built-in category or parameter enumeration values.
You can check what they actually represent in the Visual Studio debugger, by jumping to the definition of these enumerations and searching for the specific values.
Looking back at an ancient blog post on the DWG and DXF export Xdata specification confirms that these numbers do indeed represent the built-in category of the source element and thus can be used to distinguish the two.

via
The Building Coder: DWG Issues and Various Other Updates

This is a great post / video from pedroeron on RFO.  It essentially shows you how to hide the edges of imported geometry (such as from Sketchup), so that when it imports into Revit, you only see the shaded surfaces – not the ugly triangulated surface edges.  Nice!

Also, this video shows that it is possible to Link a DWG into an inplace Component family – some interesting possibilities arise from that.


via
From 3ds max to revit without viewing triangles edges

EDIT – the steps are basically:

  1. In 3dsMax, Use ProOptimizer Modifier to get your model to less than 32000 faces (so that it can be exported to DXF)
  2. Convert to Editable Mesh
  3. Use Mesh Selection – Edge tool
  4. Select all Edges and change to invisible
  5. Make one or two triangles visible (so that you can select the model in Revit)
  6. Export to DXF 2007 version
  7. Import into Revit

Note – you can also go Export to 3DS, then import to AutoCAD (using 3DSIN command) and divide object by Material (creating a new layer for each material), then go to Revit from there.  You may experience some geometry issues through this multi-handling of the data.

Sometimes you will have some junk imported DWG definitions residing in your project.  These may be present due to the long history of the project, perhaps using Transfer Project Standards – View Templates, or just poor RVT model management.

How can you get rid of them?

There are various paid tools that will let you do it, but if you already have access to the Whitefeet Tools, you can use them to easily delete any import definitions (they don’t have to be DWGs) that you no longer want in the model.

Here’s how to do it:

  1. Install the WhiteFeet Tools, if you haven’t already.
  2. Open Revit
  3. Go to Add-Ins, Utility Tools (the W logo) and click on Management Tools
  4. Click on Manage Attachment Links
  5. Select the definition you want to remove.  Make sure to select a line with the Type ‘definition’. (See image below).
  6. OK and close out of the dialogs
  7. Once back in Revit, use the Manage – Select by ID tool and press Ctrl+V.  This will paste the element ID for that import definition.  The Properties Palette will show the proper import name, but everything will be grayed out.
  8. Press the Delete key on your keyboard
  9. Done!

Now, when you go to your VG – Imported Categories list, that particular Import will no longer be present.

Congratulations, your model just got cleaner!