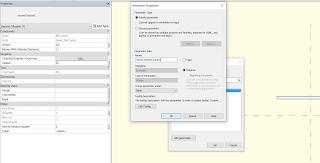
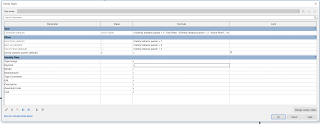
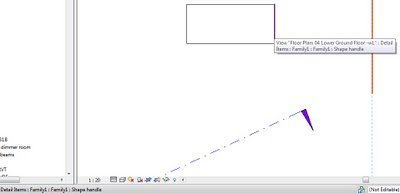
Let’s say you have a family that has shape handles for instance dimensions (Length Parameters). What if you want to use it for quick prototyping, and then switch that same family into a version that uses Type based parameters?

Here’s how I went about it:

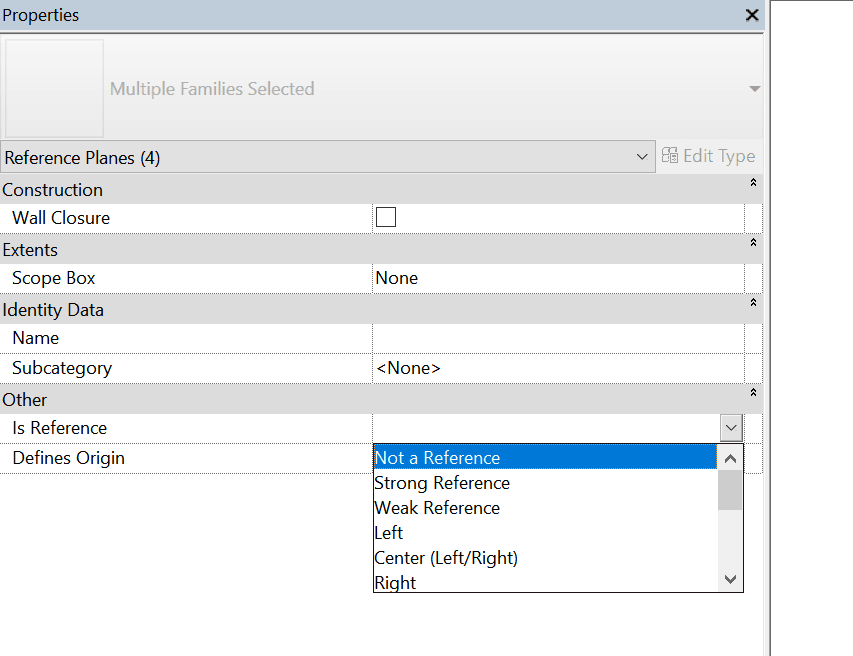
  • Change all existing Reference Planes to “Not a Reference”

  • Create new Reference Planes
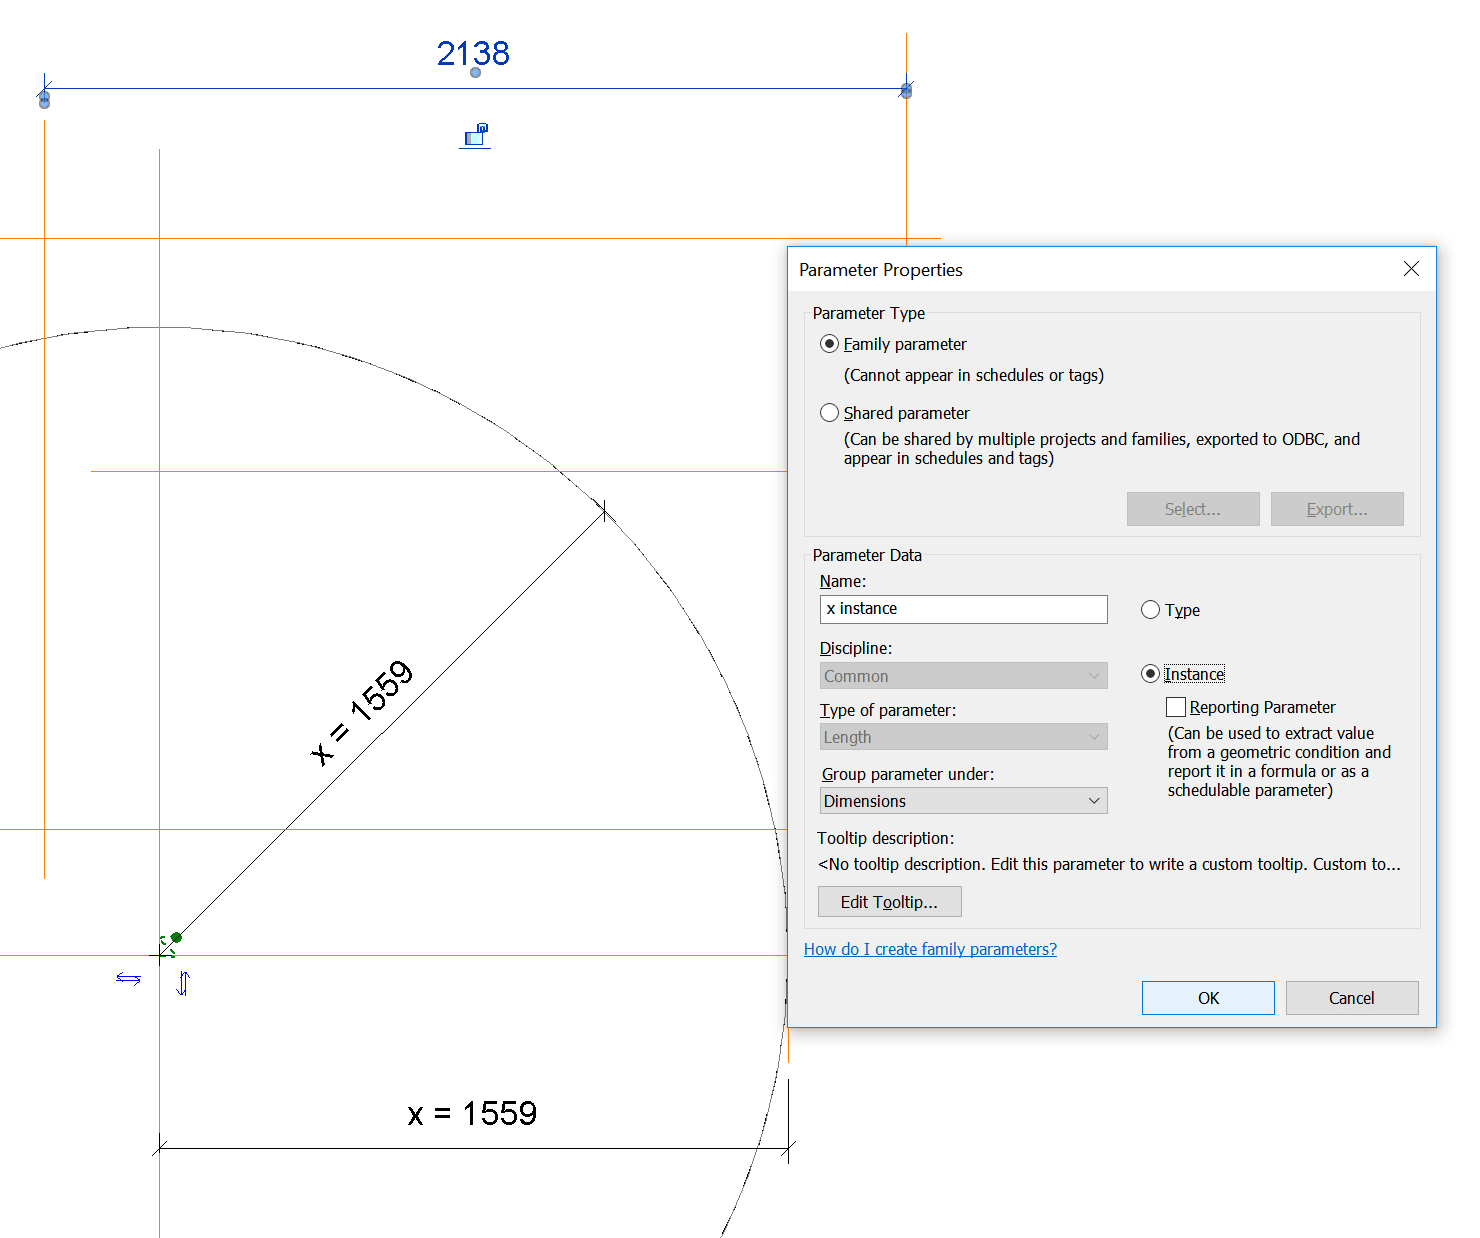
  • Create new instance parameters bound to those Reference Planes

  • Lock one of the planes on each Dimension to existing origin planes
  • Create a corresponding set of Type dimensions
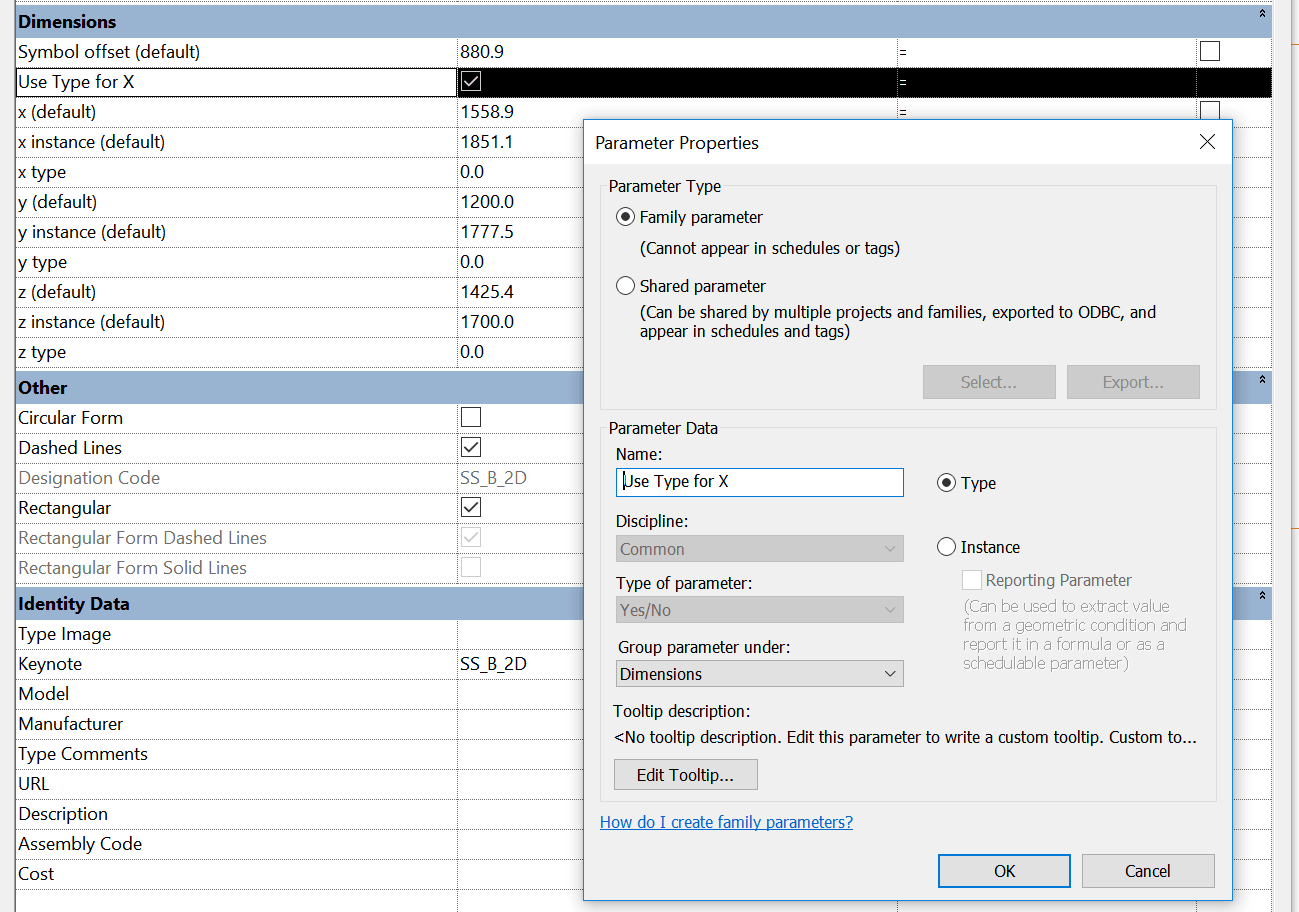
  • Create a set of Yes / No parameters for “Use Type for …”

  • Create formula like:
    if(Use Type for X, x type, x instance)
  • Apply it to the original parameters (the ones that are driving geometry):

How to Use:

  • Place the family
  • Resize using the shape handles (instance dimensions)
  • Then,
  • Create a Type
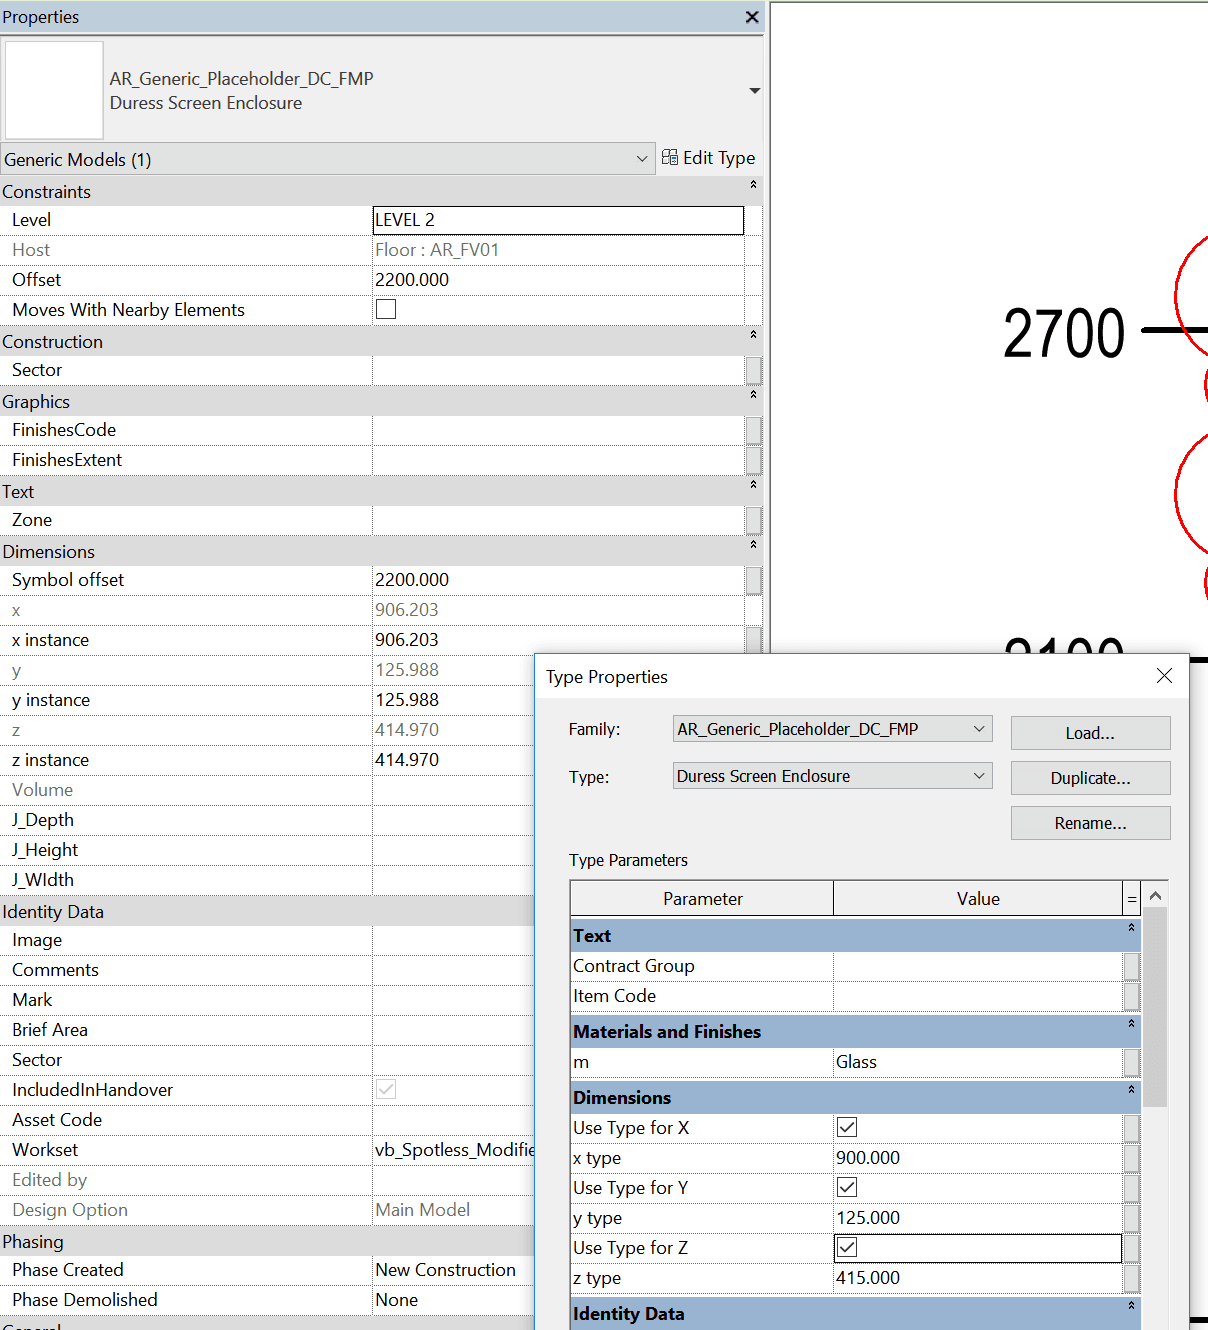
  • Modify the type Values and Tick the “Use Type” box

At this point, the Shape Handles are still visible, but only the Type values are used for the geometry.

Download Sample Family Here – Revit 2018:

AR_Generic_Placeholder_DC_FMP

Note: A future development of this family could be to make an inverse visibility parameter that switches off the Shape Handles once the Type Value is enforced.

Now that is a very Revit blog title, for sure 🙂

So I had a nice old Curtain Wall Panel Door family, which had a nested ‘container’ Generic Model family…

old2bversion-7701979

… in which I arrayed a shared, nested Door Panel Generic Model Family. Basically, it allowed for automatic stacking and sliding doors of varying numbers of panels living inside a Curtain Wall Panel Door, all working automatically. You could tag and edit the Comments and Mark of the nested Panel, but couldn’t change its visibility.

This means that things like slide direction arrows were a problem. I previously had some messy approach to arrows and offsets, but there were tied to the array so they were not flexible enough. As the only parameters that I could access for the shared, doubly-nested panel were Comments and Mark and Image, I couldn’t really use these in visibility parameters or formulas. I wanted to be able to turn off and on arrow annotation (for slide direction), and also set a Keynote or taggable text parameter for ‘FG’ (fixed glass)  or ‘SL’ (sliding) and so forth.

What’s the answer?

For one thing, I’m sorry but you probably have to ditch the array. It is simply too difficult to link through parameters to the elements inside an array, plus you probably really don’t want to.

So, save a backup of your ‘array’ family and rebuild it to use individually placed family instances with visibility parameters based on the ‘Array number’ you had before. You will have 2 panels that have their visibility set to a parameter with a formula like “Array number = 2”. You will have to duplicate all of your elements for each set, and constrain them all individually. This is a pain, but if you want to get the sub-element visibility control, you may think it is worth it. You will have to do this for as many array conditions as you want to cover (like 2, 3, 4 etc).

With this new ‘non array’ family, how do we set up the parameters?

We are going to drive all of it with a single integer value instance parameter in the shared panel family. Then we will tie that to element visibility parameters.

We will link that integer instance parameter through each level like so:

instance2bparam2blinking-9187315

… until we get to our ‘container’ that used to hold an array, but now holds individual family instances that we turn on and off with the array number. From here, we make a new instance parameter for each placed family instance, so we can drive the nested family. So for a three panel sliding family, we might have 3 instance parameters in the ‘container’, like:

  • Left Panel vis type (used for 2 and 3 panels)
  • Centre Panel vis type (used in the 3 panel type only)
  • Right Panel vis type (used for 2 and 3 panels)

Link these three parameters through to the Curtain Wall Door family (they can be instance or type here at the parent family). They are now accessible in the project. Essentially, we can select our Curtain Wall Door family, modify the 3 integers, which drives through all the way to our most deeply nested Panel family.

In the deeply nested Panel family, we use the integer to drive other things, like:

  • turn Plan and Elevation arrows on and off, 
  • set a Shared text parameter to a certain value (with a nested IF statement). Note: Add the Shared text parameter to a Generic Model tag and you can tag and schedule it in the project. 
  •  show / hide model geometry

Note: You can’t use Keynote here because we are not allowed to drive a Type Parameter with our instance parameter.

param_linked-6748504

Unfortunately, we can’t drive a Material parameter directly with the integer value. But, we can have multiple copies of geometry with different materials, and drive the Material visibility with the above process.

Finally, you can do this structure as many times as you like, but obviously the amount of integers you have to keep track of is going to get more and more difficult. You will also need some way of explaining to users what each integer actually does – like if I set the Left Panel to integer 1, what will show up and what will the tag value be? You will probably need some kind of explanatory schedule or document for this…

But there you have it, a framework for driving deeply nested shared family visibility. Congratulations if you made it to the end of the post 🙂

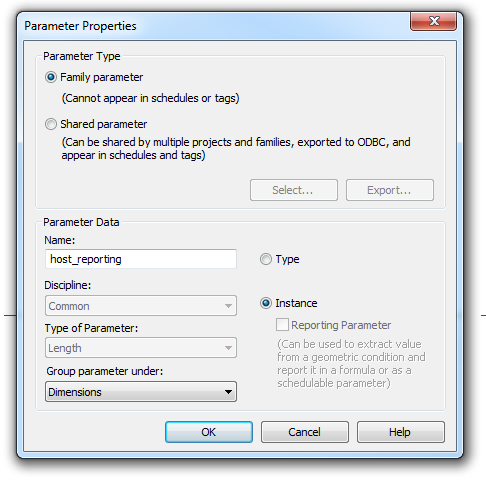
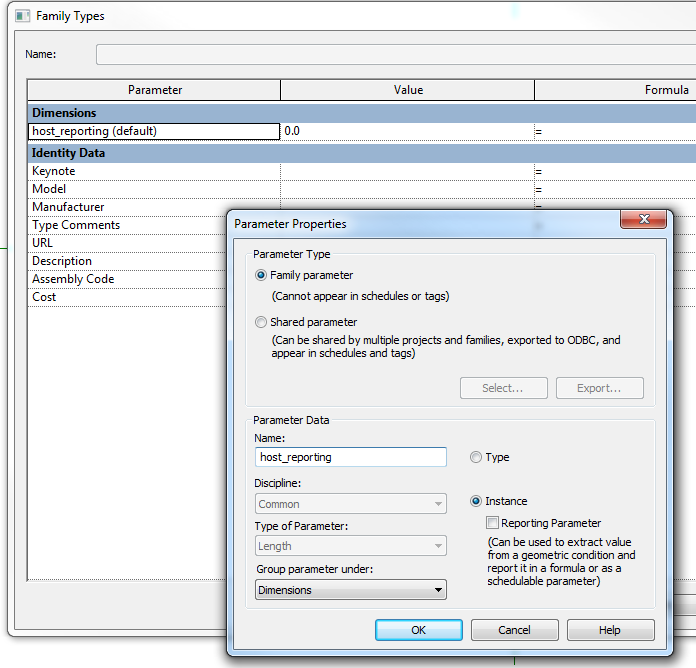
Let’s say you have a nested family with a formula driven parameter, something like =Length/10. You want to expose this to a host family and make it a Reporting Parameter, but that option seems to be grayed out (firstly, because its formula driven, secondly because its a nested family):

Here’s what to do:

  1. Remove the formula from the nested family and reload it (so you can now apply a parameter to it in the host)
  2. Add an instance parameter as per the image above
  3. Close this dialog by clicking OK
  4. Go to the Family Types dialog
  5. Select and Modify that parameter
  6. Now you can tick the Reporting box
  7. Edit the nested family again – reinstate the formula
  8. Reload the family
  9. You now have a Reporting parameter in the host family that tells you the value of a nested, formula driven parameter

Another workaround that may assist with reporting parameter restrictions is to:

  1. Save the family and close it
  2. Rename with extension .rft
  3. Make a new family based on this “template”
  4. Maybe the problems you were having with Reporting parameter restrictions are gone, but you might have mixed results

Can you change built-in parameters from Type to Instance based, and vice versa?  This post shows you can. 

The essence of the workflow is to

  • start a family with the desired template, 
  • add a value to the parameter, 
  • change the Family Category to something that doesn’t have that parameter built-in, 
  • switch the parameter to Instance, 
  • then change the Family Category back to the original

Read the more detailed version here:
http://aectechtalk.wordpress.com/2013/12/26/change-revit-voltage-parameter-from-type-to-instance/

(It is based on changing voltage parameter to Instance based for Electrical Equipment)

Another nice workaround by Philip Chan – if you want to change one of Revit’s built-in Type Parameters (derived from a Family Template, such as Door Fire Rating) to an Instance Parameter, you just have to take the Family on a little round trip to a more flexible Family Category.

For example:

  1. New Door based on Door Family Template
  2. Switch to Generic Model Type
  3. Change built-in Type Parameter for Fire Rating to Instance
  4. Switch back to Door Category

You can read Philip’s whole post at:
Phil-osophy in BIM: Hacking System Parameters in Door Family

This is one of the most exciting blog posts I have read for some time:
http://revit.blogspot.com/2010/03/accessing-project-parameters-in.html from Jay Polding at revit in plain english.

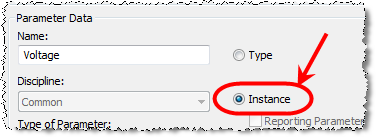
Essentially, in any schedule you can actually add Project Information parameters. This includes Sheet Schedules, Component Schedules and Material Takeoffs, but not Note Blocks. All you need to do is tick the ‘Include Elements in Linked Files’ box to expose the ‘Project Information’ option in the dropdown list. And when you add custom Project Information parameters, make sure you tick ‘Instance’ in the Parameter Properties box (otherwise you won’t see Project Information as a possible category for your new parameter).

My brain is starting to tick over as to possible uses of this in filtering and calculation… You could use it to set a provisional unit cost for flooring, use the parameter in a number of different cost schedules, and then 6 months down the track if the cost changes – you only have to change it once, in Project Information!

You could filter all of your schedules with a Yes/No Project Information parameter, lets say for ‘optional building elements’, and when the Client decides they don’t want them – just untick the box in Project Information and all the schedules hide all of these optional elements. That is cool!

So you are using the ‘grips’ to try and stretch instance parameters on a family, but it is a pain – sometimes they snap, sometimes they don’t, you can’t dial in a certain value to ‘move’ the instance parameter…and when you try and ‘align’ that instance to something, the whole family moves!!! What to do?!?

Revit wants you to ‘Tab’ select the Ref Plane inside the family. Now you can use the ‘move’ command to move that instance element accurately. The process again – you have a family with an instance parameter. Use Tab to select the Ref Plane associated with the instance parameter. Now hit ‘Move’ (or your Keyboard Shortcut :-), and you can put that ref plane exactly where you want it.

Awesome!

Got this great tip from Aaron Rumple:
http://forums.augi.com/showthread.php?p=257292&mode=linear&highlight=instance+align+move#post257292