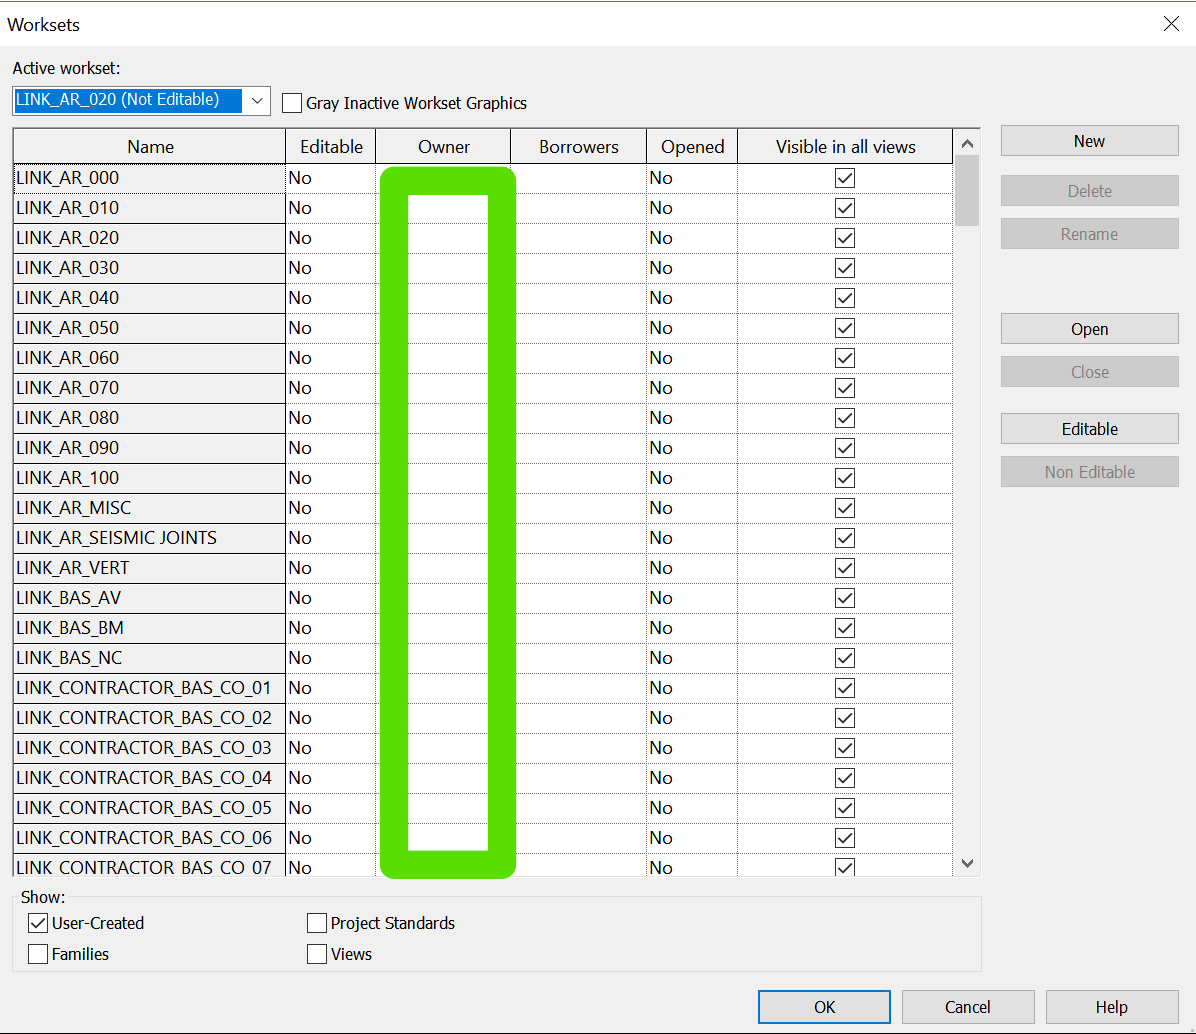
If you have gone through a process of saving Central models, and you have forgotten to ‘Synchronize with Central’ before closing them for the first time, you may find that your user has all User Created Worksets checked out in those files. A quick recap:

  • Workshared Revit files use a persons Revit user name (sometimes linked to an Autodesk SSO login) to determine if things are checked out
  • If someone has a User Workset checked out, you won’t be able to edit it until they Relinquish. (Note: you can Detach and recreate the file but that is dangerous if you have multiple people working on something)

Basically I had a bunch of Revit files that had all User Worksets from certain usernames checked out. They were upgraded and they were Central files. All that was needed was a simple Open and Relinquish. As I didn’t want to do this manually, I sourced some macro code from here and adapted it for my situation.

What does it do?

This Application level macro starts with a dialog box where you can select files. After you select them, it then loops over each file and Opens it, then does a Relinquish All Mine on User Created Worksets, and then it Syncs with Central and Closes the file. The key part of the code is here:

How to set it up?

First, get the code below. Copy and paste it into a new Application Macro in Revit.

 /*
  * Created by SharpDevelop.
  * User: lukes
  * Date: 1/10/2018
  * Time: 2:54 PM
  * 
  * To change this template use Tools | Options | Coding | Edit Standard Headers.
  */
 using System;
 using Autodesk.Revit.UI;
 using Autodesk.Revit.DB;
 using Autodesk.Revit.UI.Selection;
 using System.Collections.Generic;
 using System.Linq;
 using Autodesk.Revit.ApplicationServices;
 using System.IO;
 using System.Windows.Forms;
 
 namespace relinquish
 {
     [Autodesk.Revit.Attributes.Transaction(Autodesk.Revit.Attributes.TransactionMode.Manual)]
     [Autodesk.Revit.DB.Macros.AddInId("30EBC375-5A4C-4917-AB07-D7212C9ED3FA")]
     public partial class ThisApplication
     {
         private void Module_Startup(object sender, EventArgs e)
         {
 
         }
 
         private void Module_Shutdown(object sender, EventArgs e)
         {
 
         }
 
         #region Revit Macros generated code
         private void InternalStartup()
         {
             this.Startup += new System.EventHandler(Module_Startup);
             this.Shutdown += new System.EventHandler(Module_Shutdown);
         }
         #endregion
         public void RelinquishMineFromFiles()
         {
             
             
 OpenFileDialog theDialogRevit = new OpenFileDialog();
 theDialogRevit.Title = "Select Revit Project Files";
 theDialogRevit.Filter = "RVT files|*.rvt";
 theDialogRevit.FilterIndex = 1;
 theDialogRevit.InitialDirectory = @"C:\";
 theDialogRevit.Multiselect = true;
 if (theDialogRevit.ShowDialog() == DialogResult.OK)    
             
     {             
 /* string mpath = "";
         string mpathOnlyFilename = "";
         FolderBrowserDialog folderBrowserDialog1 = new FolderBrowserDialog();
         folderBrowserDialog1.Description = "Select Folder Where Revit Projects to be Saved in Local";
         folderBrowserDialog1.RootFolder = Environment.SpecialFolder.MyComputer;
         if (folderBrowserDialog1.ShowDialog() == DialogResult.OK)
         {
          mpath = folderBrowserDialog1.SelectedPath;*/
                 foreach (String projectPath in theDialogRevit.FileNames)
                 {
                  FileInfo filePath = new FileInfo(projectPath);
                         ModelPath mp = ModelPathUtils.ConvertUserVisiblePathToModelPath(filePath.FullName);
                         OpenOptions opt = new OpenOptions();
 /*                        opt.DetachFromCentralOption = DetachFromCentralOption.DetachAndDiscardWorksets;*/
                          WorksetConfiguration openConfig = new WorksetConfiguration(WorksetConfigurationOption.CloseAllWorksets);
                         // Set list of worksets for opening 
 /*                        openConfig.Open(worksetIds);
                         opt.SetOpenWorksetsConfiguration(openConfig);
                         mpathOnlyFilename = filePath.Name;*/
                         Document openedDoc = Application.OpenDocumentFile(mp, opt);                               
 /*                        SaveAsOptions options = new SaveAsOptions();*/
                          TransactWithCentralOptions twcOpts = new TransactWithCentralOptions();
                         SynchronizeWithCentralOptions syncopt = new SynchronizeWithCentralOptions();
                         RelinquishOptions rOptions = new RelinquishOptions(true);
                         rOptions.UserWorksets = true;
                         syncopt.SetRelinquishOptions(rOptions);
                         syncopt.SaveLocalBefore = false;
                         syncopt.SaveLocalAfter = false;
 /*                        options.OverwriteExistingFile = true;
                         ModelPath modelPathout = ModelPathUtils.ConvertUserVisiblePathToModelPath(mpath + "\\" + mpathOnlyFilename);
                         openedDoc.SaveAs(modelPathout, options);*/
                         openedDoc.SynchronizeWithCentral(twcOpts, syncopt);
                         openedDoc.Close(false);
                }
         }
 }}}

Then,

  • Add the System.Windows.Form reference and
  • Build the Solution

Note: I built and tested this on Revit 2018.2.

How to Use It?

  1. Set your Revit User Name to the user that you want to Relinquish the Worksets for…
    • You may have to logout of your own SSO first
    • Go to Revit Options
    • Input the exact user name (including @ if an email address)
  2. Start a new blank project in Revit
  3. Start the Macro Manager
  4. Select the RelinquishMineFromFiles macro that you built
  5. Click Run
  6. Select the files you want to fix
  7. Click Ok
  8. Wait for the result. The macro will step through them, Relinquish, Sync and Close the files.


Note:

Please use at your own risk, this has the potential to be pretty risky in a real project environment. Only use it if you understand what is going on 🙂

Also, you can refer to this Revit API Doc page.

Translated quote:
Please download the macro down here: Download DeleteStandardMaterials

  1. Connect Revit.
  2. Unzip the zip file. The ZIP contains a DeleteStandardMaterials folder with two subfolders (AddIn + Source).
  3. Copy the addin + Source folder on the following path: C: \ Program Data \ Autodesk \ Revit \ Macros \ 2015 \ Revit \ AppHookup \ DeleteStandardMaterials
  4. Start Revit.
  5. Open the file.
  6. Open Manage / Macro Manager / Application tab: The macroDeleteStandardMaterials” appears under the Application tab.
  7. Select “Execute” and start the “Run” command. > The standard materials are removed.

via
http://translate.google.com/translate?u=http%3A%2F%2Fbimblog.typepad.com%2Fautodesk_bim_blog%2F2014%2F08%2Fdatei-performance-issue-in-revit-2015.html&hl=en&langpair=auto|en&tbb=1&ie=UTF-8

unusedmats-2670369

The next generation of successful designers will have one important thing in common – the ability to quickly build the tool they need to accomplish a given task. Revit macro coding is one way to do this (Dynamo is another, even powerful Excel spreadsheets can qualify as BIM tools). But if you have had limited involvement with Revit macros in the past, you might be wondering “So… What is a macro anyway?”

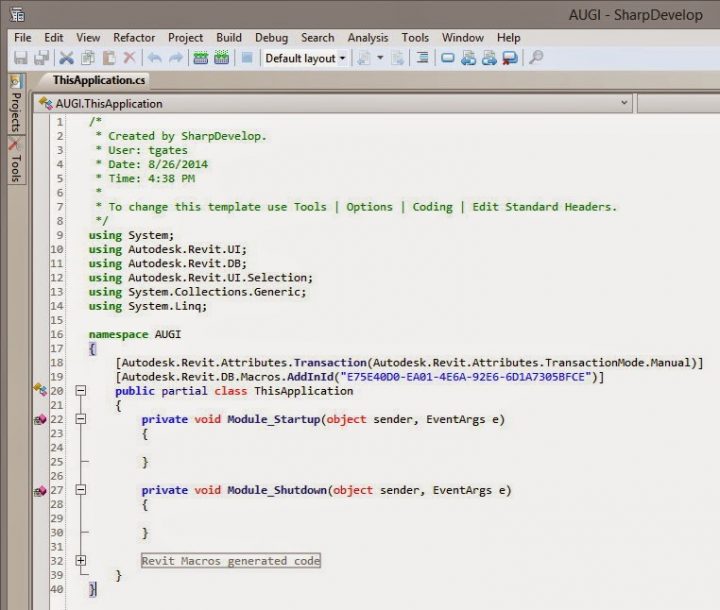
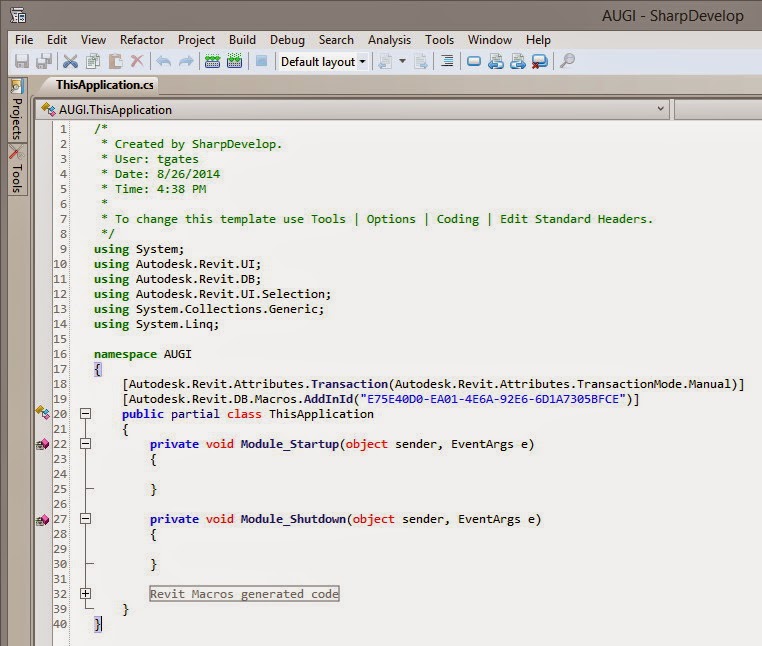
One good place to start would in this great little article by Troy Gates on AUGI. Here are three tips from the article to get you interested:

  • I highly suggest creating the macros in the application tab so you can reuse the macros in any Revit model. If you store the macro inside the model, then it is only available to that Revit model.
  • The Revit API also allows the use of Microsoft LINQ (Language Integrated Query) functions. LINQ allows you to use a database-like query system to filter the elements contained in a collection. It is much more powerful and easier to use, in my opinion, when working with collections of Revit elements.
  • your code needs to define objects that the Revit API will use to interface with these. These objects are called UIDocument and Document…

Read the whole article:
Introduction to Revit Macros | AUGI

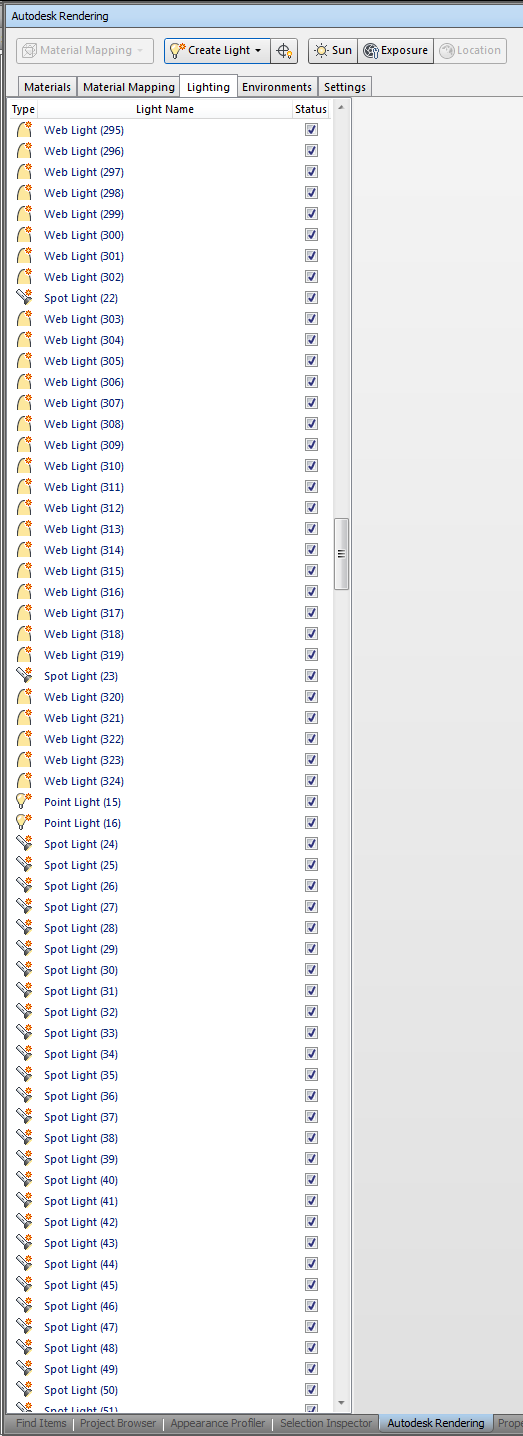
The problem – Appending a given NWC creates hundreds of lights in your NWF, as they were exported with light sources from Revit:


Update: scroll to the bottom of the Autodesk Rendering, Lights pane and select the last entry. Press and hold the Delete key on the keyboard – it will rapidly delete lights out of the Navisworks model.

One way to get rid of all these light sources is to use a macro recorder to delete them all. This is because Navisworks 2015 does not allow you to delete multiple light sources at once (sadface), and it doesn’t allow you to “Clear Palette” like Presenter did.

The immediate workaround is to use Shaded mode with Headlight only, as this ignores Light sources. Not pretty.

You could also down-save to 2013, delete the lights in Presenter, then save-up to 2015, but that seems a little too hacky, even for me.

Here’s the clicky mouse macro method:

  1.  Install MouseController (I used choco install mousecontroller)
  2. Open the problem NWF
  3. When it “Can’t resolve external references” for each .ies file, just click Ignore All
  4. Set up a macro to delete lights (see the Screencast below)
  5. My best result was using Time Stretch 3.0x and Repeat every 0.8 seconds
  6. Set it and walk away from your PC for a bit

Some other things to try:

  1. Look for a light source subcategory in your NWC export view
  2. Turn it off
  3. Re-export
  4. Append to a brand new NWF and see if the lights show up in Autodesk Rendering

Another thing to try:

  1. Navisworks Exporter settings/File Reader/Revit
  2. Untick “try and find missing materials”. Make sure that box is NOT checked.
  3. Also turn off light source as in step 1 above.
  4. Re-export
  5. Append to a brand new NWF and see if the lights show up in Autodesk Rendering

Some of the bugs that might show up:

Missing IES file references

Regenerating thumbnail image …

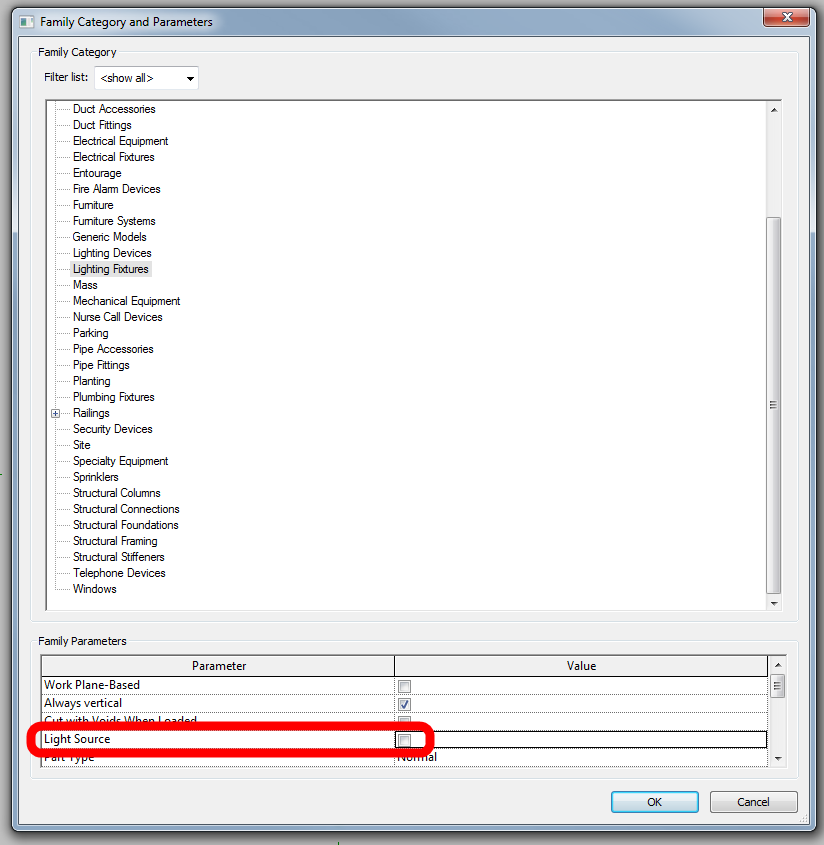
The only real fix (at this stage) is to open each Lighting Family and untick Light Source. Obviously, this is not really an option if you are doing lighting analysis or using the lights for rendering in Revit or 3dsMax etc:

Related forum links:
http://forums.augi.com/archive/index.php/t-98820.html

http://forums.augi.com/showthread.php?133133-Revit-light-fixture-light-source-geometry-won-t-go-away/page2

Visible Light Source – Autodesk Community

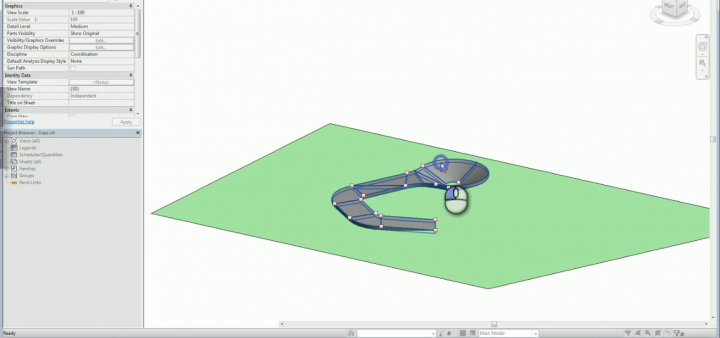
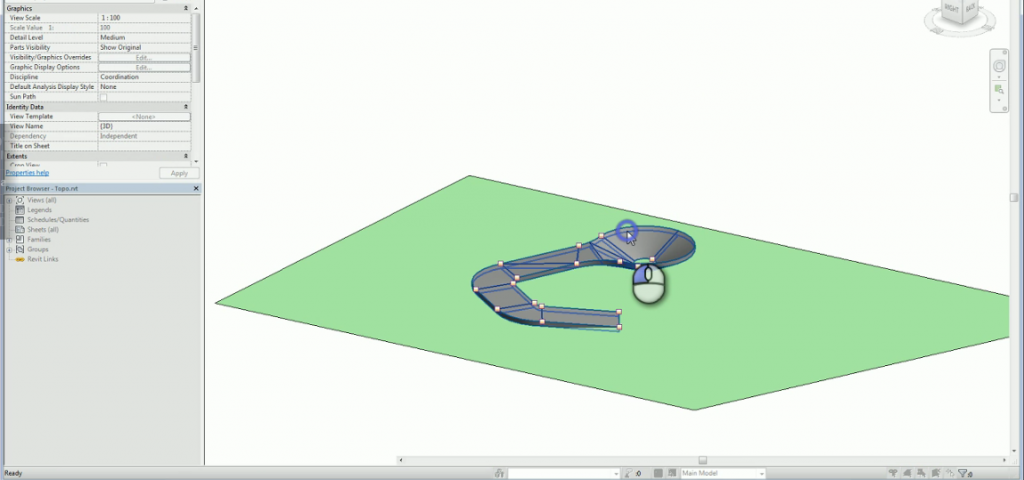
Paolo has posted an interesting bit of code that basically allows you to pick a floor element, and it will add points to a topography so that the topo follows the “points” on the Floor.

A very interesting solution to a common problem, namely, the (currently) limited functionality of topo tools in vanilla Revit.

Download here
“Anyway here you can find the code I’ve used
via original post http://puntorevit.blogspot.com/2014/08/align-topo-macro-attempt.html

Interestingly, this hotfix comes in the form of a macro to clean up your files. The issue as stated on the Autodesk Knowledge Network is:
In Revit 2015 the performance of some file is very slow. This means that
opening material browser may take an extremely long time or Revit will
hang. Typically you cannot execute the “Purge unused elements” command
as well, because Revit will freeze. 


Every time you edit a family and load it back in > overwrite > the
number of materials will grow substantially. For example after 5 or so
subsequent reloads in our sample file it jumps from 15551 to 186623
materials.

We have seen this most commonly when editing titleblock familes in the German and Japanese version of Revit. 


Download the macro:
DeleteStandardMaterials.zip

Please go through the process below to clear out the extra materials:

  1. Close Revit.
  2. Extract the zip file: It will contain a DeleteStandardMaterials folder with two subfolders (AddIn + Source).
  3. Copy the AddIn + Source folders on the following path:
    C:ProgramDataAutodeskRevitMacros2015RevitAppHookupDeleteStandardMaterials
  4. Start Revit.
  5. Open the file.
  6. Open Manage/ Macro Manager/ Application Tab: The macro should
    show up in the Macro manager under application > macros as
    “DeleteStandardMaterials”.
  7. Select here “Execute” and start the command “Run” > This will delete Standard Materials.

After these steps use Save As to save the file with a new name.

Here are 2 videos showing the steps:
https://screencast.autodesk.com/Main/Details/5bfa2fff-3443-45e0-a156-4c530c594c28
https://screencast.autodesk.com/Main/Details/fb7eaa0a-b529-47b7-9e35-7d42c3944a0b

Main page:
File performance problem in Revit 2015 | Search | Autodesk Knowledge Network

Heads-up:
Be Revit – Do Family Planning: Revit streikt / Datei wird immer größer und reagiert nicht mehr?

One of the most popular addins for Revit to date is the simple section box tool by Coins. But what about doing the same thing in 2D? Paolo has put together a macro (and shared the code) that crops a Plan view around a selection of elements. Nice job!

From Punto Revit:

I’ve been asked by a  reader if it is possible via Revit API to crop a plan view around a selection of objects, if there are no scope boxes associated it can be done in a fairly easy way.

You can find the code here

Original post:
http://puntorevit.blogspot.com/2014/07/crop-view-by-selection-macro.html

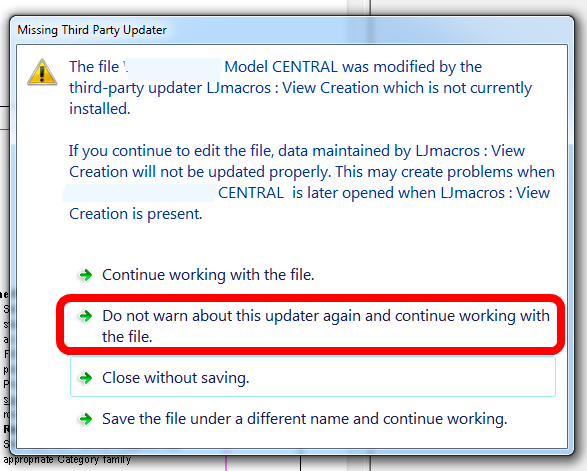
Have you ever experienced the “Missing Third Party Updater” message?  It comes about when an Updater (addin or macro) is in use, and then does not exist on a PC that is new to the project.

From sasha.varsanofieva
You must close all local files, open and click do not warn on your central, and then recreate locals. Otherwise the locals will continue to write the tag back into your central and from your central into the locals.

In my case, this wasn’t enough to fix the issue.  The updater message still showed.  I did this:
  1. Opened the Central with Audit and Detach ticked
  2. Clicked the “Do Not Warn…” option
  3. Saved the file as a Central with a different filename
  4. Closed the file and opened it in the usual method (with Save New Local ticked)
  5. The warning did not show anymore

I don’t think the API programmers should get scared just yet, but is there a day coming when visual programming will completely replace custom code?  Julien seems to think so:

“I firmly believe Dynamo could be used for many many purposes, and addin-like behavior is one…
Definitions are easy to share and update. Users can tune them with only some basic Dynamo skill. It is not the same with addins. It is a lot of work to manage and deploy. And users will not be able to tune things. Same thing for macros.”

Read more:
API or not API: addins vs Dynamo in Revit | AEC, you and me.

Heads-up: https://twitter.com/Jbenoit44/status/414322858823659520