Let’s say you have a family that has shape handles for instance dimensions (Length Parameters). What if you want to use it for quick prototyping, and then switch that same family into a version that uses Type based parameters?

Here’s how I went about it:

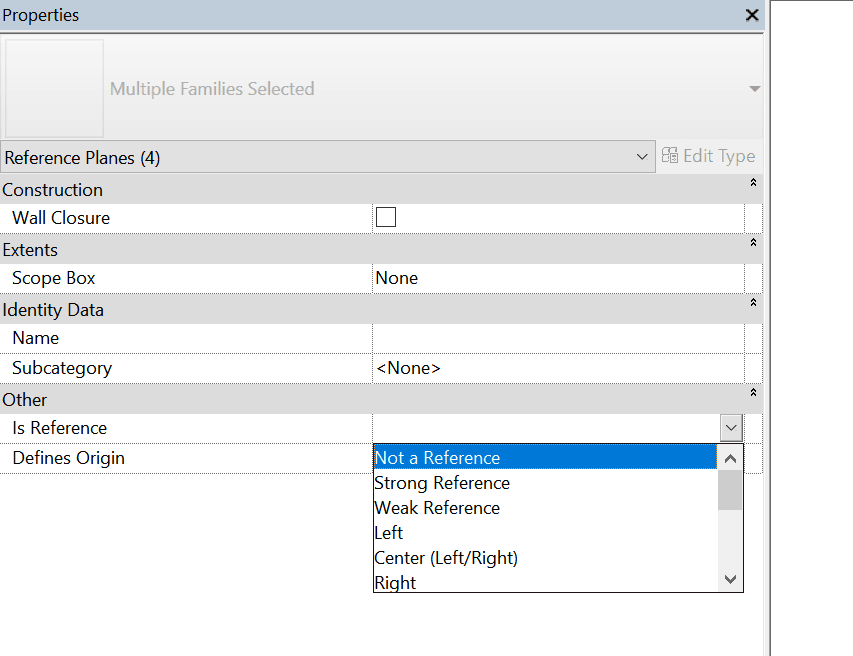
  • Change all existing Reference Planes to “Not a Reference”

  • Create new Reference Planes
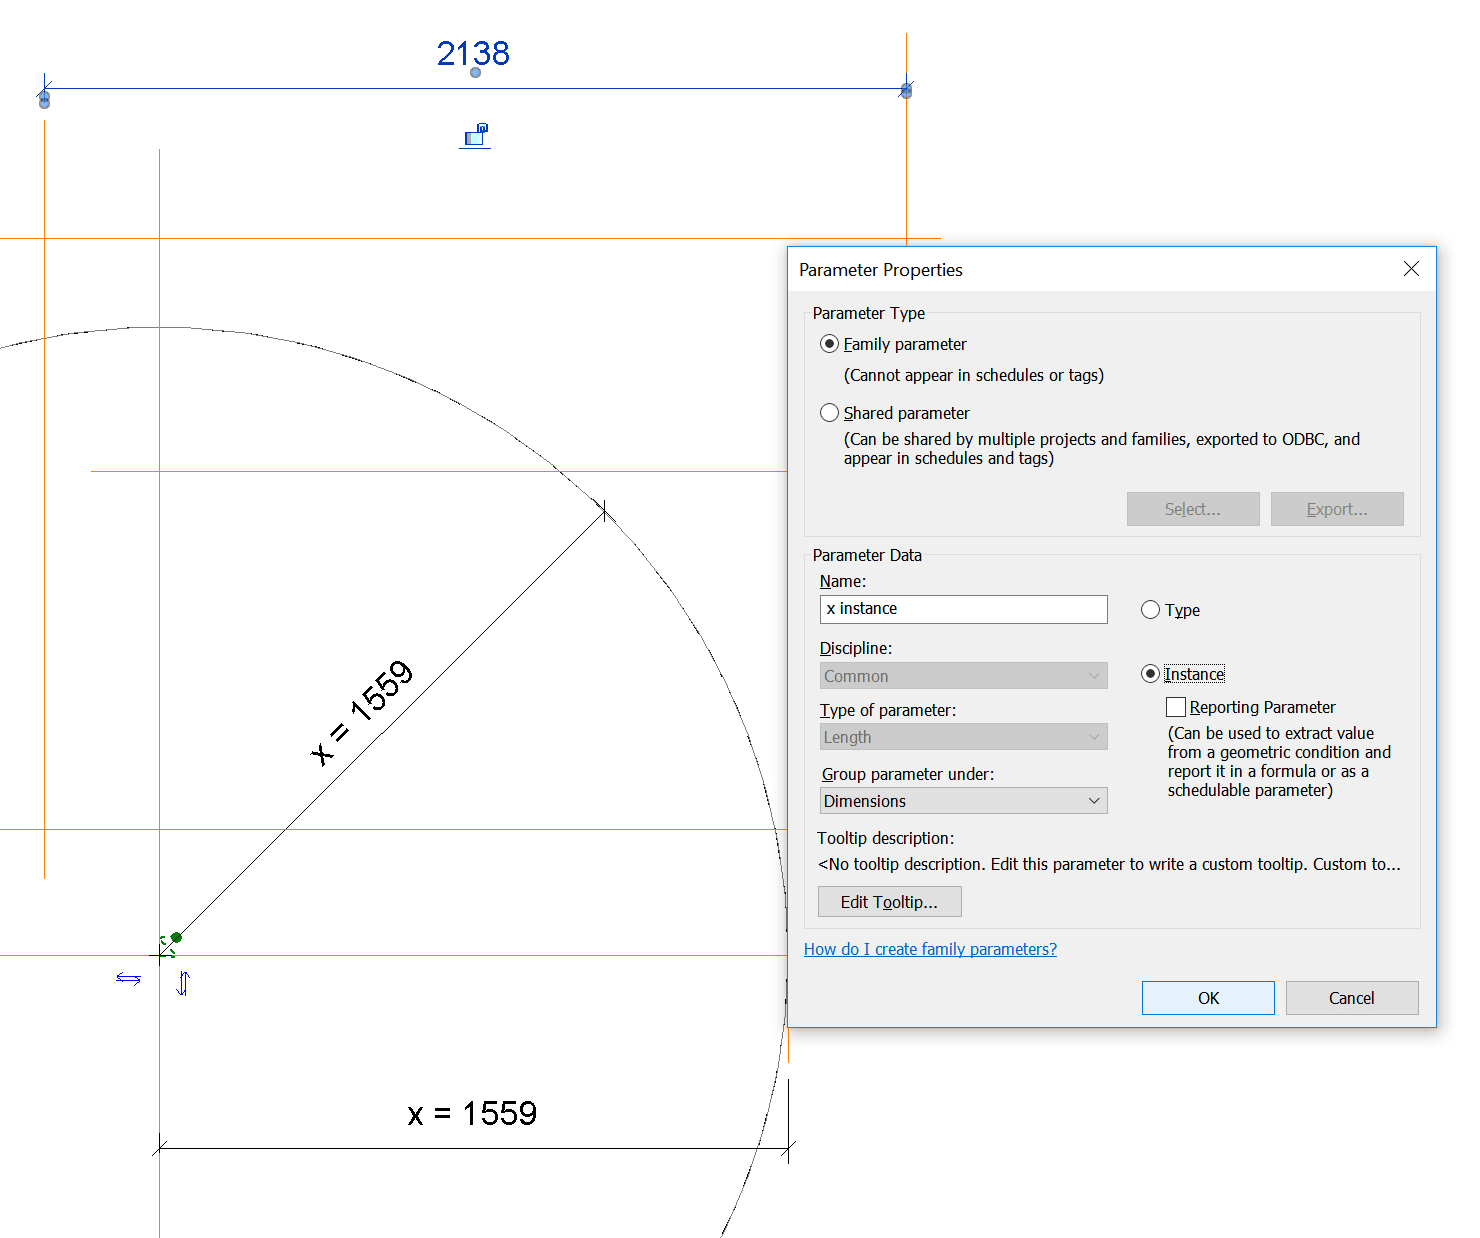
  • Create new instance parameters bound to those Reference Planes

  • Lock one of the planes on each Dimension to existing origin planes
  • Create a corresponding set of Type dimensions
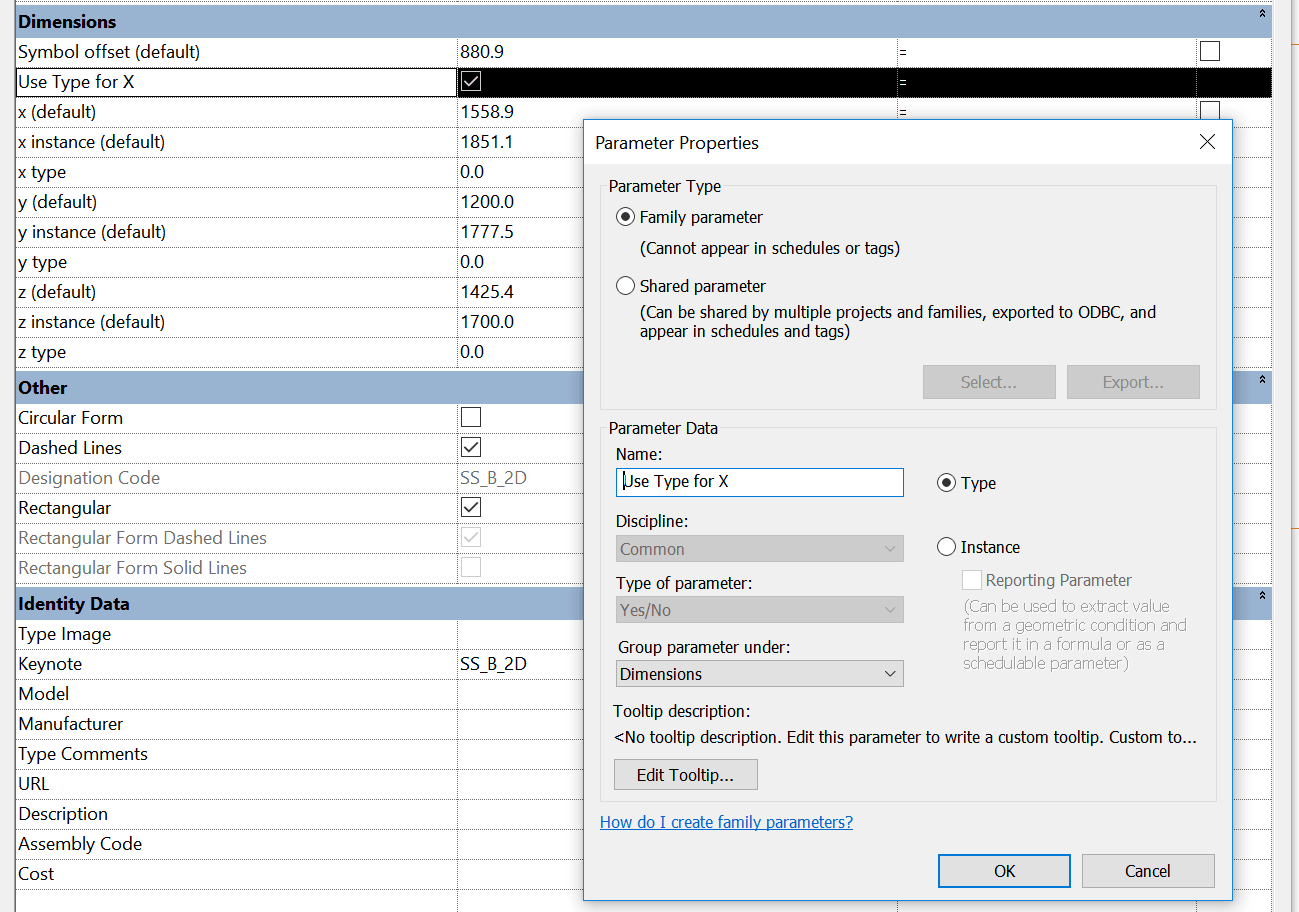
  • Create a set of Yes / No parameters for “Use Type for …”

  • Create formula like:
    if(Use Type for X, x type, x instance)
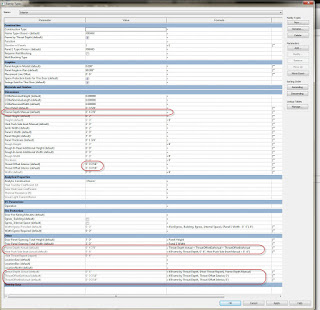
  • Apply it to the original parameters (the ones that are driving geometry):

How to Use:

  • Place the family
  • Resize using the shape handles (instance dimensions)
  • Then,
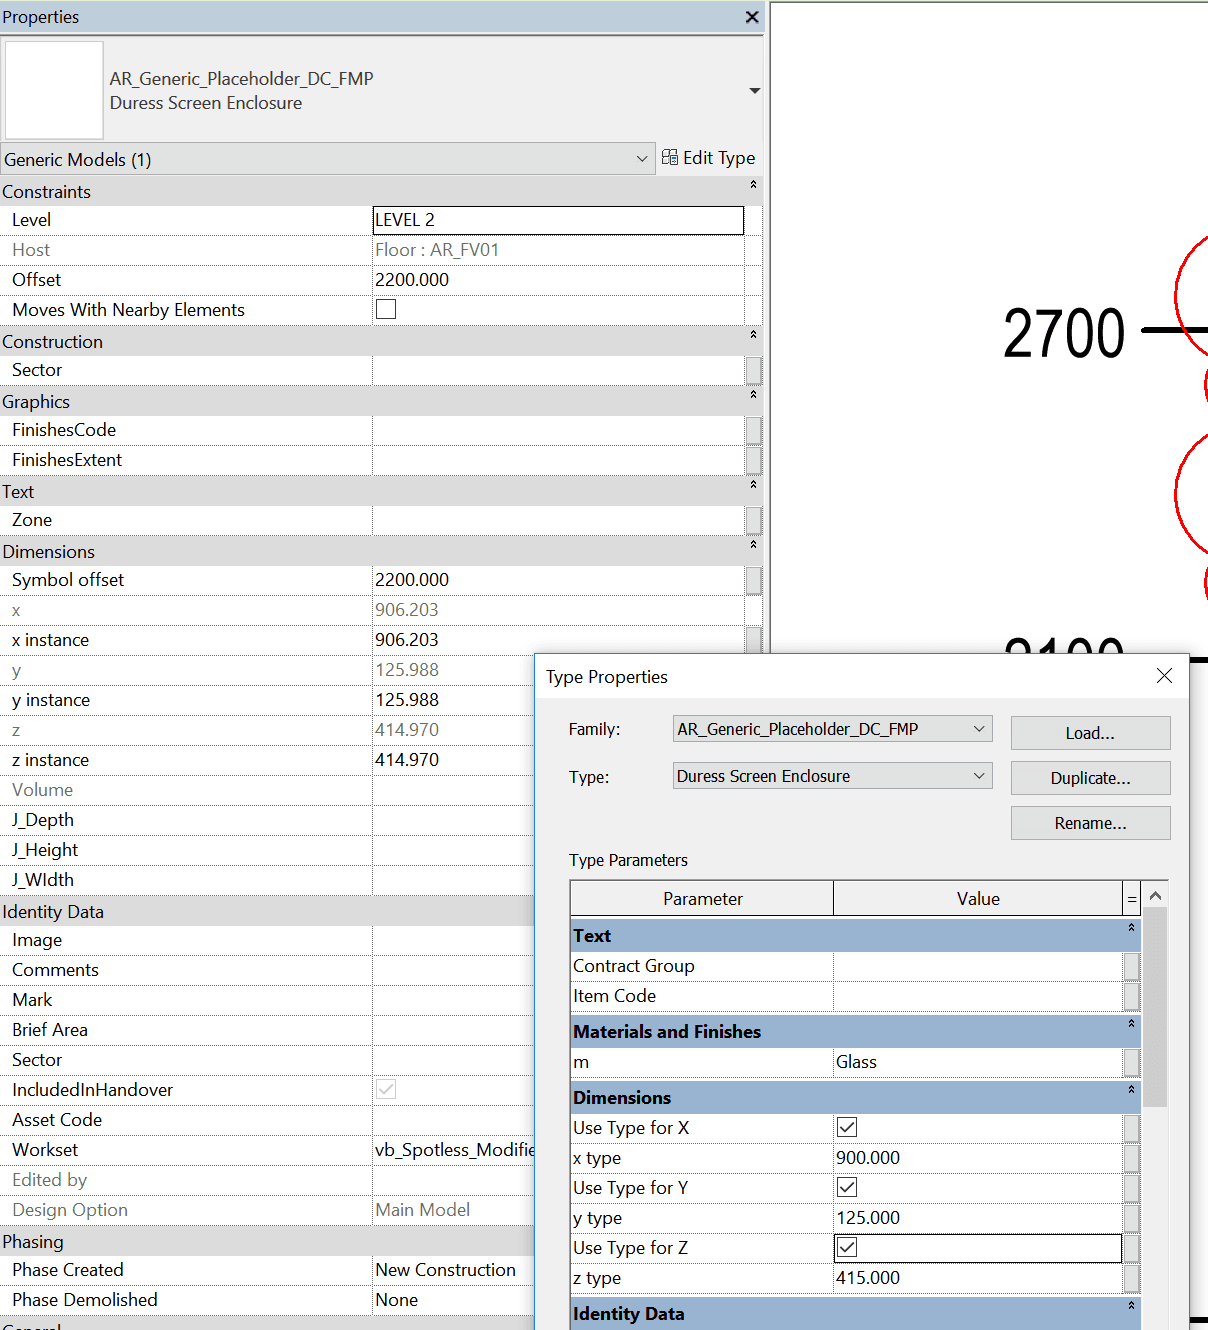
  • Create a Type
  • Modify the type Values and Tick the “Use Type” box

At this point, the Shape Handles are still visible, but only the Type values are used for the geometry.

Download Sample Family Here – Revit 2018:

AR_Generic_Placeholder_DC_FMP

Note: A future development of this family could be to make an inverse visibility parameter that switches off the Shape Handles once the Type Value is enforced.

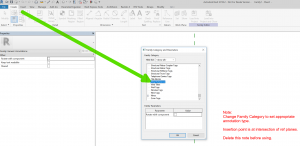
Sometimes, What Revit Wants is a specific Annotation Tag family of a unique Family Category, like View Reference. When you go to create a new Family, you probably won’t find a Family Template for ‘Metric View Reference’ or similar. You need to create a family with the Generic Annotation template, and then change the Family Category.

Here’s how:

  1. Create a new Family -> Generic Annotation template
  2. Change the Family Category to the desired Category (like View Reference)

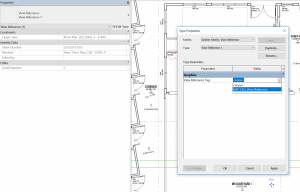
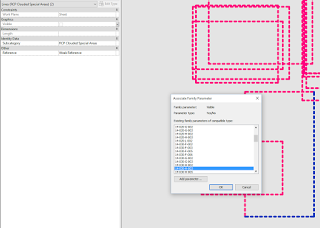
Save the family, then go ahead and add the Text, Labels and Lines as desired. Load into your project and you can then select it in the relevant dialog box:

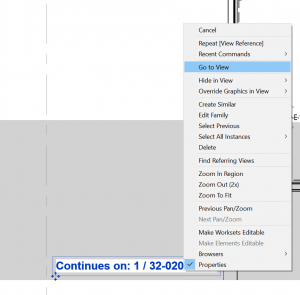
Keep in mind that you can use a View Reference to “Go to View”, such as for an adjoining Floor Plan:

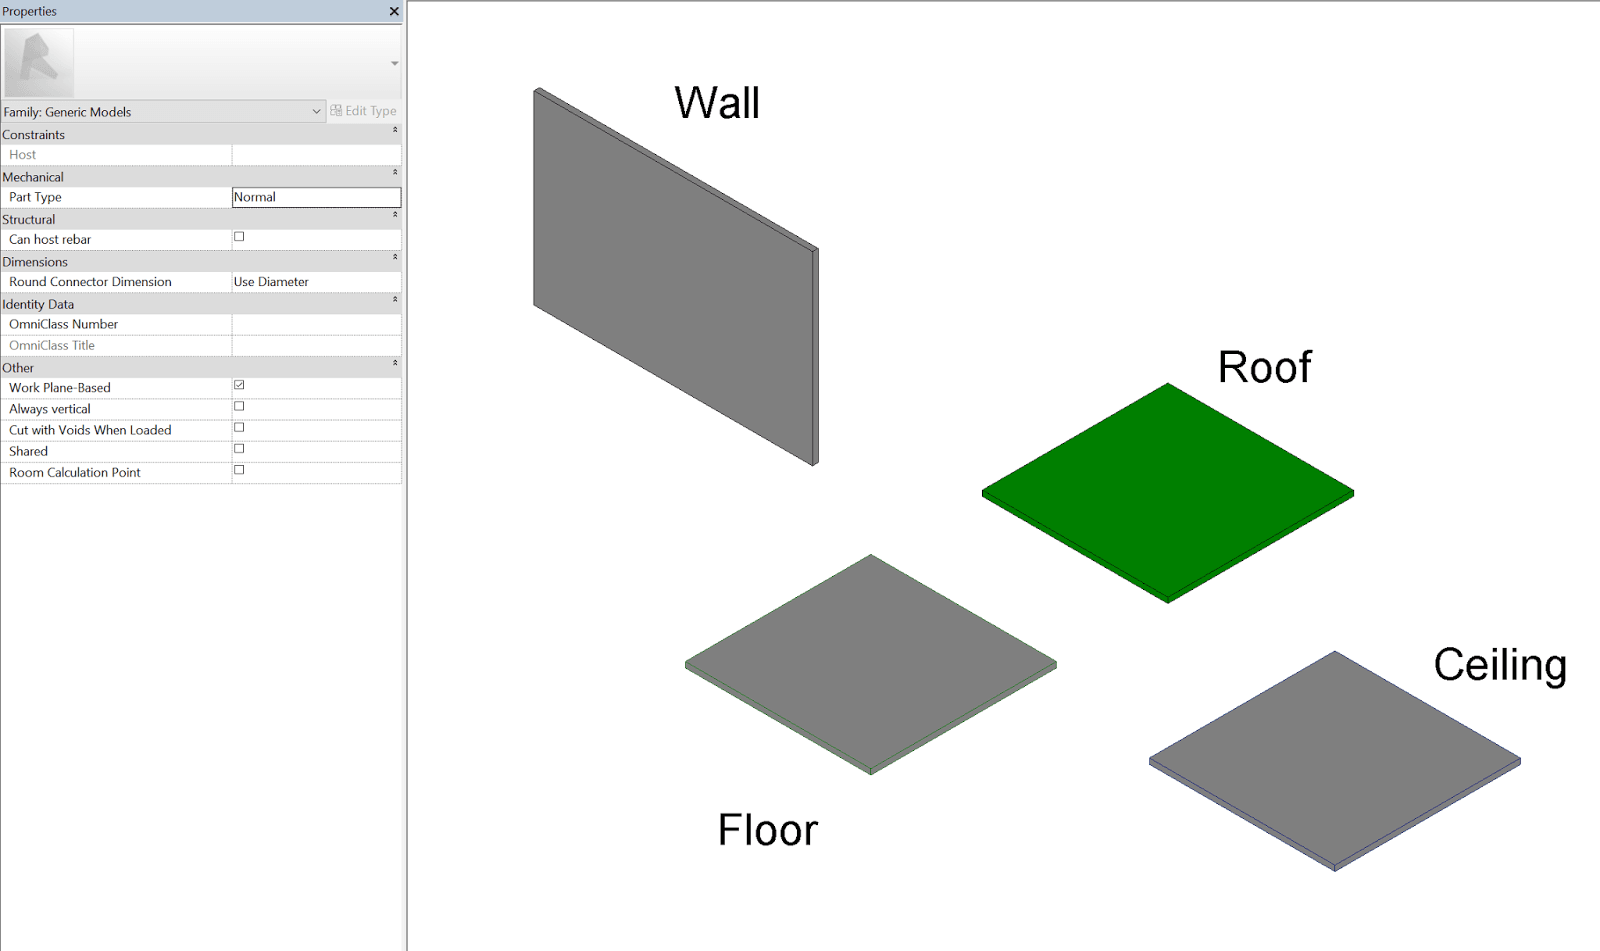
Fellow Expert Elite Karam Baki has posted an interesting workaround for ‘converting’ between differently hosted Revit families. The term converting isn’t quite accurate, really we are just ‘nesting’ the hosted family into another family until we get to the hosting type that we want. There are times when this will help you, but other times you may go through all of this and then decide “hey, I should have just rebuilt that family properly from the start because Revit keeps crashing now” 🙂

Here’s the basic steps:

  1. Use a special middleman family with System category elements living inside it… (Karam has provided one on Google Drive)
  2. Load your hosted family into that special family and host it onto the object that it wants (Wall, Floor, Ceiling, Roof)
  3. Work with parameters as needed, link them through etc if needed.
  4. Save As ‘unhosted’ version of your family
  5. If needed, nest this again into a new, clean family based on whatever category / hosting you want
  6. Get origins, void cuts, openings working and link through the necessary parameters…

As a general comment, I’d say you should test thoroughly in your own environment, because this whole workflow is not really ‘#GoodRevit’ in the sense that we are breaking certain rules to get the results we want.

Along similar lines, you may remember the Copy / Monitor hack that allows converting between some different types of hosting:
Convert Family from Wall to Face based

Back in 2011 I posted about some related workflows, including the necessary steps to get System family elements in a normal Component family:
Save an In-Place Family as an RFA for use in another project
Create a Component Family with Category set to Walls (or other system family category)

You can also make unhosted Doors and Windows from scratch, like this:
Making unhosted components like unhosted Doors and Windows

Original post by Karam Baki:
Revit Tip: Save Time Converting Revit Families – Autodesk Community

You can watch his video here:

Using some Visibility parameters and a simple formula structure, you can use a Revit family to store a collection elements and then selectively show them by using a single lookup value. This allows you to drive many visibility states (programmatically) through the modification of a single instance parameter value.

In the case below, I created a Annotation family and multiple Yes/No visibility parameters, which I applied to Lines:

PARAMETERAPPLIED.png

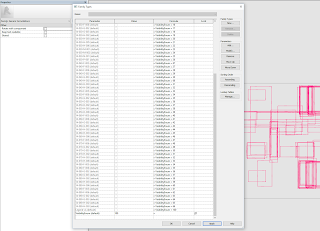
Then, I make a VisibilityEnum integer parameter, and set the Yes/No parameter formulas to a given integer:

FAMILYENVIRONMENT.png

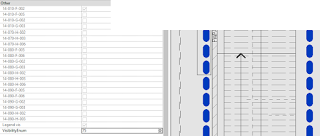
You can also use Greater Than and other operators to show items that are visible across multiple visibility states:

operators.png

In the project environment, you only need to set one instance parameter to change visibility states:

project%2Benv.png

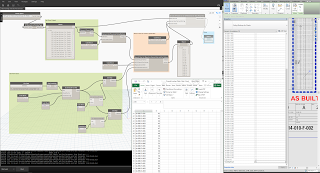
Finally, with some inventive use of Excel and Dynamo, you can drive this visibility parameter programmatically, even mapping the visibility state to the owner view of the family instance in Revit:

getAndSet.png

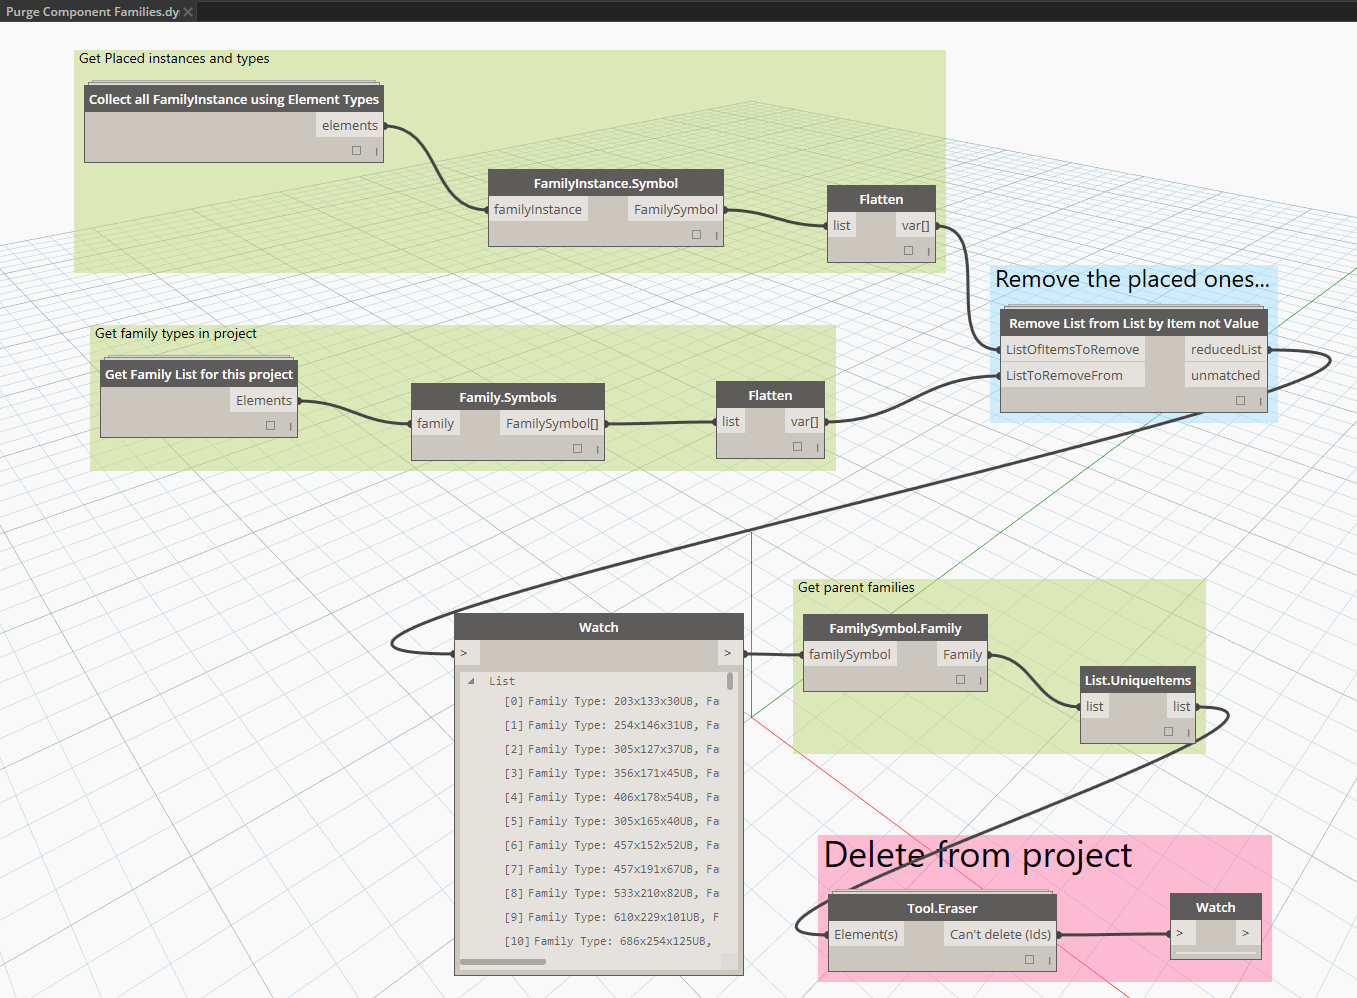
I saw a question like this on the forum so I had a quick go at it (see image below). Basically it checks what Family Types are placed against those loaded into the project, and then deletes unplaced component Families using SteamNodes Tool.Eraser:

Post flight family list:

Future versions of this could start looking at system families / types using similar methodology.

Jon Buerg recently posted his ‘top tips’ for content on Shoegnome. Here are three I particularly liked:

  1. If you can actually afford to invest the labor and time into producing a complete library all in one shot without interruption, you’ll be rewarded with a lower overall investment cost and time frame.
  2. Future-proof your library… follow IFC protocols for embedding data, like manufacturer and model number, into your library element. Do this from the start…
  3.  visit 3D Warehouse (https://3dwarehouse.sketchup.com),
    BIMcomponents (https://bimcomponents.com),
    BIMobject (https://bimobject.com/en),
    NBS National BIM Library (http://www.nationalbimlibrary.com),
    Revit City (http://www.revitcity.com/index.php),
    KCL CADalog (http://www.kclcad.com), and
    SmartBIM Library (http://library.smartbim.com)

via
Building Better BIM Libraries – Shoegnome

Also, don’t forget I have a (somewhat old) content list at:
https://wrw.is/p/this-is-temporary-content-table-link.html

 Here’s how you can get it:

  1. Go to https://beta.autodesk.com/callout/?callid=%7bA06CC6BE-3ADD-4789-AC64-CE5B1D9C8254%7d 
  2. Click Join Now
  3. From there you may have to login before you can go to the Download page
  4. Download and run installer (SeekForRevit150710Setup.exe)

The next time you run Revit, you will have an Autodesk Seek ribbon…

  1. Click Browse Content
  2. Type something in the search bar
  3. Click ‘Revit Supported Files‘ and then
  4. Click ‘Load Family to Design‘ next to the relevant RFA

Now is your opportunity to test this addin out and influence its development by providing feedback through the Beta site. As a simpler alternative to manually downloading, Loading and placing rfa files from Seek, it looks pretty good at this stage. What do you think?

via
Get the Autodesk Seek for Revit Plug-in | Autodesk 360

Aaron Maller, aka twiceroadsfool, has been sharing his Revit door family package on RevitForum for the past few years. If you haven’t seen it yet, you can check out his post in the thread here:
http://www.revitforum.org/architecture-family-creation/1242-doors-download-nested-panels-nested-frames.html

In the thread, he gives instructions on how the door families work, and a link to download the 179mb zip package:
First important part. The way they work is you only place the ones that say DOOR at the beginning of their name, obviously.

Download Link for the v4 Doors, a sample file with the doors in them, and the Door Schedule accompanying them, is here:
 https://www.dropbox.com/s/lcr5gobpuv…015v4.zip?dl=0

Thanks for sharing Aaron!

Older posts:
Doors for download, Nested Panels and Nested Frames..

Heads-up via http://notanotherrevit.blogspot.com.au/

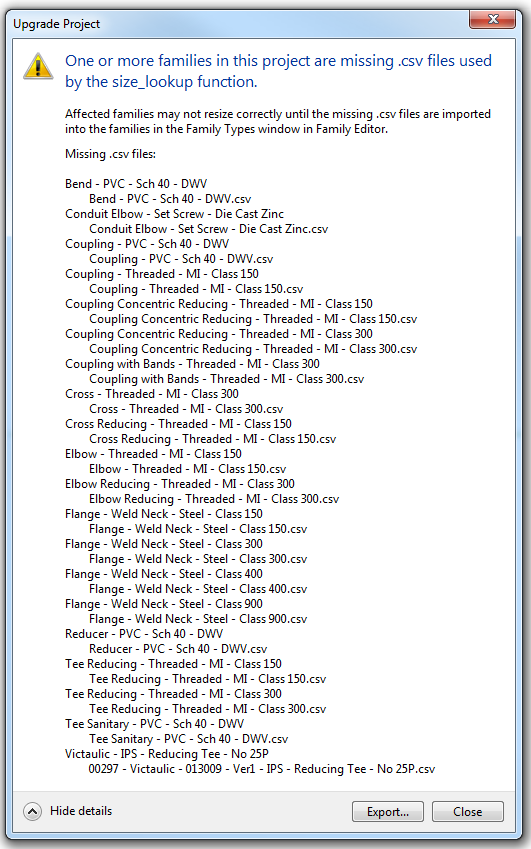
So, you have received a RTE or RVT file (along with related CSV lookup tables) and want to upgrade it without getting the “One or more families in this project are missing .csv files” error…

For example, you may download a Piping Template (like this one from AUGI), and it comes with CSV files but you don’t know where to put them? Or you have received some other MEP template file from the wild, and you would like to upgrade and use it?

The thing with MEP content is that some of it is based on, or related to, Lookup Tables. These are text (CSV) files that contain type data, essentially making it easy to create and manage types without having to always use the Family Editor to do so. However, if these are missing, you will get an error message when you attempt to open or upgrade a project that needs them:

To fix this, you need to copy the required CSV files into the Pipe and Conduit subfolders of the Lookup Tables folder that matches the version of Revit that you are upgrading TO.

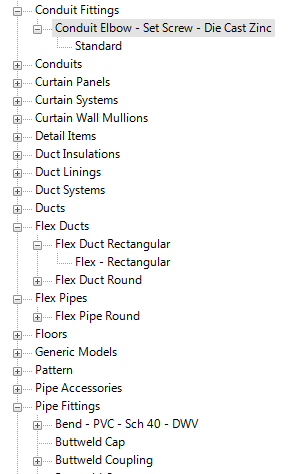
The key Project Browser tree entries are Conduit Fittings and Pipe Fittings:

If you have a Suite installed, you may find that these CSV files are duplicated in various locations, to provide support files for 3dsMax and Navisworks. Some of these paths are shown here:

You can browse to the above paths, and start to put together a “consolidated” or “combined” CSV Lookup Table folder, that you may want to maintain in a network location. Once you have collected all of the necessary CSVs, here is how you “install” them:

  1. Determine location to put the CSV files into (usually it will be near your Family Templates folder, a few example paths are provided below)
  2. Create a master folder of all required CSV files (you could maintain a consolidated folder in a network location)
  3. Copy these CSV files to the Pipe and Conduit folder locations (you shouldn’t need to restart Revit).
  4. Open the MEP RVT or template file that you wish to upgrade
  5. Any CSV files that are still missing are the ones you need to find, and put in the Pipe and Conduit subfolders as per steps 1-3.

You could script some of the above steps to aid in deployment.
Revit 2014 Lookup Tables default location:
C:ProgramDataAutodeskRVT 2014Lookup TablesPipe
C:ProgramDataAutodeskRVT 2014Lookup TablesConduit

Revit 2015 Lookup Tables default location:
C:ProgramDataAutodeskRVT 2015Lookup TablesPipe
C:ProgramDataAutodeskRVT 2015Lookup TablesConduit

NOTE: Massive amounts of CSV lookup tables in the default directory may result in slow Revit performance, particularly when starting Revit.

If you want to import Lookup Tables directly into families (and you are perhaps experiencing errors with nested families), this PDF may be of interest.

Finally, you can actually modify Lookup Table location using the revit.ini file, as described here. You could therefore point your Revit installations to a network location containing all of the required CSV files for your firm.

You can download content from Seek and other places online. Sometimes you will find a CSV file, sometimes you may have to export one as per the video below:

There is some related info at:
http://revitoped.blogspot.com.au/2008/10/revit-mep-lookup-tables.html

Feel free to comment if you have any other tips related to Lookup Tables…