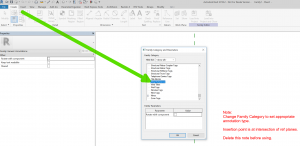
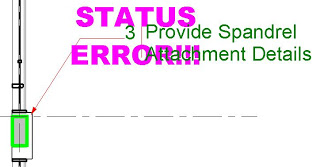
Sometimes, What Revit Wants is a specific Annotation Tag family of a unique Family Category, like View Reference. When you go to create a new Family, you probably won’t find a Family Template for ‘Metric View Reference’ or similar. You need to create a family with the Generic Annotation template, and then change the Family Category.

Here’s how:

  1. Create a new Family -> Generic Annotation template
  2. Change the Family Category to the desired Category (like View Reference)

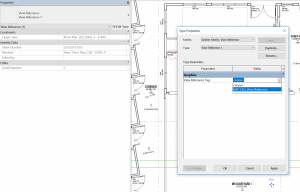
Save the family, then go ahead and add the Text, Labels and Lines as desired. Load into your project and you can then select it in the relevant dialog box:

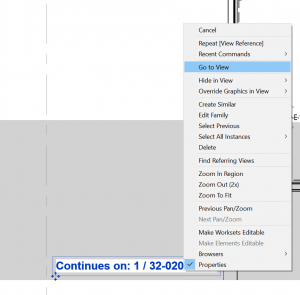
Keep in mind that you can use a View Reference to “Go to View”, such as for an adjoining Floor Plan:

Let’s say you have a Generic Annotation family with about 60 different view states controlled by visibility Yes/No checkboxes. These visibility states are linked to Sheets, and the Generic Annotation families themselves are placed in the Sheet views in Revit. I’m sure you are thinking “why??” at this point, but let’s skip past that part…

Can we drive the Annotation family visibility states based on its ‘host Sheet’ in Revit? Not really.

Can we create a mapping table in Excel, Dynamo-push a single integer value into the Annotation instances based on the host Sheet, and drive the visibility by formula that way? Yep.

Here’s the basic steps:

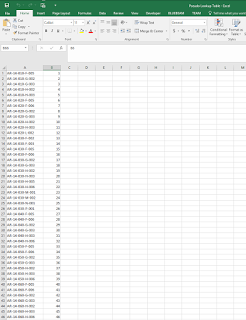
  1. I used dir and Notepad++ to make the list, one column in Excel for the lookup value (I used Sheet Number), and one for the parameter I want to get and use
  2. This relied on having the Family parameter list sorted Ascending in the Family Editor

  3. The Excel sheet looked a bit like this – notice how the driving parameter is an Integer?

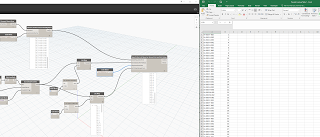
  4. This is the work in progress in Dynamo – getting the Generic Annotation families, matching them up and getting the related Excel integer value

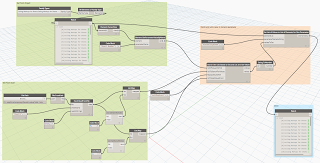
  5. This is the completed dyn, with the push back into the Element Parameter to drive the visibility – see how the string has to get converted ToNumber before pushing into the Integer parameter?

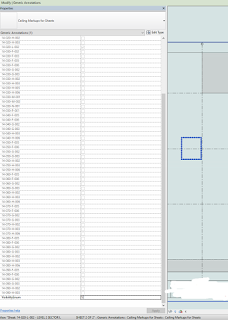
  6. And here is one instance in the project

  7. After running this once, all visibility states are set properly throughout the project

Yet another example of @dynamobim making the Revit-impossible, possible 🙂

    Oh wait, you can’t… put more simply, you cannot override the lineweight of Generic Annotations for a linked file. In fact, it turns out you can’t override lineweights for anything, including Model elements in a linked file… you are stuck with them. You can Transfer Project Standards into the link but that is a painful workaround.

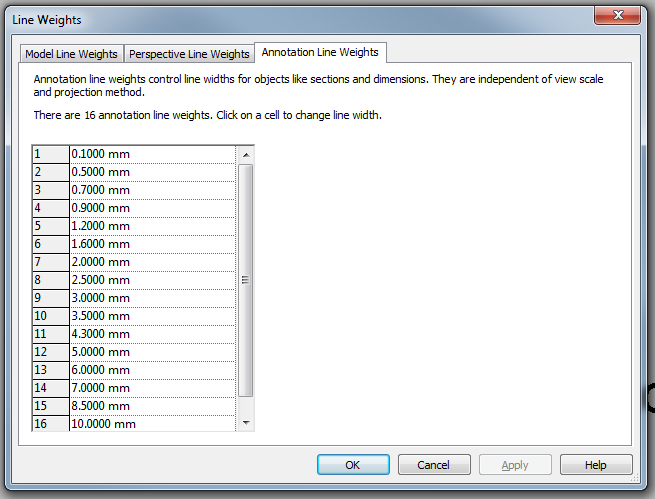
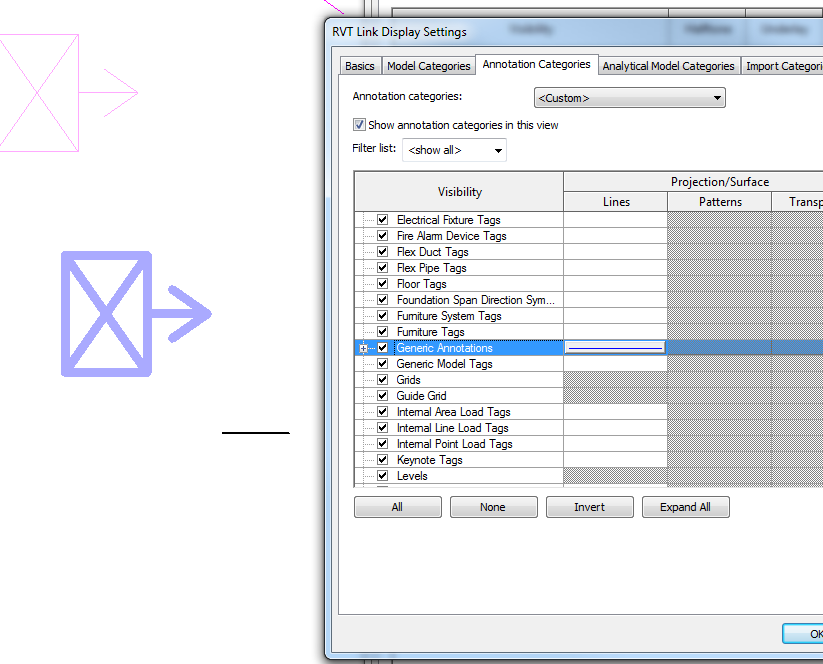
    You can override the colour and linetype, no problem. But no matter what you try: Object Styles, Visibility Graphics, Revit Link Visibility overrides, none of this overrides the actual Lineweight of Generic Annotations in the linked file. It is using the value from the Line Weight settings, Annotation Line Weights tab IN THE LINKED file to draw these items in the host file. If Pen 1 is set to 0.3mm in the Link, you will never be able to get a lighter pen weight override in the Host.

    To me, this is a bug. If the Revit Link visibility is set to Object Styles – By Host File, annotation line weights should be overriden to match the applied pens.

    Unfortunately, this is not the case. Here is a video showing the problem:

    Upon further investigation, nested Annotations in Component families that live in a Linked File can’t really be overridden by Visibility/Graphics, unless you edit the Revit Link visibility. Even then, you can set line weights and colours but they will still reference the Linked File Annotation Line Weights.

    Fairly nasty stuff, particularly if you are working with linked files from consultants / contractors that extensively use nested Generic Annotations inside their families (sidenote: I’m pretty sure this always a bad idea. Model in 3D, use tags for text, if you have to have text in the family use Model Lines or Model Text or some other method so that you don’t have nested Generic Annotations. They scale wildly around and become a crutch for not modelling in real world scale).

    Ok, so we have a problem. I discovered that there is one master switch that works in the Host file to get around this.

    1) Set the Family Category to Halftone, this will override the linked, nested Generic Annotation

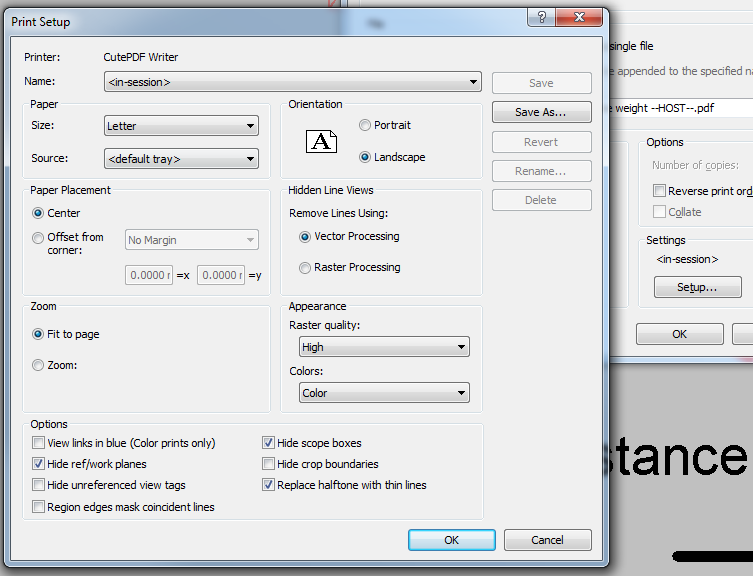
    2) When printing, tick the “Replace halftone with thin lines” box in Print Setup

    I realise that this is not WYSIWYG, and I really don’t like that. But it does work. Here is a video:

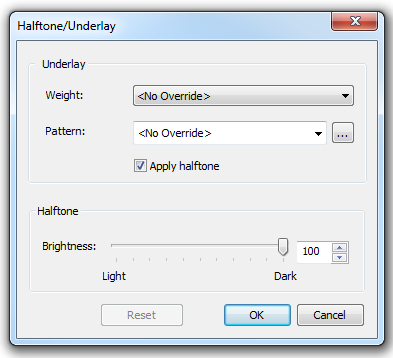
    But wait, there’s more. We can actually make it closer to WYSIWYG (is that a thing?), if we adjust the Manage – Additional Settings – Halftone/Underlay to 100. The lineweight will still display incorrectly, but it will print correctly, and there will be no halftone effect.

    Some further reading:
    Linked File Line Weights – The Revit Clinic

    BIM Aficionado posted a while back about using Generic Annotations and Note Blocks as a workaround for genuine Keynoting.  I have posted about similar things before, although I am more proud of my Keynote Legend workflow.

    In any case, he provides a full guide along with example files at this link:
    https://docs.google.com/folder/d/0B_caWTSMFC8cZC1TSXRoUTdRVjItTWVsSGpXdGdPQQ/edit

    Pretty interesting method, with the Excel CSV / Family Types too.

    Read more / via:
    BIM Aficionado: Generic Annotation Keynotes

    The Revit Clinic has posted a nice little display order workaround for Filled Regions in Title Blocks.  I have a feeling that this workaround may also be useful in other situations…

    1. Start a new Revit generic annotation family.
    2. Cut & paste the filled region[s] into the generic annotation family.
    3. Load the generic annotation family into the title block family.

    While the display order may appear incorrect in the title block family, it should now appear print in the expected order once loaded back into the project.
    via
    Filled Region Blocking your Lines in a Project Title Block? – The Revit Clinic

    Sometimes a post comes along that I can’t help but re-post. The BIM Troublemaker has gone to the trouble of making a handy little Generic Annotation family for Coordination, with some great formulaic graphic feedback. Because its a Generic Annotation, it can be scheduled in a Note Block.  Nice work BIM Troublemaker!

    Download a sample of the block here:
    Trackable Comment Annotation.RFA

    Read more at:
    BIM Troublemaker: Comment Tracking Using Noteblock Scheduling

    Image from http://bimtroublemaker.blogspot.com/

    If you want to find out about Note Blocks, check out my previous post:
    Note Blocks – What are they??

    On a slightly unrelated note, if you want to automatically tag Component families, check out this post:
    How to add a label to a Component Family (automatic tag)

    A Note Block schedules the instances of a Generic Annotation (Symbol) in your project. They are useful for repetitive tagging of detail elements. I say ‘detail’ elements, because I feel that the use of tags should be in the following order of preference:

    1. Tag of appropriate type for tagged element (eg. Door Tag)
    2. Keynote Tag by Material where 1 is not possible
    3. Note Block and Generic Annotation where 1 and 2 are not possible

    (The above is based on the fact that you should be trying to make your Model as intelligent as possible – detail lines and text should be the exception when using Revit, not the rule).Here is a crash course in using Note Blocks:

    1. Create a basic Generic Annotation family.
    2. Add Labels for Family Parameters to into the Generic Annotation family (for example, Note Number and Note Description).
    3. Load the family into the project.
    4. Create a Schedule – Note Block, and choose the family you just loaded. Add the parameters to the Schedule that you added in step 2.
    5. Go to a view and place a ‘Symbol’ – use the Generic Annotation family you just added. Make sure to choose at least 1 leader for the note.
    6. Type value/values into the Generic Annotation family.
    7. Have a look at your ‘Note Block’ and you will see the values starting to fill.
    8. If you change the schedule, it will change the notes (this is Revit, remember).

    The Revit documentation shows this in use. You can label things with ‘numbers’ and then use the Note Block to refer these numbers to the appropriate text or note.This Note Block can then be placed on a sheet, just like any schedule.It is an interesting little tool, and it may be just what you need to solve that little problem that has been annoying you!