I’ve recently had the chance to put the new Lumion 9 through it’s paces.
Why Lumion
At Virtual Built Technology amongst the many BIM services we offer, we also create construction visualisations and animations.
Over the years we’ve played with many software solutions to get the kind of results our clients are after. Each time we do this kind of work it’s slightly different, either a client will require something different, there’s all sorts of budgets, a client might want to focus on a specific area, and what we can get our hands on in terms of models etc, is always different. In the past we’d model in Revit and Sketchup, federate and visualise in Navisworks or 3DS Max, animate in Navisworks or 3DS Max and then post production in iMovie or Motion and Final Cut. A complex high end animation, might see us jump in and out of several different applications several times over before completion.
However, since Lumion has come along, we’ve been able to significantly increase our output by simplifying the often many different steps we’d need to take. And whilst it isn’t quite a one stop shop, it is definitely made life a lot easier.
How we use Lumion
Firstly we define the clients requirements. Is it just images, or is it an animation? Then we define what are we trying to show in the images or the animation – Is it the different stages of construction, the site setup, the greater site context (say a busy city street), the architectural finish? The animation might become more complex if there’s something specific that the client wants to demonstrate in detail (say safety, traffic, or a lifting sequence) In this case, we’re not just rigging up a camera, we might also be keying and animating objects.
Lumion is more then capable of all of the above, but more importantly it’s able to do it all with ease. The software is intuitive and simple. And since this type of work is very susceptible to ‘scope creep’, and client whims, this kind of simplicity and ease adds up to hours and hours of time saved.
Building a model (a typical example)
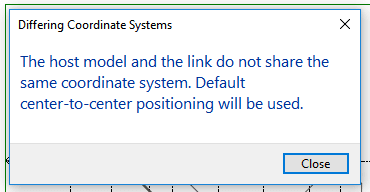
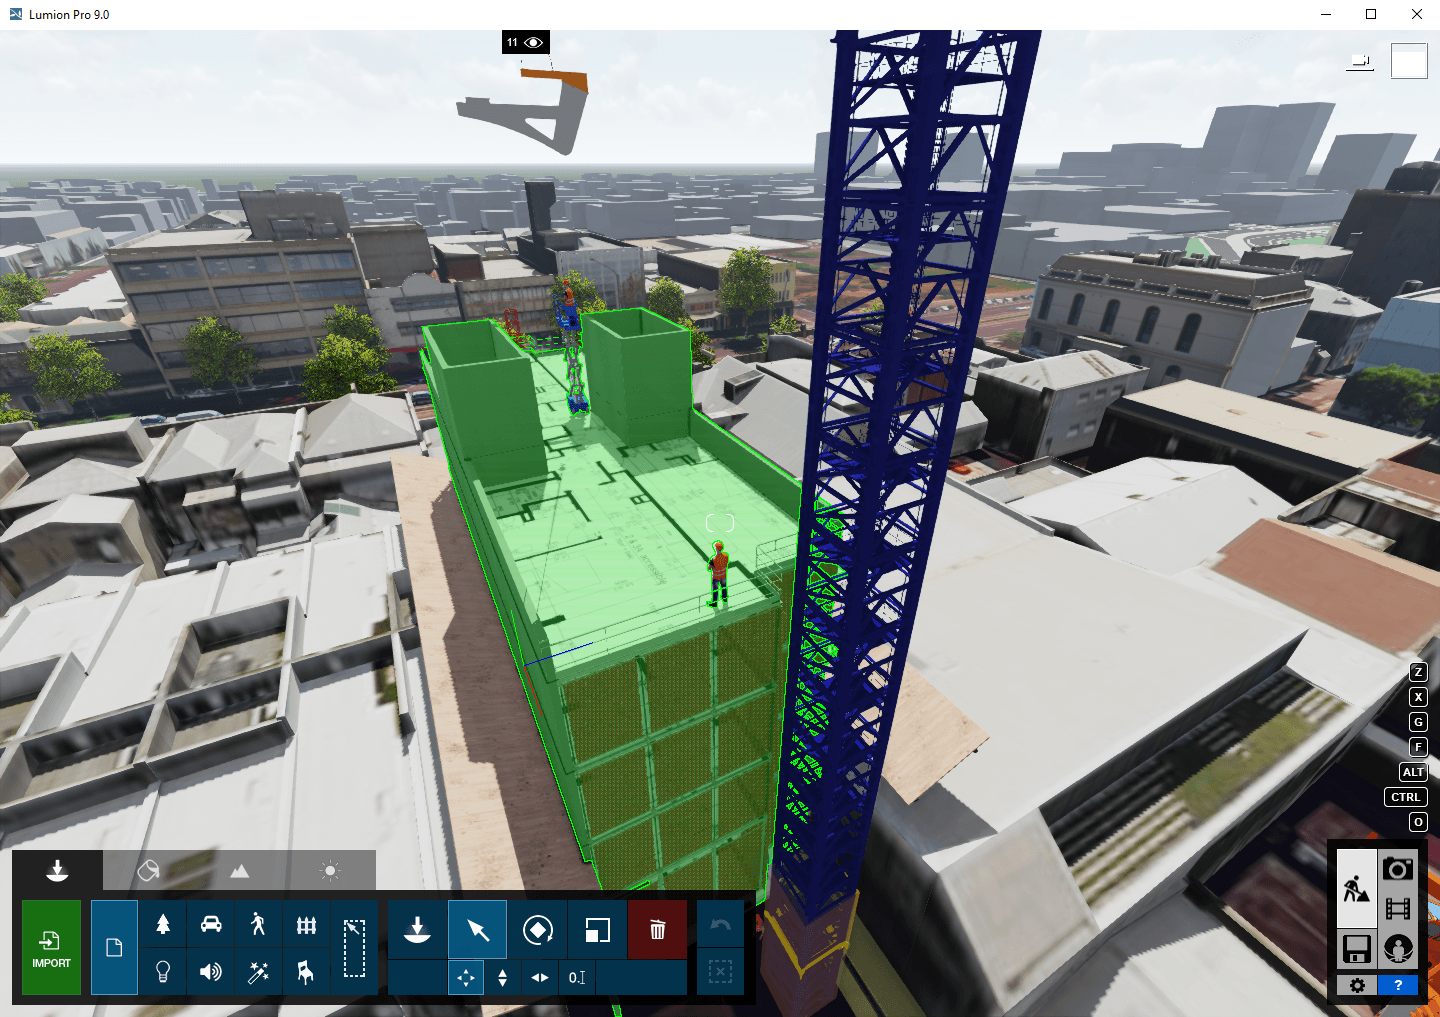
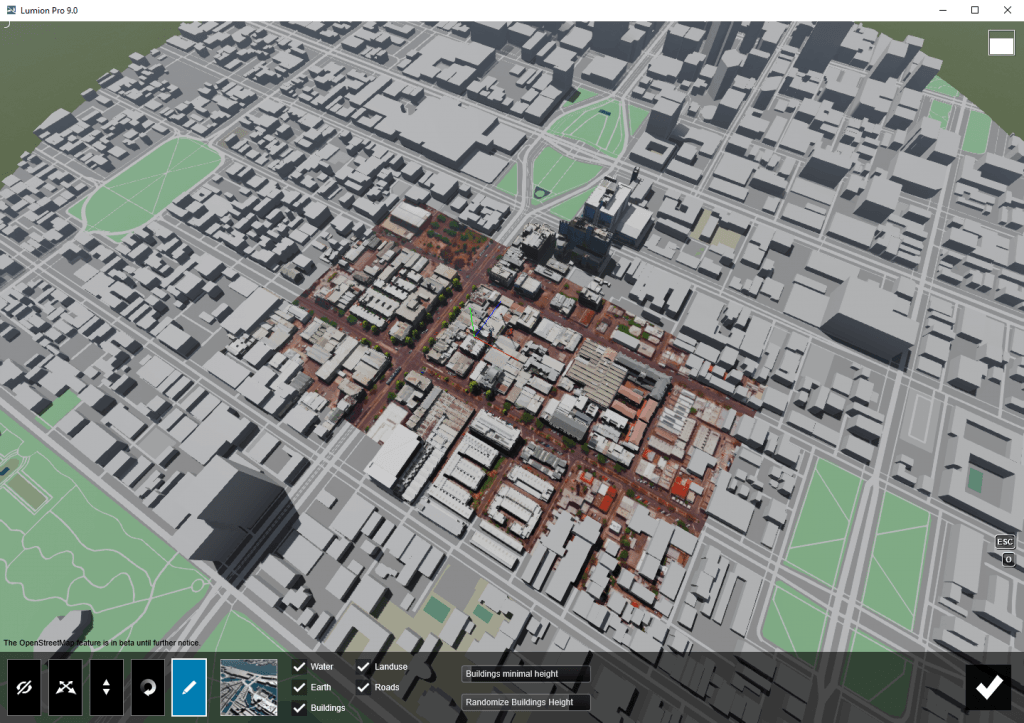
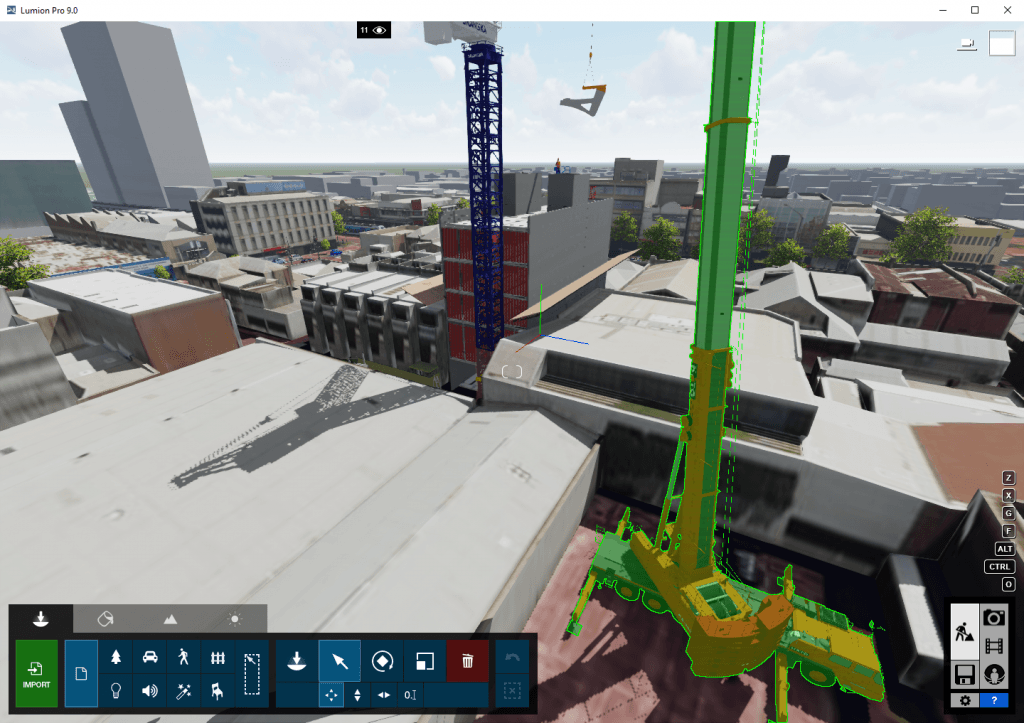
We primarily use Revit for developing a lot of our initial model content. Often we’re able to get our hands on the consultants models (or we build up our own), then we add some context like neighbouring buildings, streets, pathways etc. (Lumion can also do this with OpenStreetMap data) Then we add other content like cranes, concrete pumps, people, fences etc. This particular part requires some thought, because there’s a couple of ways we can arrive at the end result. Firstly Lumion provides a lot of really good content (People, cars, trees, cats, etc) and we can add this in Lumion (saving a few steps in the process), however, there isn’t a lot of “Construction” content or the right content, so we often need to get that elsewhere. Sketchup Warehouse is an example of a good source. Getting content from Sketchup Warehouse, we can either bring it directly into Lumion, or go via Revit into Lumion.

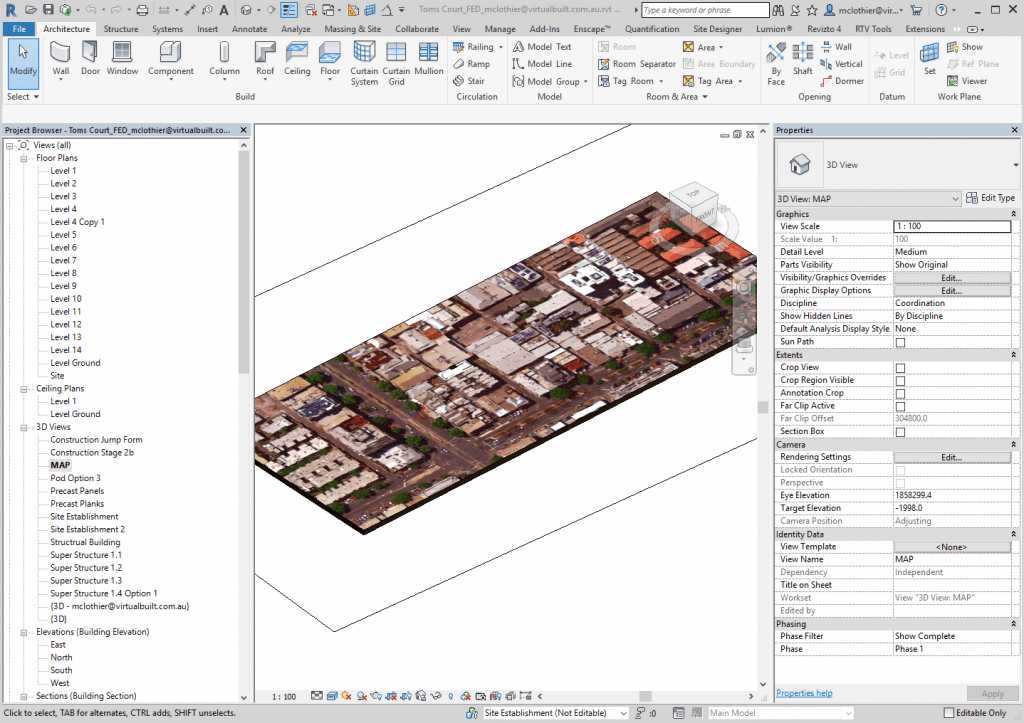
Open Street Map in Lumion 
Some content in Revit Sketchup Warehouse in Lumion Google maps in Revit
Back in Revit however, we can utilise the LiveSync option to quickly generate content and see it populating Lumion. I’ve created a tutorial of the LiveSync tool below.
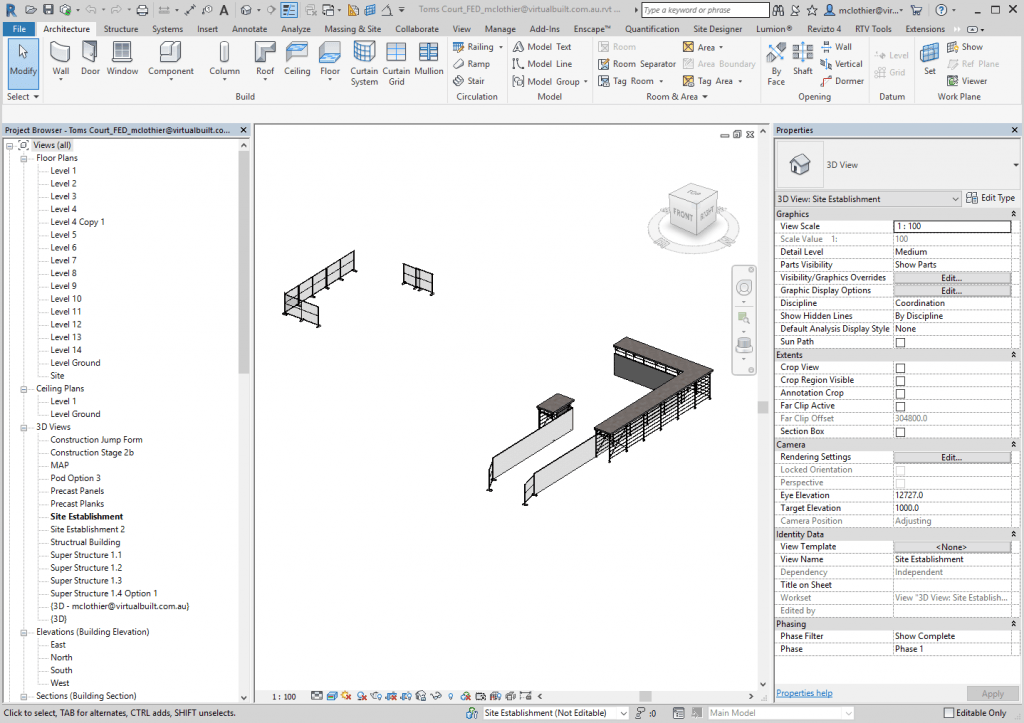
In the more complex projects, we will use many 3D views to export different ‘scenes’ to Lumion. With each 3D view’s content being controlled by Worksets or Phases. Lumion has layer control (20 max) that can control the visibility of content. So, the different views in Revit might then correspond with different layers in Lumion.
The layer manager is pretty limited however, and one area Lumion could improve on.

Lumion also has a feature called Variation Control that allows another layer of management to model variations
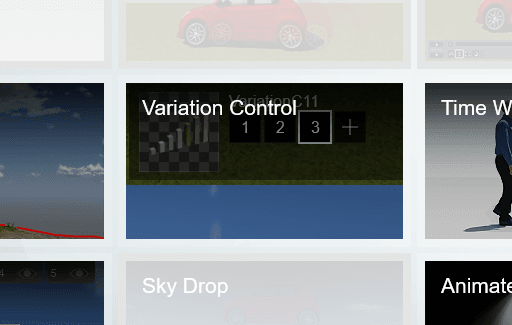
This particular feature is great for different phases of the same model. (ie construction phasing) You bring this feature into play particularly when you’re animating a sequence where you want a model to change over time. It is limited a little in its fine tune control, for example you cannot “fade” the different phases in, it’s just one at a time.
Images and Animations
Once my model is sufficiently built up and materials applied we can now begin composing images and animations. Lumion provides three different outputs. Photo, Movie, and feature called 360 Panorama.
Photo
In the Photo tool, you simply navigate your viewing window to a desired location and Store the camera. Then it’s simply a matter of adding a Style or adding various effects. Then hit Render and you’re done… It’s really that simple!
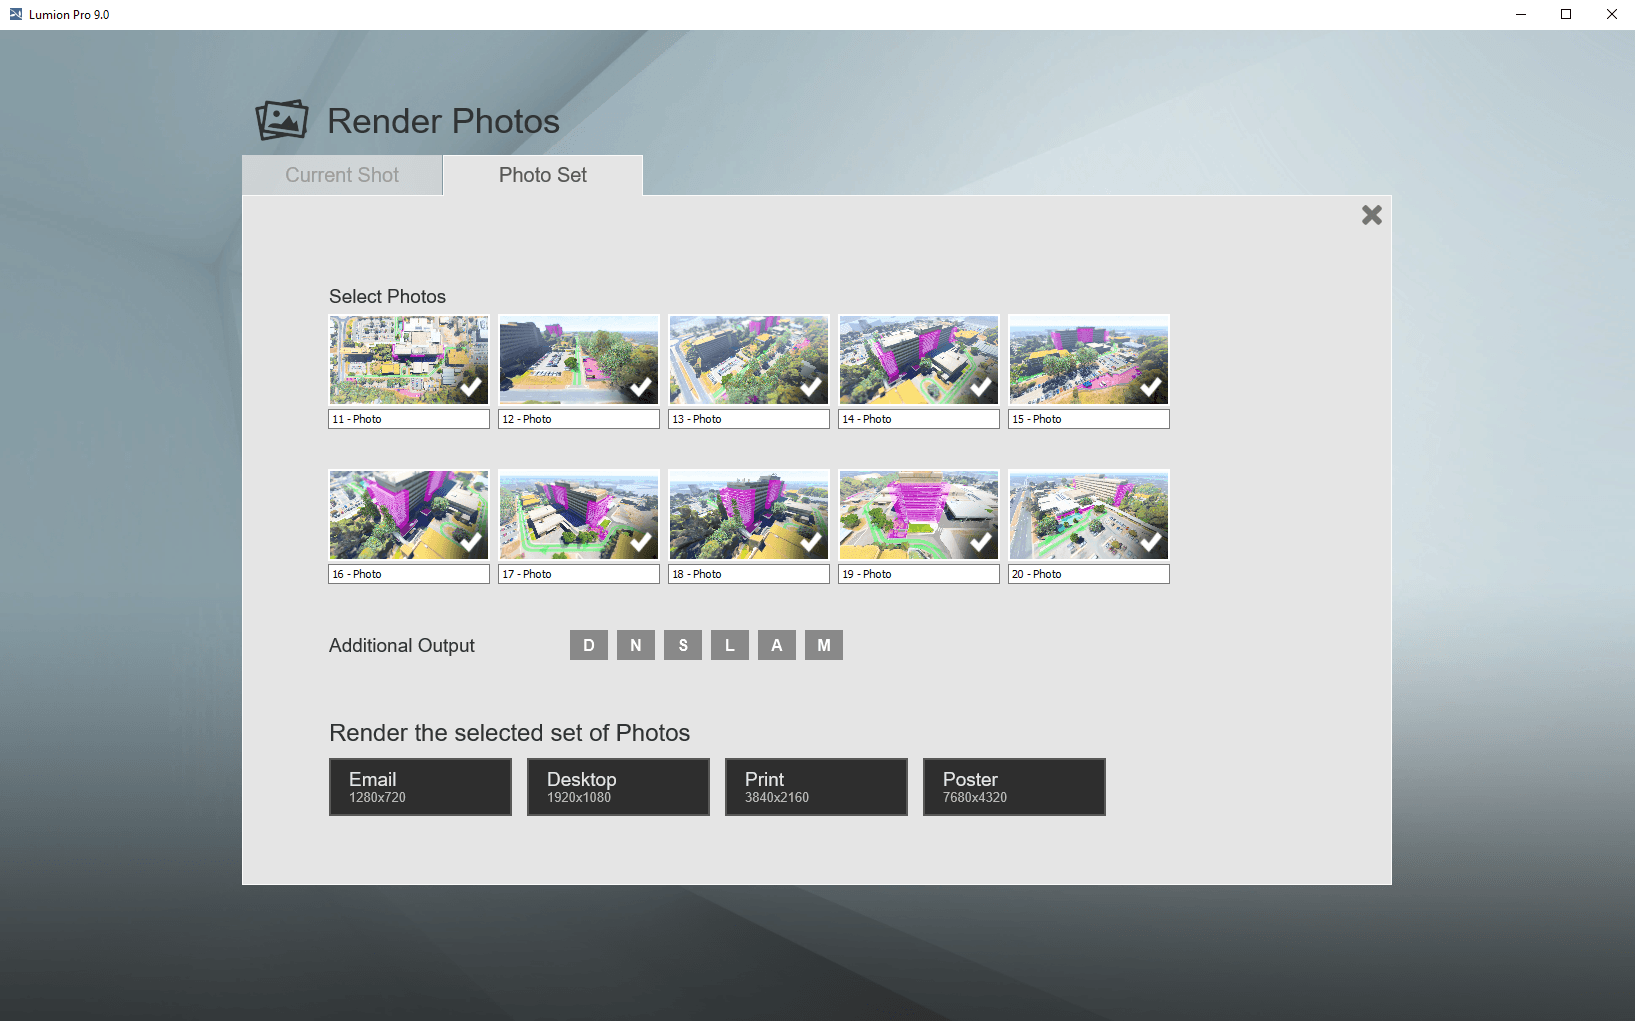
The camera location and Effect is stored, so, as you change your content (at your clients whims) you can very quickly fire off an updated rendering that reflects the changes.
Movie
I’ve created a tutorial on how to create an animation in Lumion.
360 Panorama
This tool is great and is something we’re doing more of. It provides something that is a more interactive.
Here’s an example of how it can be used
Lumion 9’s new features
There’s a number of improvements and updates Lumion has made over the previous release. You can see them here.
Summary
Lumion is a certainly a fixture in our animation and image rendering workflow. It’s a great tool that has significantly increased our speed and output.
Because the visualisation is so good even in the building/editing environment, we’ve been using it live in client presentations and meetings.
A great product.