Here’s how:
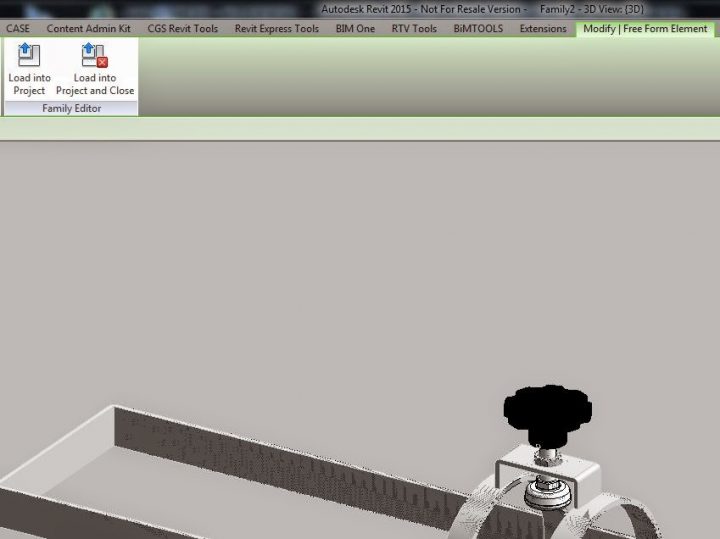
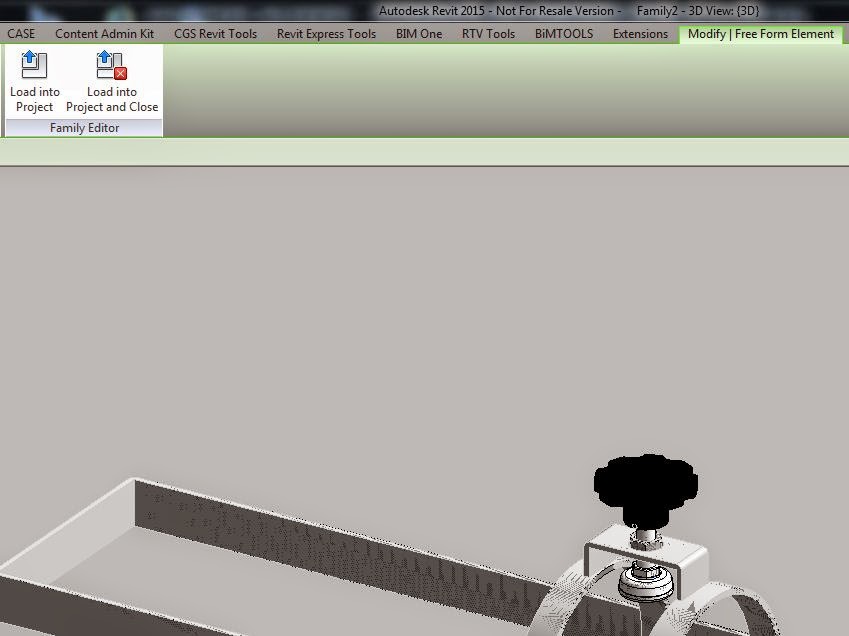
- Use IGESIMPORT command in AutoCAD 2015
- Save DWG
- Import the DWG to a Revit family
- Copy and Paste Aligned to Same Place
- Explode one of the instances
Related reading:
Import IGES Files | Autodesk Exchange AutoCAD Architecture
AI Empowered Project Management
Here’s how:
Related reading:
Import IGES Files | Autodesk Exchange AutoCAD Architecture
Here is the persistent crash – it was happening when any RVT file was closed:
View Revit 2015 Update 5 crashes when closing any file
Here’s what fixed the problem:
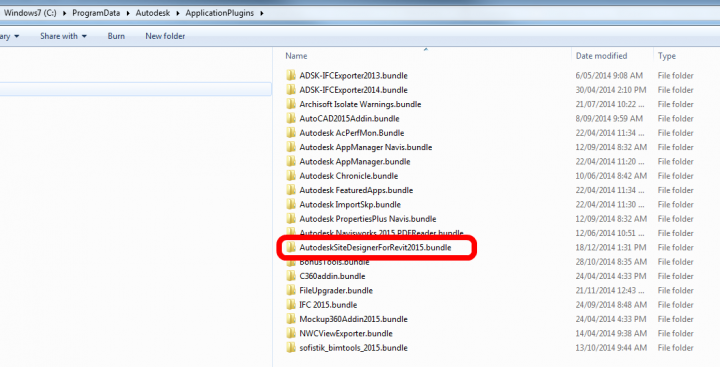
Renaming “C:ProgramDataAutodeskApplicationPlugins” folder (this disables certain integrations)
Upon further investigation, I had to move the AutodeskSiteDesignerForRevit2015.bundle out of the ApplicationPlugins folder (in other words, delete it) to correct the issue. Then, I installed R2 (Autodesk_Revit_2015_R2.sfx.exe , Autodesk Site Designer (AutodeskSiteDesignerForRevit.msi), and UR5 for R2 (Autodesk_Revit_2015_R2_UR5.sfx.exe).

Here’s what didn’t work:
Reinstall steps:
How did this bug happen? I’m not entirely sure, but I think the number of updates and the confusion around which UR5 update is for which Revit version may have resulted in Revit 2015 getting sad. But, its happy again now… and its a good lesson to remember the ApplicationPlugins folder when diagnosing Revit problems.
Something from the journal:
ExceptionCode=0xc0000005 ExceptionFlags=0x00000000 ExceptionAddress=000007FEFCDE940D
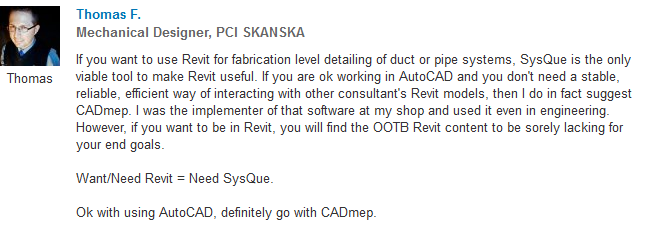
There are lots of design tools out there that can be used to generate MEP or HVAC fabrication drawings, including spooling and integration with Vulcan or CAMduct. Some are FABmep, CADmep, ESTmep, and Sysque.
There is an interesting discussion going over on LinkedIn regarding Revit and duct fabrication. The overall message seems to be this: if you want to use Revit as an integral piece in your MEP fabrication process, you should probably be looking seriously at SysQue:
Here comes a cool tip from Brad Strauss… He describes how you can use an Integer parameter to get Revit to allow you to apply a value of 2 to a Radial Array:

Thanks for the tip Brad!
This tip is somewhat similar to using a Repeater to allow you to have an Array of 1.
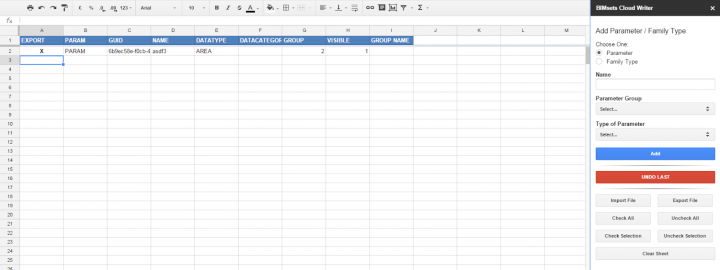
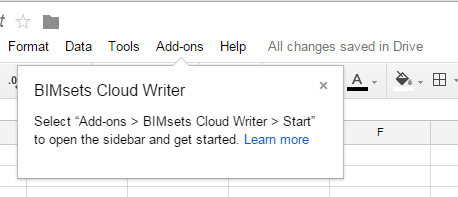
I have posted about SP.Writer before, but this is the next iteration: BIMsets Cloud Writer.
UPDATE: if you want to update to the latest version of the add-in, in Google Sheets you may need to go to Add-on > Manage Add-Ons and then remove it, and then search for it and install again.
If you just want to build a new parameter file from scratch:

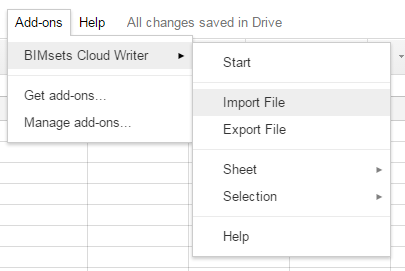
If it keeps failing to Import for you, this will probably be the reason:
Can I use custom groups with this add-on? No. The add-on uses a specific set of parameter groups designed to be compatible with the Autodesk Seek Style Guide. If you have a parameter file that uses the same groups as the Style Guide it should be compatible. If you are starting brand new there should be no issues. If you have used the old SP.Writer Excel tool in the past, those files will also be compatible.
via
BIMsets – BIM Source
If you have any other issues you can contact the developer.
Heads-up:
https://twitter.com/MattBeNimble/status/542825879919792129
and
BIMsets Cloud Writer Overview: http://t.co/oT85gsXHHi via @YouTube
— BIM Source (@bim_source) November 27, 2014
Download:
v2 of the Style Guide is here
and 2.1 here
http://revit.autodesk.com/Library/RMCSG/Revit_Model_Content_Style_Guide_v2_1.zip
This is an extreme measure, but it will get everything fixed up and create a new Default Notebook for you. If you have some corruption or severe sync problems, it may break the me@onenote.com system for your account. Here’s how to fix it:
Here is the full message you might get if your OneNote to email service is broken:
“We couldn’t save your email, please try again.”

Sometimes it can be difficult to get Autodesk Rendering lights in Navisworks to work properly. When doing services coordination, you don’t really want to have to deal with placing new lights just so you can see things in the federated model. In this situation, you could try using these ‘Baseline’ settings:
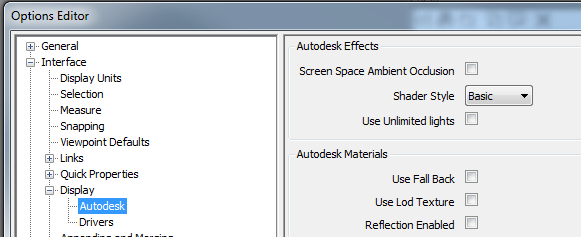
These Headlight sliders seem to work pretty well:
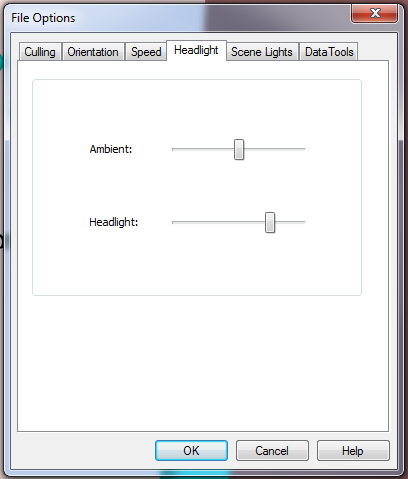
Personally, I prefer using Gooch and Rendered with some nice lights if I can, but this can occasionally cause problems (depending on your Graphics Card and other material settings). That is when I fall back to the baseline settings above.
is included in this playlist recently uploaded by Autodesk Building (about 4 hours worth):
Fabrication CADmep – Fundamental Training Videos
Full list:

There are also some CAMduct videos:
And you can read more at:
Fabrication | Fabrication Software | Autodesk
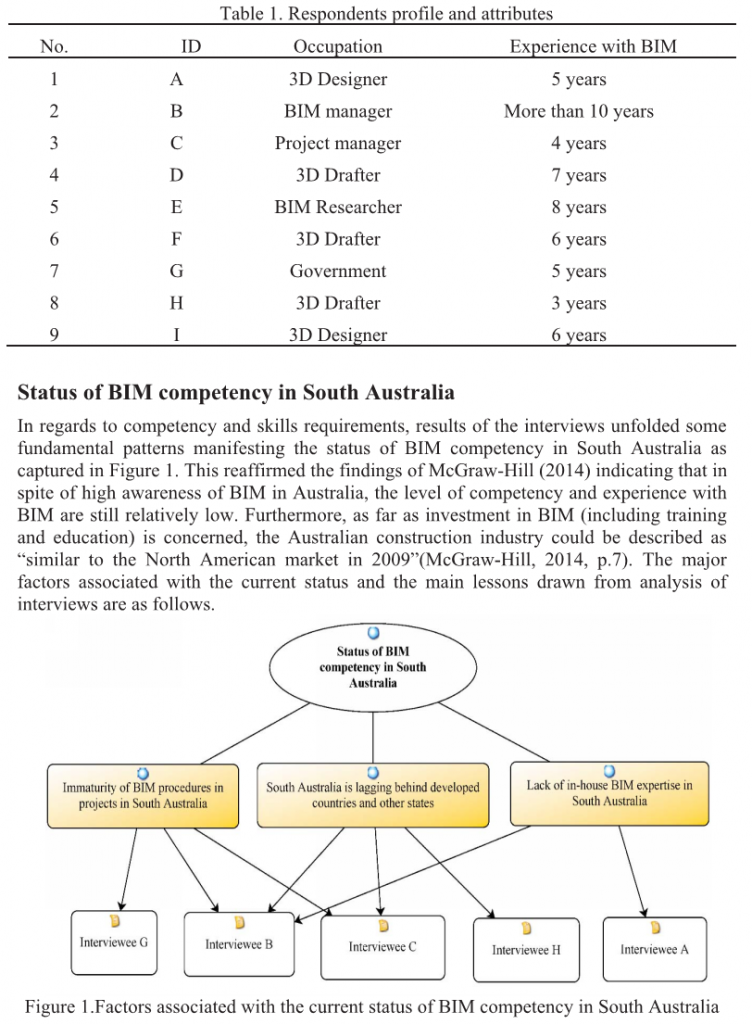
was covered in this recent paper:
Building Information Modelling (BIM) Education in South Australia: Industry Needs
by
John C.H Gardner, M. Reza Hosseini, Raufdeen Rameezdeen, and Nicholas Chileshe
You can download it here
My contribution…
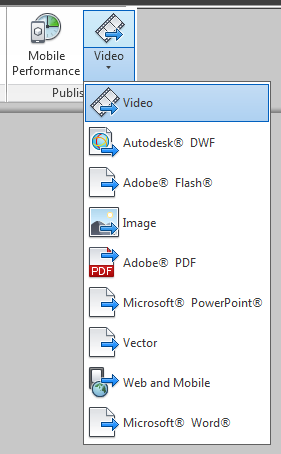
Here’s another way to make a 3D PDF, this time with all native Autodesk products.
It makes very decent quality 3D PDFs, with good colour representation.

Idea via:
http://forums.autodesk.com/t5/revit-architecture/3d-pdf/td-p/2843148