When it comes time to install a new suite, you may feel like removing an older version. In my case, I wanted to remove an entire 2015 suite from my Surface Pro 3. What is the quickest way to do this?
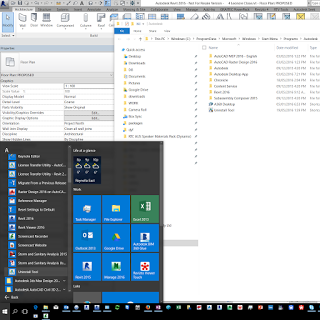
Well, you can do it almost completely unattended with the Autodesk Uninstall Tool, which should already be installed on your system. Its in the Start Menu under Autodesk…
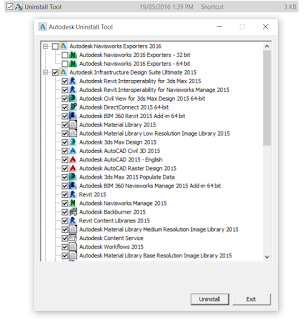
Just tick the boxes and click Uninstall. It will tick away and let you know how many products have been uninstalled. Nice and easy…
The tool is located at:
C:Program Files (x86)Common FilesAutodesk SharedUninstall ToolR1UninstallTool.exe
For clean uninstall tips, also check out: