After spending some time trying to make a workable, geometrically driven random reactor, I decided that it was far easier to use dp Stuff Randomizer (get 2014 version for free from here or older 2013 one on Exchange here). This is a great little addin that just drives random instance number parameters into family instances. You pick the parameter to drive, give it a max and min “bracket”, click Add and then Randomize.
I set up an Adaptive tree family that used the scaling method, linked through some parameters, Repeated it on a Divided Surface, and then used Randomizer – this random forest is so easy 🙂 With the scaling method working, we can even just drop some imported Sketchup trees into the most deeply nested family (the one that gets scaled), reload it through the hosts back to the project, and even these imported CAD files will scale correctly.
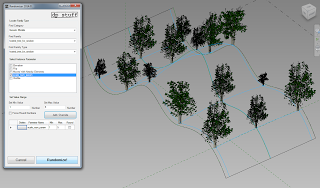
This is the simple tree randomizer (height only):
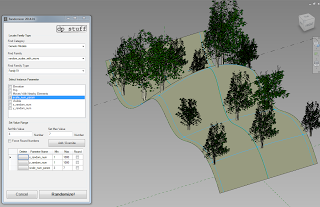
Next, I added an X and Y offset so I could randomize the position from the grid slightly, resulting in this…
Tree randomizer with move parameter:
Here are the sample files for download. Enjoy!
(this is the Sketchup tree that I used for the example above)

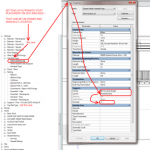
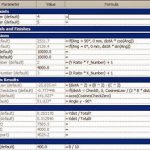

So I guess it goes like this. Isolate topography, export to DWG, insert into mass family, divide surface, make forest 🙂 Maybe I can somehow integrate this into my pumpkin workflow …
Loading the samples supplied above crashes Revit 2014.