If you cut a sloping pipe in Revit, you can override the lineweight using Linework tool (or Visibility / Graphics) easily, because you are dealing with a model element. However, if you cut a ‘flat’ or horizontal pipe in a Section or Elevation, Revit assumes you want the nice system-related cut symbol for that Pipe and you can’t easily override the Cut Lineweight with a Linework tool.

What you need to do is turn off that default Symbol in Visibility / Graphics, and then you can successfully override the Cut representation.You may find that by turning off the Drop or Rise option, the symbol isn’t shown and the Linework tool will be active for the cut lines of flat pipes:

linework.png


rise.png

Insulation in Revit can be incredibly difficult to work with. It can be difficult to select the insulation individually, but you can select them by using a specific schedule (ie. Pipe Insulation Schedule) and then using the Highlight in Model ribbon button. However, once selected, you still can’t change the Workset (it is grayed out). And it seems that the Workset is set by whatever Workset was current when the Pipe Insulation was created (this issue seems to affect upgraded models, but it may occur in other situations). Some people have ‘solved’ this by going through and removing and then remaking all of the Insulation! But that is not What Revit Wants, not by a long way…

So, you might think “we can Group them and then change the Workset“. Also not possible – you can’t group Pipe Insulation without selecting its host Pipe. But guess what? When you select a host pipe and Group it, it will automatically add the insulation to the group too…

See where we are heading? If we want to change all Pipes and Pipe Insulations to one specific Workset, let’s do it this way:

  1. Make a Pipe Schedule
  2. Select all Pipes with Highlight in Model
  3. Group them (takes a while on 10000+ items). Now we have a massive group, let’s…
  4. Change the Workset of the Group
  5. Finally, Ungroup the massive group. Done!
    (Note: you will observe that the members of the group include Pipe Insulation, even though you didn’t explicitly add them)


Warning: be wary of the impact of grouping and ungrouping items in your particular project model. In most cases, it shouldn’t hurt too many things, but it would be advisable to test this process on a smaller set of your sample data first.

Slightly related tip – You can use Multicategory Schedules to Select Objects on Certain Categories
Let’s make a Multicategory Schedule, and then filter it to show only Pipes and Pipe Insulation (using some ‘greater than’ and ‘does not equal’ filters). Then, Select them all with Highlight in Model.


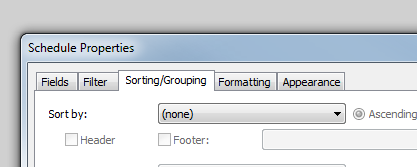
To change the System Type for the connected run, Tab-select until you have the System, then change the Type. You can also change the name here.

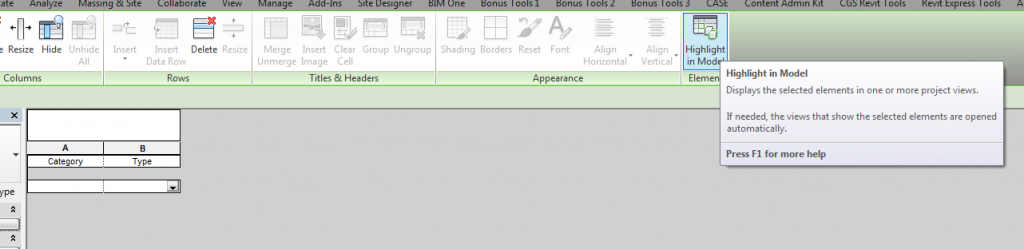
To completely undefine pipes, tab-select the system, then delete it. Pipes will become undefined. Start Draw Pipe command from one end and a new name will be automatically created. Apply System Name and System Type as above.

via
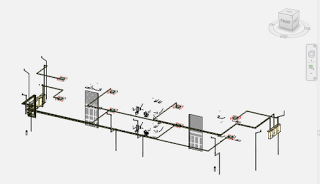
Changing Pipe from One System to Another

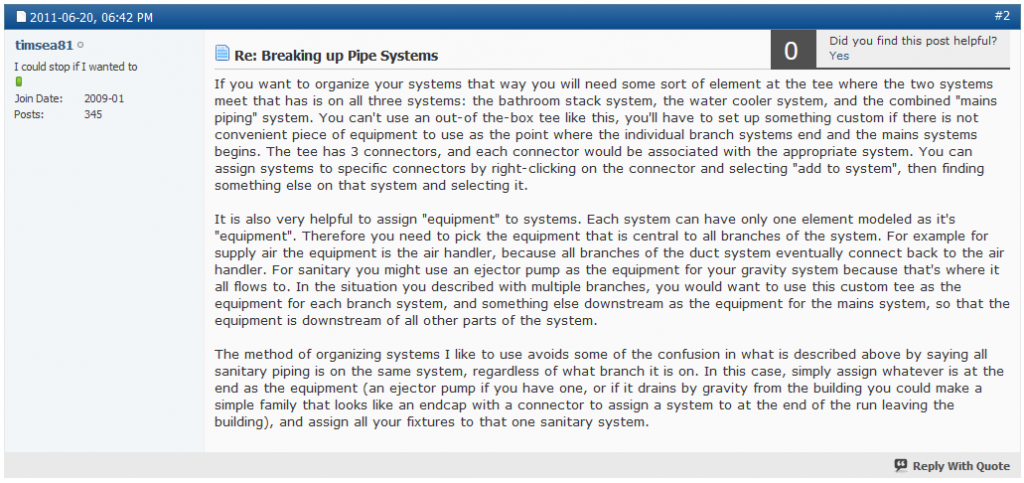
and here is how you can break systems up by using a custom family with multiple connectors:

via
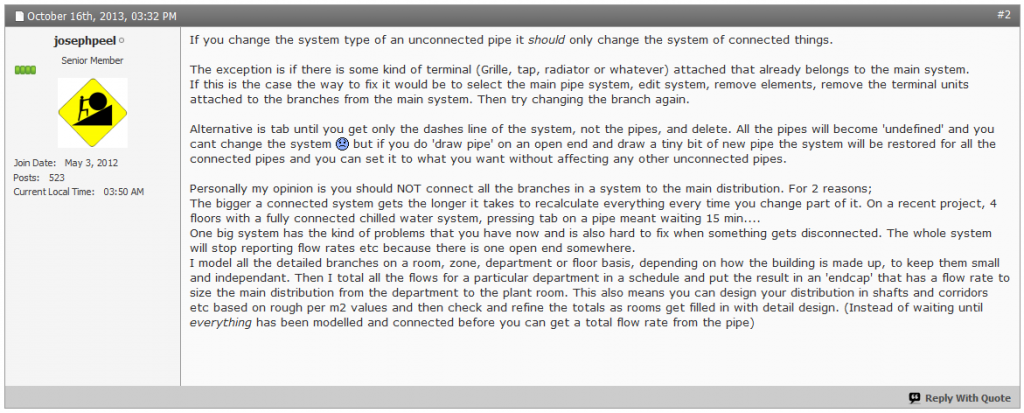
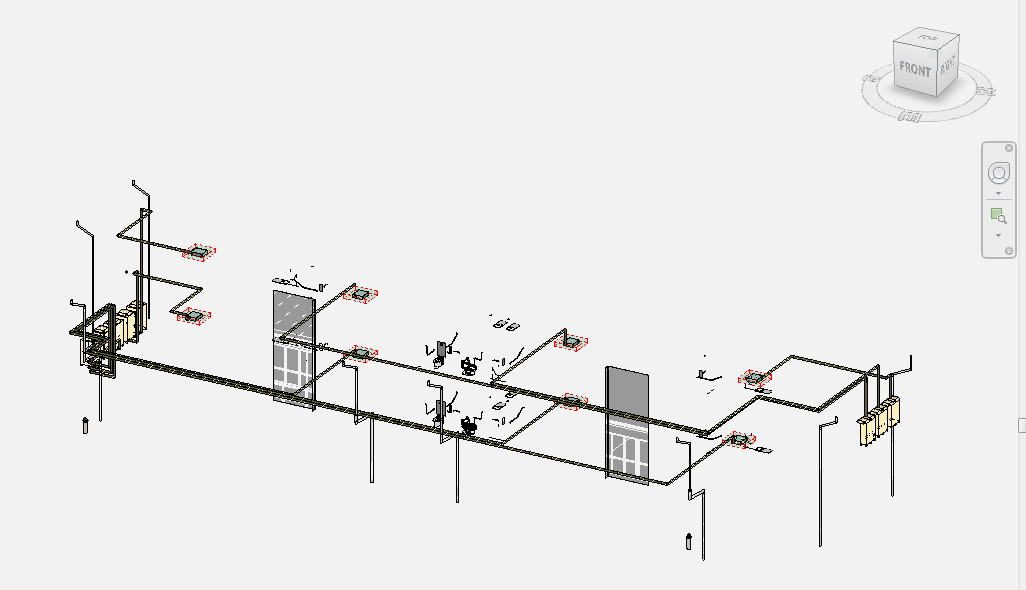
Breaking up Pipe Systems

Note on upgrading: we discovered an interesting thing in the Design Office recently. When upgrading Revit 2013 files containing Systems (in this case Pipe) to Revit 2015, it is highly advisable to install the latest update (preferably R2, which is roughly equivalent to Update 4) prior to upgrading. If you use the ‘initial release’ version of Revit 2015, it will come up with lots of warnings if you have systems with duplicate names. However, it appears that the R2 version will automatically go through and un-duplicate the System names for you, making them all unique. Obviously, there may be a situation where this is not desirable (tagged systems linked to quantity takeoff or something), but for the most part it is nice to have all of those errors / warnings fixed during the upgrade to 2015.

Also some related into at:
Re: Pipe System to same Pipe System of a different… – Autodesk Community

UPDATE: Tip from Jim in the comments regarding Revit and Sysque, and exploding systems…
In 2015 REVIT-Sysque if you are having the problem where when you change pipes to a certain system more pipes than you thought (sometimes all) of the pipes change to one system or another.

SOLUTION: Pick a pipe, a tab opens up which says “piping systems” pick that tab. It highlights the whole system the pipe you have selected is apart of. It may consist of supply and return piping. This is where you can explode the system. DO IT. You can then change what pipes you want change to a particular system and not have to redraw anything. jim badiali 

  1. Add two components with similar system connections (like Hydronic Supply)
  2. Select one of the components, and click the Piping button
  3. Ok to dialog, Edit System, use Add to add the other component.  Finish.
  4. Select one of the components, use the Generate Layout tool.  Click Edit Layout if you want to drag the lines around.
  5. Start adjust heights and paths of piping.

Don’t forget, you can set the View Discipline to Mechanical to get some in-built filtering to show something like this:

Quick video from Wikihelp:

    (embedded JWPlayer)

    Read more at:
    Pipe – WikiHelp

    The easiest way I have found to get the buttons back is to learn the keyboard shortcuts for each command, where upon, once used the buttons themselves seem to magically reappear in the ribbon. The keyboard shortcuts are PE for Parallel Pipe and PO for Parallel Conduit.

    via
    Applied Software Blog: RMEP Parallel Pipe and Parallel Conduit Command Buttons