Have you ever spent ages typing into a web form, only to press submit and be served a message like “Error=remote_computer_lost_your_hard_work” or even just a blank page?
If this has just happened to you, and before you do ANYTHING else, try this:
- Download HxD Hex Editor (here is a link to a portable version)
- Open the HxD program.
- Click Extras – Open RAM…
- Choose the browser your are currently using (such as firefox.exe). The program now ‘reads’ the RAM stores associated with this program.
- Click Search – Find.
- Type part of a phrase of what you just typed – and click OK.
- This will find the place in the RAM where your form data is stored.
- Now just select the text you want to recover, use Ctrl+C for copy, and then paste into Word or Notepad for additional formatting.
Step 3 image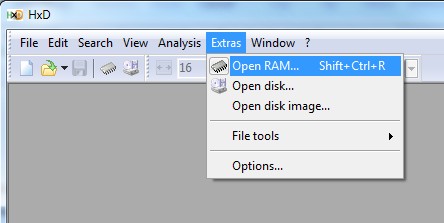
Step 4 image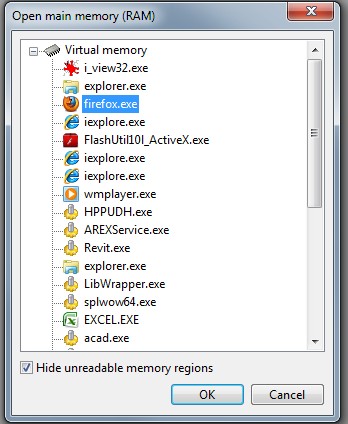
Step 6 image

These types of errors do happen, and there is are some very poorly coded websites out there.
Hopefully this has helped you recover some work!