Revising large sets of drawings in Revit can be a little challenging.  I previously posted about a method using Detail Groups, but these two tips are pretty great too:

“One other thing I thought of that is a bit more automatic is to create a revision cloud on one sheet, copy it, and the in the Paste drop down box, choose aligned to selected views.  You’ll get a list of all the sheets in the project, where you can paste the cloud.  Then turn the visibility for the clouds and tags off for that revision, and now each sheet that’s part of that “issue” can be scheduled via a typical sheet index with a parameter for revisions enabled.”
Ross Kirby
BIM Manager

What about for large revision sets for a particular project issue package?  Here:
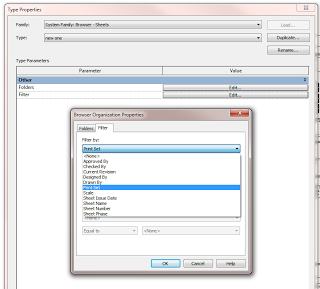
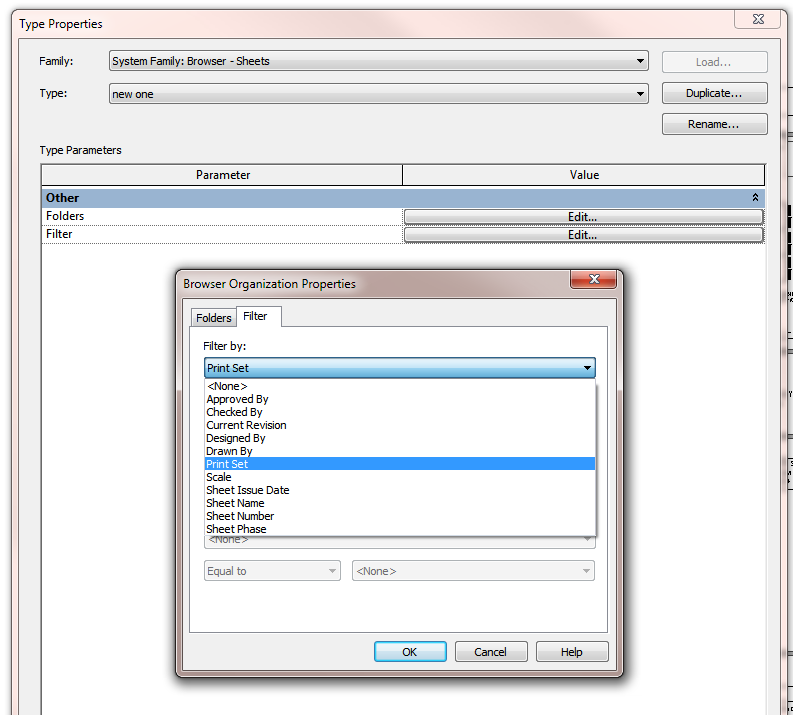
“Gotcha, so what you’re talking about is not a revision, per se, but more of an issue package (like a 75% set, bid set, or permit set), right?

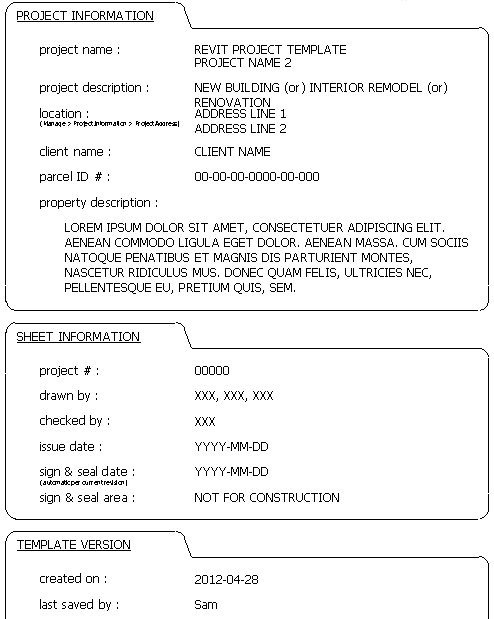
For those situations, we have a shared parameter that we use as part of the project information parameters, and a separate section in the titleblock for those labels.  That gets manually filled in on one sheet, and is propogated to all other sheets.”
Ross Kirby
BIM Manager

Great stuff Ross!

Read the whole thread:
http://forums.autodesk.com/t5/Revit-Architecture/Revit-Change-Revision-to-Multiple-Sheets/m-p/4322508#M70456

Issue

You want to update a revision/issue title block label globally in multiple sheet views without the need to edit every single individual sheet view.

Solution

The following steps explain how to add a label to a titleblock, which can be updated globally in multiple sheet views.

via
Autodesk – Autodesk Revit Architecture Services & Support – You want to update a revision/issue title block label globally in multiple sheet views

Some objects in Revit are very difficult to mask over.  However, sometimes you just really need that quick method of masking something to save yourself hours of work.

Here is how you do it:

  1. Go to the Sheet view
  2. Make some text
  3. Set the text Type to Opaque and make the color just one very small step above pure white (253-253-253), otherwise Revit will make your ‘white’ look like ‘black’
  4. Draw some full stops (periods) to fill in the text box
  5. Put it on top of what you want to mask

In the video below, I show how this method works to mask a Color Fill Legend.

There is another method that is slightly more involved – you can put a shared Generic Annotation family with a Masking Region into a Drafting View and put that on the sheet.  Check out this link, where I reposted this method from The Revit Clinic.

“In your title block family, create horizontal and vertical grid lines, equally spacing the entire title block into modules, per your standards or preference. It is recommended that you create a different Object Style for these lines (Manage tab, Object Styles), to differentiate them from other annotation linework (Figure 2).”

” this grid has many advantages over the standard guide grid. Primarily, it allows for varied width versus height grid modules, and hence, it allows for graphical linework, such as boxing out detail views.”

From
Revit: A Neater Alternative to the Guide Grid | AUGI: