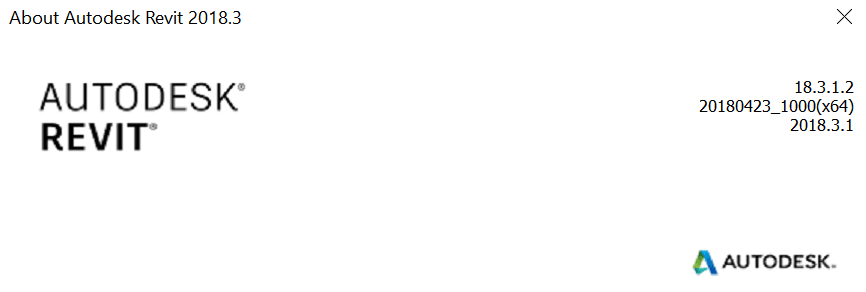
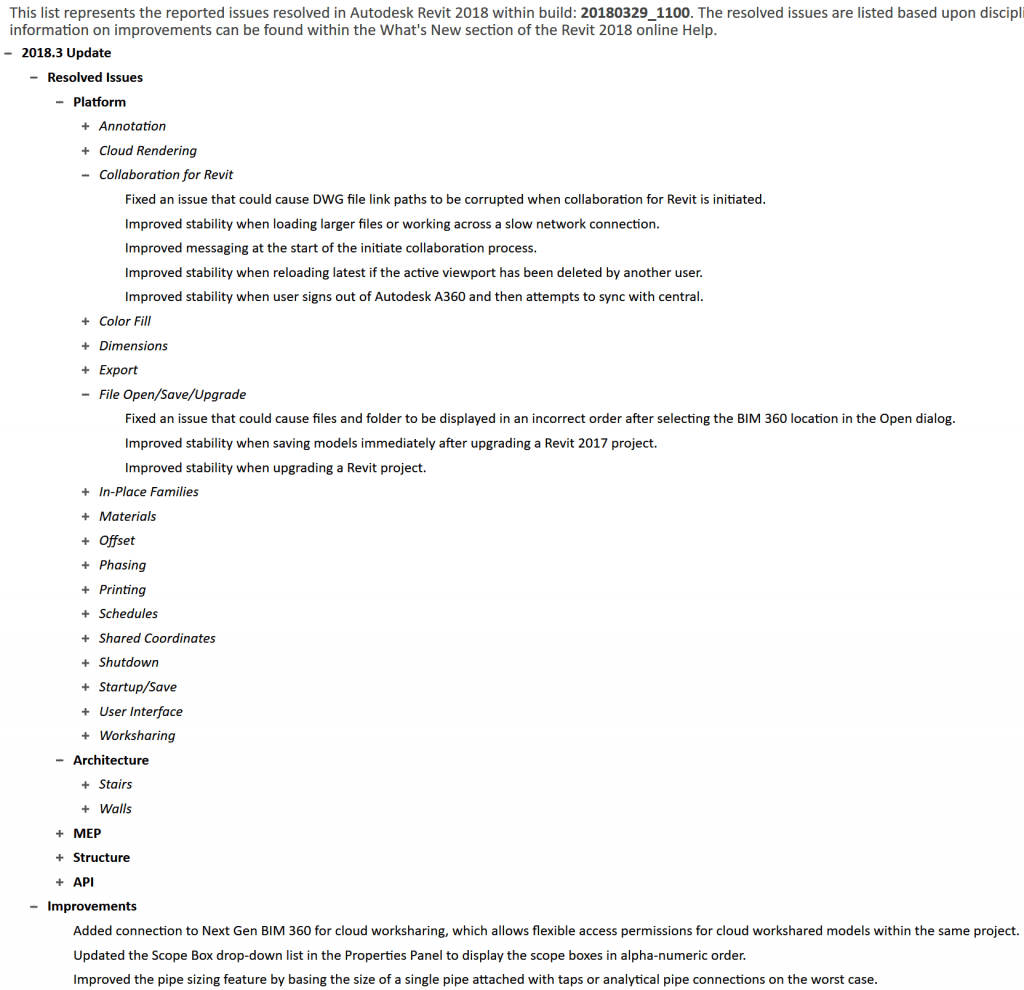
This hotfix corrects an issue with non-English languages where the PnID Modeler functionality did not load correctly after appling Revit 2018.3 Update.

Some notes from readme below…

Additional software applied by this update

Collaboration for Revit 2018.3.1 Update, Dynamo Core 1.3.2.2480 and Dynamo Revit 1.3.2.2480

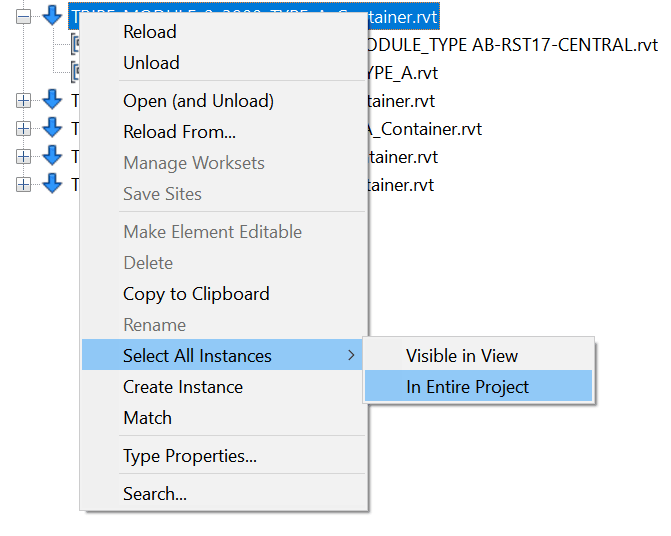
With this install the following will be updated: Revit 2018, Collaboration for Revit 2018, and Dynamo. The updated version of the Dynamo Revit add-in does not include a desktop shortcut and can be accessed from the Visual Programming panel found on the Manage ribbon tab. If multiple versions of the Dynamo Revit add-in are installed, a dialog will prompt you to select which version to launch.

After this update is applied, there will be two versions of Dynamo Core installed, 1.2.2.373 and 1.3.2.2480.

Known Issues with applying the update.

  • During the installation of the hotfix you may be prompted to exit revit.exe. If you do not have a visible session open of Revit, please open Windows Task Manger, switch to the Processes tab, click “revit.exe” and the option “End Process”.
  • For BIM 360 Design (formerly Collaboration for Revit), if the Modified date for the revit.exe.config file is newer than the Created date, the patch installer will fail to update it and Revit may not launch correctly. Consult Collaboration for Revit: Synchronize process starts failing for C4R.

Autodesk Uninstall Tool

After this update is applied, attempts to uninstall Revit 2018 using the Autodesk Uninstall Tool may become unresponsive during the Dynamo Revit uninstall process. To avoid this problem, uninstall Dynamo Revit first and then continue with the uninstall of Revit 2018.

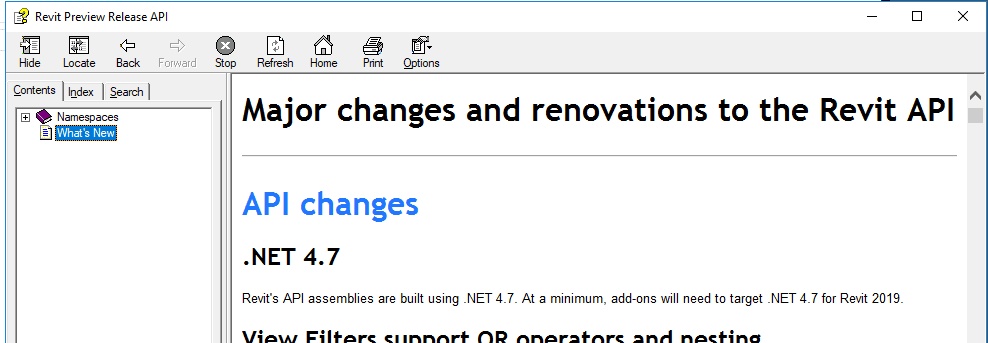
After a new version of Revit comes out, we all take some time to catch up. Revit API developers often have to get up and running really quickly so they can upgrade their apps for Revit 2019 compatibility. The first few things you will need are: the Revit 2019 SDK and help file, RevitLookup installed, and an understanding of What’s New in the Revit 2019 API.

To install RevitLookup for Revit 2019, head over to this page and grab the latest version, currently 2019.0.0.1. Put RevitLookup.addin and RevitLookup.dll into one of your Revit Addins folders, like:

%appdata%\Roaming\Autodesk\Revit\Addins\2019\

To install the Revit SDK, follow these steps:

  • Install Revit 2019 (or access the install media)
  • Look in the installation folder
  • In the Utilities subfolder, you will find the Revit 2019 SDK installer – RevitSDK.exe

This will basically unzip a whole heap of Revit API samples and goodness into a folder of your choosing. The key thing I look for initially is the RevitAPI.chm help file. I put this somewhere I can get to it easily (like OneDrive).

Until http://www.revitapidocs.com/ is updated for Revit 2019, the help files is the best way to access information about the Revit 2019 API.


Useful links, mostly from Jeremy over at The Builder Coder:

My Revit API 2019 Notes:

  • Building site export removed from API and Revit 2019
  • Project browser organisation for schedules added
  • Can now read the Phase Map parameter for the link. The phase map is a correspondence between phases in the host document and phases in the linked document…

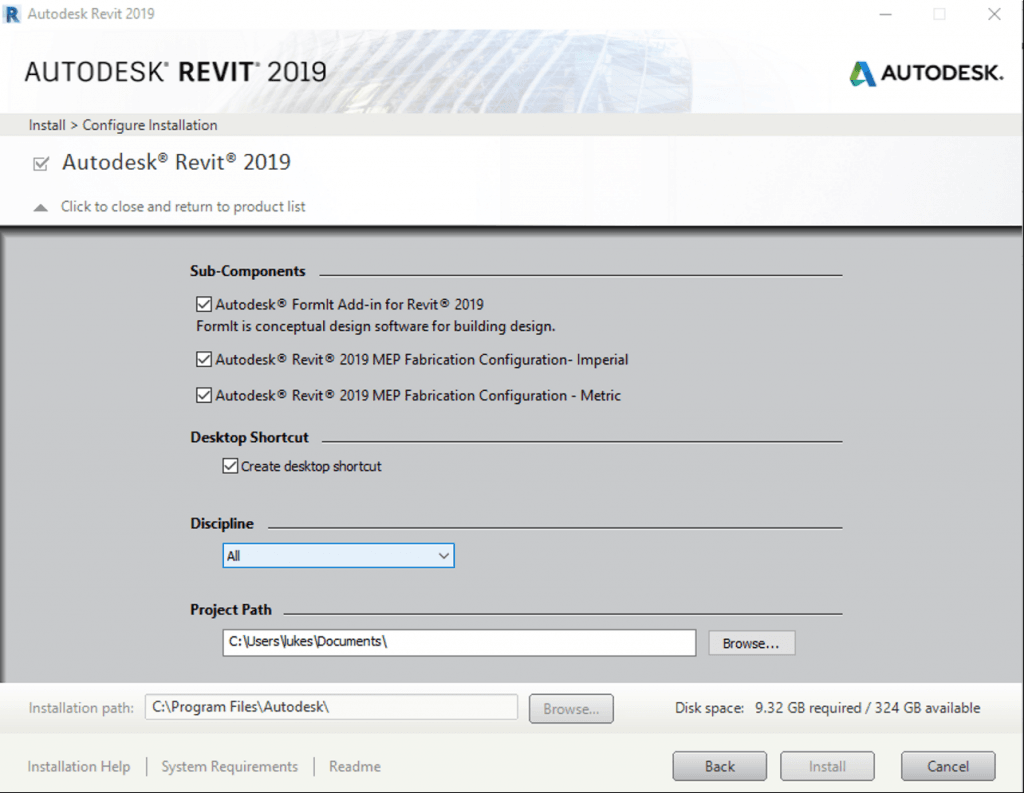
On install of Revit 2019, you will have the following install choices:

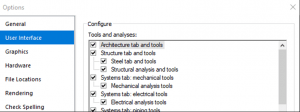
There are no changes in the Options dialog from Revit 2018 to 2019, except for the new Steel tab and tools ribbon option (under Structure tab and tools):

This is what the Steel ribbon looks like:

Clicking Help will take you to Help content pages that don’t exist yet (oops). I’m sure this will be rectified soon.

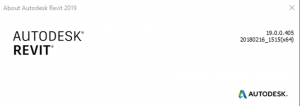
Build numbers are 19.0.0.405 and 20180216_1515(x64)

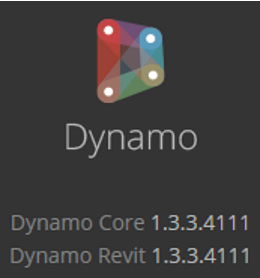
Launching Dynamo from Revit 2019 will reveal that the Dynamo version has been upgraded to 1.3.3.4111. As some have mentioned, this version does not run on Revit 2016. So you will have to run multiple Dynamo versions and be aware of any file incompatibility if you want to use Dynamo on Revit 2016 and Revit 2019 simultaneously. The installation process should pick up your custom package paths and any Recent Files too.

Add-ins tab reveals that the following items previously considered Subscription Enhancements are included and installed out of the box:

  • Batch Print
  • eTransmit
  • Model Review
  • Worksharing Monitor


The biggest change you are likely to notice is that you now have Tabbed Views, and an updated interface for controlling docked panels.

I compared the built in category list from Revit 2018 and Revit 2019, and these are the new Categories in Revit 2019:

API Name Visible Name
OST_StructConnectionHoleTags Hole Tags
OST_StructConnectionShearStudTags Shear Stud Tags
OST_StructConnectionProfilesTags Profile Tags
OST_StructConnectionBoltTags Bolt Tags
OST_MechanicalEquipmentSetTags Mechanical Equipment Set Tags
OST_StructConnectionAnchorTags Anchor Tags
OST_MechanicalEquipmentSetBoundaryLines Mechanical Equipment Set Boundary Lines
OST_StructConnectionWeldTags Weld Tags
OST_StructConnectionPlateTags Plate Tags
OST_MechanicalEquipmentSet Mechanical Equipment Sets


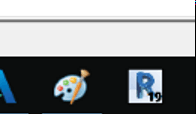
On a final note… the Revit icon hasn’t changed for the last couple of years, so I made this Revit 2019 icon for you 🙂 Just download it and set as the icon for Revit 2019. Also, I’m sure you can do better than my attempt if you spend more than 30 seconds in Windows Paint:

Let’s say you have a family that has shape handles for instance dimensions (Length Parameters). What if you want to use it for quick prototyping, and then switch that same family into a version that uses Type based parameters?

Here’s how I went about it:

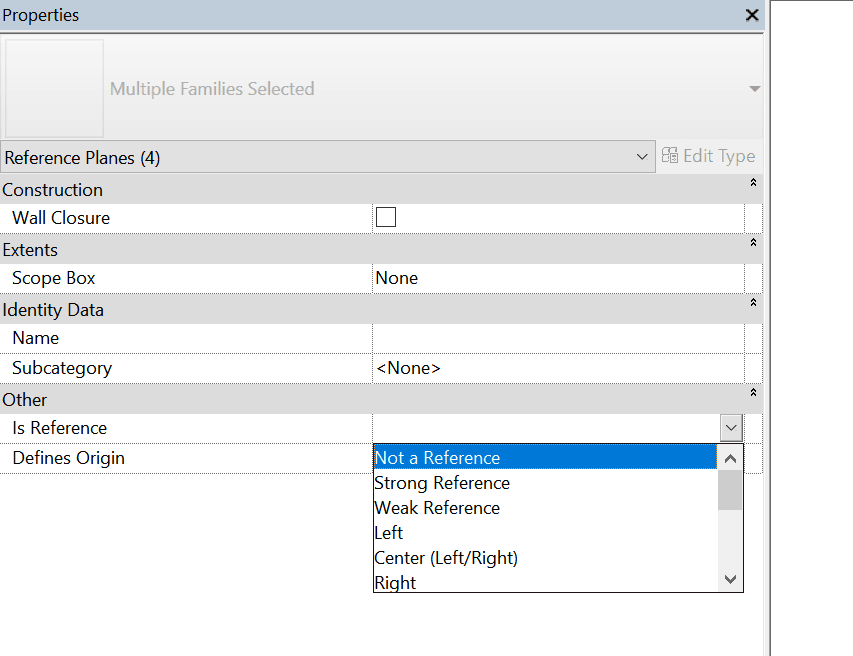
  • Change all existing Reference Planes to “Not a Reference”

  • Create new Reference Planes
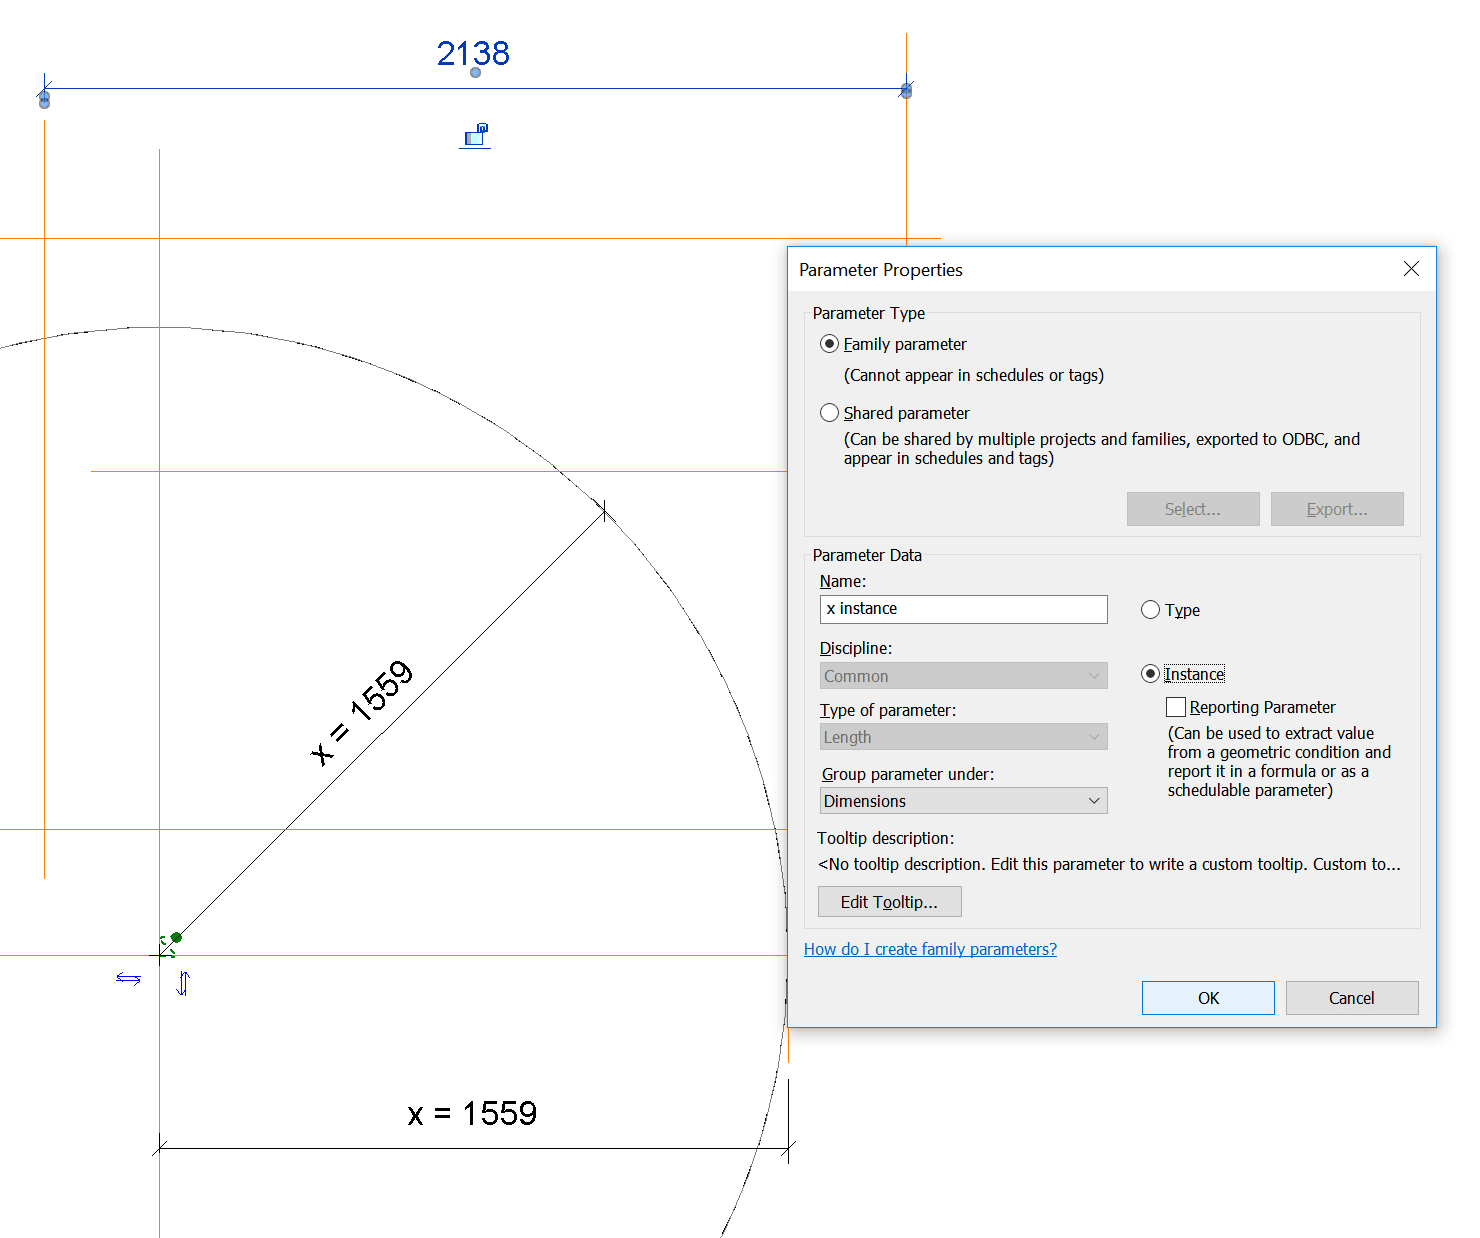
  • Create new instance parameters bound to those Reference Planes

  • Lock one of the planes on each Dimension to existing origin planes
  • Create a corresponding set of Type dimensions
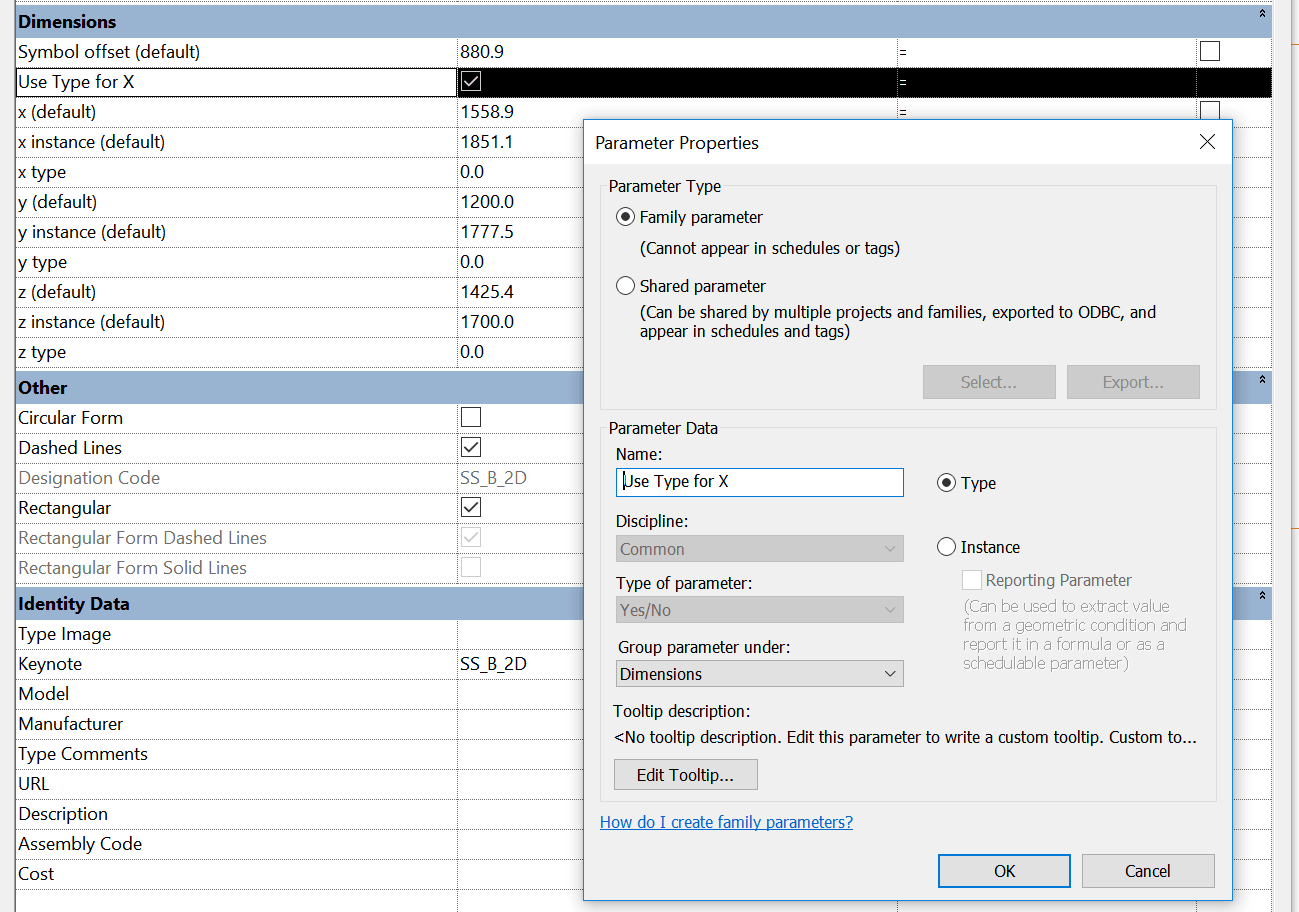
  • Create a set of Yes / No parameters for “Use Type for …”

  • Create formula like:
    if(Use Type for X, x type, x instance)
  • Apply it to the original parameters (the ones that are driving geometry):

How to Use:

  • Place the family
  • Resize using the shape handles (instance dimensions)
  • Then,
  • Create a Type
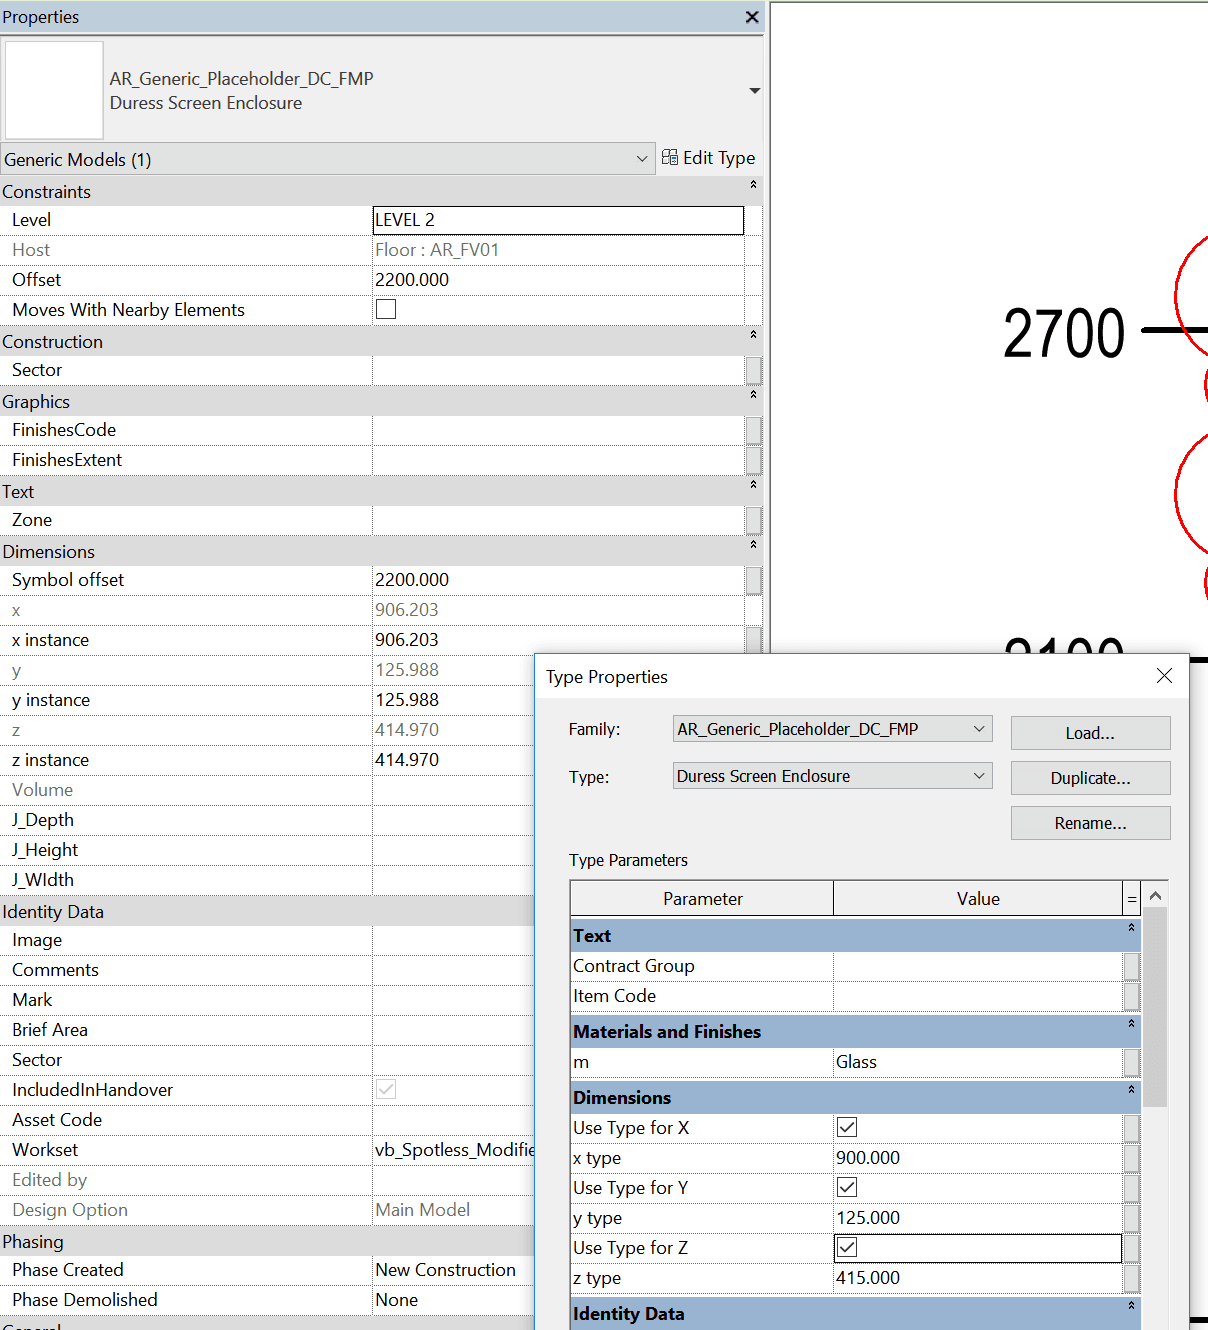
  • Modify the type Values and Tick the “Use Type” box

At this point, the Shape Handles are still visible, but only the Type values are used for the geometry.

Download Sample Family Here – Revit 2018:

AR_Generic_Placeholder_DC_FMP

Note: A future development of this family could be to make an inverse visibility parameter that switches off the Shape Handles once the Type Value is enforced.

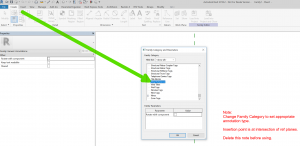
Sometimes, What Revit Wants is a specific Annotation Tag family of a unique Family Category, like View Reference. When you go to create a new Family, you probably won’t find a Family Template for ‘Metric View Reference’ or similar. You need to create a family with the Generic Annotation template, and then change the Family Category.

Here’s how:

  1. Create a new Family -> Generic Annotation template
  2. Change the Family Category to the desired Category (like View Reference)

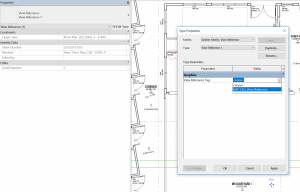
Save the family, then go ahead and add the Text, Labels and Lines as desired. Load into your project and you can then select it in the relevant dialog box:

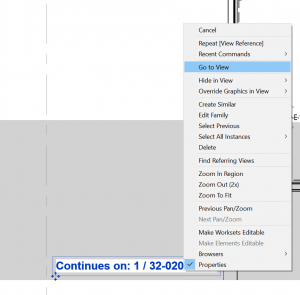
Keep in mind that you can use a View Reference to “Go to View”, such as for an adjoining Floor Plan:

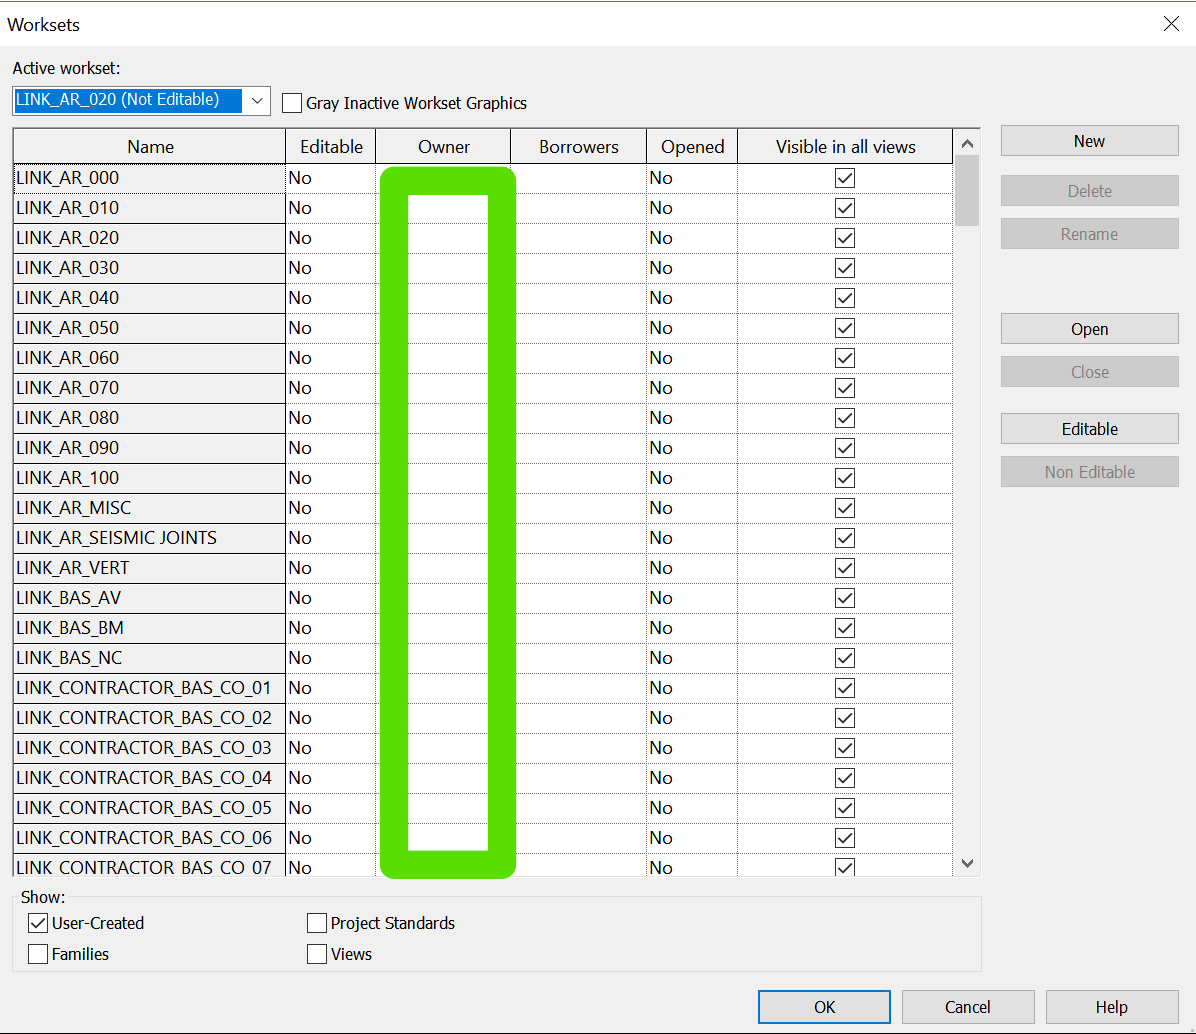
If you have gone through a process of saving Central models, and you have forgotten to ‘Synchronize with Central’ before closing them for the first time, you may find that your user has all User Created Worksets checked out in those files. A quick recap:

  • Workshared Revit files use a persons Revit user name (sometimes linked to an Autodesk SSO login) to determine if things are checked out
  • If someone has a User Workset checked out, you won’t be able to edit it until they Relinquish. (Note: you can Detach and recreate the file but that is dangerous if you have multiple people working on something)

Basically I had a bunch of Revit files that had all User Worksets from certain usernames checked out. They were upgraded and they were Central files. All that was needed was a simple Open and Relinquish. As I didn’t want to do this manually, I sourced some macro code from here and adapted it for my situation.

What does it do?

This Application level macro starts with a dialog box where you can select files. After you select them, it then loops over each file and Opens it, then does a Relinquish All Mine on User Created Worksets, and then it Syncs with Central and Closes the file. The key part of the code is here:

How to set it up?

First, get the code below. Copy and paste it into a new Application Macro in Revit.

 /*
  * Created by SharpDevelop.
  * User: lukes
  * Date: 1/10/2018
  * Time: 2:54 PM
  * 
  * To change this template use Tools | Options | Coding | Edit Standard Headers.
  */
 using System;
 using Autodesk.Revit.UI;
 using Autodesk.Revit.DB;
 using Autodesk.Revit.UI.Selection;
 using System.Collections.Generic;
 using System.Linq;
 using Autodesk.Revit.ApplicationServices;
 using System.IO;
 using System.Windows.Forms;
 
 namespace relinquish
 {
     [Autodesk.Revit.Attributes.Transaction(Autodesk.Revit.Attributes.TransactionMode.Manual)]
     [Autodesk.Revit.DB.Macros.AddInId("30EBC375-5A4C-4917-AB07-D7212C9ED3FA")]
     public partial class ThisApplication
     {
         private void Module_Startup(object sender, EventArgs e)
         {
 
         }
 
         private void Module_Shutdown(object sender, EventArgs e)
         {
 
         }
 
         #region Revit Macros generated code
         private void InternalStartup()
         {
             this.Startup += new System.EventHandler(Module_Startup);
             this.Shutdown += new System.EventHandler(Module_Shutdown);
         }
         #endregion
         public void RelinquishMineFromFiles()
         {
             
             
 OpenFileDialog theDialogRevit = new OpenFileDialog();
 theDialogRevit.Title = "Select Revit Project Files";
 theDialogRevit.Filter = "RVT files|*.rvt";
 theDialogRevit.FilterIndex = 1;
 theDialogRevit.InitialDirectory = @"C:\";
 theDialogRevit.Multiselect = true;
 if (theDialogRevit.ShowDialog() == DialogResult.OK)    
             
     {             
 /* string mpath = "";
         string mpathOnlyFilename = "";
         FolderBrowserDialog folderBrowserDialog1 = new FolderBrowserDialog();
         folderBrowserDialog1.Description = "Select Folder Where Revit Projects to be Saved in Local";
         folderBrowserDialog1.RootFolder = Environment.SpecialFolder.MyComputer;
         if (folderBrowserDialog1.ShowDialog() == DialogResult.OK)
         {
          mpath = folderBrowserDialog1.SelectedPath;*/
                 foreach (String projectPath in theDialogRevit.FileNames)
                 {
                  FileInfo filePath = new FileInfo(projectPath);
                         ModelPath mp = ModelPathUtils.ConvertUserVisiblePathToModelPath(filePath.FullName);
                         OpenOptions opt = new OpenOptions();
 /*                        opt.DetachFromCentralOption = DetachFromCentralOption.DetachAndDiscardWorksets;*/
                          WorksetConfiguration openConfig = new WorksetConfiguration(WorksetConfigurationOption.CloseAllWorksets);
                         // Set list of worksets for opening 
 /*                        openConfig.Open(worksetIds);
                         opt.SetOpenWorksetsConfiguration(openConfig);
                         mpathOnlyFilename = filePath.Name;*/
                         Document openedDoc = Application.OpenDocumentFile(mp, opt);                               
 /*                        SaveAsOptions options = new SaveAsOptions();*/
                          TransactWithCentralOptions twcOpts = new TransactWithCentralOptions();
                         SynchronizeWithCentralOptions syncopt = new SynchronizeWithCentralOptions();
                         RelinquishOptions rOptions = new RelinquishOptions(true);
                         rOptions.UserWorksets = true;
                         syncopt.SetRelinquishOptions(rOptions);
                         syncopt.SaveLocalBefore = false;
                         syncopt.SaveLocalAfter = false;
 /*                        options.OverwriteExistingFile = true;
                         ModelPath modelPathout = ModelPathUtils.ConvertUserVisiblePathToModelPath(mpath + "\\" + mpathOnlyFilename);
                         openedDoc.SaveAs(modelPathout, options);*/
                         openedDoc.SynchronizeWithCentral(twcOpts, syncopt);
                         openedDoc.Close(false);
                }
         }
 }}}

Then,

  • Add the System.Windows.Form reference and
  • Build the Solution

Note: I built and tested this on Revit 2018.2.

How to Use It?

  1. Set your Revit User Name to the user that you want to Relinquish the Worksets for…
    • You may have to logout of your own SSO first
    • Go to Revit Options
    • Input the exact user name (including @ if an email address)
  2. Start a new blank project in Revit
  3. Start the Macro Manager
  4. Select the RelinquishMineFromFiles macro that you built
  5. Click Run
  6. Select the files you want to fix
  7. Click Ok
  8. Wait for the result. The macro will step through them, Relinquish, Sync and Close the files.


Note:

Please use at your own risk, this has the potential to be pretty risky in a real project environment. Only use it if you understand what is going on 🙂

Also, you can refer to this Revit API Doc page.

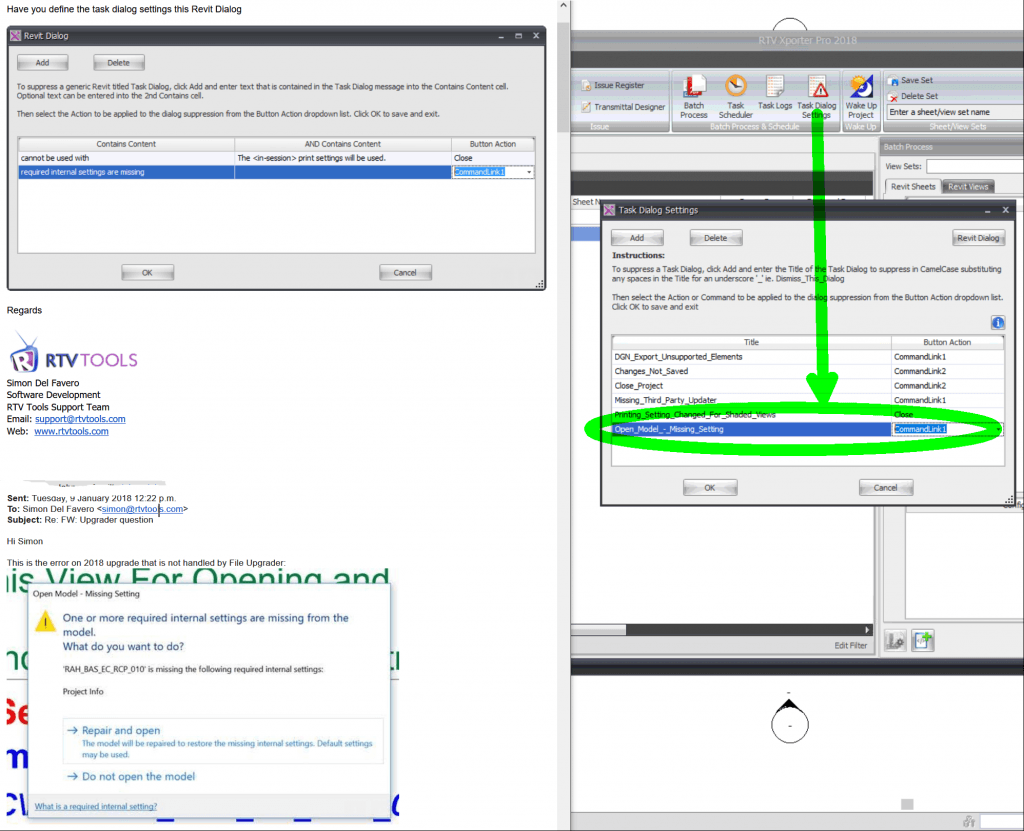
You may have experienced this error when upgrading a file to Revit 2018:

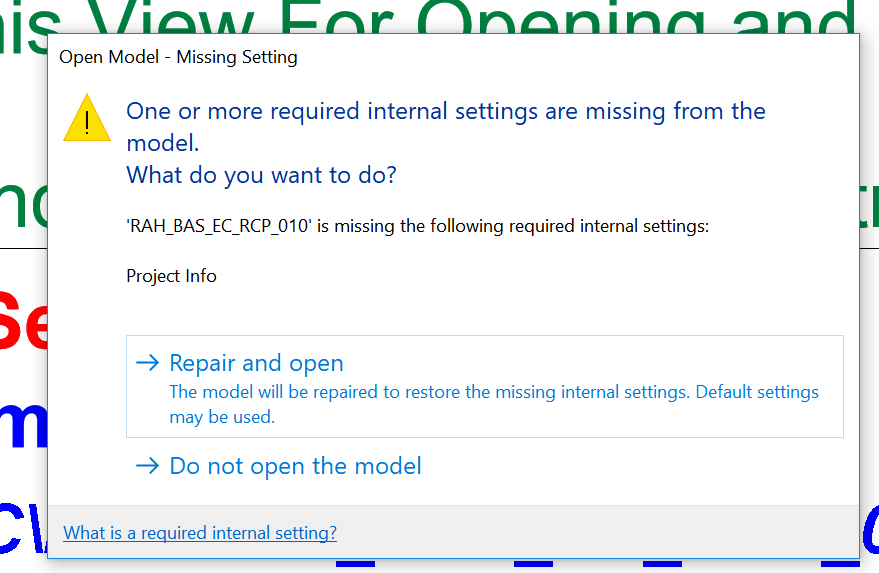
One or more required internal settings are missing from the model. What do you want to do?


Autodesk Support has stated that “In R 2018 we added a “feature” that catches issues like this and repair the model for you, instead of causing problem down the line.”


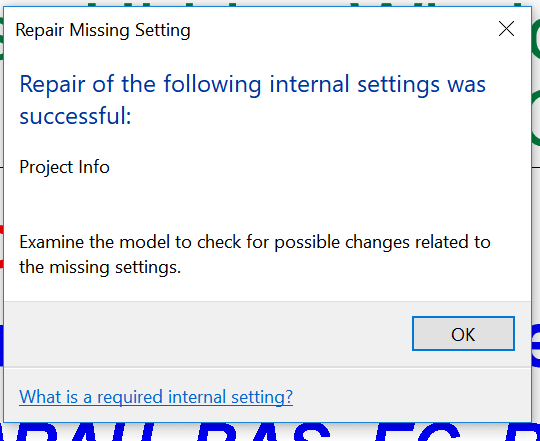
This particular dialog may not be handled by automatic upgrading tools. The resolution of the problem is to open the file manually, and simply press “Repair and open”. You should get a success message like below:

I assume there are other things that this Revit 2018 feature looks for and tries to fix. As Project Info includes a few different things in Revit, my guess for the above error is that it appears that it will set project Location to Default? Or perhaps it reinstates a deleted Project Base Point or Survey Point.

Either way, data and model validation is a good thing. Thanks Revit 2018 🙂


Update: RTV Xporter Pro can define rules for dismissing dialog boxes, in the Task Dialog Settings. See below:

I once built an auto-sizing Fire Pipe Fitting using a Formulaic method (where the various fitting sizes were driven by the Revit intersection variable), so I was interested to read about a similar strategy in a very good article in AUGIWorld January 2018 by Todd Shackelford.  It is really good to evaluate these different options before going ahead on a detailed Family development and creation task.

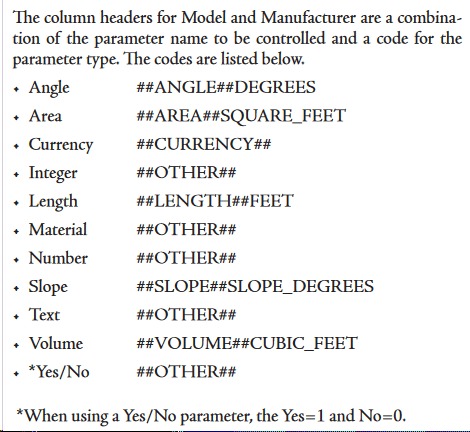
Among other things, Todd describes how to create a Type Catalog, including a list of the various data types:

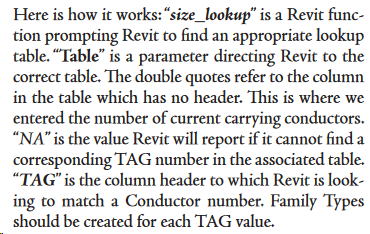
He also describes how to use multiple Lookup Tables in a single Revit Family:


Overall, it is a very informative article for advanced Revit family creators.


Check out the full article online here:

page 36

Revit gets a new version every year, and every year we theoretically have to upgrade our Revit files. If you are a pro-active BIM Manager, you also have to upgrade a bunch of families and other files. If you are working on certain large projects, maybe the updates are deferred for a year or two, and then you find that you have to upgrade about 800 Revit files from Revit 2015 to 2018. Obviously, they all have to upgraded at once to maintain the integrity of the data and the workflows. What is the best way to do it?

I investigated a few different options and my notes and links are list below. In my case, I decided to go with RTV Xporter Pro and its File Upgrader option. It is an extremely affordable addin (currently $49USD), considering the amount of batch processing functionality that it provides.

The very first thing to do is ensure you have a backup. In my case, I had a complete offline mirror of the Revit files, and I ran the upgrade against that mirror. Then, I could just overwrite the live network location once I confirm that everything works as expected.

I would say that another thing to do is to create some form of data snapshot of your Revit models prior to upgrade. I have a method of doing this which is pretty powerful, but its a secret (for now).

Here are the steps to upgrade a Revit dataset using RTV Xporter Pro 2018:

  1. Set up a File Upgrader XML file (my settings shown below). As you can see, I chose to Detach and Audit and then Save the file over the top of the current file in the same location. This way, all of the Revit links should be maintained once the whole dataset is upgraded to the new version.
  2. Open Xporter Pro link from Revit
  3. Create Task Schedule
  4. Import the Upgrade XML as a Batch Process
  5. Set the Revit EXE location for the target version
  6. After saving the task, open in Windows Task Scheduler and you can run it immediately.

The screenshots below show the important stuff from the above steps.

1) My RTV Xporter Pro Settings:

3) Creating the Scheduled Task:

4 and 5) Load Batch Process XML and Set Revit Application, like for 2018:

6) Running the Scheduled Task:

Tip: During a typical file upgrade, Revit will often come up with warnings. If you run the RTV File Upgrader task in Interactive mode, you will get the dialog box which requires user interaction (export warnings and proceed past the Revit warnings). However, if you run the upgrade from the Task Scheduler, it will automatically dismiss the warnings for you as it upgrades. Some examples are warning dialog including errors like ‘could not cut instance out of wall’. In the Scheduled Mode, this process will all happen unattended.

This is what it looks like as it upgrades (scheduled mode):

This is what it looks like as it upgrades (interactive mode):

Update 10/1/18: RTV Xporter Pro can define rules for dismissing dialog boxes, in the Task Dialog Settings. See below:

end Update 10/1/18

You can get RTV Xporter Pro here

There are other addins and ways to upgrade. Here is a pretty comprehensive list:

Paid Revit Addins:

  • Harry Mattison has built a powerful Bulk File Upgrader addin that has a lot of good reviews on the App Store. You can find it here.
    Current price: $99USD
  • BIMWERX Batch File Upgrader. Very simple UI and good reviews. You can get it here.
    Current price: $10USD
  • NTI Tools have a File Upgrader. You can get a trial at this link. You have to register and then get an email with the download.

Previous posts:

These previous posts show some other pretty useful methods to keep in mind…

Upgrading with RTV Xporter

Upgrading with eTransmit

Upgrading with File Upgrader (previously provided by Autodesk)

Batch Upgrade Family Templates by Renaming Hack


Batch Upgrade Families with Dynamo

Using this definition or the Rhythm node, as per this forum post.

Content Batch Utility Help Link:

https://knowledge.autodesk.com/support/revit-products/troubleshooting/caas/sfdcarticles/sfdcarticles/Upgrading-old-families.html

Old Maller tweet:

Aaron Maller

http://t.co/O0eqcPo8t1
Upgraded Batch utility and journal for Fam upgrades. Does TPS of OS/LW/LT, and does Parameter Re-order in 2015.

Dead link?

Even older links:

http://www.revitforum.org/architecture-general-revit-questions/1971-updating-content-2011-2012-a.html

http://www.revitforum.org/architecture-general-revit-questions/1976-revit-2012-a.html

http://forums.augi.com/showthread.php?83775-RVT-file-batch-Upgrade


Batch Utility

This Batch Utility is usually available on you Revit installation media:

“C:Program Files\Autodesk\Revit 2013\Program\en-US\Utilities\ContentBatchUtility\Upgrade_RFA.bat”


Old re-post:

Run this utility, then run the Family Categorizer – instant and up to date Family Library!

The Revit Jedi: Batch Upgrade Utility


Feel free to comment with your thoughts.