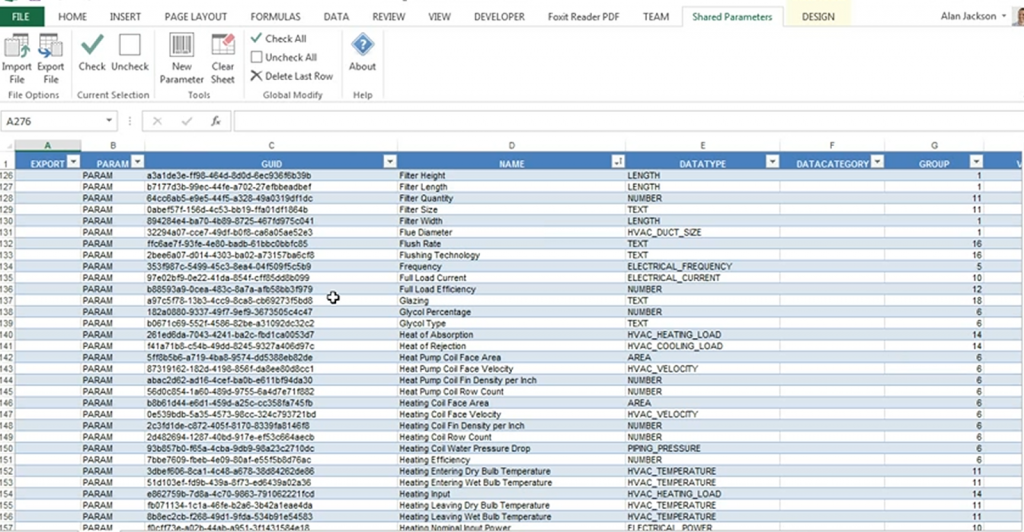
I came across an interesting issue today. We were automating Revit data parameters for a mandated IFC deliverable, but we came across some Shared Parameters that were added incorrectly (wrong Parameter Name for the Shared Parameter GUID). Ok… let’s just remove them from Project Parameters, right?

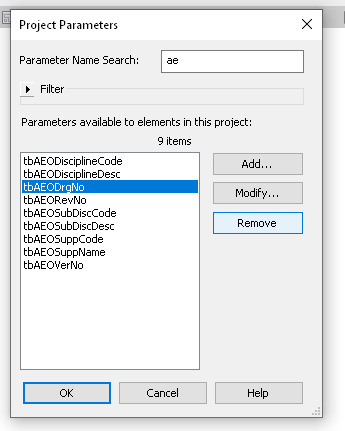
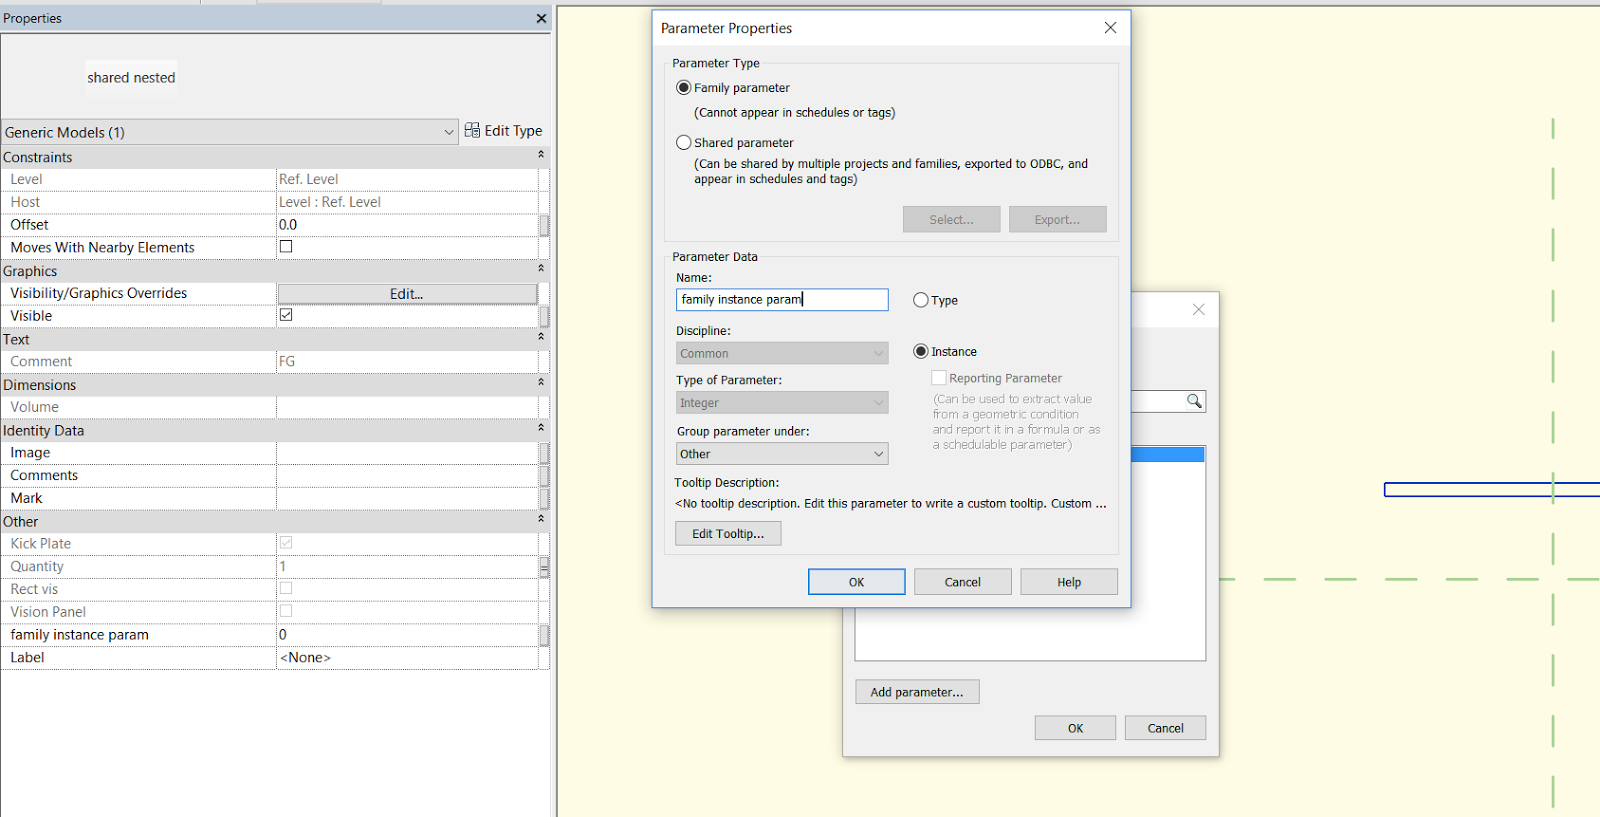
Seems nice and easy. Now let’s add the ‘right’ Shared Parameter using Shared Parameters dialog box. Uh oh! Revit still remembers the OLD Parameter Name. Not good. This issue was well described by Jay Merlan over here. From his post:

“If you want to test this limitation, try deleting a Shared Parameter from a Revit model and loading a parameter with the same GUID but a different name. It will always assume the original parameter name that was defined in the project or family.

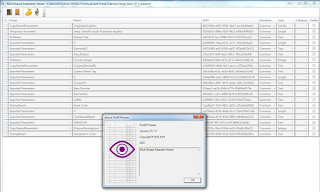
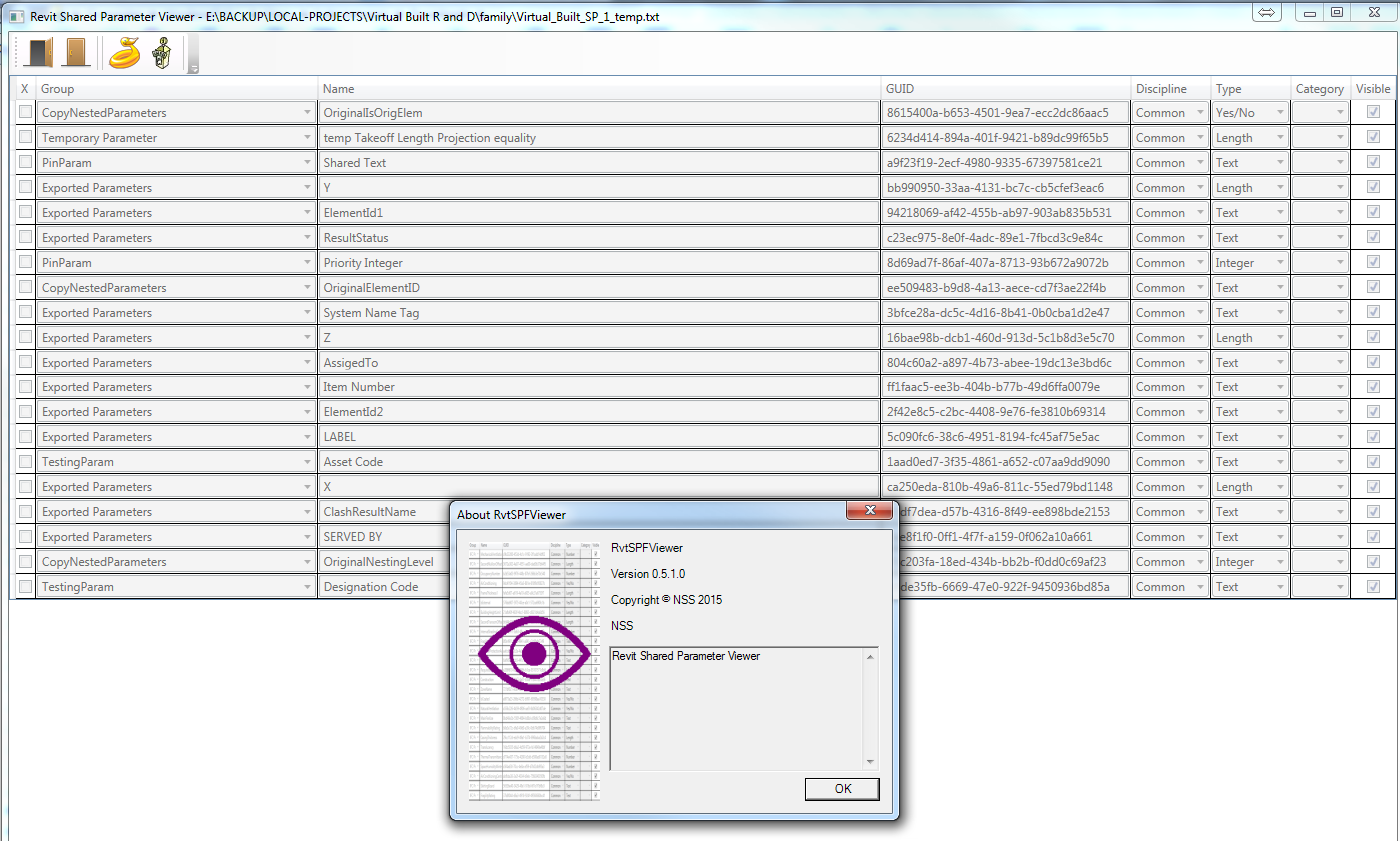
Ok, now what? We had already acquired all the data into Deep Space, so we could open up the Data App. From here, we can search for either the Shared Parameter GUID or the ‘wrong’ parameter name from the latest data capture.

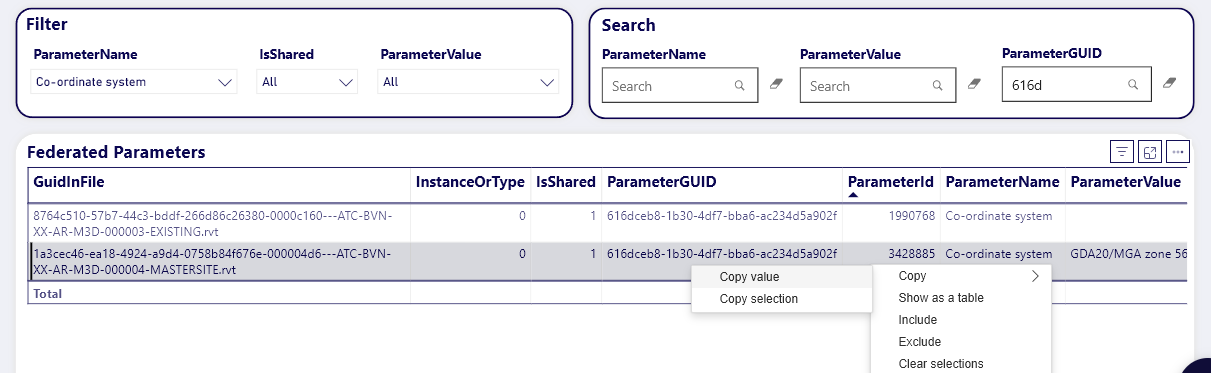
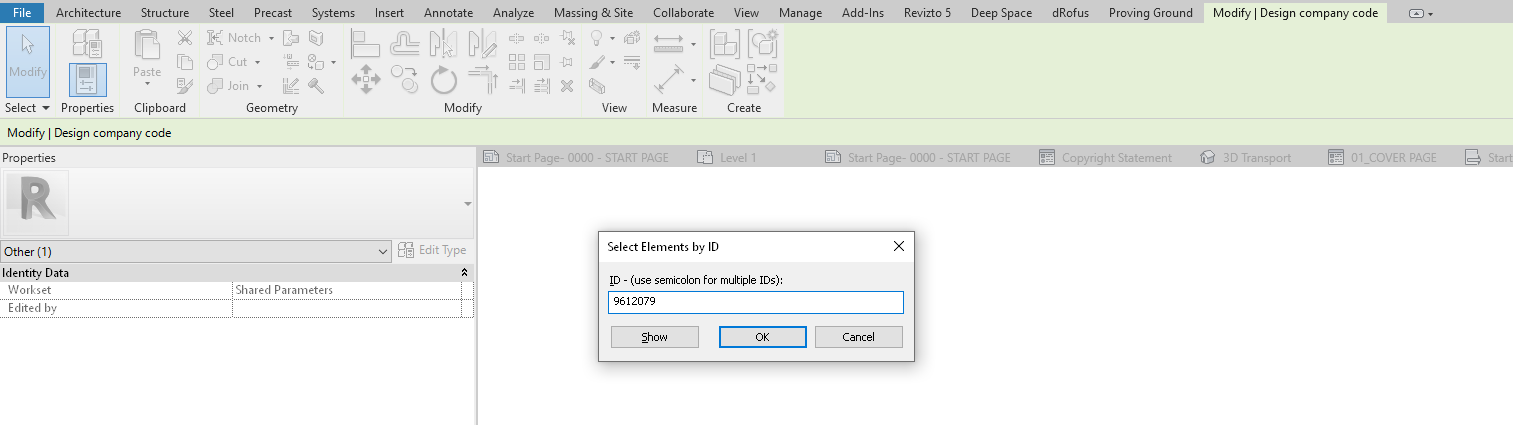
Now for the cool part – the ParameterId that Deep Space has captured is actually a Revit Element ID. We can copy the value from Deep Space, use Select by Id in Revit, then delete the Parameter PROPERLY. This is the way to truly get rid of a Shared Parameter from your model. We aren’t really worried about losing data, because all historical parameter data is captured into Deep Space anyway!

These are the key points:

  • Removing a Shared Parameter from Revit interface doesn’t really delete it
  • Deep Space ParameterId for that shared parameter is ACTUALLY an Element ID
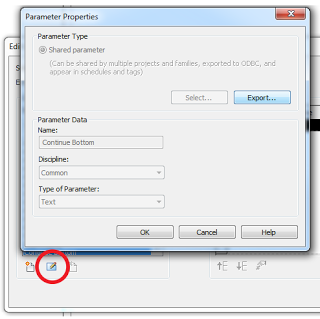
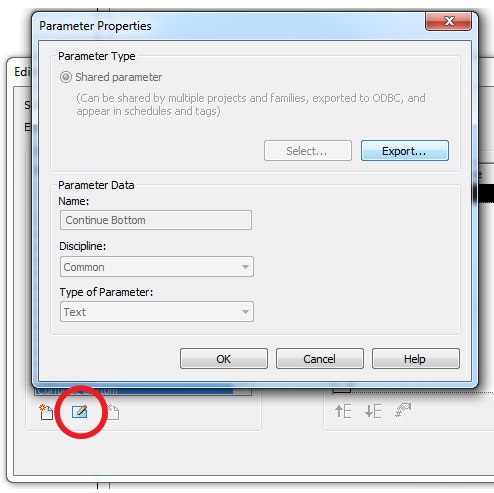
  • We can use that to select the Parameter “Element” in Revit and delete it properly! (use Delete key or the little red X on ribbon)

Select the Parameter by ID then Delete It

The total workflow we used on this particular project was:

  1. Setup Deep Space
  2. Sync Data from Revit
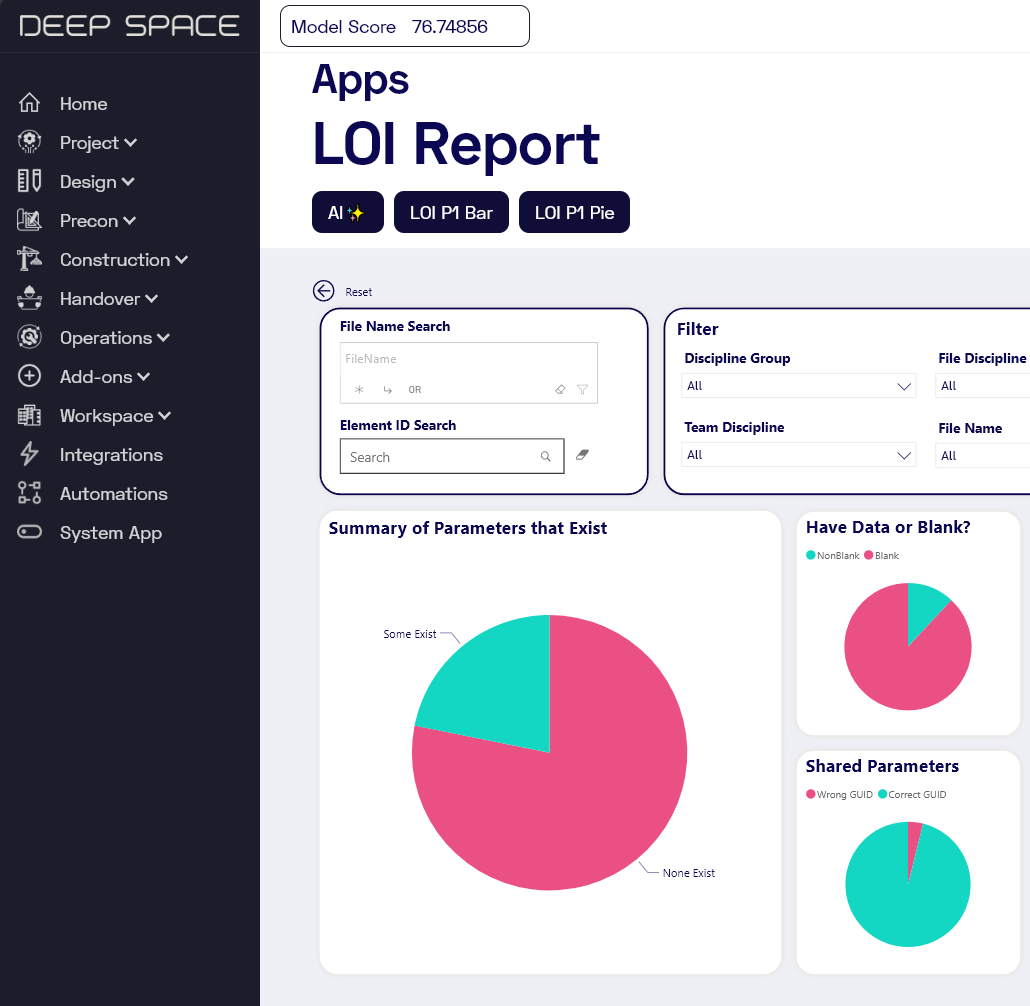
  3. Configure and use LOI Report app in Deep Space – this tells us which Shared Parameters have incorrect GUIDs
  4. Now use Data app in Deep Space to query and search for Parameter info. Use this to fix the model Shared Parameters
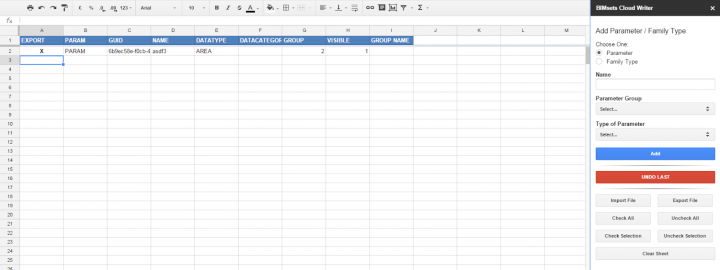
  5. Use Deep Space Write Back functionality to write data captured in a Deep Space web input portal straight back into the model
  6. Configure some IFC Export settings (category mapping and attribute settings) then export the ultimate IFC deliverable for the client.
LOI Report app in Deep Space

If you have moved your project onto BIM 360 Docs, it might make sense to store related project resources (Shared Parameter files and Classification resources like Uniformat) in the same cloud as well.


Here’s how you can do it (using Revit 2018.3):

  1. Setup the BIM 360 connector still currently in beta
  2. Ensure you can see the BIM 360 (Preview) item in Windows Explorer
  3. Using BIM 360, create a suitable folder under the Project Files area, and upload your resource file, such as UniformatClassifications_2010.txt
  4. Browse to that folder in Windows Explorer:

  5. Open Revit
  6. Navigate to Manage – Additional Settings – Assembly Code Settings
  7. Click Browse
  8. Copy and Paste the folder address from Windows Explorer (which actually shows the local sync location for BIM 360 data, typically C:\Users\YourUserName\BIM 360\YourBIM360License\YourBIM360Project\Project Files\
  9. Back in Revit, after navigating to the correct BIM 360 folder, select the text file resource and click Open
  10. Revit detects that this resource is stored on BIM 360 Docs and you can proceed…
  11. Sync your model to save the settings

You should be able to use the same process to save other files like Keynote references and Shared Parameter files in the cloud. Keep in mind that you will still have to manage BIM 360 access control, as you probably don’t want multiple people actually be able to edit these files.

Assembly Code on BIM 360

Don’t forget you can also get the free Autodesk Classification Manager for Revit here.


Check it out at OpenRFA.

There have been some similar attempts in the past. It is a bit of a challenge, because there will often be these ‘custom’ shared parameters that one company needs that are just very unique. But I’m interested to see how OpenRFA continues to grow. No doubt its success will depend on the number of contributors and their engagement.

You can request an account login at http://openrfa.org/user/register

sharedparams-2012457

Now that is a very Revit blog title, for sure 🙂

So I had a nice old Curtain Wall Panel Door family, which had a nested ‘container’ Generic Model family…

old2bversion-7701979

… in which I arrayed a shared, nested Door Panel Generic Model Family. Basically, it allowed for automatic stacking and sliding doors of varying numbers of panels living inside a Curtain Wall Panel Door, all working automatically. You could tag and edit the Comments and Mark of the nested Panel, but couldn’t change its visibility.

This means that things like slide direction arrows were a problem. I previously had some messy approach to arrows and offsets, but there were tied to the array so they were not flexible enough. As the only parameters that I could access for the shared, doubly-nested panel were Comments and Mark and Image, I couldn’t really use these in visibility parameters or formulas. I wanted to be able to turn off and on arrow annotation (for slide direction), and also set a Keynote or taggable text parameter for ‘FG’ (fixed glass)  or ‘SL’ (sliding) and so forth.

What’s the answer?

For one thing, I’m sorry but you probably have to ditch the array. It is simply too difficult to link through parameters to the elements inside an array, plus you probably really don’t want to.

So, save a backup of your ‘array’ family and rebuild it to use individually placed family instances with visibility parameters based on the ‘Array number’ you had before. You will have 2 panels that have their visibility set to a parameter with a formula like “Array number = 2”. You will have to duplicate all of your elements for each set, and constrain them all individually. This is a pain, but if you want to get the sub-element visibility control, you may think it is worth it. You will have to do this for as many array conditions as you want to cover (like 2, 3, 4 etc).

With this new ‘non array’ family, how do we set up the parameters?

We are going to drive all of it with a single integer value instance parameter in the shared panel family. Then we will tie that to element visibility parameters.

We will link that integer instance parameter through each level like so:

instance2bparam2blinking-9187315

… until we get to our ‘container’ that used to hold an array, but now holds individual family instances that we turn on and off with the array number. From here, we make a new instance parameter for each placed family instance, so we can drive the nested family. So for a three panel sliding family, we might have 3 instance parameters in the ‘container’, like:

  • Left Panel vis type (used for 2 and 3 panels)
  • Centre Panel vis type (used in the 3 panel type only)
  • Right Panel vis type (used for 2 and 3 panels)

Link these three parameters through to the Curtain Wall Door family (they can be instance or type here at the parent family). They are now accessible in the project. Essentially, we can select our Curtain Wall Door family, modify the 3 integers, which drives through all the way to our most deeply nested Panel family.

In the deeply nested Panel family, we use the integer to drive other things, like:

  • turn Plan and Elevation arrows on and off, 
  • set a Shared text parameter to a certain value (with a nested IF statement). Note: Add the Shared text parameter to a Generic Model tag and you can tag and schedule it in the project. 
  •  show / hide model geometry

Note: You can’t use Keynote here because we are not allowed to drive a Type Parameter with our instance parameter.

param_linked-6748504

Unfortunately, we can’t drive a Material parameter directly with the integer value. But, we can have multiple copies of geometry with different materials, and drive the Material visibility with the above process.

Finally, you can do this structure as many times as you like, but obviously the amount of integers you have to keep track of is going to get more and more difficult. You will also need some way of explaining to users what each integer actually does – like if I set the Left Panel to integer 1, what will show up and what will the tag value be? You will probably need some kind of explanatory schedule or document for this…

But there you have it, a framework for driving deeply nested shared family visibility. Congratulations if you made it to the end of the post 🙂

We’ve talked about exporting shared parameters before, but when you are editing a Titleblock (that you have inherited from somewhere) you may find that the Family Types dialog does not list all of the parameters that may already be in use in Labels in that Titleblock family.

So, how do we export those parameters? Easy:

  1. Select a Label
  2. Click Edit Label
  3. In the dialog that appears, select the parameter you want to export in the list on the left
  4. Click the tiny pencil and paper button
  5. Click Export. Done!

Spiderinnet has posted a free shared parameter file viewer (download).

  1. Extract the zip
  2. Run RvtSPFViewer.exe
  3. Click the open door and select your Shared Parameter file

“… help view Revit shared parameters in a nice window, we created the Revit Shared Parameter Viewer (RvtSPFViewer.exe).
SampleUI

It can be downloaded below.
Revit Shared Parameter Organizer”

Original post:
Revit Shared Parameter Viewer – RevitNetAddinWizard & NavisworksNetAddinWizard

I have posted about SP.Writer before, but this is the next iteration: BIMsets Cloud Writer.

UPDATE: if you want to update to the latest version of the add-in, in Google Sheets you may need to go to Add-on > Manage Add-Ons and then remove it, and then search for it and install again.

If you just want to build a new parameter file from scratch:

  1. Go to https://chrome.google.com/webstore/detail/bimsets-cloud-writer/mkcicdhocfdpjpdljamehafdafonfodh?authuser=1
  2. Press the Free+ button to install
  3. Say yes to all the prompts  
  4. In the new Spreadsheet, go to Add-ons, BIMsets Cloud Writer, and press Start
  5. Start filling in the form and pressing Add for each new parameter
  6. Parameters are created and you can choose to Export to a TXT file

If it keeps failing to Import for you, this will probably be the reason:
Can I use custom groups with this add-on? No. The add-on uses a specific set of parameter groups designed to be compatible with the Autodesk Seek Style Guide. If you have a parameter file that uses the same groups as the Style Guide it should be compatible. If you are starting brand new there should be no issues. If you have used the old SP.Writer Excel tool in the past, those files will also be compatible.
via
BIMsets – BIM Source

If you have any other issues you can contact the developer.

Heads-up:
https://twitter.com/MattBeNimble/status/542825879919792129
and

Download:
v2 of the Style Guide is here
and 2.1 here
http://revit.autodesk.com/Library/RMCSG/Revit_Model_Content_Style_Guide_v2_1.zip

“Revit makes available the following IFC-specific files:

  • IFC Metric Template.rte. This file allows you to create new projects that are already set to the IFC standard.
  • IFC Parameter Upgrade.rvt. This file enables you to upgrade an existing project to contain IFC parameters by reading the instructions contained in the IFC Parameter Upgrade.rvt file.
  • IFC Shared Parameters.txt. This file contains the shared IFC parameters if you want to manually update an existing project to contain all or some of these parameters.
    Note: It is recommended that you use the IFC Parameter Upgrade.rvt file. If you use IFC Shared Parameters.txt, you must add parameters one at a time, setting the correct categories for each. If you use IFC Parameter Upgrade.rvt, you can use the Transfer Project Standards tool to add the parameters in one operation.”

From Help: Access IFC-Specific Files

It will send you here:
http://revit.autodesk.com/library/html/index.html

And you can download IFC.exe from this direct link
which contains these files:

A recent post on Ideate Solutions reminded me of a handy Revit Extension that you may not be aware of:
Shared/Project Parameters

Download Revit Extensions for Autodesk Revit 2015:

Multiple Languages (exe – 224406Kb)

Quote:
It’s called “Shared/Project Parameters” from the pull-down, but when it’s launched it will open a dialog that says “Shared Parameter Converter”.

This image shows that I am asking the tool to read all of the .RFA files found within my “11 Specialty Equip” folder and that I am going to read particular parameters from my Shared Parameter file and push them into these families. The modified families will then be copied into a new folder called “Updated Specialty Equip” and the results of this work will be included in my “!test” folder as a log file.

The Shared Parameters Converter Dialog From
Revit Extensions (2014/2015)

Original post:
Ideate Solutions: Batch Adding Shared Parameters to Revit Families