| Autodesk 3ds Max 2019 |
128K1 |
| Autodesk 3ds Max 2019 with Softimage |
978K1 |
| Autodesk Advance Steel 2019 |
959K1 |
| Autodesk Alias AutoStudio 2019 |
966K1 |
| Autodesk Alias Concept 2019 |
A63K1 |
| Autodesk Alias Design 2019 |
712K1 |
| Autodesk Alias SpeedForm 2019 |
A62K1 |
| Autodesk Alias Surface 2019 |
736K1 |
| Autodesk AutoCAD 2019 |
001K1 |
| Autodesk AutoCAD Architecture 2019 |
185K1 |
| Autodesk AutoCAD Design Suite Premium 2019 |
768K1 |
| Autodesk AutoCAD Design Suite Standard 2019 |
767K1 |
| Autodesk AutoCAD Electrical 2019 |
225K1 |
| Autodesk AutoCAD Inventor LT Suite 2019 |
596K1 |
| Autodesk AutoCAD LT 2019 |
057K1 |
| Autodesk AutoCAD LT Civil Suite 2019 |
545K1 |
| Autodesk AutoCAD Map 3D 2019 |
129K1 |
| Autodesk AutoCAD Mechanical 2019 |
206K1 |
| Autodesk AutoCAD MEP 2019 |
235K1 |
| Autodesk AutoCAD Plant 3D 2019 |
426K1 |
| Autodesk AutoCAD Raster Design 2019 |
340K1 |
| Autodesk AutoCAD Revit LT Suite 2019 |
834K1 |
| Autodesk Building Design Suite Premium 2019 |
765K1 |
| Autodesk Building Design Suite Standard 2019 |
784K1 |
| Autodesk Building Design Suite Ultimate 2019 |
766K1 |
| Autodesk Burn 2019 |
C0YK1 |
| Autodesk CFD Design Study Environment 2019 |
812K1 |
| Autodesk CFD Premium 2019 |
810K1 |
| Autodesk CFD Ultimate 2019 |
811K1 |
| Autodesk Civil 3D 2019 |
237K1 |
| Autodesk Fabrication CADmep 2019 |
839K1 |
| Autodesk Fabrication CAMduct 2019 |
842K1 |
| Autodesk Fabrication ESTmep 2019 |
841K1 |
| Autodesk Factory Design Suite Premium 2019 |
757K1 |
| Autodesk Factory Design Suite Standard 2019 |
789K1 |
| Autodesk Factory Design Suite Ultimate 2019 |
760K1 |
| Autodesk Factory Design Utilities 2019 |
P03K1 |
| Autodesk FeatureCAM Premium 2019 |
A9FK1 |
| Autodesk FeatureCAM Standard 2019 |
A9GK1 |
| Autodesk FeatureCAM Ultimate 2019 |
A9EK1 |
| Autodesk Flame 2019 |
C0TK1 |
| Autodesk Flame 2019 – Education |
C14K1 |
| Autodesk Flame Assist 2019 |
C0VK1 |
| Autodesk Flame Premium 2019 |
C0XK1 |
| Autodesk Flare 2019 |
C0WK1 |
| Autodesk Helius PFA 2019 |
899K1 |
| Autodesk HSM Premium 2019 |
C12K1 |
| Autodesk HSM Ultimate 2019 |
C13K1 |
| Autodesk Infrastructure Design Suite Premium 2019 |
786K1 |
| Autodesk Infrastructure Design Suite Standard 2019 |
787K1 |
| Autodesk Infrastructure Design Suite Ultimate 2019 |
785K1 |
| Autodesk Inventor 2019 |
208K1 |
| Autodesk Inventor Engineer-to-Order 2019 – Developer |
A66K1 |
| Autodesk Inventor Engineer-to-Order 2019 – Distribution |
996K1 |
| Autodesk Inventor Engineer-to-Order 2019 – Server |
997K1 |
| Autodesk Inventor Engineer-to-Order Series 2019 |
805K1 |
| Autodesk Inventor Engineer-to-Order Server 2019 |
752K1 |
| Autodesk Inventor HSM Premium 2019 |
969K1 |
| Autodesk Inventor HSM Ultimate 2019 |
970K1 |
| Autodesk Inventor LT 2019 |
529K1 |
| Autodesk Inventor OEM 2019 |
798K1 |
| Autodesk Inventor Professional 2019 |
797K1 |
| Autodesk Lustre 2019 |
C0UK1 |
| Autodesk Lustre Burn 2019 |
C10K1 |
| Autodesk Lustre ShotReactor 2019 |
C11K1 |
| Autodesk Manufacturing Automation Utility 2019 |
A9YK1 |
| Autodesk Manufacturing Data Exchange Utility Premium 2019 |
A9VK1 |
| Autodesk Manufacturing Data Exchange Utility Standard 2019 |
A9XK1 |
| Autodesk Manufacturing Post Processor Utility 2019 |
A9TK1 |
| Autodesk MEP Fabrication Suite 2019 |
00QK1 |
| Autodesk Moldflow Adviser Premium 2019 |
571K1 |
| Autodesk Moldflow Adviser Ultimate 2019 |
572K1 |
| Autodesk Moldflow Design 2019 |
837K1 |
| Autodesk Moldflow Insight Premium 2019 |
574K1 |
| Autodesk Moldflow Insight Standard 2019 |
573K1 |
| Autodesk Moldflow Insight Ultimate 2019 |
575K1 |
| Autodesk Moldflow Synergy 2019 |
579K1 |
| Autodesk Nastran 2019 |
986K1 |
| Autodesk Nastran In-CAD 2019 |
987K1 |
| Autodesk Navisworks Manage 2019 |
507K1 |
| Autodesk Navisworks Simulate 2019 |
506K1 |
| Autodesk PartMaker 2019 |
A9SK1 |
| Autodesk Plant Design Suite Premium 2019 |
763K1 |
| Autodesk Plant Design Suite Standard 2019 |
788K1 |
| Autodesk Plant Design Suite Ultimate 2019 |
764K1 |
| Autodesk Point Layout 2019 |
925K1 |
| Autodesk PowerInspect Premium 2019 |
A9JK1 |
| Autodesk PowerInspect Standard 2017 |
A9KI1 |
| Autodesk PowerInspect Standard 2018 |
A9KJ1 |
| Autodesk PowerInspect Standard 2019 |
A9KK1 |
| Autodesk PowerInspect Ultimate 2019 |
A9HK1 |
| Autodesk PowerMill Modeling 2019 |
A9UK1 |
| Autodesk PowerMill Premium 2019 |
A9AK1 |
| Autodesk PowerMill Standard 2019 |
A9QK1 |
| Autodesk PowerMill Ultimate 2019 |
A9PK1 |
| Autodesk PowerShape Premium 2019 |
A9MK1 |
| Autodesk PowerShape Standard 2019 |
A9NK1 |
| Autodesk PowerShape Ultimate 2019 |
A9LK1 |
| Autodesk Product Design Suite Premium 2019 |
782K1 |
| Autodesk Product Design Suite Ultimate 2019 |
781K1 |
| Autodesk ReCap Pro |
919K1 |
| Autodesk Revit 2019 |
829K1 |
| Autodesk Revit LT 2019 |
828K1 |
| Autodesk Robot Structural Analysis Professional 2019 |
547K1 |
| Autodesk SketchBook for Enterprise |
871K1 |
| Autodesk TruComp 2019 |
00EK1 |
| Autodesk TruFiber 2019 |
01WK1 |
| Autodesk TruLaser 2019 |
00DK1 |
| Autodesk TruNest 2019 – Nesting Engine |
00FK1 |
| Autodesk TruNest Composites 2019 |
00BK1 |
| Autodesk TruNest Contour 2019 |
00AK1 |
| Autodesk TruNest Multi-Tool 2019 |
00CK1 |
| Autodesk TruPlan 2019 |
01VK1 |
| Autodesk Vault Office 2019 |
555K1 |
| Autodesk Vault Professional 2019 |
569K1 |
| Autodesk Vault Workgroup 2019 |
559K1 |
| Autodesk Vehicle Tracking 2019 |
955K1 |
| Autodesk VRED 2019 |
884K1 |
| Autodesk VRED Design 2019 |
885K1 |
| Autodesk VRED Presenter 2019 |
888K1 |
| Autodesk VRED Professional 2019 |
886K1 |
| Autodesk VRED Render Node – consumption-based license 2019 |
A93K1 |
| Autodesk VRED Render Node 2019 |
890K1 |
| Autodesk VRED Server 2019 |
887K1 |
| Autodesk Wiretap Gateway 2019 |
C0ZK1 |
| FeatureCAM Premium 2019 |
P16K1 |
| FeatureCAM Standard 2019 |
P15K1 |
| FeatureCAM Ultimate 2019 |
P17K1 |
| HSMWorks Premium 2019 |
873K1 |
| HSMWorks Ultimate 2019 |
872K1 |
| PowerInspect Premium 2019 |
P13K1 |
| PowerInspect Standard 2019 |
P12K1 |
| PowerInspect Ultimate 2019 |
P14K1 |
| PowerMill Premium 2019 |
P07K1 |
| PowerMill Standard 2019 |
A9ZK1 |
| PowerMill Ultimate 2019 |
P08K1 |
| PowerShape Premium 2019 |
P10K1 |
| PowerShape Standard 2019 |
P09K1 |
| PowerShape Ultimate 2019 |
P11K1 |
| T1 Enterprise Multi-flex 2019 |
535K1 |
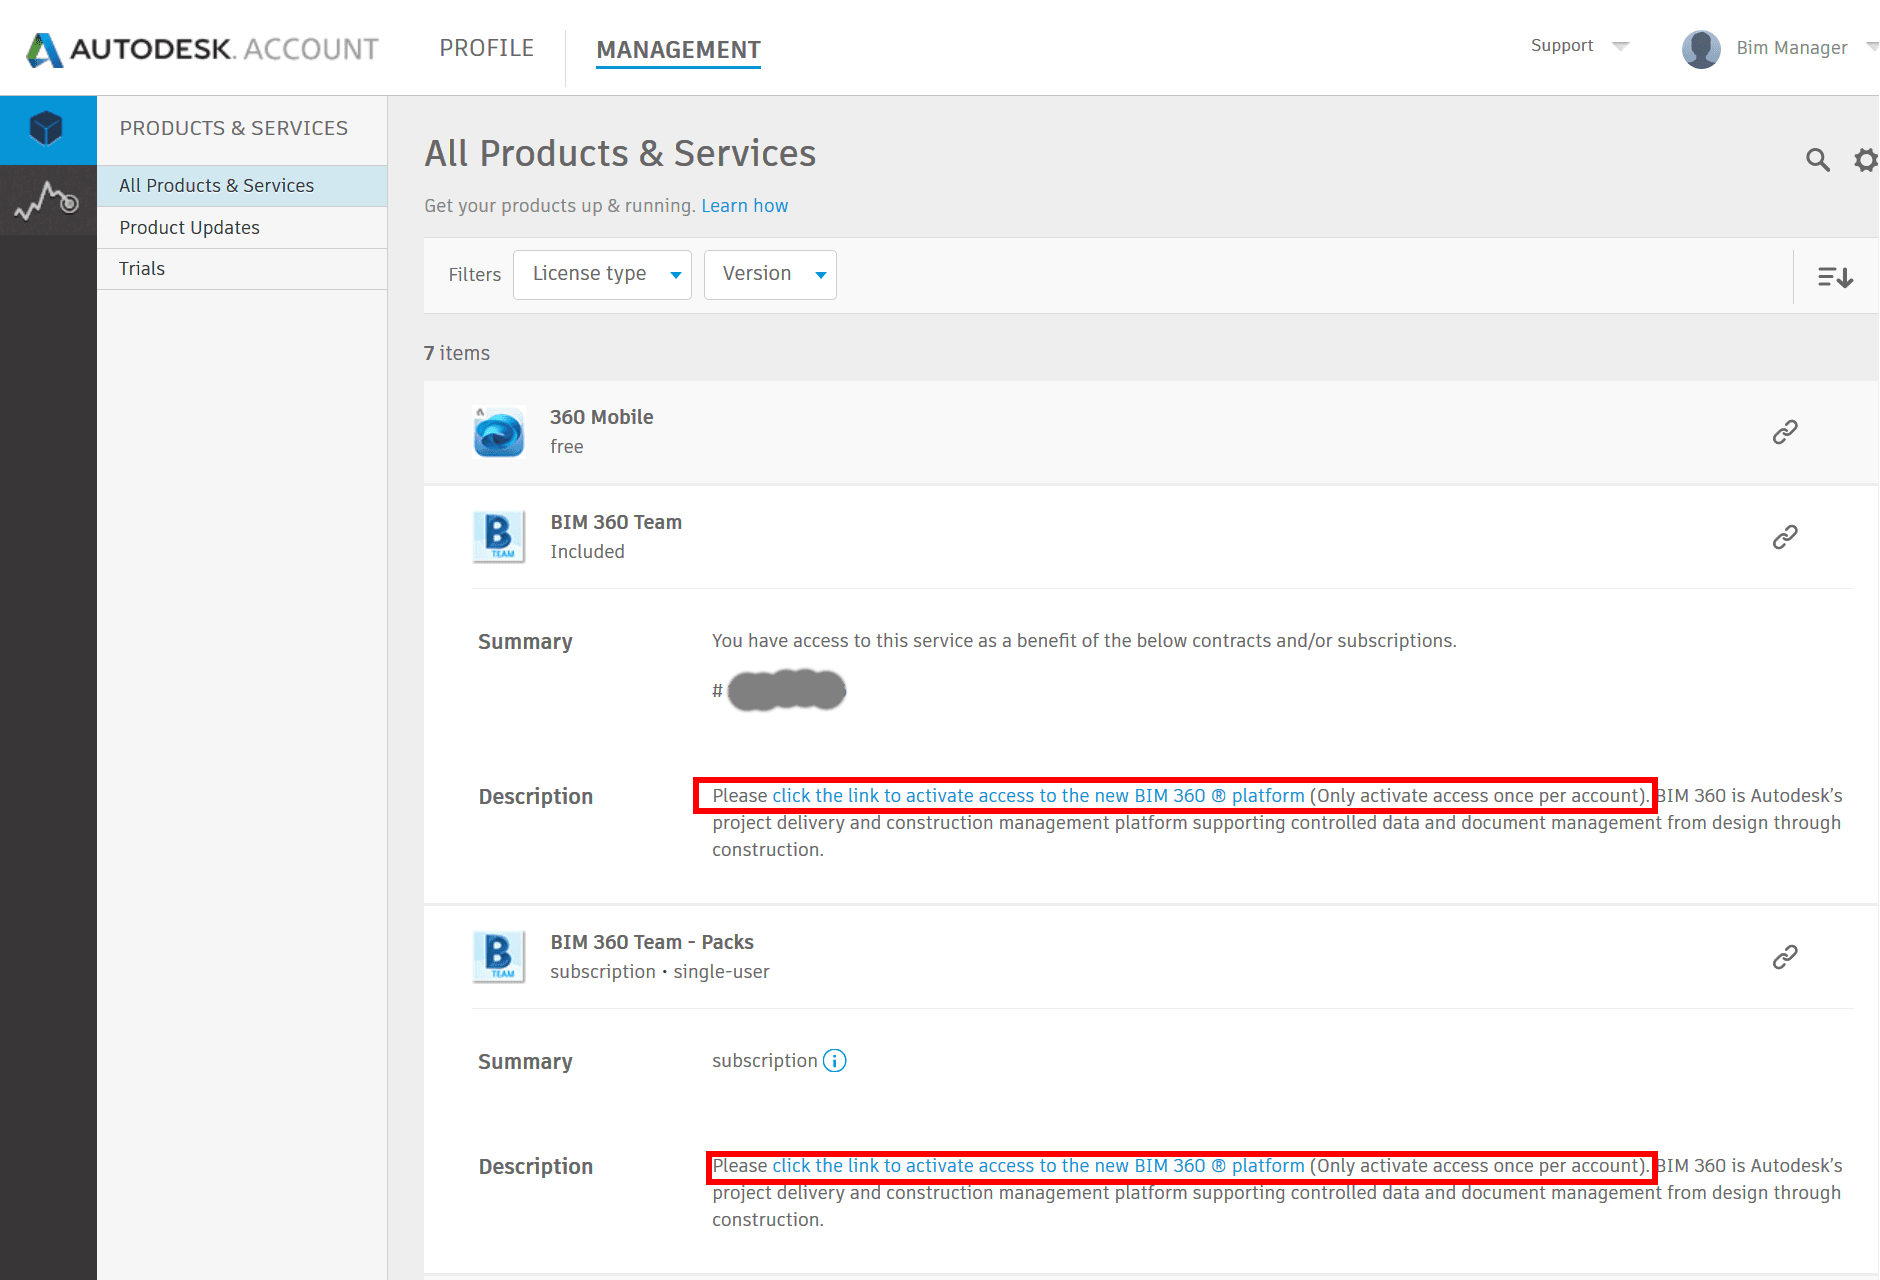
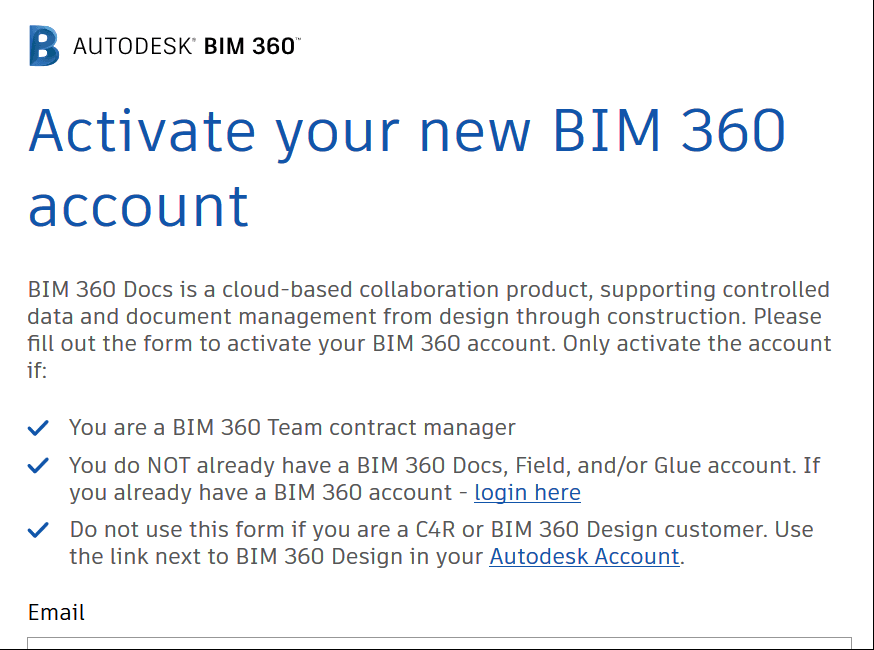

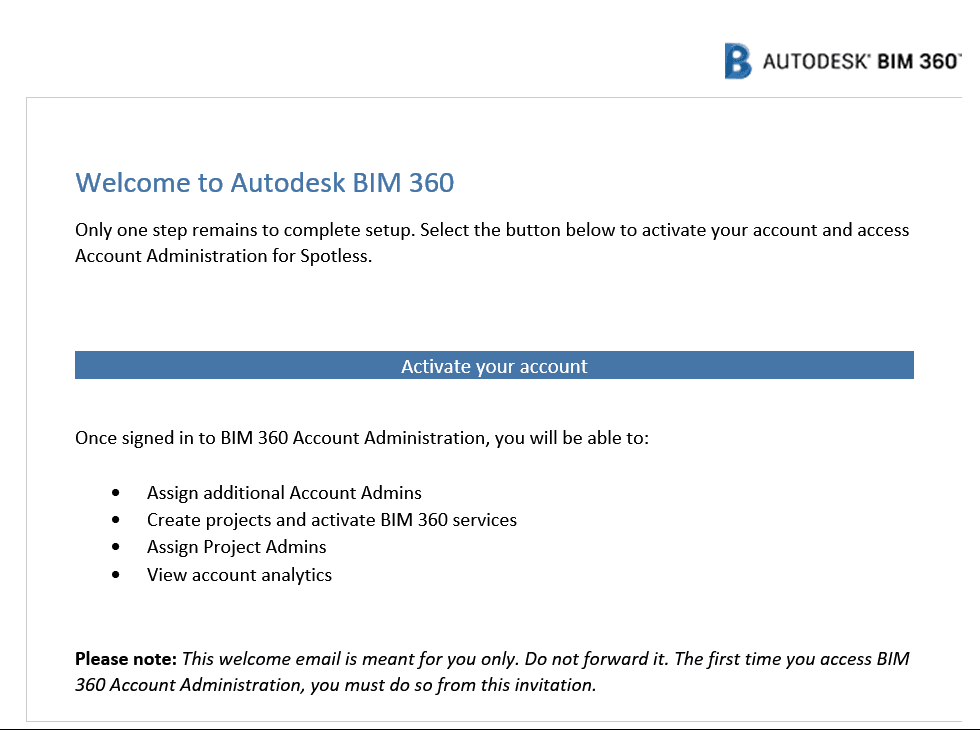
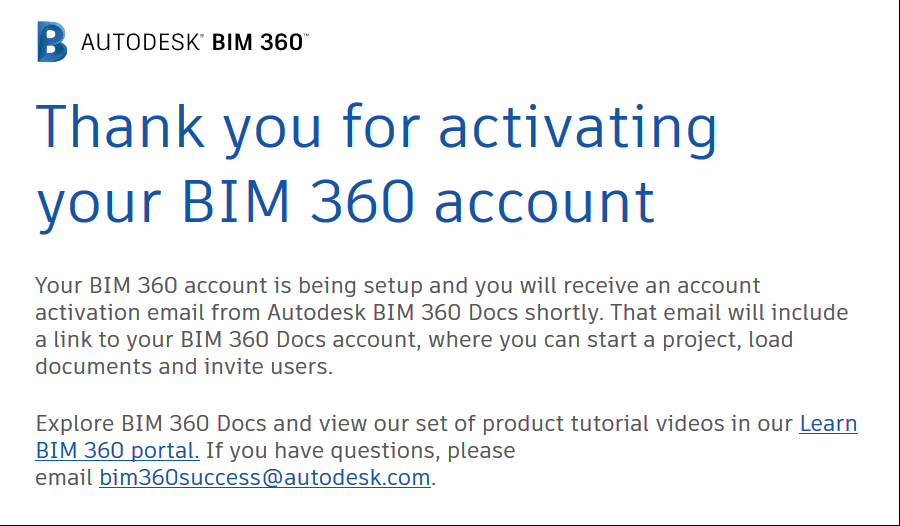 And you just have to click the activate link in your email: