I hinted that this was coming a few weeks back, but now here it is! A massive Subscription Release, along with a giveaway of the Siteworks addin package to Subscription users.
Download the update at: Autodesk Revit 2015 R2
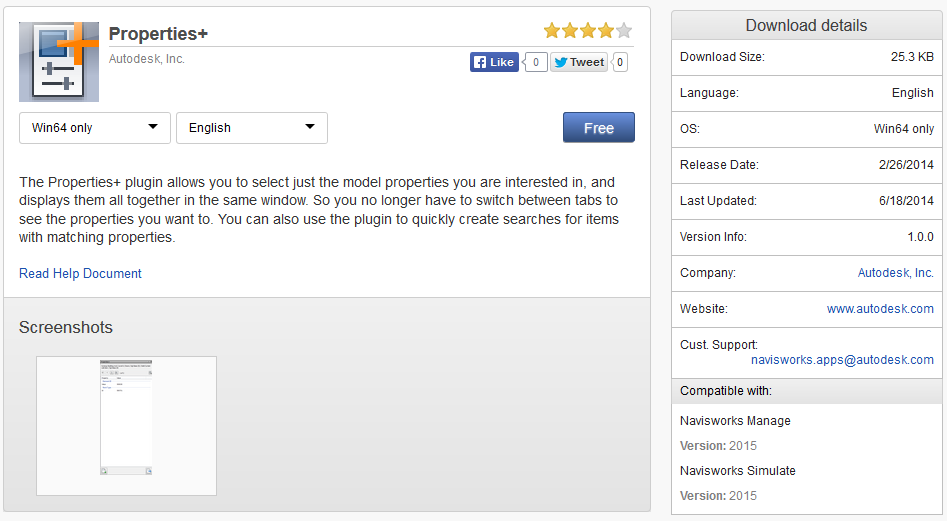
Download the Siteworks package at: Autodesk Site Designer Extension for Revit 2015, or on Exchange here
(Note: you will need to login to your subscription account to access these)
A few quick tips…
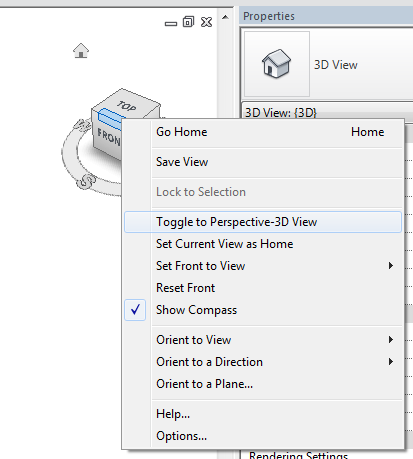
To toggle between Perspective and Orthographic view:
- Go to a 3D view
- Turn on Crop View
- Turn on Show Crop Region
- Right-click Viewcube
- Select Toggle to… and this will show Perspective or Parallel depending on your current mode
If you are wondering what ‘quick adjustments’ you can do in Perspective views:
Basically, you can use some simple commands like Align and Move, that were previously grayed out in Perspective mode.
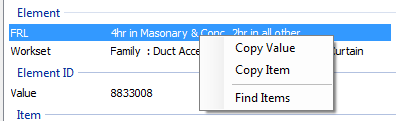
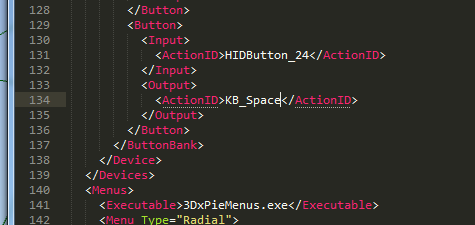
To search in the Type Selector:
- Turn on Properties pane
- Click in the top of the Type Selector
- The search box is the top row

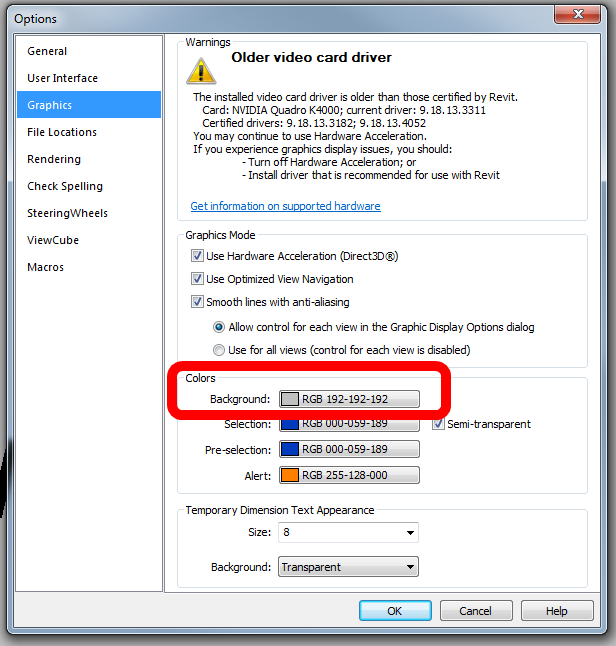
You can now also set a custom background colour (that means ‘color’ to U.S. folks):
Enhancements list:
http://revit.downloads.autodesk.com/download/2015RVT_RTM/R2/Enhancements_List_RVT_2015_R2.pdf
Readme (Interesting point: The install of Autodesk Revit 2015 Release 2 will also install Autodesk Dynamo (0.7.1) and required component IronPython.)
My top 3 features in Revit 2015 R2:
- Work in perspective views, making quick adjustments without having to change views with some modeling capabilities now available in perspective views.
- Find content more quickly with Search capabilities in the Type Selector and all drop-down lists.
- Navigate PDFs exported from Revit more quickly with hyperlinked views.
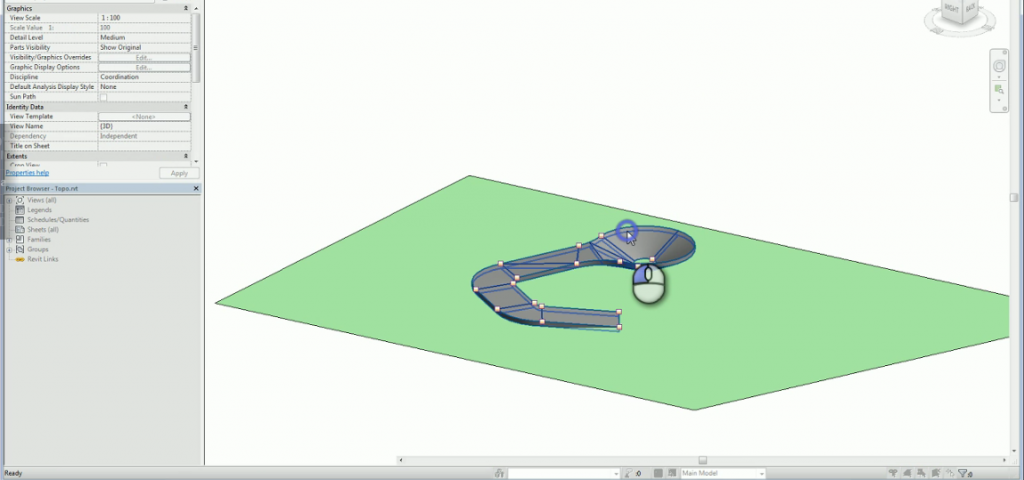
My top 3 features in Autodesk Site Designer (previously Eagle Point Siteworks):
- More quickly add design elements to your site such as berms and drainage swales, minimizing the time required to mass grade a site and to try alternatives at the design development stage.
- Special terrain families within Site Designer provide you with parameters that control widths, cut and fill slopes and other projection settings.
- Locate hardscape components such as streets, intersections, sidewalks, curbs and walls that can follow the existing terrain and have controlled elevations and slopes – all while the toposurface is automatically maintained.
More info:
Autodesk Revit 2015 Subscribers Get Slew of New Capabilities with “R2” Update
Heads-up:
Revit 2015 R2 Release | Applying Technology to Architecture
A few notes on installation versions from the Readme:
This update requires either the initial release of Autodesk Revit 2015 (build: 20140223_1515) or Autodesk Revit 2015 Update Release 3 (build: 20140606_1530) . Autodesk Revit 2015 Update Release 3 will need to be applied to any installed Revit 2015 which has either Autodesk Revit 2015 Update Release 1 (build: 20140322_1515) or Autodesk Revit 2015 Update Release 2 (build: 20140323_1530) applied. Installation will also be blocked if Autodesk Revit 2015 Update Release 4 (build: 20140903_1530)) has been applied, a full uninstall followed by a new install of Autodesk Revit 2015 will be needed in order to apply Release 2.