When reviewing any Revit addin suite, I’m often interested in the unique tools that you just can’t get anywhere else. CGS Revit Tools has quite a few of these… and in this post I will describe just a couple of examples.
Also, in some very good news for What Revit Wants readers, for three months CGS are offering an exclusive, limited-time, 30% off of retail discount (yes!) offer if you email orders.usa@cgsplus.com and specifically mention What Revit Wants. You can also just click on the CGS banner in the left sidebar. I think you will find that this is a very comprehensive suite, and with this generous discount it is very good value indeed.
Now, on with the review..
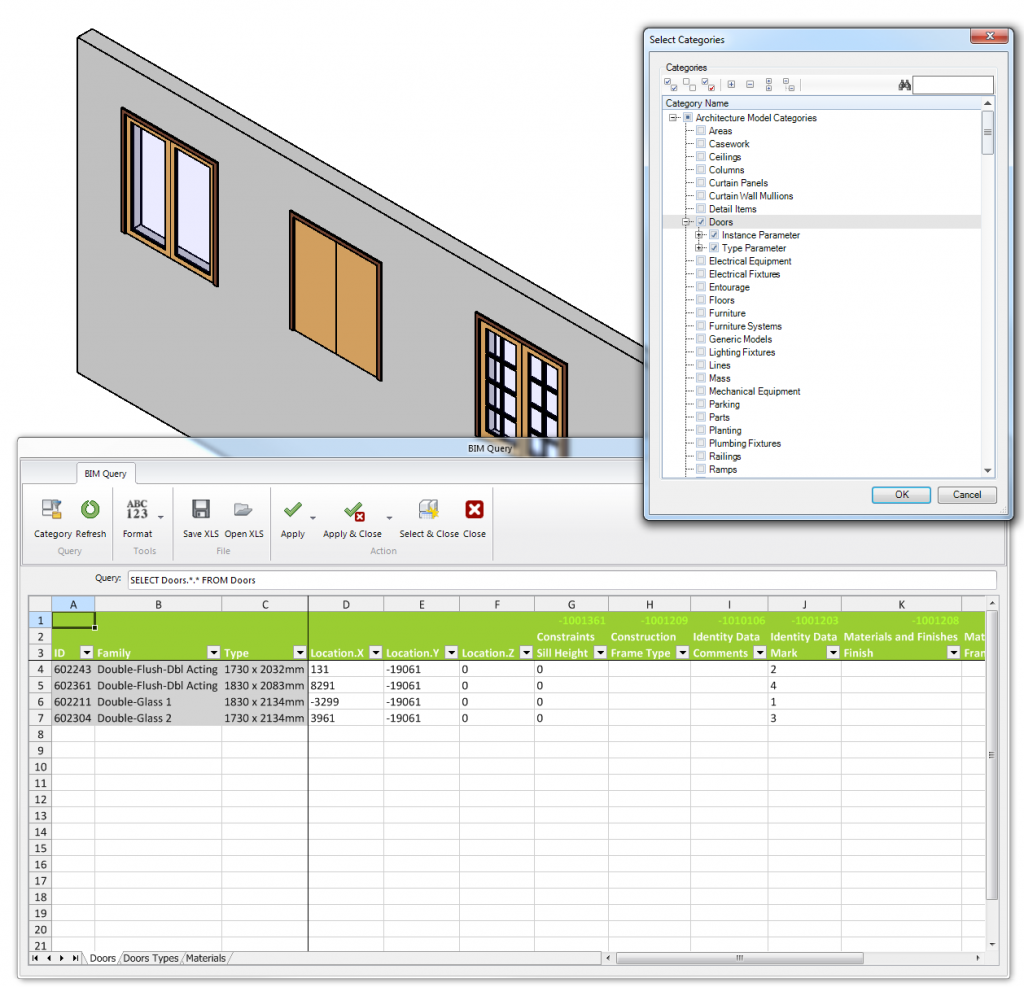
CGS Revit Tools comes with a built in spreadsheet editor called BIM Query. So, unlike some other Revit addins, you don’t actually need to open Excel and deal with input/output files – you can modify the data directly in a special editing canvas and then ‘Apply’ it directly to your model. It is quite fast at extracting the data to the spreadsheet (depending on size of model and number of categories selected).
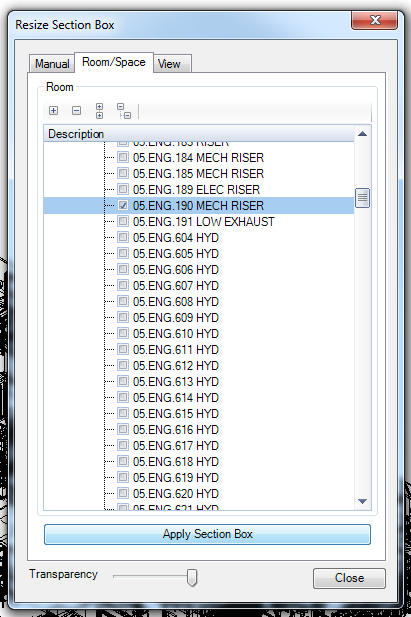
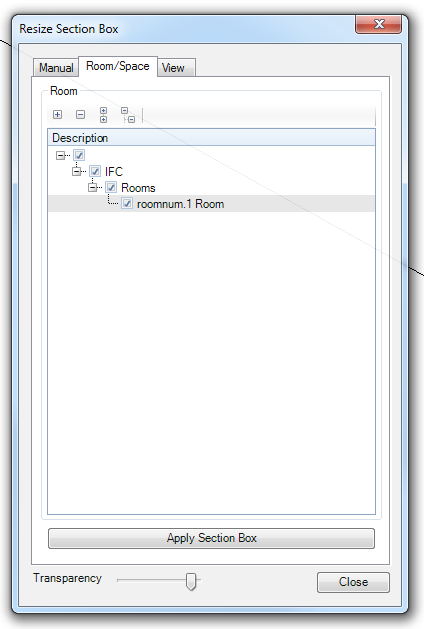
Resize Section Box is a very useful addition to the suite, as it allows you to quickly match a Section Box to a Room, Space or View. This is a pretty powerful and unique implementation, as other Section box tools often only deal with model elements:
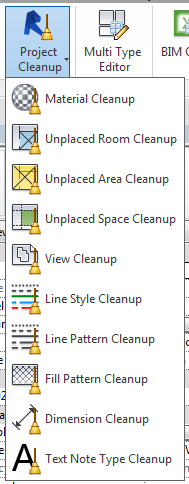
The BIM Manager panel provides a very comprehensive set of cleanup tools, very useful for detailed model review and audit:
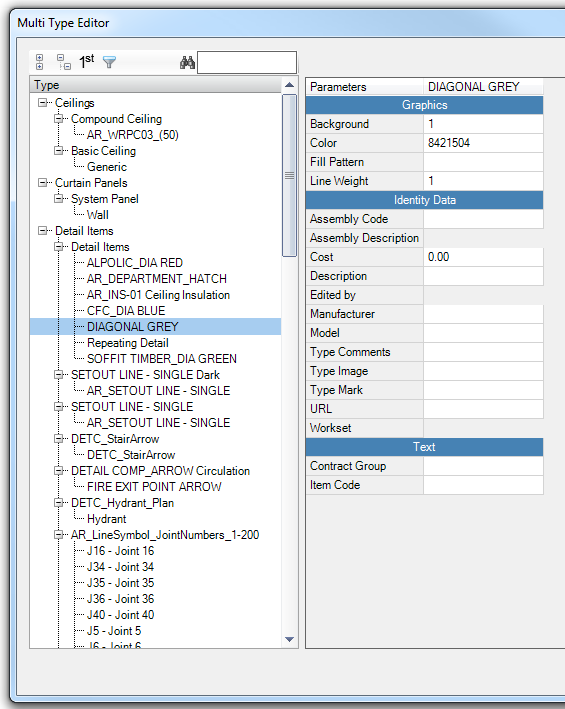
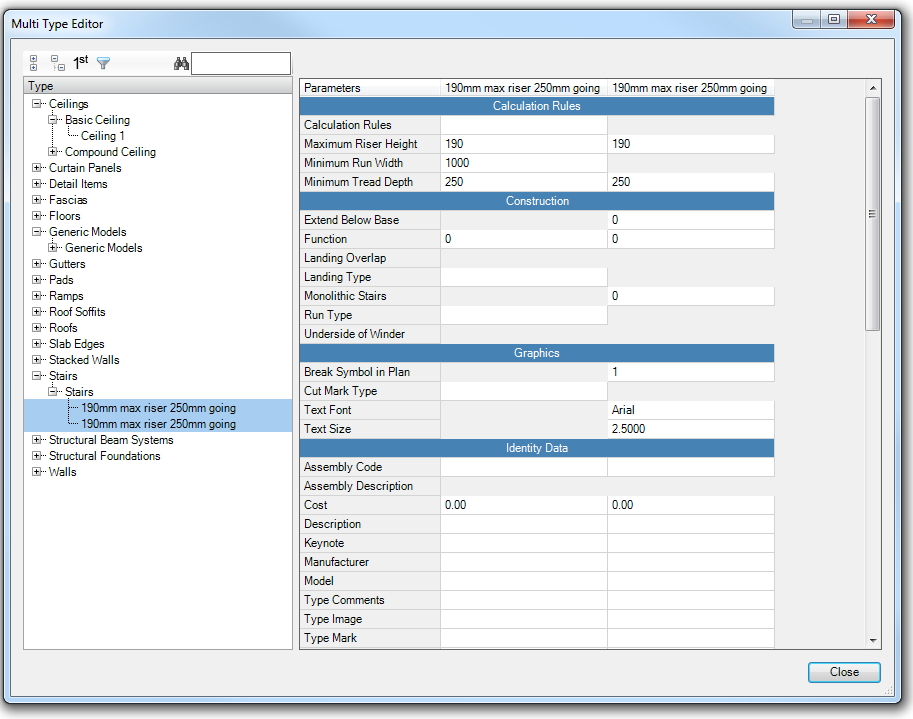
There is also a tabular Type Editor, which allows quick and easy navigation, duplication and modification of family type information:
There are various tools provided to easily align text and labels. Here is a quick demo:
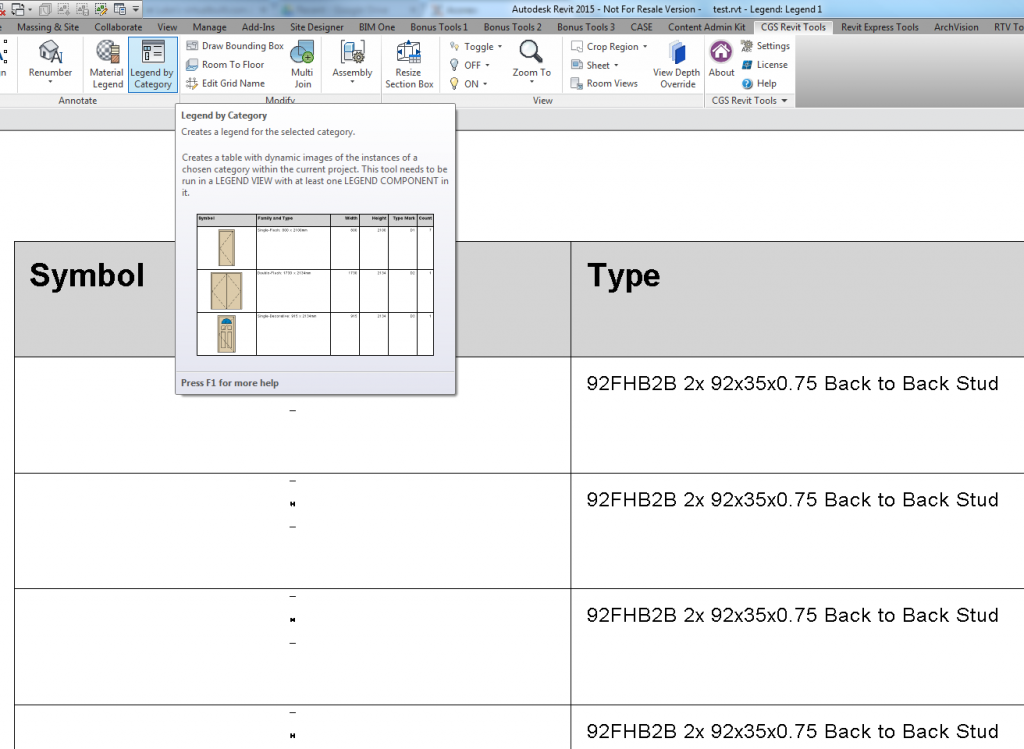
The Legend by Category tool helps automate the creation of Legends for an entire category at once!
And CGS Revit Tools offers a lot more, including:
- ability to create finish floors based on rooms
- automate assembly view creation
- visibility automation / toggle switches
- a ‘Zoom To…’ tool
- Sheet view automation
- Create views for rooms automatically
- Tool to give your elevations that nice ‘depth’ effect
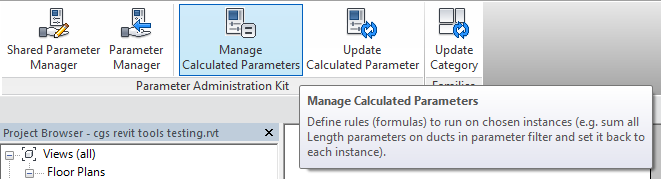
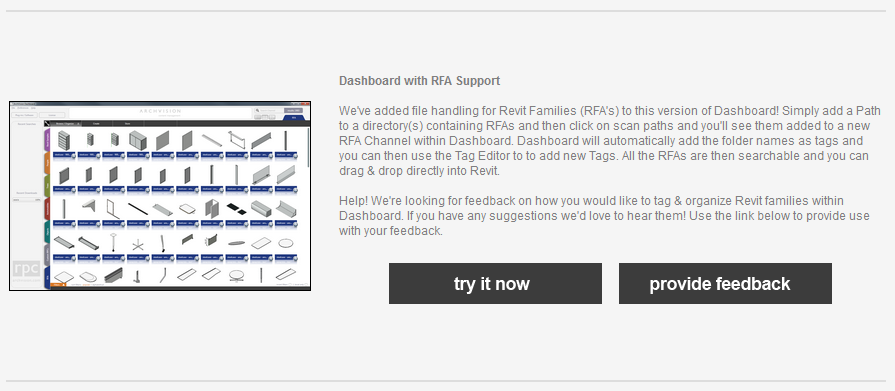
Additionally, a Content Admin Kit is included for free:
Among other things, this allows you to easily create a calculated value and then Execute to update that formula or relationship as needed. The Update Category tool will update a selected Category for a given folder to the current Revit version in a batch process.
As you can see, this suite covers a lot of ground and can save you time by automating repetitive tasks. Quick cost analysis: if it saves you 6min / day, that is one hour per fortnight, saving you almost 25 hours per working year. Let’s say you make about $25 / hr… The suite will have paid for itself at least 4 times over in the first year alone. So, yeah, it might be worth a look 🙂
Reviewer’s Note: I tested version 2015.2.250.0
Special pricing* (if you email orders.usa@cgsplus.com in the next three months and specifically mention What Revit Wants, you can take an additional 5% off the already discounted web prices below, meaning the total discount is 30% off retail):
|
# of Licenses
|
SRP
|
Current Web Pricing
|
What Revit Wants discounted price
|
|
Single
|
195
|
145
|
135
|
|
10
|
595
|
445
|
415
|
|
50
|
1195
|
895
|
835
|
|
250
|
2395
|
1795
|
1675
|
*Note: For pricing in Australia and New Zealand, please contact Cadgroup.
Check out this blog for some real-world applications and workflows for using this suite:
https://familyeditor.wordpress.com/
Help can be viewed online at this link.
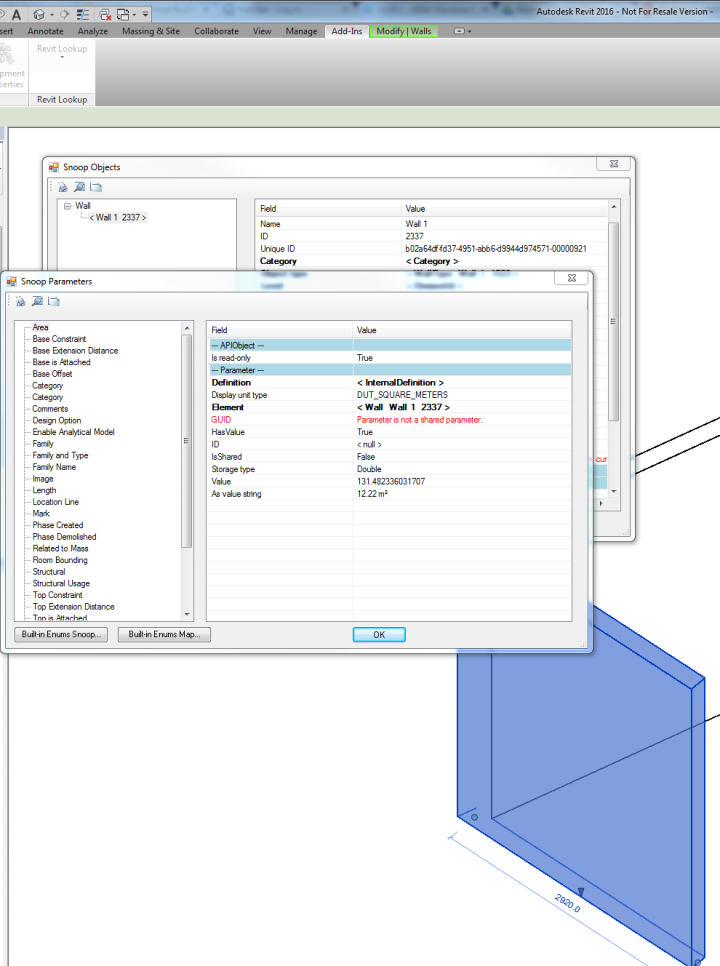
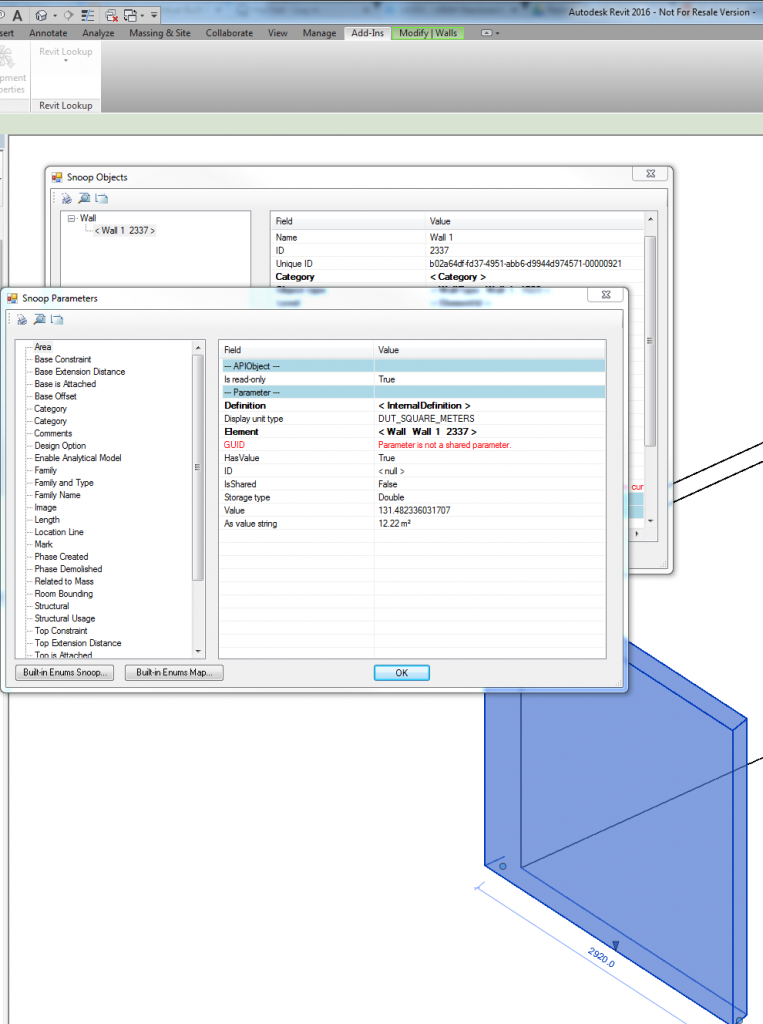
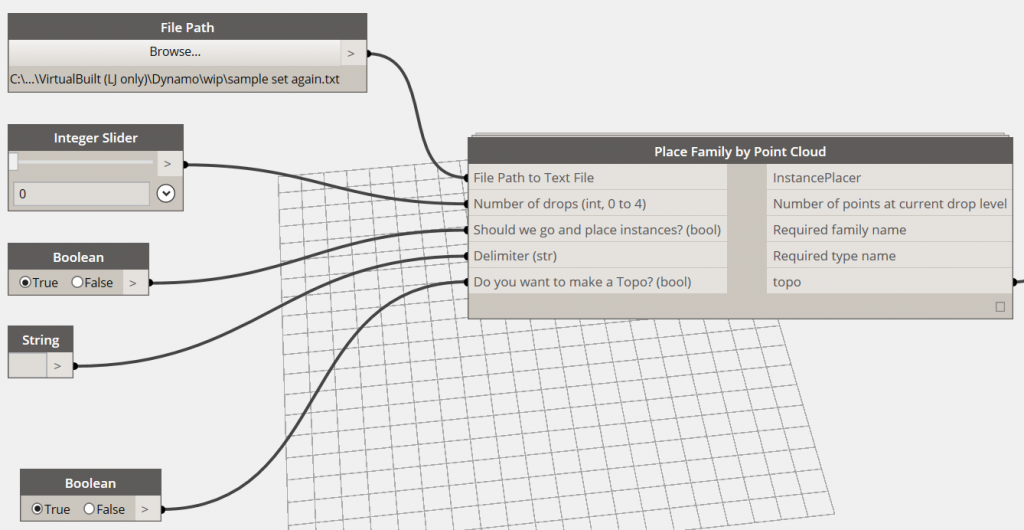
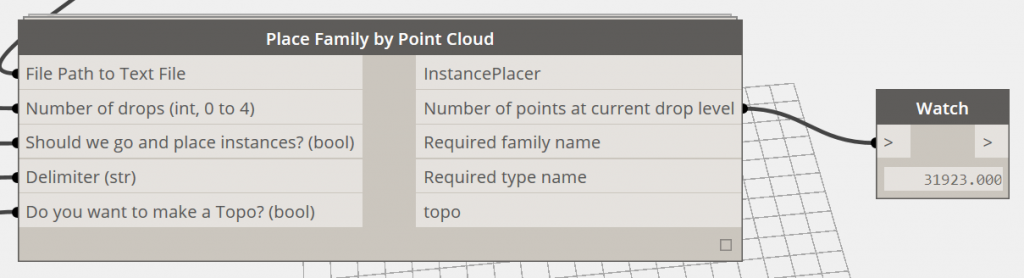
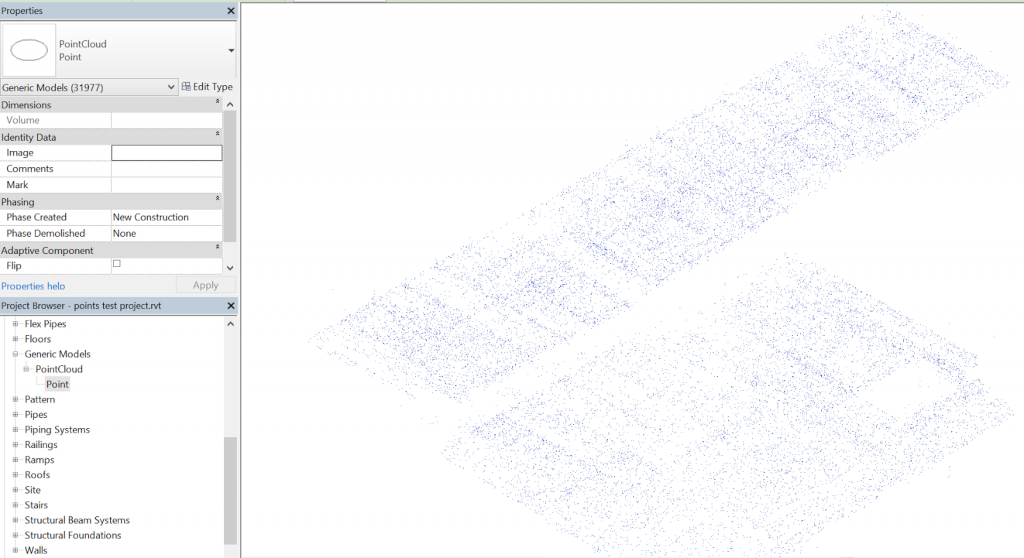
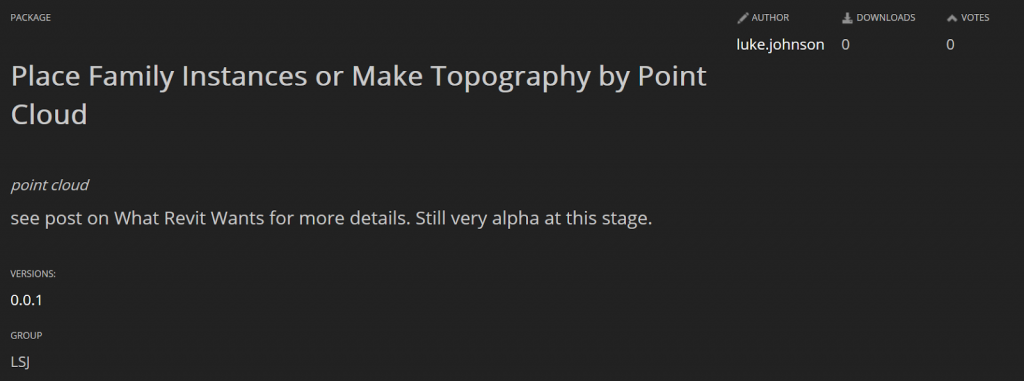
Some related screenshots: