Alan Moylan has posted a Star Trek Enterprise 1701 Revit family for you to download. I, for one, am glad to see a Trek vehicle added to the current interstellar Revit line-up, mostly from that ‘other’ franchise, including the Walker by Dave Light and something else that wasn’t a moon.

Download here

View it in 3D here

Source page

(Note: I have been working on a 1701D (TNG) for a while, but have just never got around to finishing it…)

via
@BIMgeek
USS Enterprise @AutodeskRevit family’s all finished. Be careful, it’s full size! Download here:http://t.co/4Iz2YZVGn6 http://t.co/zeCUWNEtZQ

https://twitter.com/BIMgeek/status/573120141808025601

Revit doesn’t like to deal with an array that has 1 instanced element or component (although there is one exception). The array will break. So, the way to handle it is to have a separate single instance of a component for that scenario, and then the actual Array for whenever you need two or more instances.

To accomplish this, you need

  • some formulas to hide or show the required elements, and 
  • another formula to maintain the array at 2 or more. 

It looks something like this:

That particular example also caters for some other ‘switches’ that may turn off the array (notice the if-or formula.)

If you are having problems, try manually loading families like this:
“Hi Russ.
I believe the issue is that you first need to load the Site Designer families (from C:ProgramDataAutodeskSite Designer for Revit 2015Library) into the project before you try creating roads/walks/etc., and then convert your toposurface into a Base Toposurface (via the Set Base Toposurface  button).  After that, I was able to create roads, walks, retaining walls, etc.
Hope that helps.
Ross Kirby”
via
Revit 2015 R2 – Site Designer – Autodesk Community

or it might be visibility related:
“got it working.  I have mass unticked by default in visibility view graphics.  all works after turning on mass.
Russ Green”
(from the same thread)

I previously posted about Site Designer here.

You can also download an interesting review by Aaron Maller here (link from RFO).

You should be able to find your manual here:
“C:ProgramDataAutodeskApplicationPluginsAutodeskSiteDesignerForRevit2015.bundleContentsSite Designer for Revit 2015 Reference Manual.pdf”

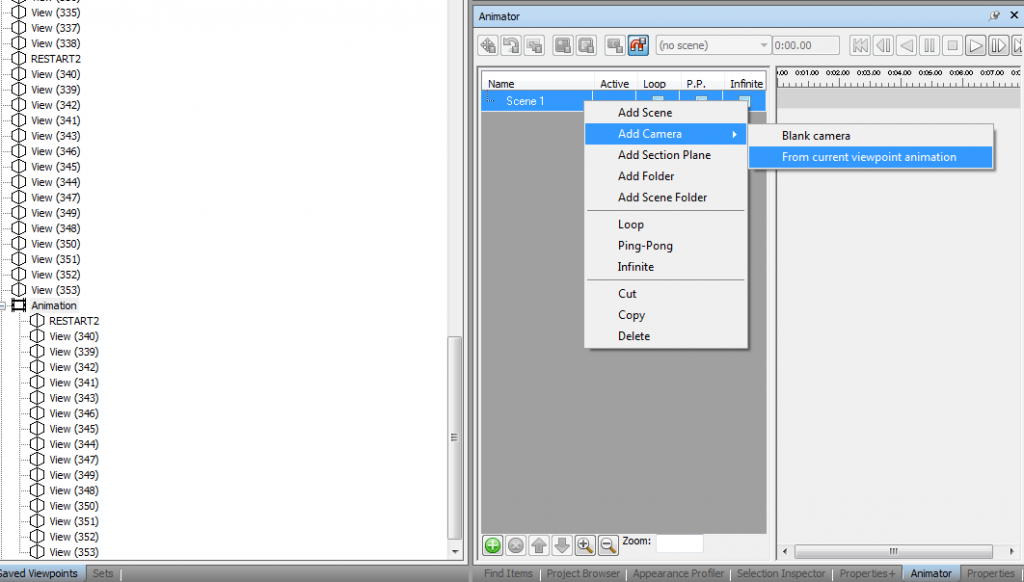
You probably know that you can import a Viewpoint animation into a Scene animation in Navisworks, like this:

  1. Animation Ribbon – Animator
  2. Add Scene
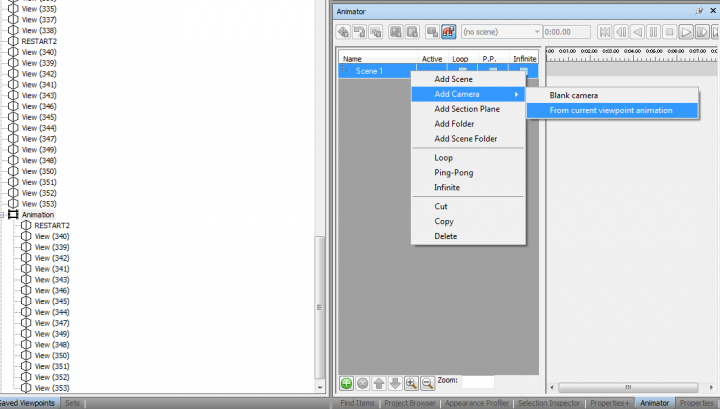
  3. Right click on the Scene, Add Camera, From Current Viewpoint Animation

Ok, that’s fine. But what if you do some work on the Scene Animation, add keyframes, adjust pacing, and then you want to convert it back into a Viewpoint Animation? Here’s how you do it:

  1. Open Animator and get a Scene animation ready to press “Play”
  2. Animation Ribbon – Click the Record button 
  3. Click the Scene name, and the Play button will activate in Animator
  4. Press Play in Animator, and wait for your animation to complete
  5. Press Stop in the Ribbon
  6. Press the Record button again to toggle it “off”. Navisworks will now save the Animation into your Saved Viewpoints
  7. Delete any unnecessary Cuts etc

With this tip, you can now convert to and from a Scene and Viewpoint animations as needed. Viewpoint animations are a bit easier to put together, but it might be easier to adjust the pacing in the Animator. Obviously, the Animator has more power and control if you intend to actually animate objects in your scene.

On a related note…
I’ve come across a bit of a bug in Navisworks 2015 with Viewpoint animations and huge models (like 2gb huge). If you have a Home view with Hide/Required and Materials set, and all your Animation views have those options unticked, then you should be able to flick to your animation without losing your colours, right? Well, in some cases it seems to work, but in others it seems to reset the appearance whenever I switch to the animation, meaning I lose colour overrides.

I tried working around the color issue like this:

  1. Open project
  2. Make a new folder
  3. In the folder make a new animation
  4. Drag all of the views from previous animation to the new one
  5. Collapse the Animation
  6. Switch to a view with Hide/Required and Color applied (ie. Home view)
  7. Click on the new animation name (OK, doesn’t seem to reset colours)
  8. Expand and click a view (sometimes works, maybe, but can also fail)

Another workaround is to switch to your coloured Home view, save a 2013 version NWD and work in Navisworks 2013. Sometimes the downgrade bakes the colours into the elements, meaning you don’t lose them when you switch to and from the Viewpoint Animation.

    The Revit Clinic has revealed some key dates for upcoming Revit releases, and the associated effect on the Collaboration for Revit platform. Highlighted in red below, it appears that the release of Update 7 (UR7) for Revit 2015 is imminent, and that Collaboration for Revit 2016 will be released on April 17. Could this mean we will see Revit 2016 available on that date also?

    “The planned downtimes are as follows:
    2015 Update Release 7 & C4R 2015.4 – March 6

    C4R 2015.5 and C4R 2016.0 – April 17

     
    Full post:
    http://revitclinic.typepad.com/my_weblog/2015/03/roadmap-for-planned-downtime-for-collaboration-for-revit.html

    “EcoDomus is offering a free version of its EcoDomus PM online software application called EcoDomus COBie Basic, which will help qualified design and construction teams simplify the COBie deliverable process. To qualify for using COBie Basic please submit the form on the right.
    The EcoDomus COBie Basic software functionality enables:
    • Data export from Autodesk Revit to a secure online database (more BIM authoring apps support is on the way)
    • Online data entry and editing for all COBie entities (“worksheets”)
    • Uploading and attaching documents to BIM objects
    • Import and export of COBie Excel files”

    Check it out at:
    http://www.ecodomus.com/index.php/cobie-basic/

    Heads-up:
    https://draftsman.wordpress.com/2015/02/28/cobie-basic/

    Warning: some have had unexpected results, use with care.
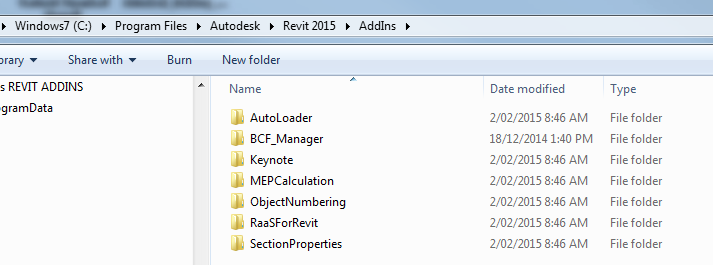
    Update: one reader discovered that  C:Program FilesAutodeskRevit 2015AddIns is yet another path that Revit uses. The script below has not been modified to act on that path, but if you have problems after running the tool, perhaps moving the items out of this folder to a backup folder will help. This user had the following errors in the Journal:
    “managed exception occurred” and “An item with the same key has already been added” and ExceptionCode=0xe0434352

    … If you are experiencing a problem with Revit starting up, it could be due to a problem with one or more of your addins. As you probably know, Revit looks in a couple of key directories for *.addin files, and then it loads your addins based on what it finds. Also, in current versions of Revit it also looks in an ApplicationPlugins folder at the .bundle folders.

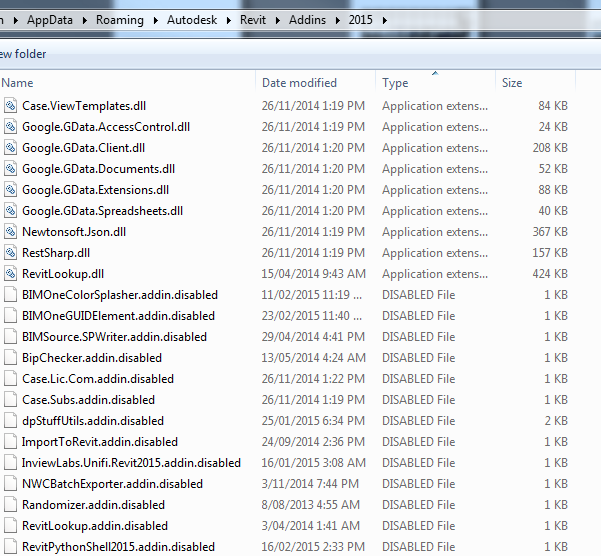
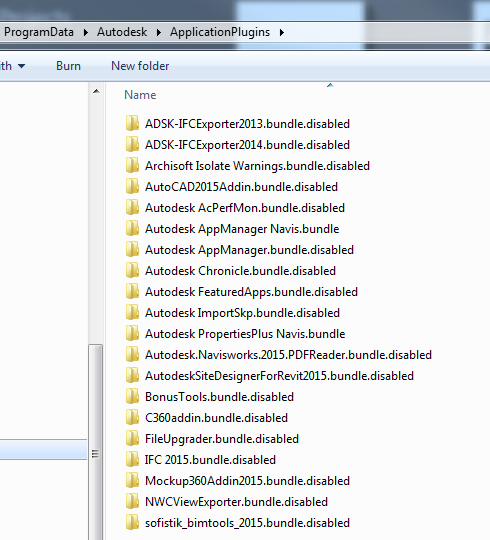
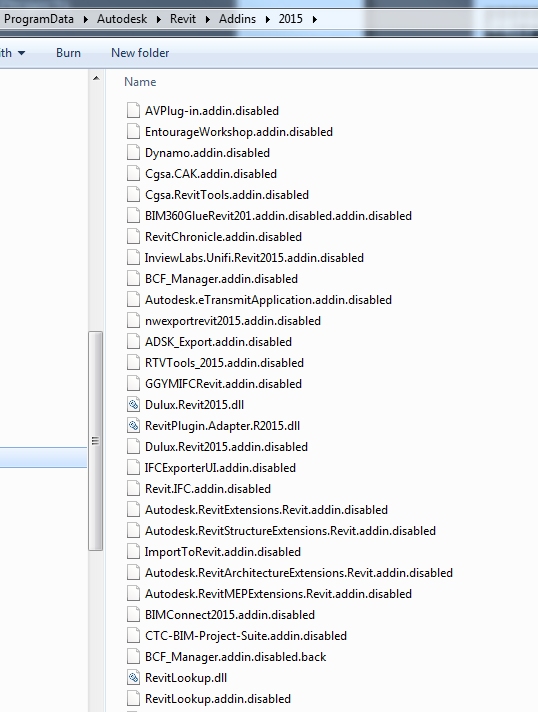
    I created a Powershell script that looks in each of these three folders (for Revit 2015) and then renames the addin files and bundle folders, meaning that you can then open Revit 2015 in “addin-free mode”. The script requires that you are loading addins from the default AppData and ProgramData folders.

    Important note: there are two scripts that are intended to work as a toggle, and for troubleshooting purposes only. After you run the Enable script, do not run it again. Make sure you run the Disable script next.

    Here is the intended workflow:

    1. Download and unzip the ps1 files
    2. Ensure all Autodesk products are closed
    3. Run the 1_DisableRevitAddons.ps1 script to disable all Revit 2015 addins
    4. Start Revit
    5. If it starts, you know that some addin is causing your problem
    6. Close Revit
    7. Run the 2_EnableRevitAddons.ps1 script to restore the addin and bundle folder names

    You can download both Powershell scripts here

    Here is a quick Screencast showing it in action:

    And some sample code for the disable script:

     cd $env:ALLUSERSPROFILEAutodeskRevitAddins2015  
    Dir | Rename-Item –NewName { $_.name –replace “.addin“,”.addin.disabled” }
    cd $env:ALLUSERSPROFILEAutodeskApplicationPlugins
    Dir | Rename-Item –NewName { $_.name –replace “.bundle“,”.bundle.disabled” }
    cd $env:APPDATAAutodeskRevitAddins2015
    Dir | Rename-Item –NewName { $_.name –replace “.addin“,”.addin.disabled” }

    After running the Disable script, you will end up with something like this:

    Important: This is an extreme troubleshooting measure, and should be used with great care. Use at your own risk!

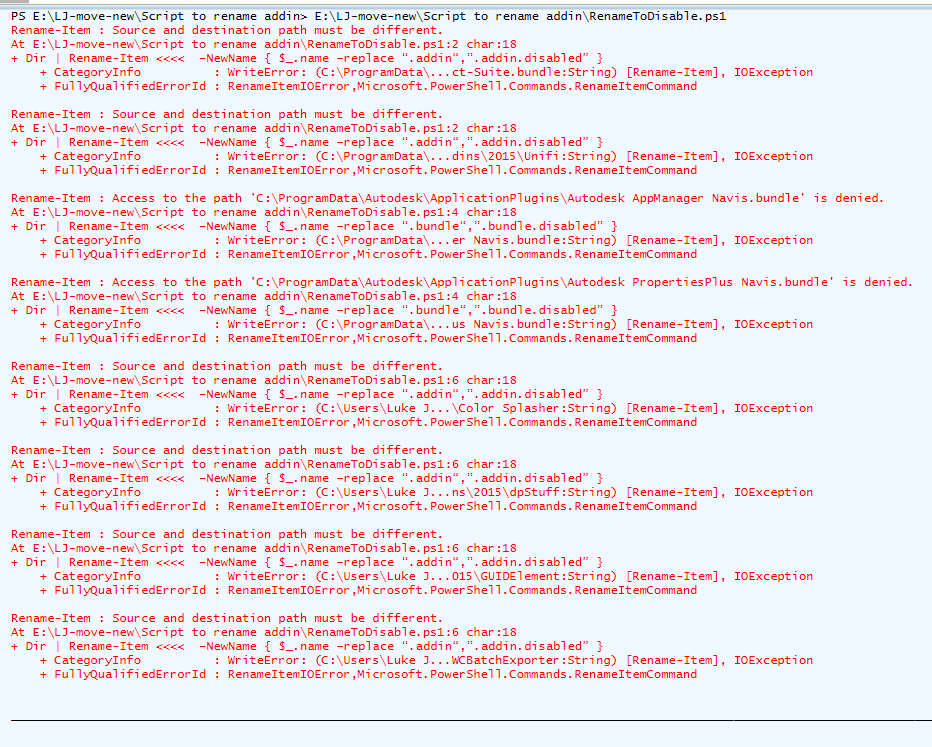
    Here are some of the warnings / errors from the Powershell output. Some of these are due to the fact that I had Navisworks open and it could not rename those *.bundle folders. Various Autodesk products share the ApplicationPlugins folder, so it may have some unintended consequences on other products. Having said that, it seemed to work ok on my system.

    When it comes to Revit visualization during early design phases, in the past you had to pick from one of these options to add Entourage to your presentation:

    1. Use some placeholder geometric family, 
    2. Use RPC and re-Render the view everytime you want an output, or 
    3. Export or Render a view as an image file and then open it in Photoshop to add extra Entourage.

      But now, there is another way

    This new way allows you to leverage your current RPC library and modify the visual style or “look” of the Entourage families. In turn, this makes the use of your current RPC content much more flexible, and more applicable to the constantly changing, day-to-day design iterations (and visualizations) that Architects and Designers are required to produce.

    In other words, we can take something that looks a bit like this:

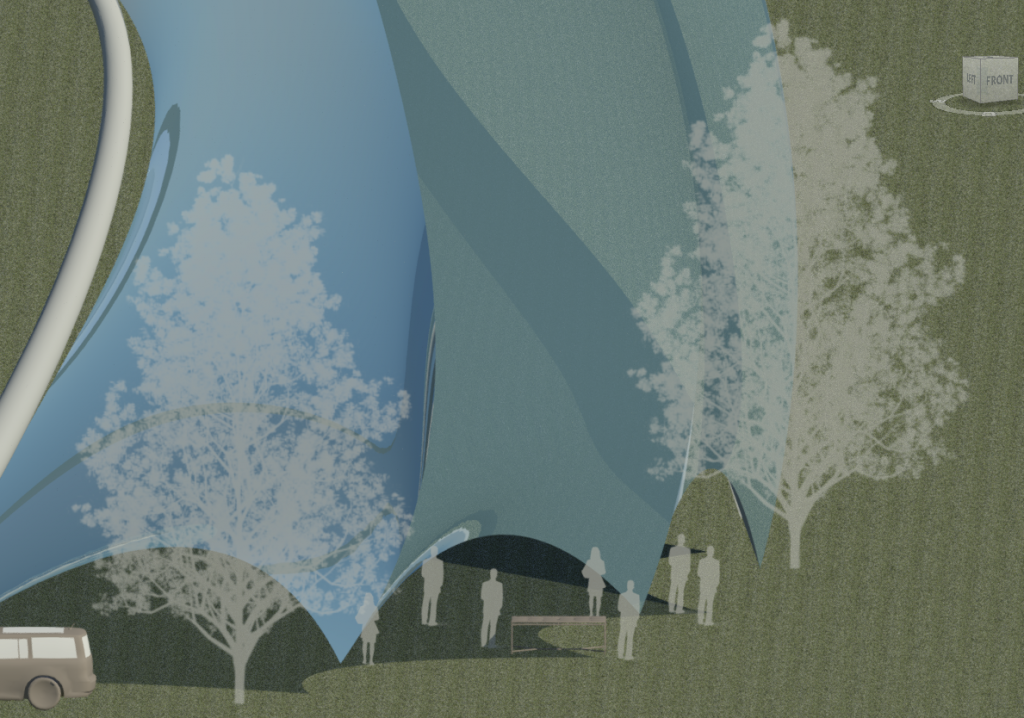
    And make it into something a bit more like this (Stylized Textures mode):

    Archvision are the guys behind RPC technology – that’s the tech that allows you to add photorealistic people, trees and entourage to your Revit renderings. Recently, they released a new addin for Revit called Entourage Workshop (I previously posted about this back in November 2014). It is built to work with content downloaded using Archvision Dashboard, which is a paid offering that can manage, search, download, create and load photo realistic families into your Revit model.

    I recently had a web meeting with Archvision CEO Randall Stevens, and we agreed to make you all aware of a special opportunity related to Entourage Workshop. Basically, Archvision is willing to give you access to their very powerful Dashboard, along with Beta access to the Entourage Workshop. All you need to do is go to this page, scroll down to Don’t have an ArchVision Software License? and enter your email address. The guys over at ArchVision will then issue you a temporary license of Dashboard to use while you try out Entourage Workshop.

    Now here is something to keep in mind… the more you use the Dashboard and beta Entourage Workshop features, the more likely it is that you will be able to retain your ‘free’ access for a longer period. If you don’t use your license, you may lose it 🙂

    How to apply styles to your Entourage in Revit:

    1. Install Archvision Dashboard and Entourage Workshop
    2. Open a project
    3. Place some RPC using Archvision Dashboard
    4. Start the Entourage Workshop addin from the Archvision ribbon
    5. Click the Styles button at top and add a new style
    6. After you add style, click in the Name area at the top of the color sliders and give it a descriptive name, then click Apply
    7. Click on the RPCs button at top and apply that style to selected Entourage families in your current project
    8. Switch to a Revit view and change to an appropriate display mode (Shaded, Consistent Colors, Realistic etc)

    Short list of tips, tricks and features:

    • you can now have non-rendered but still “stylistic” presentation views using RPC Entourage (Shaded Mode, Consistent Colors etc)
    • it won’t work without a Archvision Dashboard license
    • “Gamma” slider gives a level of brightness control directly over Entourage RPC that was not available before
    • Geometry tick boxes – you can easily turn off base and one side view of the ‘placeholder’ representation
    • In the UI you need Apply after making the Style, then apply to items after pressing the RPCs button
    • Silhouette textures will face the Camera. This is when you take a rendered photo representation and override it with Transparency, effectively ‘ghosting’ it
    • If you want to create Style definitions and pass your Styles.xml file to someone else you can do that too.  The Styles.xml file should reside in your local profile AppDataRoamingArchVisionEntourage Workshop directory.  The easy way to get there is to type %appdata% in your Windows Explorer and it will jump to the roaming directory where you can then browse to ArchVision and then Entourage Workshop.
    • If you do use a silhouette style, you can trial various Line colours for the Entourage by Overriding the Projection lines by category or element
    • If the Photorealistic Textures radio button is used, then only Transparency and Gamma modifiers will apply
    • Some current limitations:
      – the ‘placeholder’ geometry does not automatically face the camera (although the rendered representation does, and you can still manually rotate the family to get it facing the direction you like
      – only works on Entourage that is RPC based (not geometric)
      – does not work with Autodesk Cloud Rendering (yet)
      – currently it only modifies Entourage Category representations

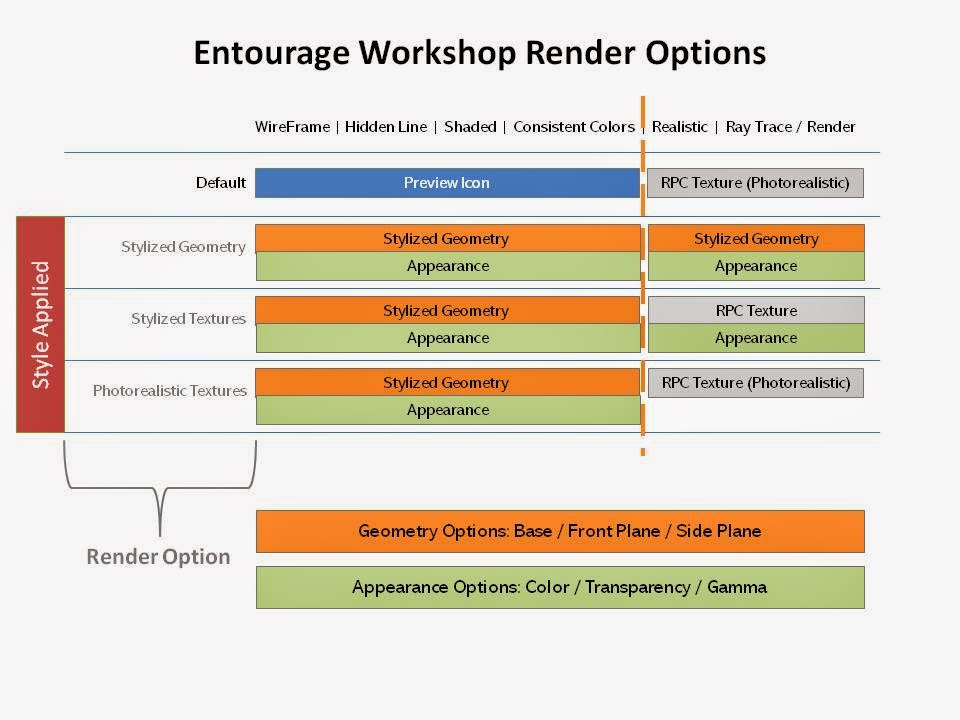
    Here is a matrix that describes how the various Revit display modes are affected by the Render Mode options in the Style definition:

    Here is a demo video:

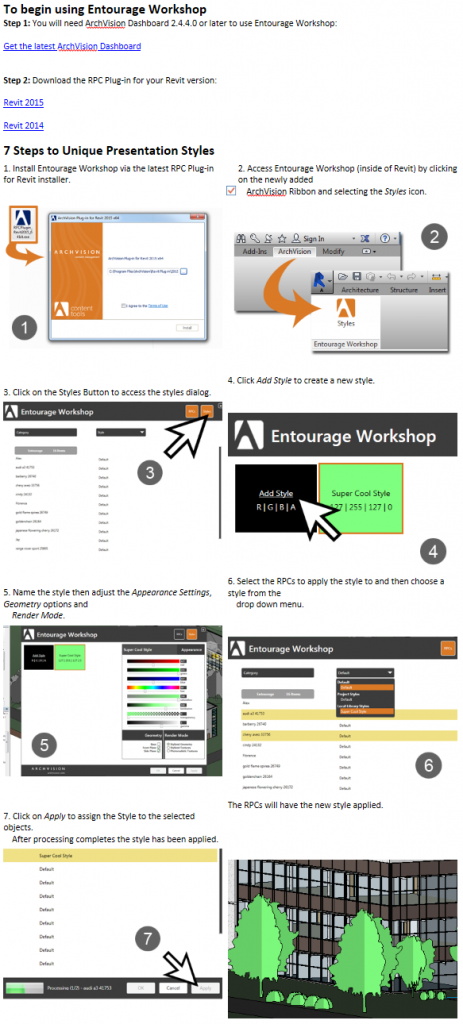
    And here is a step-by-step from Archvision to use as a guide to get you started:

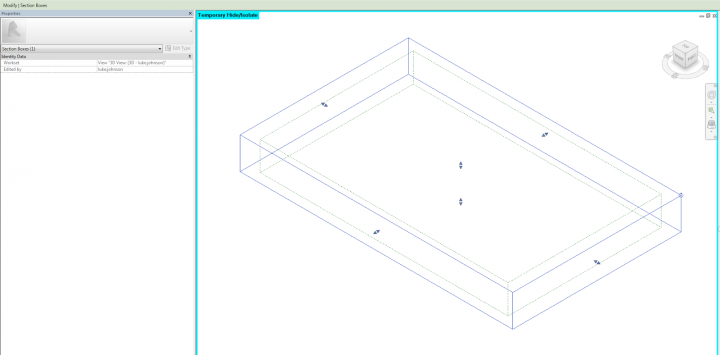
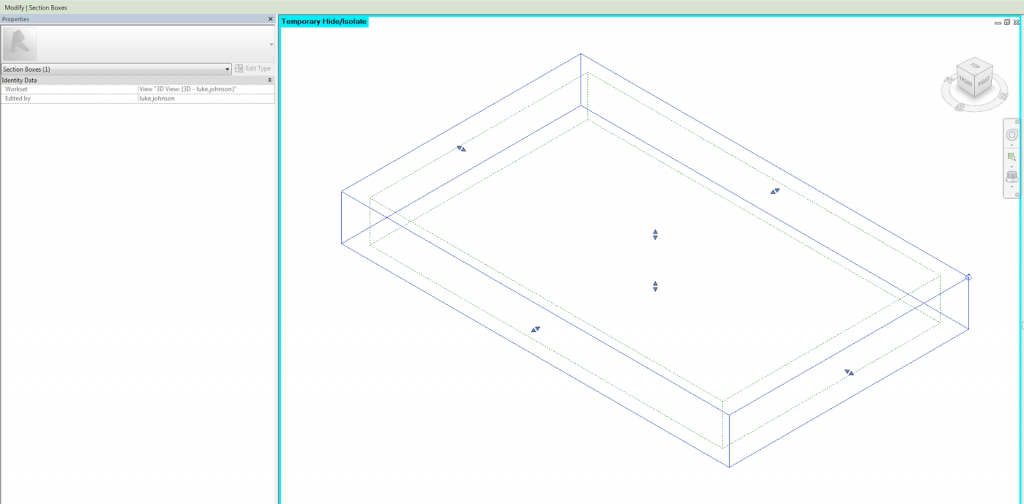
    We have all used various autoSectionBox addins to adjust 3D View section boxes quickly. But if you want to quickly match a Section Box to a Scope Box without using an addin, try this:

    1. In a 3D view, select the Scope Box and the Section Box
    2. Sunglasses (ie. Temporary Hide/Isolate) – Isolate Element
    3. Turn the Section Box off
    4. Turn the Section Box back on

    It will basically try to match whatever it sees in the view – in this case, the visible Scope Box. There is one pretty big catch, though… it doesn’t really work well if the Scope Box is not aligned to Project North. In this case, go back and use one of those addins 🙂

    Tip via:
    http://sixtysecondrevit.blogspot.com.au/2014/01/how-to-orient-3d-views-to-scope-boxes.html