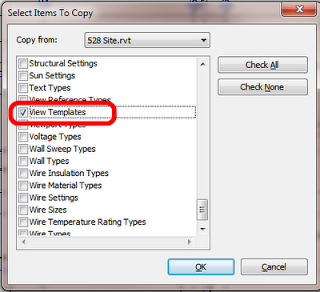
I love it when an idea just works 🙂  Let’s say you have 100 view templates in a project, and you make a new one.  You want to transfer only that new template to another project (not the other 100 View Templates).  If you use Transfer Project Standards (on View Templates and Filters), you will get the lot.  How can we transfer just one of them?

Well, you need to think through the problem.  Everything in Revit has an Element ID.  View Templates are a special kind of view… So we need to get the Element ID of the View Template.  Then we should be able to Copy / Paste it.

Here’s how I did it:

  1. Using Whitefeet Tools, (Utility Tools — Schedule Tools), Write Category to Excel, and select Views.  (Make sure you press the ‘All Elements in Model’ radio button)
  2. Excel will open with all Views listed, including their Element IDs
  3. If you Sort Data in Excel by the ‘Dependency’ column, all of the View Templates will be grouped together as they do not have any data in this column
  4. Select the Cell containing the Element ID of the View Template you want to transfer
  5. In the source project — Select by ID, Paste that Element ID.  Once selected, Copy to Clipboard (Ctrl+C)
  6. In the target project — Modify ribbon, Paste, Aligned to Selected Levels, just pick a level at random
  7. The new View Template is now available in the target project.  Apply it to any view you like…
Note:  At step 6, a simple Ctrl+V would not work
You could also adapt this to copy a selected set of View Templates – just grab their element IDs at step 4, and create a list of them separated by commas.  Use this in the Copy / Paste operations at step 5 and 6.
This is a classic What Revit Wants scenario – if you know how the program works, you can think through the problem and devise a solution that is not readily apparent to the casual user.
PS – it would be nice to figure out a way to get the Element ID of a View Template without using any addins … does anyone have a good way of doing this?

EDIT2 For the add-in free method, use the macro provided by Harry Mattison at:
Transferring view templates, not in 2014 | Boost Your BIM – making Revit even better

EDIT1 I also posted a method using the free RevitLookup add-in at https://wrw.is/2013/07/compiling-and-using-revitlookup-for.html

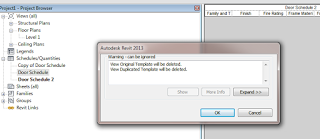
Nasty little bug picked up by Jason Kunkel.  Basically, you make View Template based on a Schedule View.  Then, when you go to delete that original Schedule View, Revit will prompt you with a “View:ViewTemplateName will be deleted” message.  Pressing OK deletes the View Template and therefore leaves any Schedule views with the Template orphaned

I also discovered that if you Duplicate the Template you made as discussed above, and then delete the original Schedule View, it will prompt to delete BOTH the original Template and the duplicated Template!

I tested this using latest update of Revit 2013.

From Jason’s blog:
When you go to delete it, Revit tells you that it is going to delete them.  And then it does.  Poof.  Gone.  Any schedule that had that View Template assigned is now set to NONE.  On top of that, any View Template that was copied from the prior ones are “linked” as well, so this could be pretty disruptive to your schedule View Templates.

Read more / via
View Template and Schedule Hiccup | RVIT – Revit rants, tips, and junk

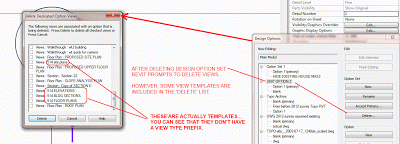
If a View Template includes a Design Option visibility setting, and then the associated Design Option Set is deleted, Revit will prompt you to delete the View Template:

Obviously, you can untick the box to retain your View Template.

Here is another post along similar lines:
Accepting a Primary Option results in Deletion of Drafting Views – explanation

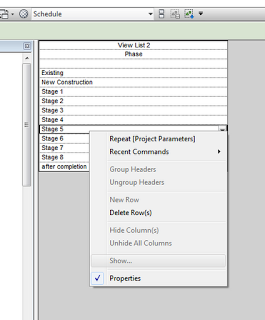
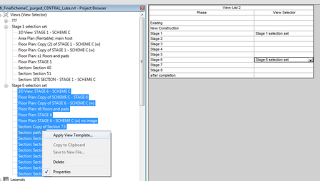
In Revit, certain view properties are not schedulable.  Additionally, you cannot change Visibility / Graphics through a schedule.  However, let’s say you have a schedulable view property that allows you to form a group of a views that you would like to modify.  You can’t use the Show option in a View List (to multi-select Views):

However, to multi-select views using a known property (in this simplistic and slightly pointless example, Phase), we can:

  1. Add a Text type Shared Parameter called View Selector to the View List, ticking ‘Add to all elements in the Category’
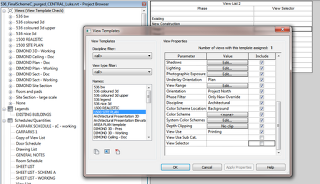
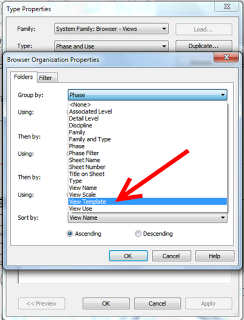
  2. Now, a little complication – to modify this property, you will have to untick it from every applied View Template that would possibly impact the View List.  I grouped my Project Browser by View Template so I could quickly see the ‘in-use’ View Templates, then went View – Manage View Templates and unticked View Selector in each of these.  Once this is done, we can now drive the View Selector parameter through the View List schedule.
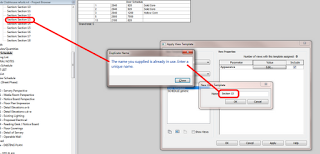
  3. Now go to the Type Properties of the Project Browser and make a new type called View Selector.  You can either use folders and set them to View Selector, or Filter by View Select = whatever.
  4. Finally, select a bunch of views in the Browser and then adjust the Property you want to edit.  This method allows you to  modify certain parameters that you couldn’t get to from the View List itself.

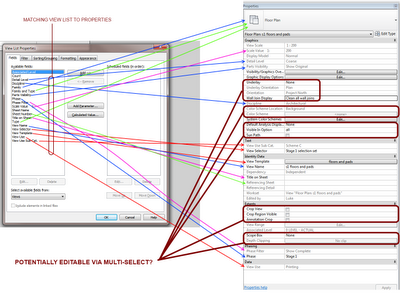
Some of these parameters are View / Type specific (like Underlay for Plans).  When you multiselect them, Revit will tell you what the ‘common’ parameters are in the Properties Palette.

The following diagram gives you an idea which View Properties can be ‘hacked into’ using this multi-select method:


    I have run into an issue when using a Key Schedule, Area Plan and View Template.  My Area Plan uses a Color Fill Scheme which uses a Key Schedule as its basis for the different colors of shading. If I change an entry in the Key Schedule, it seems to ‘break’ the Color Scheme on the Area Plan.

    To correct this issue:

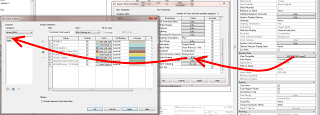
    1. Un-apply the View Template (set view to
    2. Open the View Template Properties
    3. Open the Color Scheme dialog for the affected View Template
    4. Set the Schemes to (none), then
    5. Reapply the original Color Scheme by clicking its name.
    6. Press OK a few times

    The Color shading for the scheme should now re-appear.

    Think of this scenario – you have 5 different Revit projects all linked together in various ways.  You want to ensure that there is some consistency in the way the Plan views appear (possibly because you intend to use Linked Views).

    The answer – View Templates 2013 (of course).

    First of all, make or open a Template file.  Set up the View Templates in this file.  Then save it, and Transfer Project Standards (View Templates) from this Template into the 5 other project files.

    Apply the View Template to the applicable views in each of the 5 projects.

    Now, when you want to update the View Template across all 5 projects:

    1. Open the Template file (it could be saved as an RTE or RVT in your project folder, such as View-Templates.rte)
    2. For each project RVT file:  Open it,
    3. Transfer Project Standards from the View-Templates.rte TO the Project file
    4. Overwrite!!!
    5. Rinse and repeat for all 5 project files.
    6. Your View Templates are now synchronised between all the RVT links.
    7. Your Views have automatically been adjusted due to the updated View Template definitions.

    There are some traps and limitations with this idea, but I think that it could be powerful if used properly.

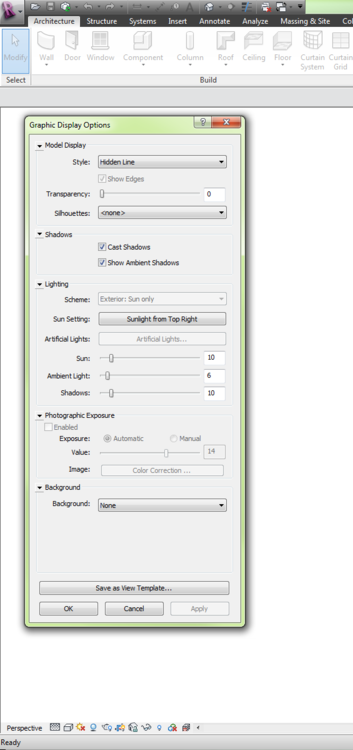
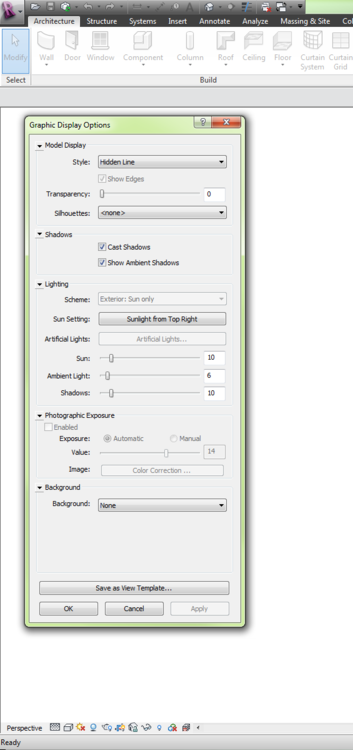
    When making a standard perspective Camera View, Revit 2013 allows you to effectively preset View properties, so that all new Camera views look nice.  These settings are from the BIM Technologist:

    Then, save the View Template settings and go into the Type Properties of 3D View, and set the View Template applied to new views appropriately.

    via

    BIM Technologist, Quick Views & Effect

    There is one thing about Revit 2013 that I love above all the others – View Templates.

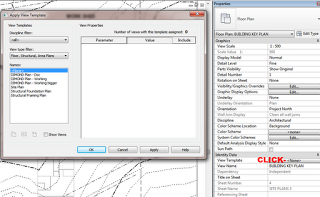
    They are now truly powerful and useful, and they should improve our project management and documentation consistency.  And by ‘our’ I mean all Revit users.  If you haven’t picked up on it yet, there is a difference between ‘Assigning’ a View Template, and ‘Applying’ one:
    Assigning – creates a link between the View and the View Template definition (when you change the Template, all views with that template assigned update to match the template)
    Applying – is a one-off, drive-by application of the template settings to the view.  No link is created.

    The key step in Assigning a View Template is clicking on the View Template property of the view (see image below)

    You can read more at:
    Assigning a View Template – WikiHelp

    Even more powerful is the fact that you can create Types from all the different kinds of views – even Floor Plans can now have multiple Types.  You can watch a video on this at:
    View Type Creation – WikiHelp

    There is a bit of a bug in Revit 2013 at the moment when trying to apply the settings from one View to another – you can’t press OK to get out of the dialog!  I expect this will be fixed in an upcoming Web Update for Revit 2013.

    Revit Knowz also loves View Templates:
    Features I love:
    – Hide at scales coarser than
    – Re-align origin
    – Propegate Extents
    – Apply Default view template 

    via
    Revit Knowz: Features I love