Here is something new and exciting… a RFA family that has a nested RVT, and the nested RVT has a linked nested DWG.

If you close the RFA, edit the doubly nested DWG, and re-open the RFA = the DWG geometry will be updated.

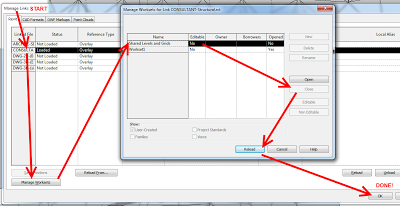
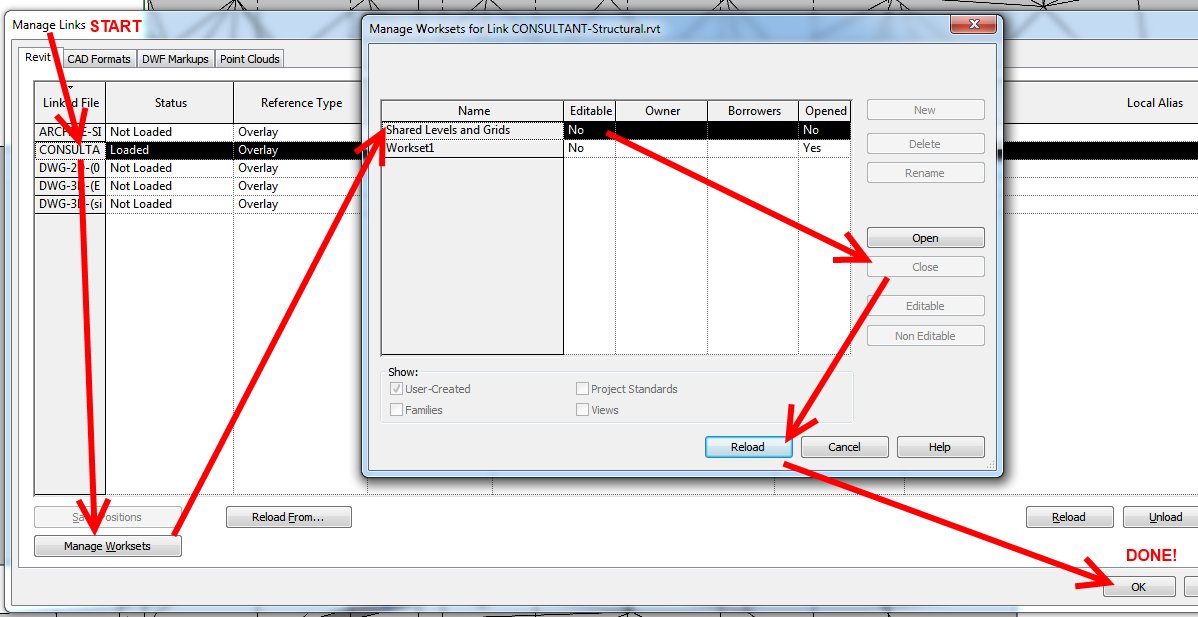
If you edit the nested RVT and save it, you can right click in the Project Browser on the RVT link and click Reload From… – if you select the same file, it will update as expected.

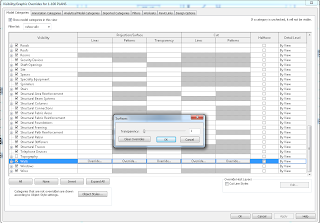
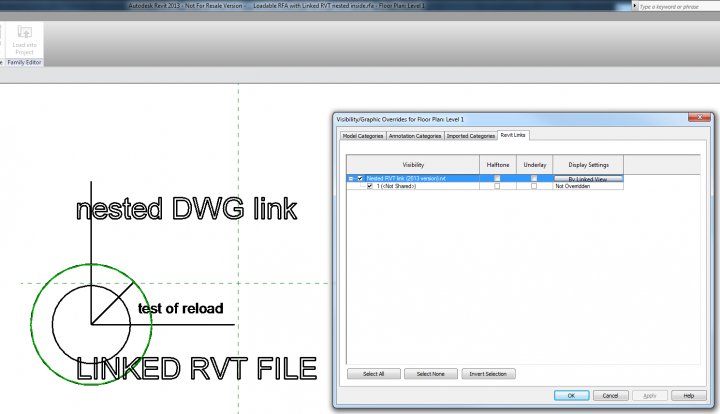
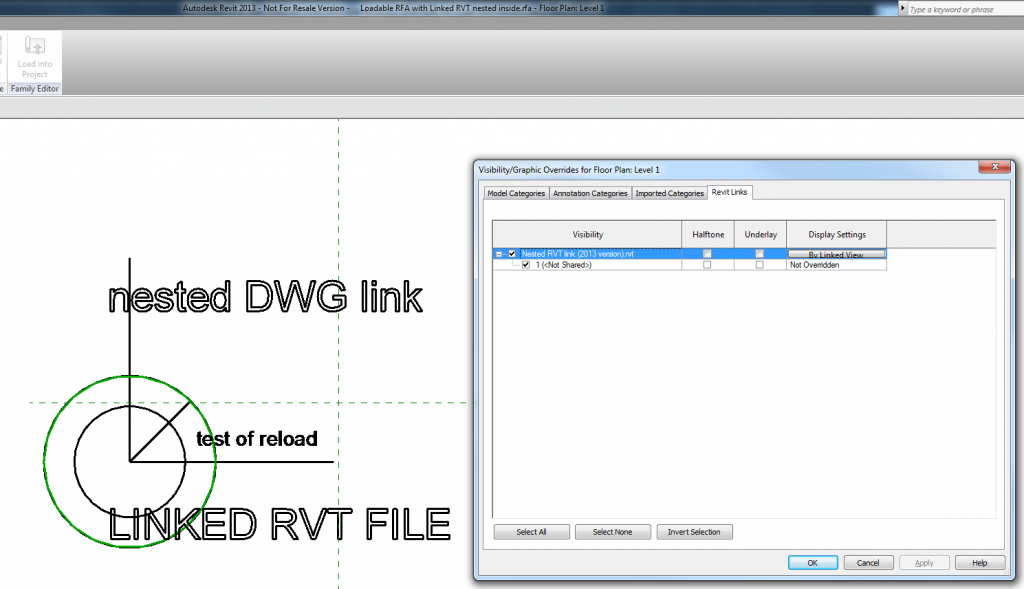
You even have access to Visibility / Graphics for the Revit link inside the family:

If you lock geometry in the family to the DWG or to the RVT and reload, the constraint will drive the geometry in the family environment.

A couple of caveats: the linked RVT won’t be visible when you load and place the family in a project, and you need to physically open the family in order to force a reload on the nested links…

While I’m sure this is unsupported, I think it could potentially be useful for office content management, or perhaps it could be used to drive repeated geometry within a family (array?) or across multiple families.

This workaround is achieved through the inplace family to component family method I have posted about before. I had to edit the inplace family, then select the RVT link in the Project Browser to allow copy / paste.

Download the files I created and try it for yourself at:
https://drive.google.com/file/d/0B1dGdRkpk2bea1NhR2RWWFZrUlU/edit?usp=sharing

(the main file is Loadable RFA with Linked RVT and Linked DWG nested inside.rfa)

Idea comes from Paolo at:
Punto Revit: RVT Links into RFA Families

Painfully, Architectural Walls in a Host model often occlude the Cut Pattern settings for Structural Columns in a Linked Model.  You may be able to see the edges of the Structural Columns, but any View overrides to the Revit Links tab, and even Filters, do not show the Structural Column cut pattern.

Essentially, the Walls in the host model are hiding them (like taking view order precedence or something).  Structural Columns should have Cut Dominance, but this does not seem to work where links are involved.

So, here is how to fix it – just override the Transparency of Walls to 1:

The Cut Pattern, including any overrides, instantly display:

Obviously, you can do this in a View Template for easy application to multiple views.

Helping search index:
structural column in revit link cut pattern

Ah, the simple option is often best.  Just close the Workset that has Levels and Grids on it in the Manage Links dialog.  See image:

Idea from this post on Revitize (it uses language related to older Revit versions):

Go to File menu > Manage links… and select the structural model and select ‘Reload From…”

and select the same linked structural file. Before pressing ‘open’, select the small arrow next to the ‘open’ button:

and select specify. Then press ‘open’. Revit shows the ‘Linking Worksets…” dialog box.

Select the ‘Shared Levels and grids’ workset and press ‘close’ and then Ok and again Ok. Now the ‘Shared Levels and grids’ workset from the linked file is closed and is NOT visible in any Revit view. Even though the linked grids are not visible, Revit still ‘monitors it!!!

If for some reason you want to see the structural grids, you can repeat the steps above to make them visible.

Interesting aberration that you could use to your advantage – reposted from SARUG:

I had Sam override the visibility setting for the masked region and make it transparent, in the linked file, and then update the link.  For some baffling reason the ceiling could now be seen and the ACAD file was properly masked where the ceiling was.
The only thing I can figure is that the override to transparency was carried through to the active project revealing the ceiling but the masked region was still seen as a masking element as it related to the ACAD file.

via
AutoCAD in Revit – A Bizarre Linked File Approach | Southern Arizona Revit User Group

Posted by Mark Petrucci:

  •  Did you know there is another point called the Startup Location? Be default, the PBP and SP are located on top of the Startup Location. What is the Startup Location used for? It’s used for linking models ORIGIN-TO-ORIGIN.
  • If you are an engineer and want to link the Architect’s project file origin-to-origin, you need to do this before you start the engineering model.
  • if a structural engineer lays out column grids without the architects model and then links files later, origin-to-origin will not work.
  • never, I repeat never move the building. I’ve read blogs on how to move a building using infinite view ranges. This does not work…

via
Applied Software Blog: Revit Shared Origin Survey Startup Base Location…

I find it interesting that AutoCAD 2013 can directly link (XREF) DWG files directly from the Autodesk Cloud.   Just Insert – DWG Reference… – then press the Autodesk 360 button in the dialog.

Revit Server is necessary technology (at the moment), but it is essentially a ‘do it yourself’ server system.

When will see the little Autodesk 360 button appear in our Revit Link dialog?

Read more at:
XREF Drawings from Autodesk 360 | The CAD Geek Blog

Aaron Maller is one of the top Revit guys in the world.  In a recent blog post, he provides some handouts for download – this is basically stuff about Links and Groups for the Advanced user – very interesting!

So here they are!
Sample Data Sets

Class Handout

via
Malleristic Revitation: Class Materials- Autodesk TA event- Dallas

I have used a similar technique for residential housing – where you can have repetitive plans with only small differences. It can even be adapted to work in a demolition scenario.

The visibility in each applicable view must be set appropriately, but the net result is cleaner and easier to control than the other methods.

Thanks to Aaron Maller for the video.

Here’s how:

  1. Make sure each link has a ‘unique’ family with a ‘unique’ Mark parameter.  For example, put a Sprinkler family with a Mark of 1234567 into each RVT link.
  2. In the ‘Site’ RVT, create a Sprinkler Schedule.
  3. Tick ‘Include elements in linked files’
  4. Add parameters –
    RVT Link:File Name
    Mark
    Count
  5. Filter by Mark = 1234567
  6. Sort By
    RVT Link: File Name
  7. Untick ‘Itemize every instance’.

The Count field should be showing how many of each RVT Link you have in the project.