In Revit 2015, you can use the IfcOpeningElement subcategory of Generic Models (and possibly other categories) for a Linked IFC to hide the orange “void” elements that appear in certain situations, as per this image:

Just use the Revit Links Display Settings to “override” settings in Visibility / Graphics (choose custom, and Model Categories tab also custom) to access this subcategory.

Straight copy from Revit Clinic:

Update Release 3 for Revit 2015 has been released to the App Manager. However, if the App Manager is not finding the update, you can download them directly from the links below:
Revit 2015
Revit Architecture 2015
Revit MEP 2015
Revit Structure 2015
Revit LT 2015 (64-bit)
Revit LT 2015 (32-bit)

Original post:
Revit 2015 – Update Release 3 – The Revit Clinic

Firstly, make sure you have a model on Glue that you can access. Did you know that when you Glue something from Navisworks, it makes an NWD and puts it in a folder like this:
“C:UsersLuke JohnsonAppDataLocalNavisworksPlugin63baac4b-76c8-4ff8-9039-d51645fd1ddc.nwd”

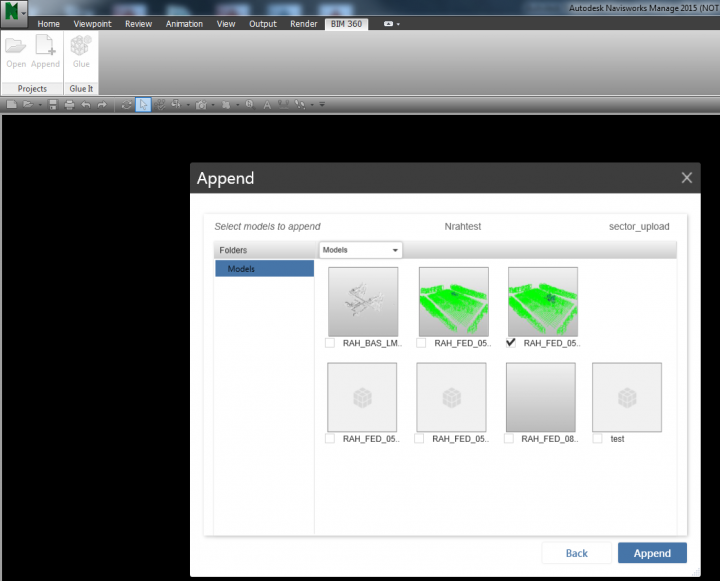
Once you have a model on Glue that you would like to download and use as modelling context in Revit, make a new Navisworks file and:

  1. Append that model back to Navisworks from Glue (it will look like you opened an NWD, with Clashes, Search Sets and Viewpoints all appearing. This tells us that BIM 360 Glue stores all that information in the cloud, at least when the model “originated” in Navisworks.)
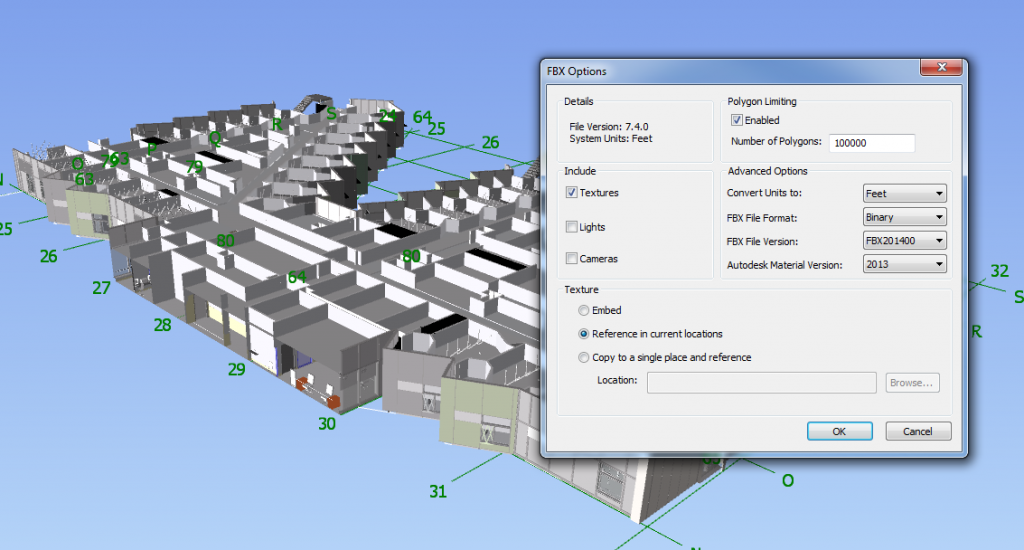
  2. Use this method to export FBX and import to AutoCAD at correct scale (Limit your Navis view to only the elements necessary for modelling context. For example, walls or facade only.)
  3. Save the DWG
  4. Make a new Revit file. I had problems using the Construction template – it seemed to break the coordinates somehow… In any case, when I just used “None” template, it worked fine.
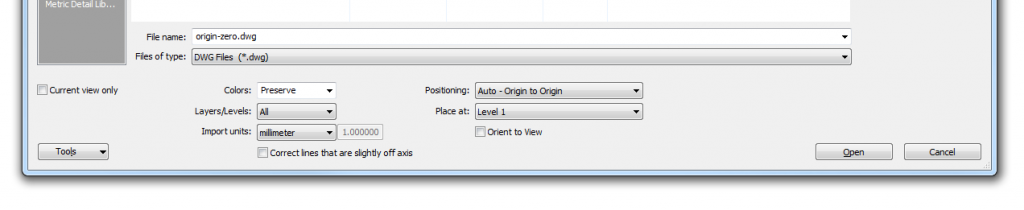
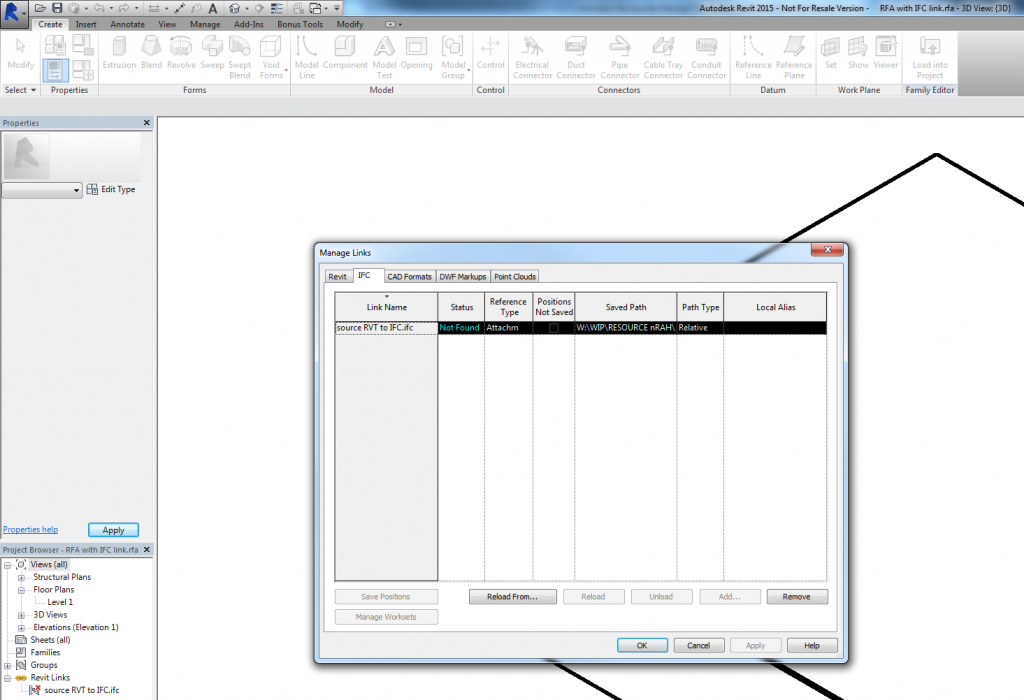
  5. Link the DWG into Revit, Origin to Origin
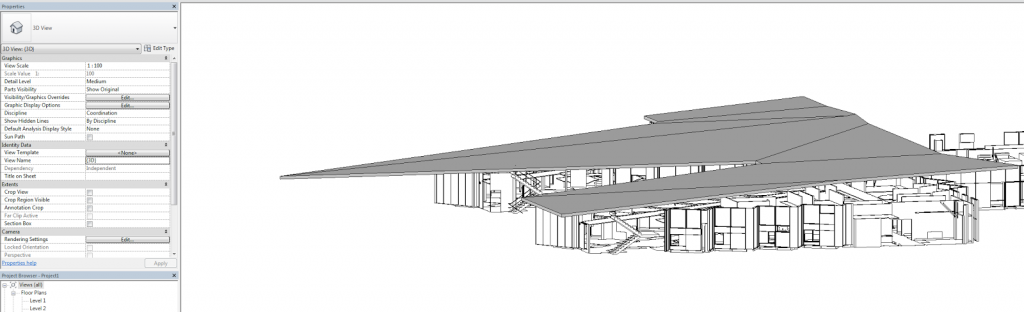
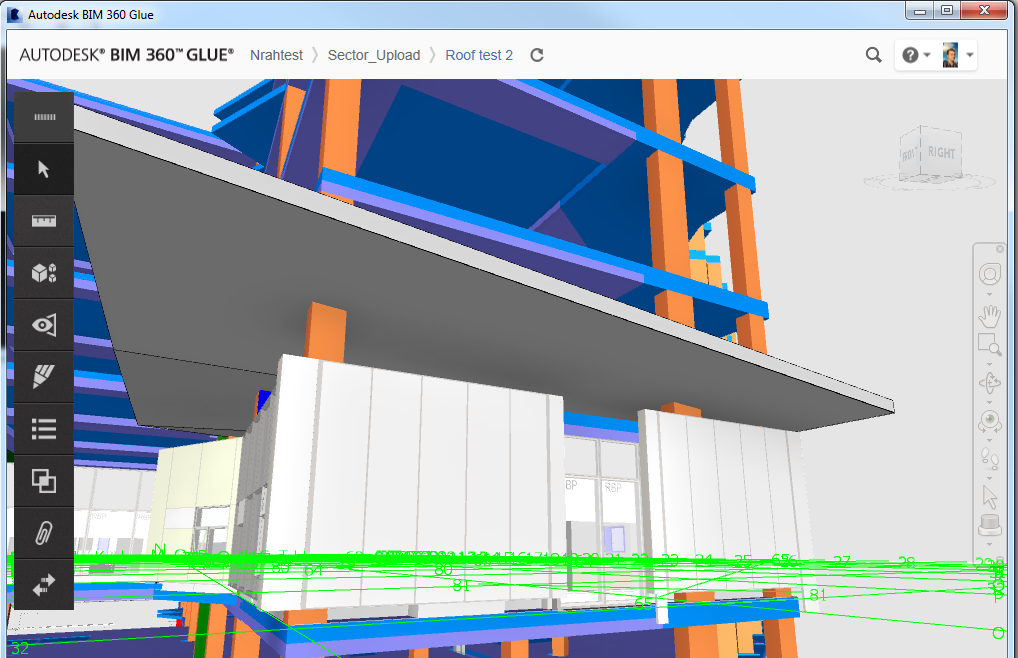
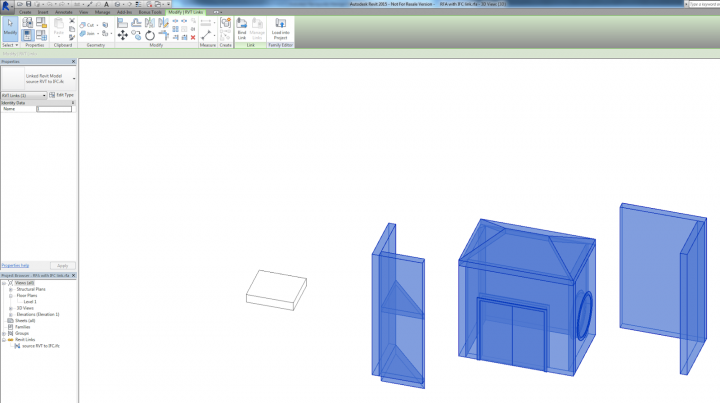
  6. Do your Revit modelling (in the screenshots below, I modelled part of a roof)
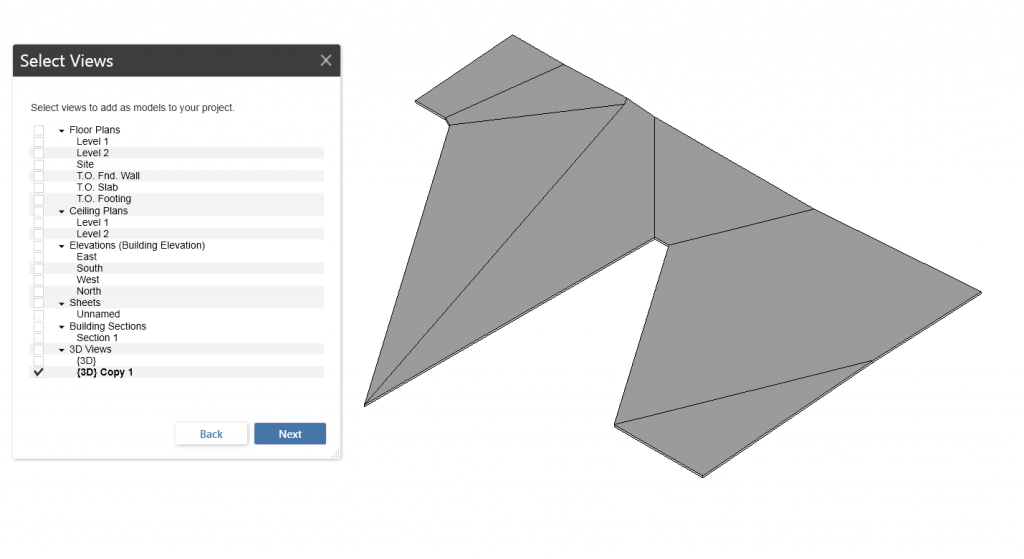
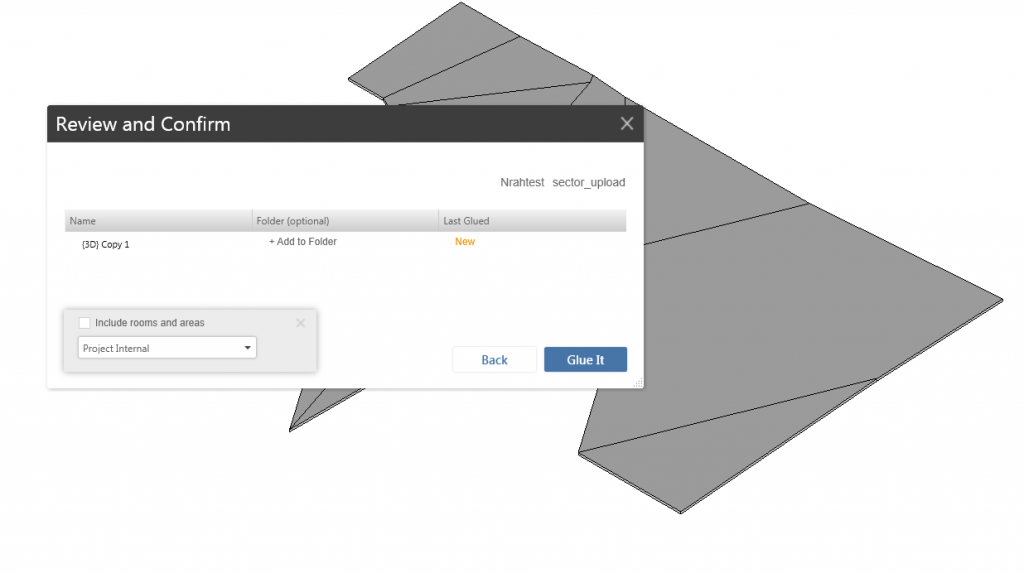
  7. Glue the new roof directly from Revit (you may want to Hide the DWG file prior to Appending). This will create a new Model. On BIM 360 Glue, you now have the original model plus this new model from Revit.
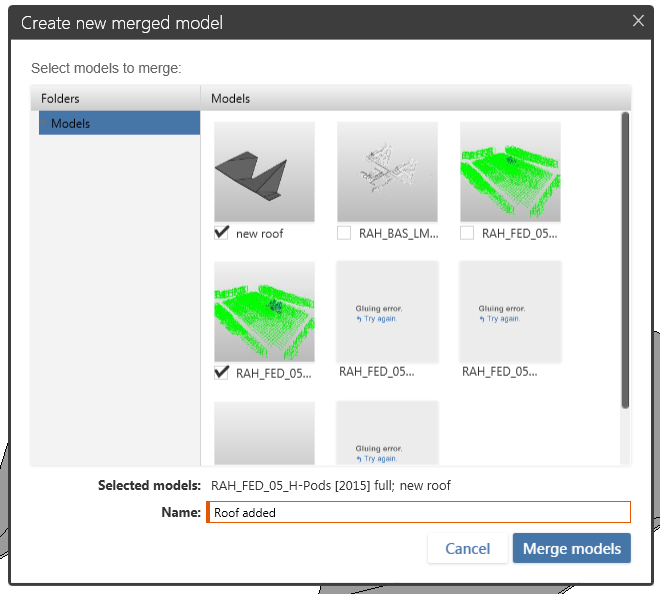
  8. Go to Glue app in Windows and make a new Merged Model. Tick the boxes for the original model, and this new model from Revit.
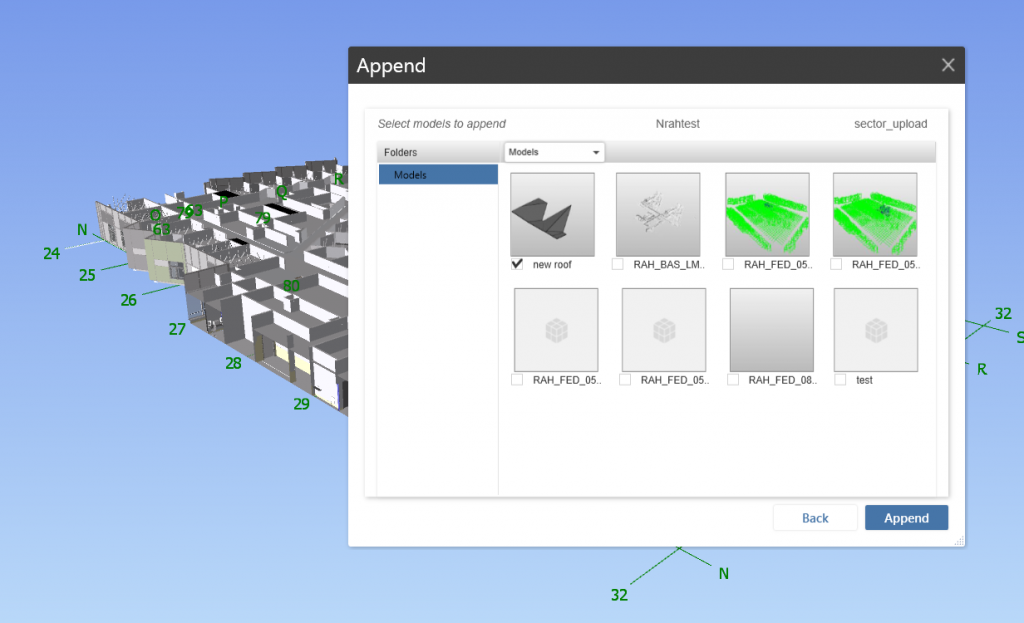
  9. Back in Navisworks, we can either choose to Append the entire new merged model, or just the new “piece” that we modelled in Revit.

If you have consistently used origin-to-origin “Revit zero” linking and project internal coordinates, you shouldn’t have any problems.

Some screenshots:

Notes:
55mb NWD took about 20mins to Glue

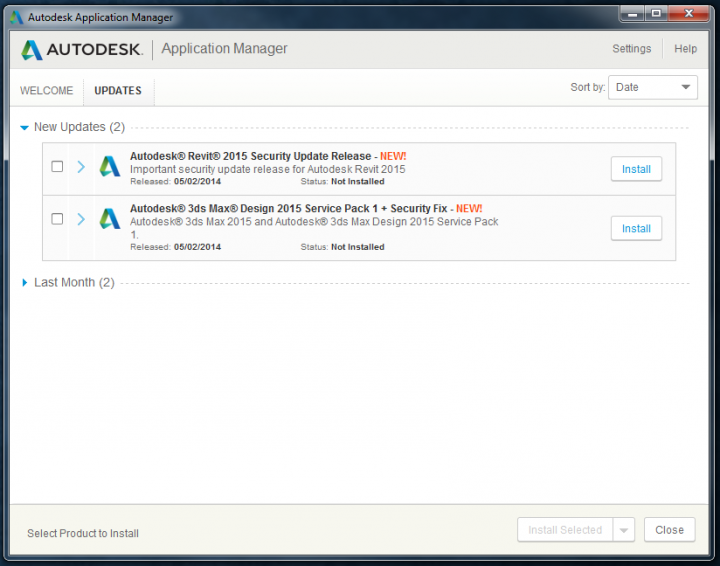
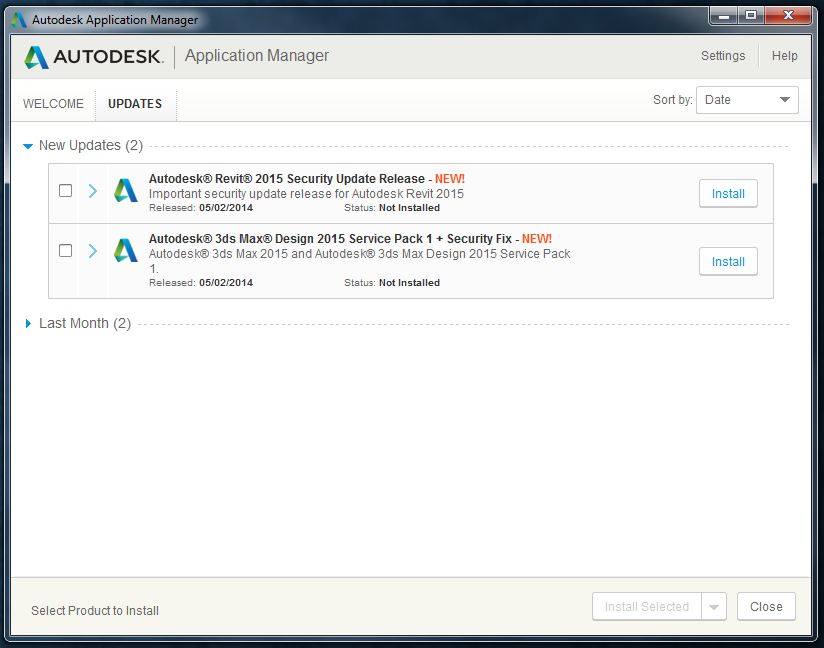
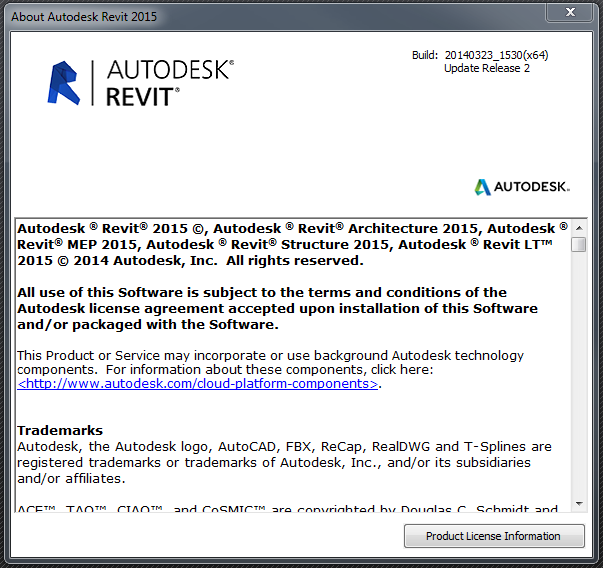
In this test, I used 2015 versions of Navisworks and Revit

Jeremy Tammik has kindly upgraded and released BipChecker for Revit 2015, you can download it at:
https://github.com/jeremytammik/BipChecker

Steps to get it going:

  1. Download ZIP
  2. Extract
  3. Open SLN in Visual Studio 2013 Express (free)
  4. Right click on BipChecker in Solution Explorer and open Properties
  5. Go to Reference Paths and add your Revit program directory
  6. Build Solution

It should instantly be visible in Revit 2015, Addins, External Tools – even if you have Revit open. While it has many uses, immediately obvious are the fact that it shows whether a parameter is read-write and it also displays GUIDs for Shared Parameters. You can choose whether to display Instance or Type Parameters. Cool.

Here is some sample output:

The DevTV videos are one of the best ways for new Revit programmers to start to get their head around things, and they have been updated for Revit 2015. Links:

  • DevTV Introduction to Revit 2015 Programming Part 1 – a short video tutorial demonstrating the basic steps to start developing with the Revit .NET API – View online | Download
  • DevTV Introduction to Revit 2015 Programming Part 2 – a short video tutorial demonstrating selection and filtering API through a Room Renumbering application – View online | Download
  • Revit 2015 API Labs

via
The Building Coder: On Handling Warnings and Failures

Check your Autodesk Application Manager:

Revit 2015 will now read “Update Release 2” in the About box:

Readme:
http://download.autodesk.com/SWDLDDLM/Updates/2015/RVT/Revit_2015_Update_2_Readme.htm

Direct download link for Revit 2015 Update 2:
http://download.autodesk.com/SWDLDDLM/Updates/2015/RVT/Autodesk_Revit_2015-x64_Update2.exe

Also see:
http://knowledge.autodesk.com/support/revit-products/downloads#?ADSKContentGroup-local=Downloads&ADSKProductLine=Revit%20Products&ADSKReleaseYear=2015&sort=score&page=1

I’m sorry but I couldn’t help myself… after the RVT and DWG link into RFA post over here, I had to try linking an IFC into an RFA file in Revit 2015. Guess what? It works.

  1. Download and extract this
  2. Copy the IFC you want to link into the same folder, and rename it to
    source RVT to IFC.ifc
  3. Open the RFA file
  4. It will come up with a link not found message – Open Manage Links, switch to IFC tab, select the row, use Reload From and select the file named
    source RVT to IFC.ifc
    (side note: this is probably the only time you will see a Manage Links dialog in the Family Environment, so I guess this is a added benefit of the current post)
  5. It will convert and link in the IFC using the usual method.
    (I’m not sure how errors are handled at this stage, such as “unjoined geometry” etc)
  6. There you go – IFC linked into Family

All of the usual caveats apply for linking things into RFA files, as per the other post. Additionally, you can’t Bind, Copy From, host elements, or Pick edges of the linked IFC. Its only real use at this stage is for modelling context.

IFC Exporter for Revit 2014 (v3.10):
IFC for Revit 2015 (v15.0.2):

direct for 2015

(note – the 15 part of the versioning now matches the Revit version ie. 2015)

via email