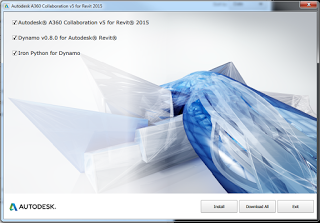
This coincides with UR8, and interestingly includes an update to Dynamo 0.8.0. I would recommend using Autodesk Application Manager to obtain this entire package.

Collaboration for Revit v5 download:
http://revit.downloads.autodesk.com/download/2015RVT_UR8/RCAO2015.msi

Personal Accelerator:
http://revit.downloads.autodesk.com/download/2015RVT_UR8/PACR.msi   

This is the packaged Dynamo installer:
http://revit.downloads.autodesk.com/download/2015RVT_UR8/DynamoInstall.msi   

Here’s how:

  1. Filter and group your Schedule so that it shows the elements you want on a particular row
  2. Select that Row and pick Highlight in Model
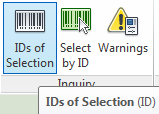
  3. After the elements are highlighed, you can start the “IDs of Selection” command. This will provide a text box with a list of every single element ID that was selected. You can then copy (Ctrl+C) and paste this into your desired application, like Excel or even a text file for consumption in Dynamo.
  4. Optional: Save the selection using typical Revit “Save Selection” option

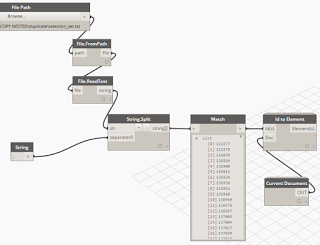
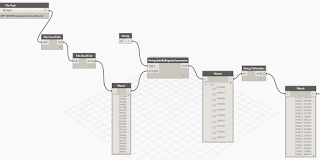
If you do copy the IDs to a text file, you can use a simple Dynamo definition like this to convert the Element IDs to actual elements. Obviously, once you have the element list in Dynamo, you can do lots of fun things with it.

What if you have a list of line separated element IDs, like one per Excel row? You can use Dynamo to parse these to Elements, and even create a saved Selection Set too (thanks to Clockwork), like this:

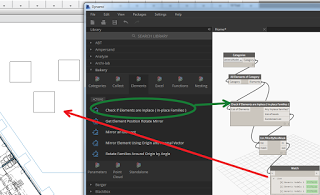
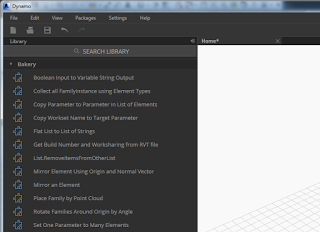
Honestly, I’m not that great at Dynamo and Python and the rest… hopefully one day? In the meantime I have been helped a lot by Andreas and Konrad and Julien and a few others on the forum. I’ve decided to combine my currently released custom nodes into a package called Bakery that I intend to add to and maintain. You can download it through the package manager.

Also, check out this forum post for a list of Dynamo resources (thanks to Sol Amour):
http://www.revitforum.org/dynamo-bim/24005-dynamo-learning-resources.html#post136270

At various points in a BIM project, Revit models may get passed from one consultant or contractor to the next. After this handover occurs, a change in project requirements may mean that the recommended modelling practice has now slightly shifted. For example, in healthcare and hospital projects, host and nested Revit family arrangements are often used to control repeating layouts, such as in wet areas and other typical rooms.

Often, many of these nested fixture families are also Shared families, meaning they can be scheduled and accurately counted in Revit schedules.

However, what if a contractor needs access to some of these nested families in their own model? For example, what if a plumbing contractor wants to copy all nested plumbing fixtures into their own model, perhaps to add parameters or generate maintenance schedules for FM?

There are a few different ways to go here, with varying degrees of hackiness and/or gracefulness. An extremely hacky way to go might be to export IFC, open IFC to get each of these nested families as their own instances. Or, you could use Copy/Monitor. When using Batch Copy, each family gets emancipated from its original host family. It certainly should be used with care, as some things don’t work especially well… Like instance parameters aren’t really copied across, and you may end up with some duplicated elements. But for the most part, as a built-in Revit solution, it can do a decent job. I put together a brief workflow on how you might go about this process, and you can download it here.

As usual, test the workflow thoroughly before implementing it, and use at your own risk.

Oh, I wanted to mention yet another way this could be done… with Dynamo. I recently developed a solution that can free nested families for an entire rvt at once, including:

  • create new instances of all nested families of a desired category in correct locations
  • set original element IDs to original and new instances
  • set a parameter to determine if an element was ‘original’ or newly created by the script
  • rotate instances to match original
  • mirror or flip if necessary
  • copy all parameters from original elements to new instances
  • select top level elements for deletion

But that’s a subject for another post… 🙂

We often work with consultants using Tekla Structures, but we only recently came across the issue of trying to import point clouds into Tekla. The officially recommended workflow is:
Leica / Trimble scanner — Trimble Real Works — Landxml — Tekla Structures

But what if we don’t have Real Works? Basically, we want to create geometry from point cloud (which we can make into a massive list of XYZ values in a text file). Sounds like an easy job for Dynamo… and in a way, it is.

Here is what worked for me:

  1. Import the source point cloud to Recap, decimate to 100mm grids, and remove all values except X,Y,Z (screencast below). This took me from about 19 million points down to about half a million
  2. Export from Recap to PTS format.
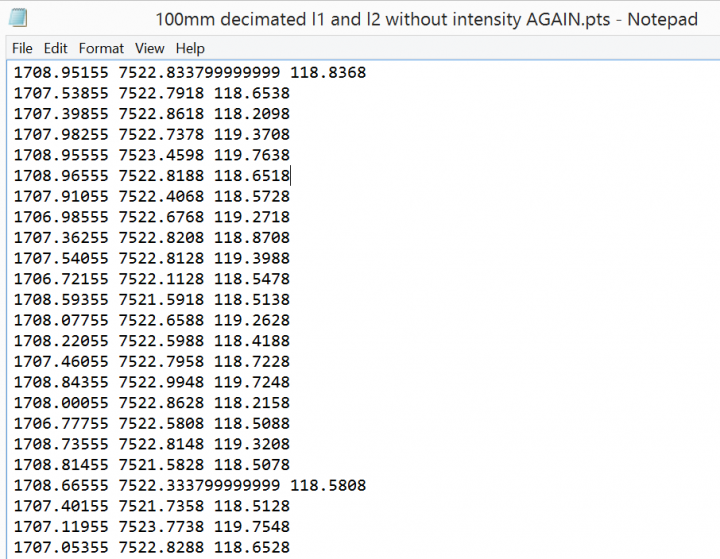
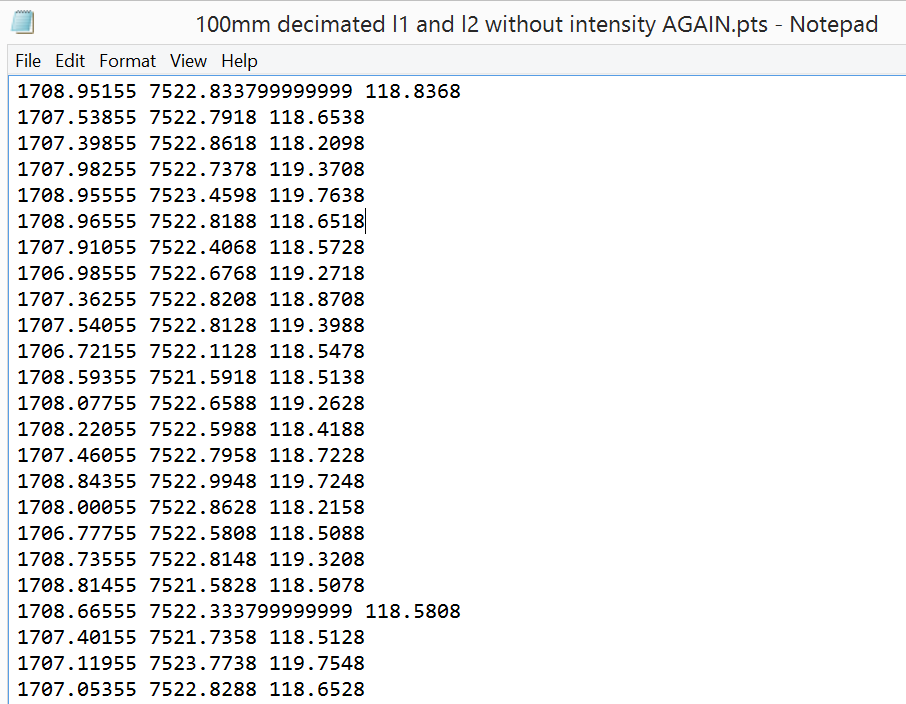
  3. Remove first line in the PTS file using Notepad++ (if necessary). The output should look something like this:

    Here is the Screencast:

    Note: steps 1 to 3 should essentially create a 3 field space delimited XYZ text file with no Intensity, RGB or Normals (sometimes called NEZ by survey people)

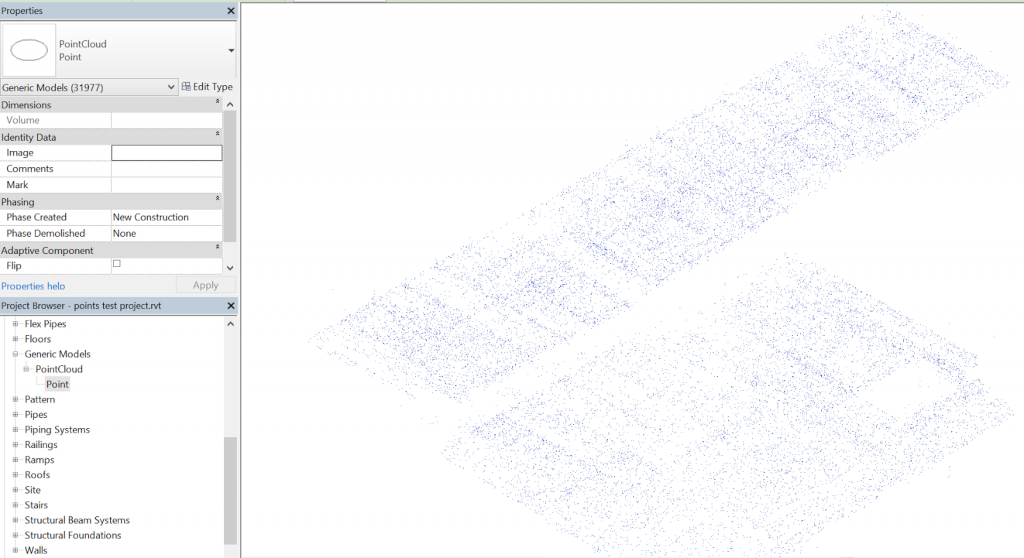
  4. Load some family called PointCloud.rfa with a Type called Point (can be adaptive or not)
  5. Use a Dynamo definition to place a given family at each location.
    One of my main concerns was scalability.. How many points / instances can Dynamo and Revit handle here? Initially, I used a method where the definition itself threw away a lot of points in a totally arbitrary manner, using a series of DropItemAtIndex nodes. This got me from about 500000 to about 120000 points, and this worked ok. I ended up modifying the node to allow for a number of ‘drops’ (from 0 to 4). Each drop throws away every second point… Finally, as I was getting all the points anyway, I thought it would be nice to have a Topography creation option. The published package can either create families at each point, make a topography, or both.
  6. Once you have generated the geometry you want from the point cloud, then Export to DWG or DXF
  7. Transmit to consultant

Here is a little readme:
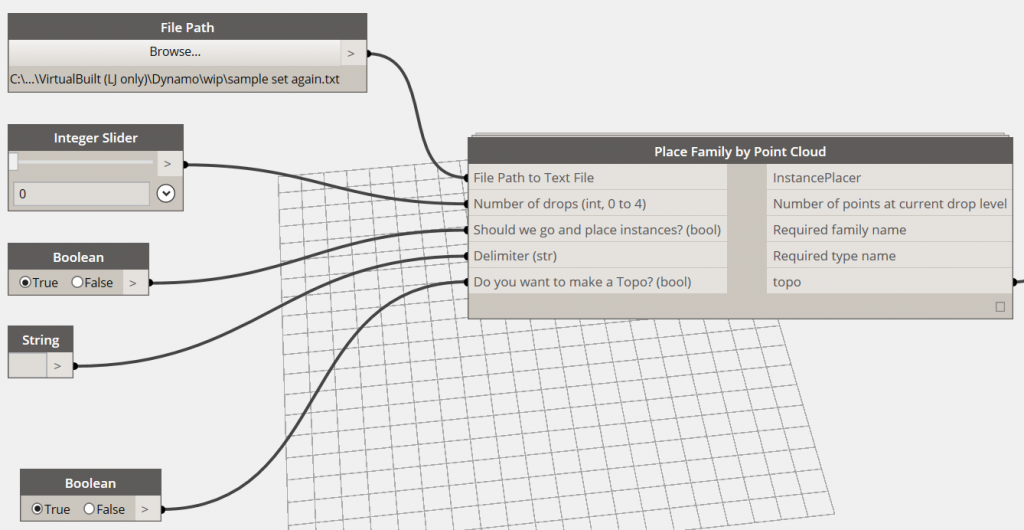
When you first load the package, you should set up the entry data types as per below:

If your text file is space-delimited (as mine was), make sure the delimiter string field actual has a Space in it.

Also, set the two booleans to False (meaning that no families or topos will be created) for the first Run, and set the drops to 4. The “Number of points” output node will give you an idea of how many points are in play at that particular drop level, like this:

If you are running on ‘normal’ system hardware, you probably should keep it to around 50000 geometry creation points if possible. On my Surface Pro 3, it could work with the 30000 points no worries, and my workstation could handle 120000 ok. So, once you have a reasonable number in that output box, you can set the go and place instances and / or make a Topo options to True. I think Revit may struggle with huge points on a Topo, but I was able to place the family instances (with a small crosshair or 3D sphere at the origin) and then export to DWG.

Keep in mind this is a very arbitrary and lossy method – point clouds were never really meant to be wrestled into geometry like this. However, it may help you in certain situations. The Dynamo node has been published but it is very beta at the moment, so of course the usual disclaimer applies: “use at your own risk”.

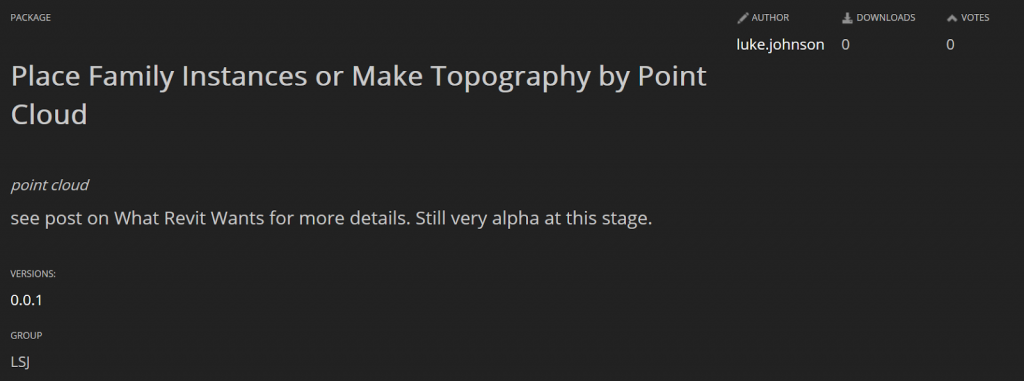
Package is called Place Family Instances or Make Topography by Point Cloud.

Sample point family for download
 
A note on coordinates and rounding:
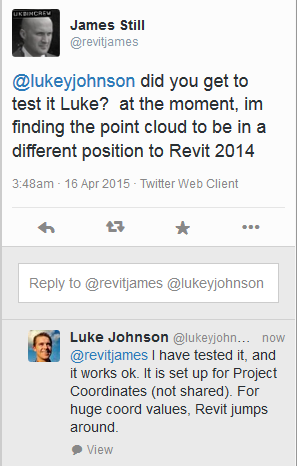
This tool currently uses project coordinates. A future revision may offer shared coordinate translation. In the meantime, you could use some reference geometry at project base point and run this tool in an new empty, linked file, then move it into place in project. Related discussion:

Also, it appears that rounding is occurring to 3 decimal places, which is not ideal. Again, this may be fixed in future.

Endnote:
I tried lots of other methods, including POINTSIN and IMPORTXYZ lisp routines in AutoCAD, but oftentimes the dataset was too big, or the input data was not what the routine was expecting.
Some other methods I attempted are below, but they weren’t too successful…
Also tried:

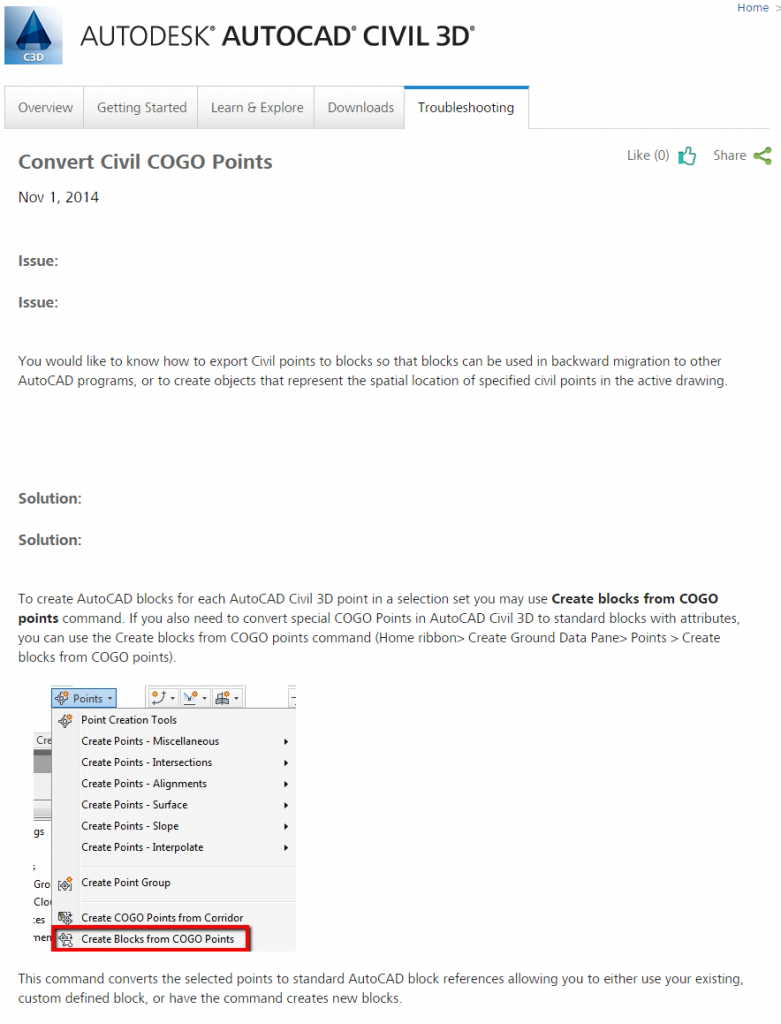
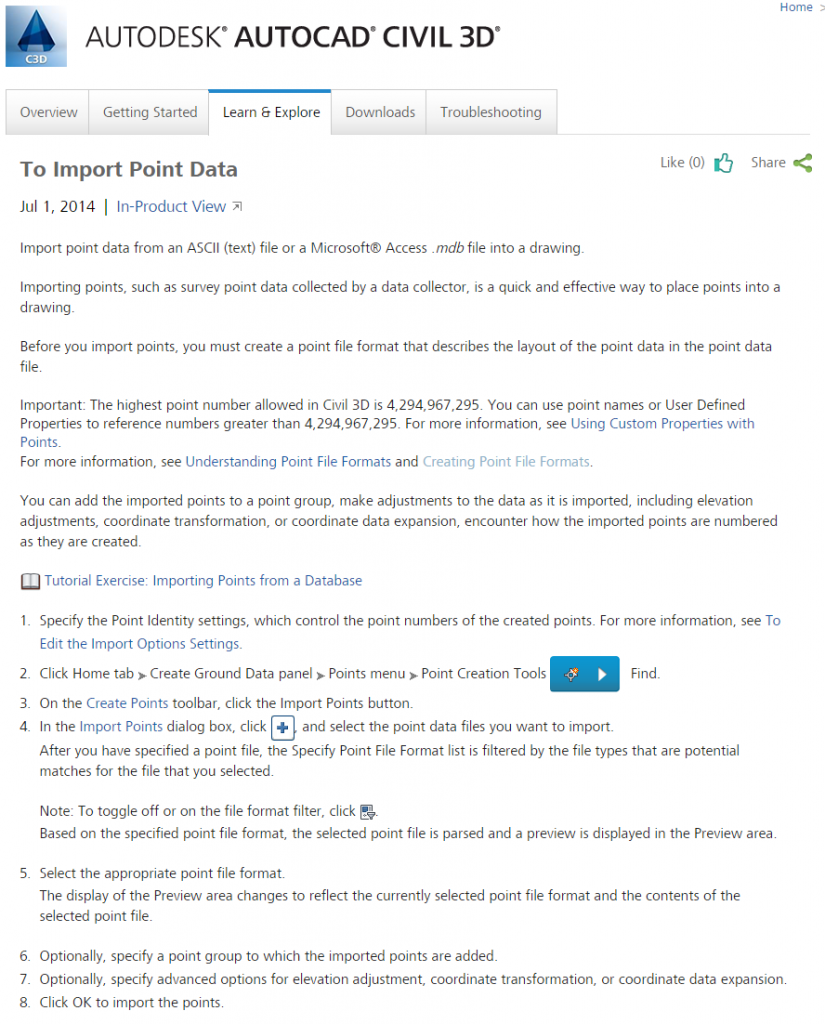
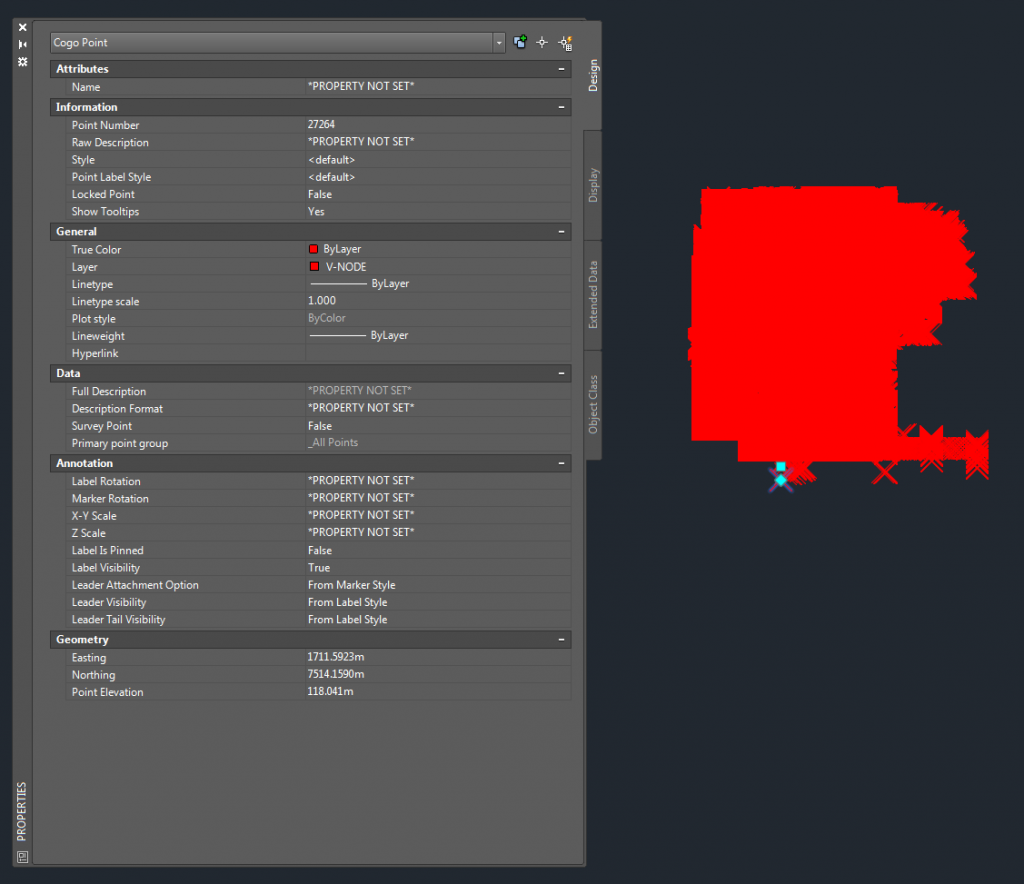
  1. Import points to Civil3D
  2. Convert Civil COGO points to vanilla AutoCAD blocks
  3. Use blocks to generate geometry

Using Civil3D to Convert Points to LandXML for Import to Tekla Structures
Another possibility:

  1. Points into Civil3D (as Drawing Objects in a Surface)
  2. Export Surface to LandXML
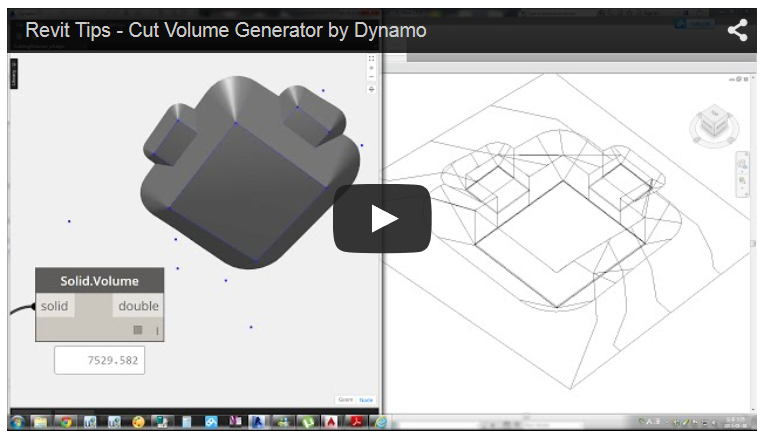
There has been a bit of strange talk around the social web and some forums lately about whether or not Dynamo is truly useful, and whether it has a real future in the BIM environment. I admit, at the moment it is still leaning to the ‘enthusiast‘ side (but only just), and I think as you read over the posts and resources I have selected below (many of them from the past couple of months), you will see that the momentum and value of Dynamo in our Revit world is accelerating. As usual, full credit goes to original posters and content creators.

The software is hardly at version 0.8 (officially)… just wait for 1 point oh!

1) Tips and Tricks

2) How about renumbering?

3) Auto create sheets…

4) Creating grids…

5) Make doors react to room size and contents…
Dynamo: More Than Grasshopper Lite | CASE

 
6) Auto section box creation…
Revit Dynamite and Ammo: Auto section box – Dynamo style

7) Make topography from images using Dynamo and Mantis Shrimp…
topo tools for dynamo | archi-lab

8) Convert Topography to Polysurface mesh for further use…
 Enjoy Revit: Dealing withTopography in Dynamo

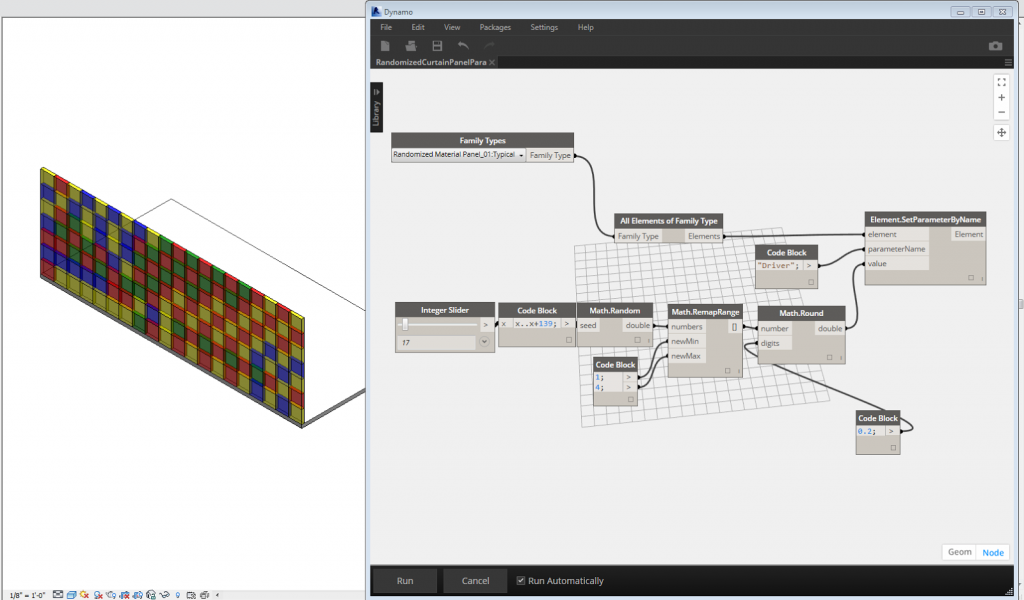
9) Randomize color and materials…
Phil-osophy in BIM: Randomize Color and Material in Revit – Dynamo Style!

 
10) Animate design iterations…
5 Dynamo Custom Nodes that can animate;

  • Number and Length Parameter iterations
  • Element Transparency
  • Camera movement
  • Element Color Ranges

 More at Animate design iterations in Revit with Dynamo | Håvard Vasshaug

11) Rooms in 3D

12) This page has a visual list of all the Built In functions in Dynamo:
http://plevit1.blogspot.com.au/2015/02/examples-for-all-builtin-functions-in.html

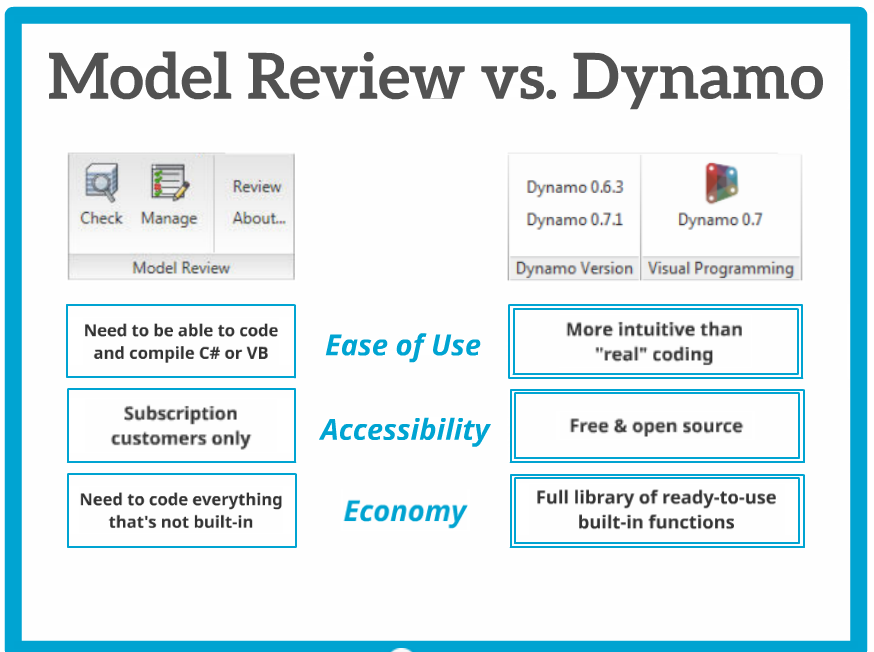
13) Using Dynamo for model quality review…


14) Visual programming for Revit
80 minute demo from one of the top conceptual designers in the business…
Dynamo: Visual Programming for Revit from Alfred Huang on Vimeo.
15) And this is more of an amusing one… 🙂

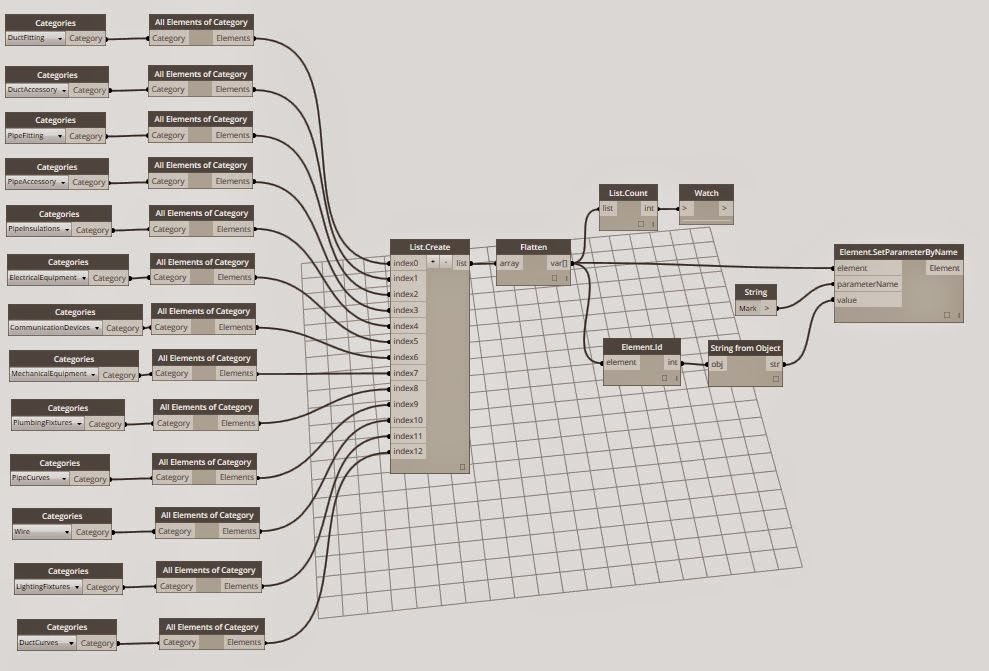
This tip comes from Troy. He has provided a simple Dynamo definition to set the element Mark to Element ID. It is very fast, and I have tested it on a fairly large data set. As usual though, ‘use at your own risk’ etc.

I posted about how Bonus Tools can handle this too, over here.

How to use it:

  1. Install Dynamo (currently 7.5)
  2. Start Revit, open a project
  3. Open Dynamo, then open DuplicateMarkValuesFromID file from here
  4. Click Run…

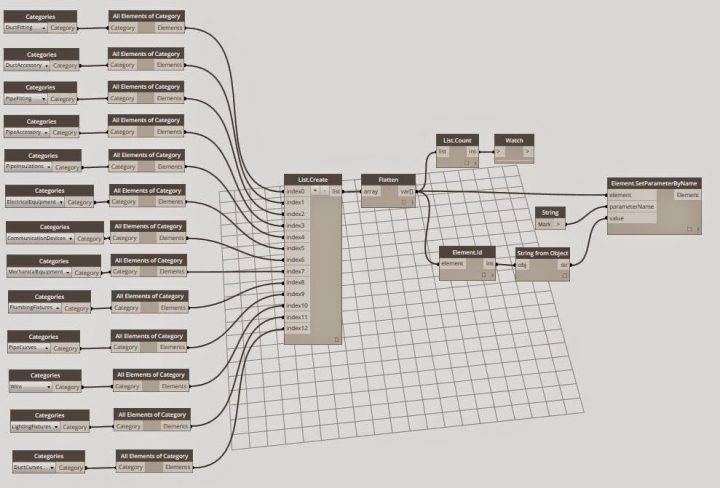
Basically, it iterates through each Category in the left most part of the diagram, and sets the Mark parameter to the Element ID. If you aren’t using Mark for anything else, this will instantly clear duplicate mark warnings for those Categories. You could expand or reduce the list by adding or removing Categories and All Elements of Category node sets.

I made a trimmed down version for one Category (Sprinklers), but you can use this to choose a specific Category if you just want to do one at a time.

Thanks to this email from Troy:
Here you go. Feel free to post it and use it as you wish. It is fairly straightforward.

At the left is all of the categories I was checking in my model (mostly mechanical and plumbing). To add or change them just copy and paste the two left boxes, then add an array to the list create. The list count and watch to the top are just there to tell me how many items are being modified. I did about 30,000 objects in all of 30 seconds in one button push.

I’m no expert with Dynamo but I just did this with a spare hour I had int he morning.

I obviously take no responsibility for any damage it may do to any projects, files or computers etc etc.

Regards,
Troy