If you have used Copy / Monitor to copy some elements from a Revit Link file, and those elements change, you will get a “Instance of link needs Coordination Review” message. How do you adopt or ignore those changes?

In the example below, grids were copied from a Revit control file. The control file has been updated, and one grid has moved. Revit detects this change, and using the process below, you can update your elements to match the changed element. Here is how…

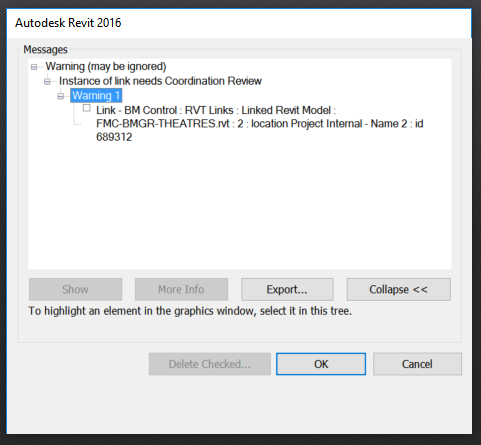
Upon opening your Revit file you will get this message:

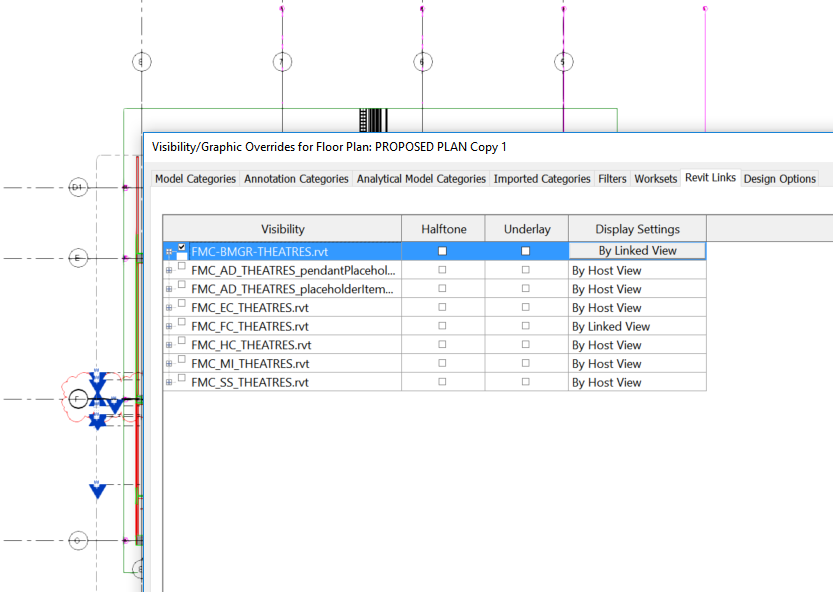
Go to a view where you can see the Link that needs to be reviewed:

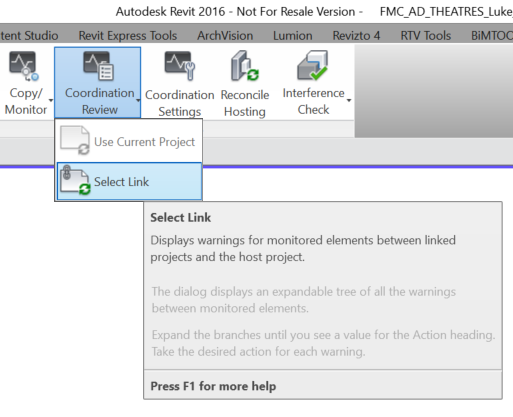
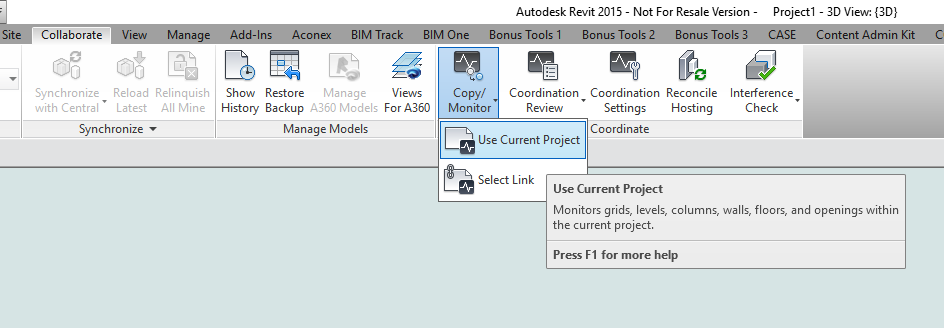
Then, start the Coordination Review process:

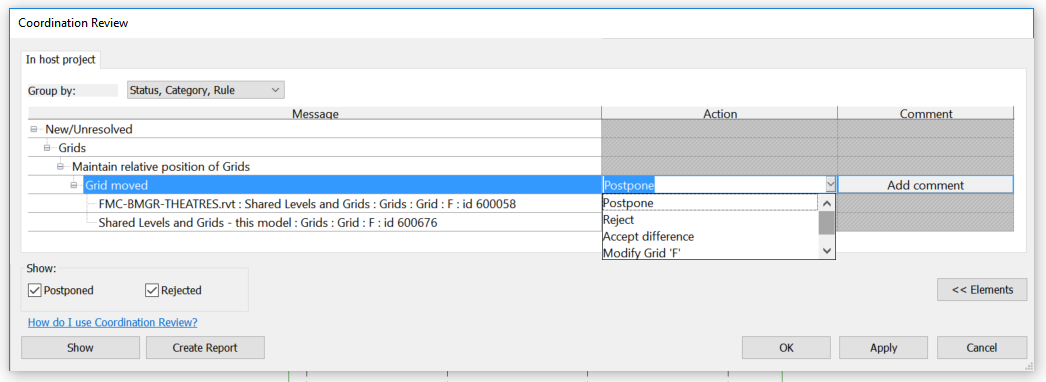
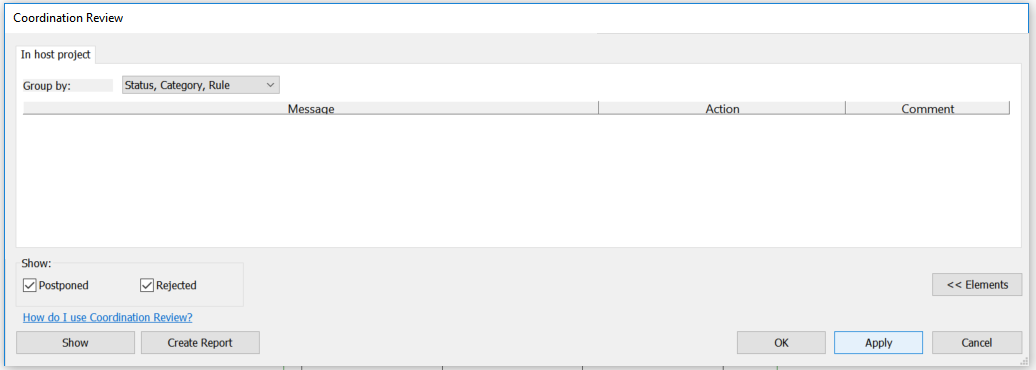
After picking the link, you will get a list of items and the potential actions:

Choose Modify if you want the element in your model to be modified to match the Link. Then press Apply.


You should now see a clear dialog box. Your Coordination Review is complete:

To do this, we can leverage a nice feature of the builtin Copy/Monitor feature. Its extremely simple, and here are the steps:

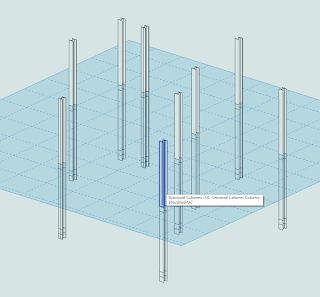
  1. Go to a 3D view and Isolate the Columns Category (so you can just see the Columns you want to split)
  2. Select all of them and Save a Selection (this is so we can cleanup later)
  3. Go to Collaborate tab and click Copy/Monitor – Use Current Project
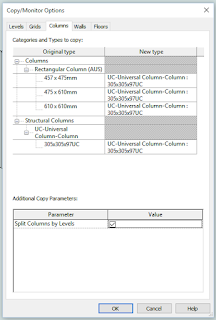
  4. Options – Columns tab, tick “Split Columns by Levels”, Ok

    split-6471593

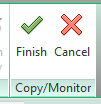
  5. Click Copy, tick Multiple, Select all the Columns, then click the little Finish button
    little2bfinish-5160561
  6. Click the big Finish button
    big2bfinish-6158795
  7. If you want to delete the old ones, load the Saved Selection from step 2 and press Delete
  8. Done!

It would be nice if there was a “Split Pipes by Level” box hiding somewhere 🙂

3ds-1335608

At various points in a BIM project, Revit models may get passed from one consultant or contractor to the next. After this handover occurs, a change in project requirements may mean that the recommended modelling practice has now slightly shifted. For example, in healthcare and hospital projects, host and nested Revit family arrangements are often used to control repeating layouts, such as in wet areas and other typical rooms.

Often, many of these nested fixture families are also Shared families, meaning they can be scheduled and accurately counted in Revit schedules.

However, what if a contractor needs access to some of these nested families in their own model? For example, what if a plumbing contractor wants to copy all nested plumbing fixtures into their own model, perhaps to add parameters or generate maintenance schedules for FM?

There are a few different ways to go here, with varying degrees of hackiness and/or gracefulness. An extremely hacky way to go might be to export IFC, open IFC to get each of these nested families as their own instances. Or, you could use Copy/Monitor. When using Batch Copy, each family gets emancipated from its original host family. It certainly should be used with care, as some things don’t work especially well… Like instance parameters aren’t really copied across, and you may end up with some duplicated elements. But for the most part, as a built-in Revit solution, it can do a decent job. I put together a brief workflow on how you might go about this process, and you can download it here.

As usual, test the workflow thoroughly before implementing it, and use at your own risk.

Oh, I wanted to mention yet another way this could be done… with Dynamo. I recently developed a solution that can free nested families for an entire rvt at once, including:

  • create new instances of all nested families of a desired category in correct locations
  • set original element IDs to original and new instances
  • set a parameter to determine if an element was ‘original’ or newly created by the script
  • rotate instances to match original
  • mirror or flip if necessary
  • copy all parameters from original elements to new instances
  • select top level elements for deletion

But that’s a subject for another post… 🙂

A recent article on gostructural.com describes the basic tools used for coordination between disciplines in Revit.  Its worth a read for “Revit coordination beginners.” 

It covers the three primary coordination tools in vanilla Revit:

  • Copy / Monitor
  • Coordination Review
  • Interference Check

Here are a few little gems from the article:
The elements that can be included in the copy/monitor process include: Levels, Grids, Columns, Walls, Floors, and Openings

Coordination Review actions:

  • Postpone: take no action on the element
  • Reject: makes no change to the element in the host file
  • Accept Difference: Accepts that a change has been made between the monitored elements but no change is needed between the elements
  • Modify/Rename/Move: If the element is renamed/moved, this option will rename/move the element to match the monitored element
  • via
    http://www.gostructural.com/magazine-article-gostructural.com-6-2013-coordinating_your_autodesk_revit_structure_project_with_other_revit_disciplines-9339.html

    Heads-up: Daniel Hughes on LinkedIn

    Have you created a heap of wall based families that you would like convert to face based?  Jarod Schultz provides a nice workaround for this.  Essentially, you Link and then Copy/Monitor the elements, then when you use the Edit Family button, Revit swaps them to Face based for you!

    “Get into a 3D view so it is easier to see your linked file and the lighting fixture. We are now going to use the “Copy/Monitor -> Select Link” tool to “Copy” in the light fixture.”

    Read the whole post at:
    Jarod Schultz: Revit Wall/Face Based Family Trick | Jarod Schultz

    EDIT

    This workflow can be used to convert any hosted Family to a Workplane based or unhosted versions, as David describes here:

    1. Place an instance of the family you want to hack in the drawing area. You can insert multiple ones at the same time;
    2. Save the file and close it;
    3. Open a new Revit file from no template. This ensures it is completely empty and Revit will thus create this hacked copy when we do step #6;
    4. Link the previously saved model into this new file;
    5. Go to the Collaborate Tab>Copy/Monitor>Select Link and pick the linked file. Once in C/M mode, click Coordination Settings and make sure that the family types you want to hack are set to “Copy Type”;
    6. Click the Copy button and pick the families you want to hack;
    7. Finish and exit from this mode when you’re done.