Going back in time, there was 123D Catch and related processing engines. Basically, it was a tool that took photos and turned them into something real in 3D. There was also something called Remake.

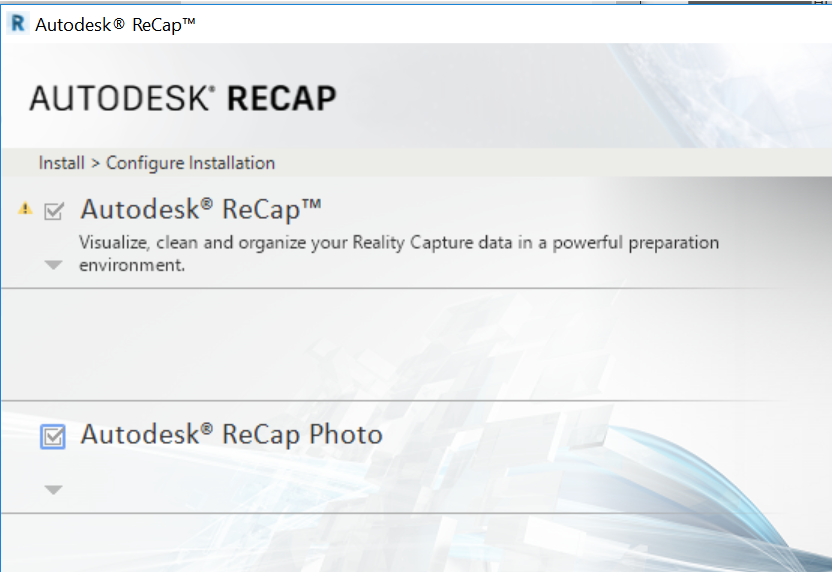
Now, we have Recap Photo, which basically does the same things. Over time, the processing engines have improved. Recap Photo is part of your Recap Pro licence, and now integrated into your Recap Pro install. It looks something like this when you install the latest version of Recap (I downloaded the web installer from manage.autodesk.com):

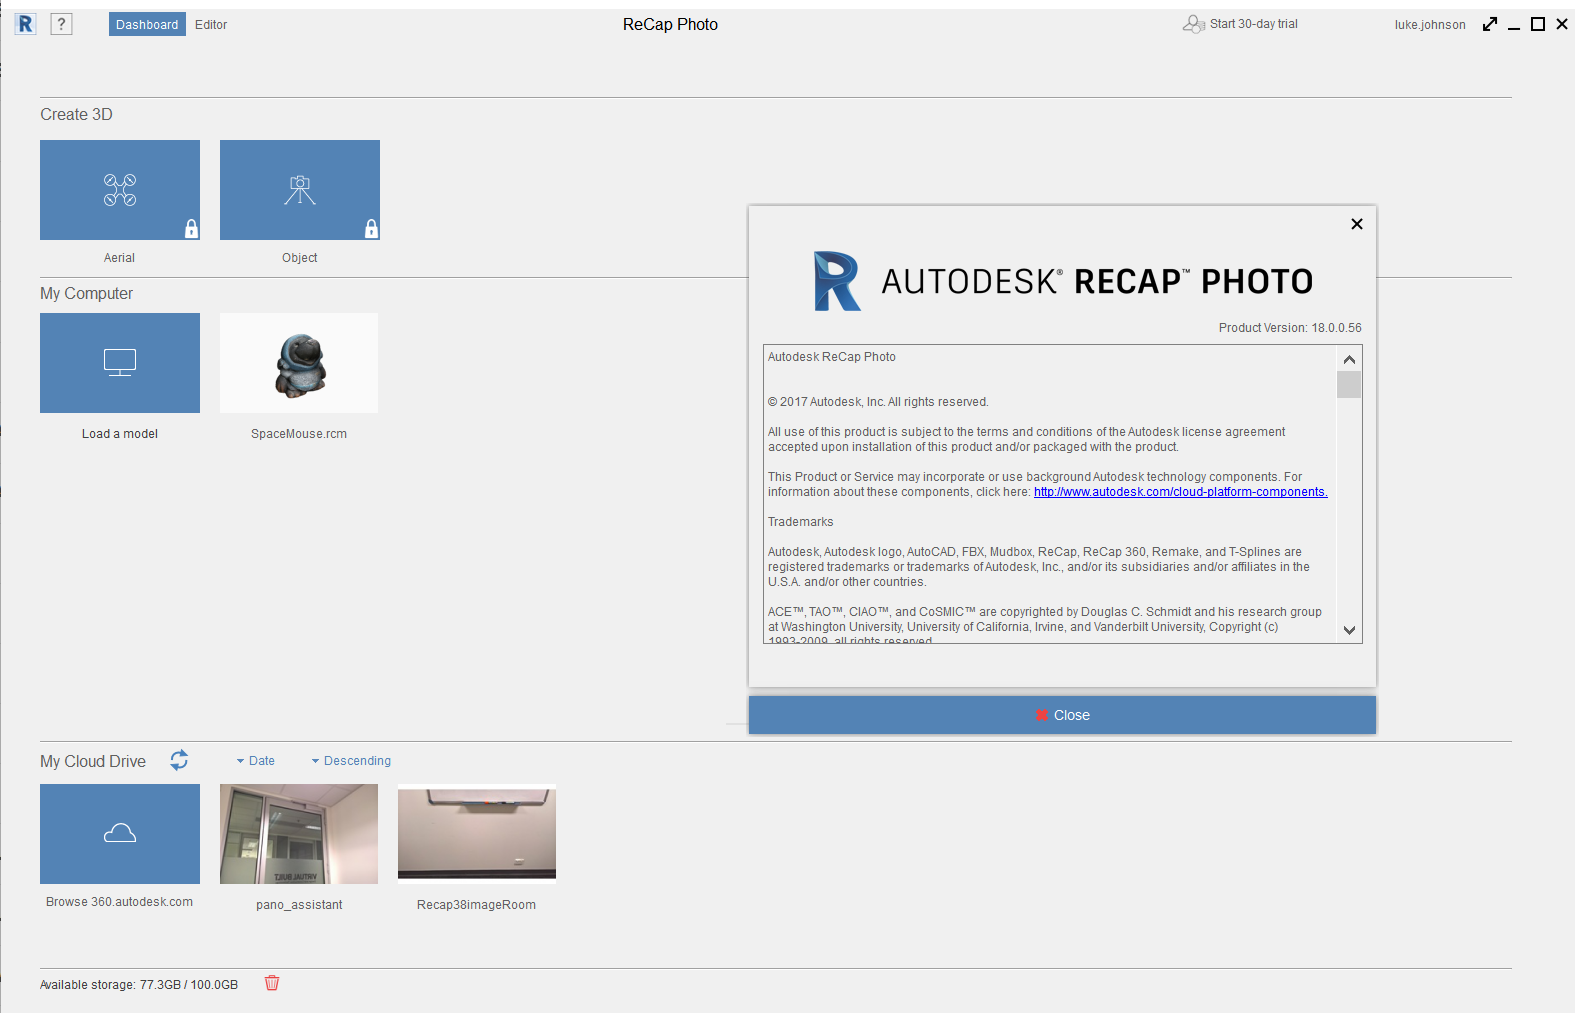
Once installed, you can start the standalone ReCap Photo app:


Features of ReCap Photo include:

  • A new photogrammetry engine that can process up to 1,000 photos, a 4x improvement from the previous maximum of 250 photos (note: using the cloud service consumes Autodesk Cloud Credits)
  • The ability to set GPCs (Ground Control Points, survey points) in any coordinate system.
  • New functionality to support vertical and nadir photos (photos taken by drones and UAVs at 90 degrees above the site)
  • View your 3D photo-textured mesh
  • View the geolocated orthographic view, zoom in and out, and add measurements, tags, and annotations.
  • Share the project, including its additional metadata (measurements, tags, annotations), with anyone.
  • Merge laser scan point clouds with UAV-based point clouds.

From this post http://blogs.autodesk.com/recap/introducing-recap-photo/

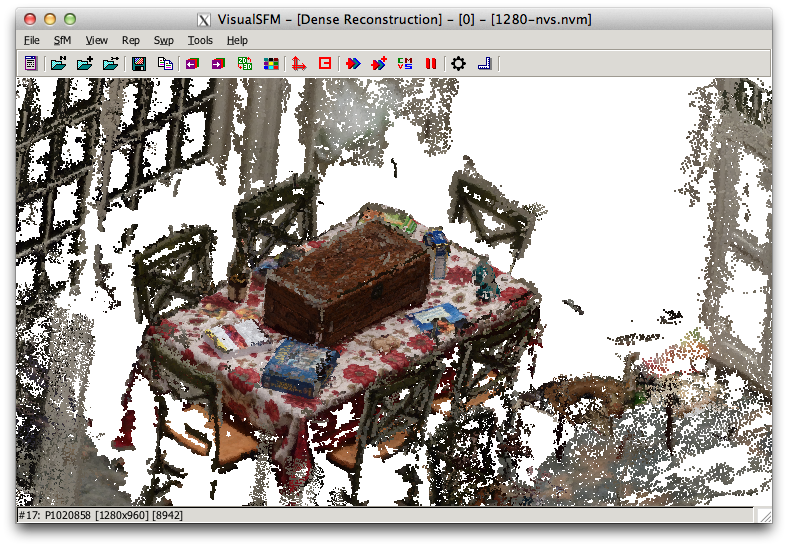
There are a whole lot of paid and open source tools out there for photogrammetry (turning photos into 3D models), and it is easy to get lost. I found a very detailed post by Jesse over at We Did Stuff. While it is a pretty old post, it still has lots of little tips along the way and if you are starting out with some photogrammetry workflows (like in Recap Photo), then this post is worth a read.


Here is a short excerpt:

Read the whole post:

http://wedidstuff.heavyimage.com/index.php/2013/07/12/open-source-photogrammetry-workflow/

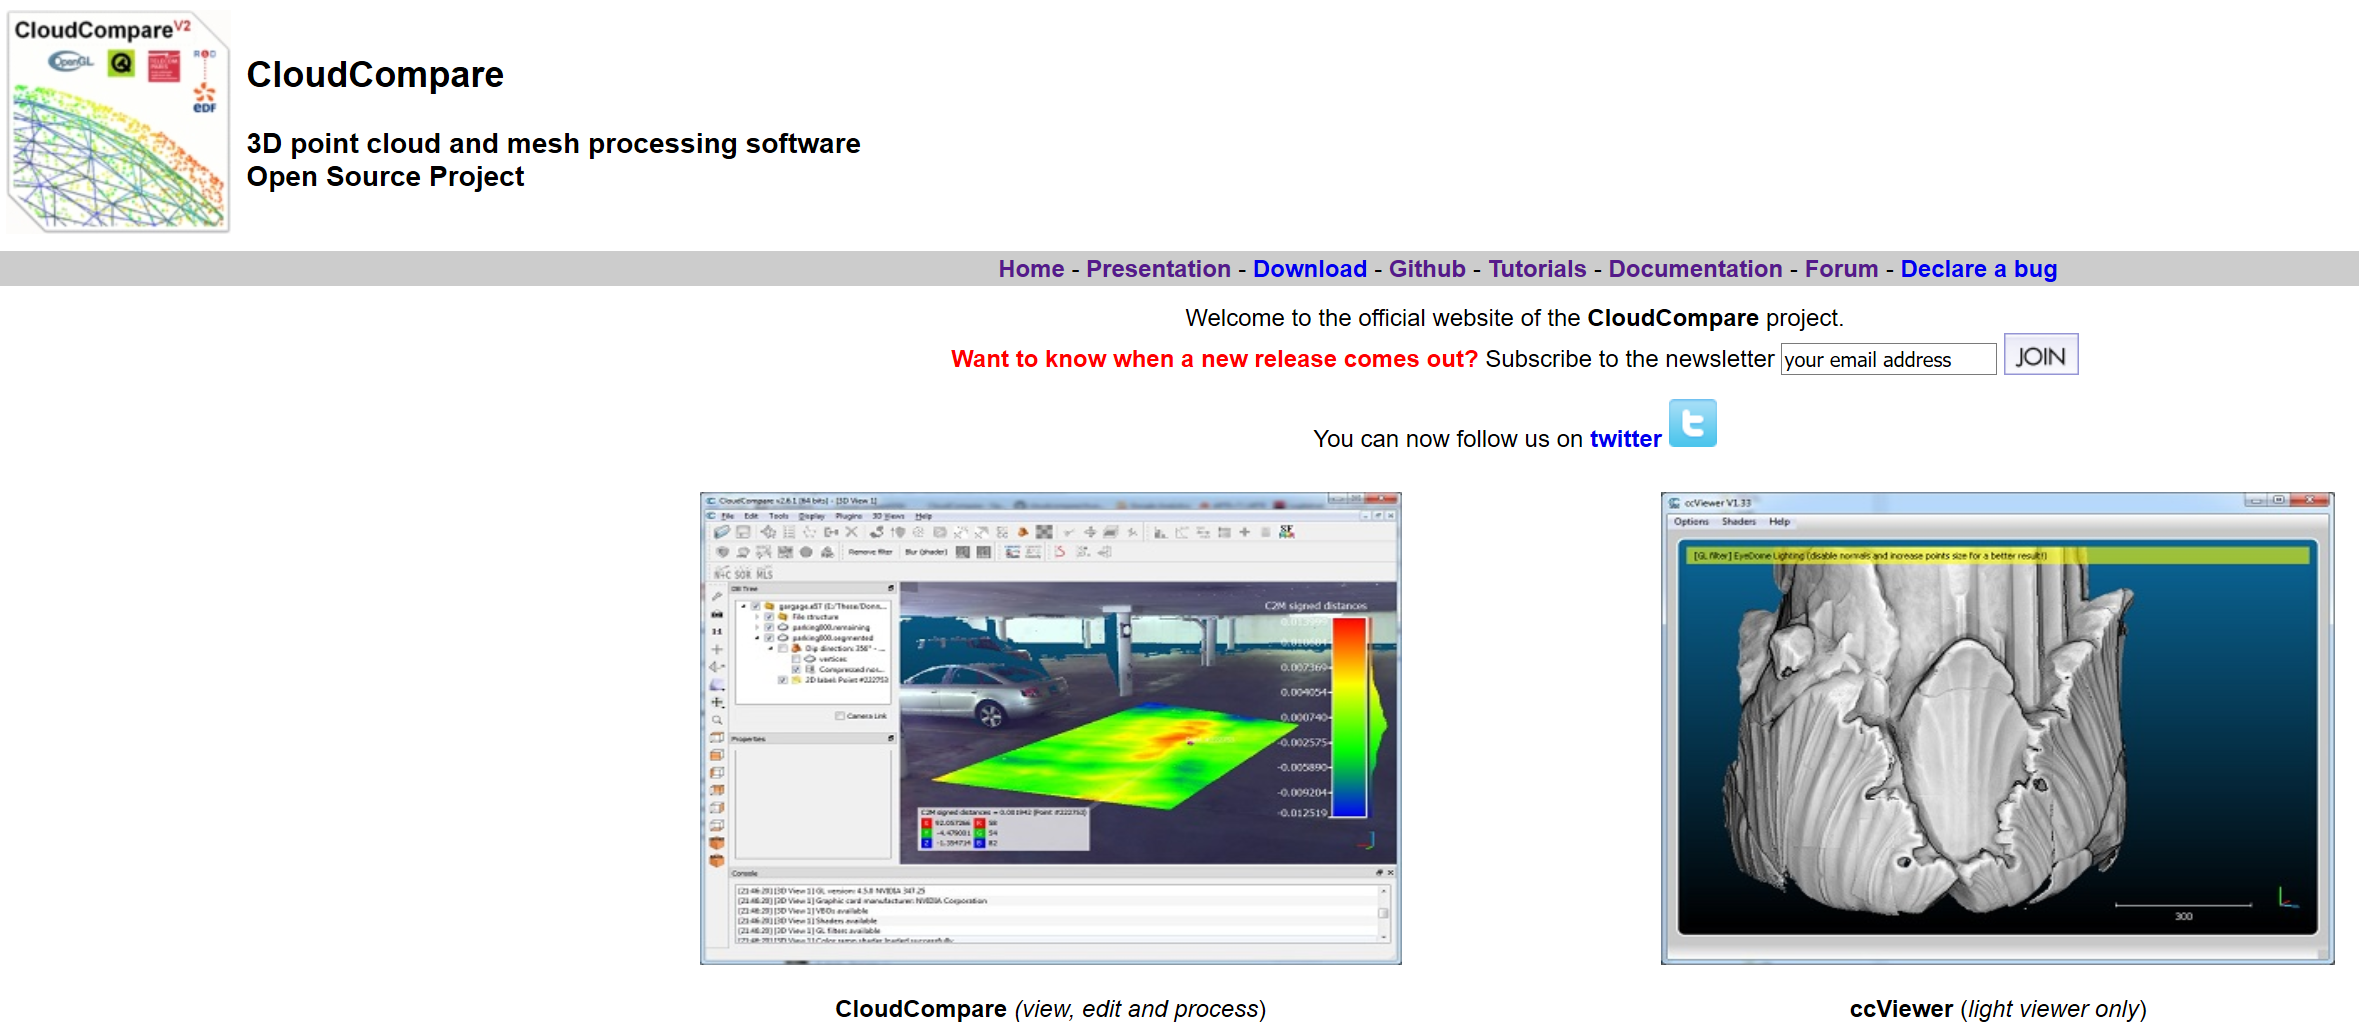
Oh, and while we are talking about open source point cloud tools, have you had a look at CloudCompare?


Cool! My Lumia 930 and Surface Pro 3 will be all happy now 🙂

The 123D family recently expanded to include 123D Catch and 123D Sculpt+ for the Windows Store. 123D Catch is also now available for Windows Phone through the Windows Phone Store. 

   
This breaks new ground on the Windows mobile platforms for 123D and broadens the availability of these powerful, free apps for anyone with a Windows device. 

For those new to the apps, 123D Catch uses the camera on your phone or tablet to shoot photographs around something, then upload the photos to the cloud where they are turned into a realistic 3D model. 

123D Sculpt+ is a digital sculpting application for tablets, allowing beginners to get into digital 3D sculpting and professionals to do their work on the go.

Read more / via:
123D Captures Windows Phones and Tablets – 123D Blog

Part of working in a BIM environment is putting together all of the little pieces that you know and turning it into a useful workflow. Do you have a 3D file, such as an FBX, that has some camera views saved in it, and you would like to convert these to BCF, perhaps for eventual import to Revit or some other application?

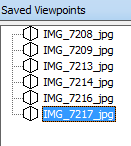
Navisworks can help here. It is pretty smart when it comes to most 3D formats. Importing an FBX will bring in camera views as Saved Viewpoints. If you have an FBX file from 123D Catch, it will contain Camera views that match the actual camera locations. Here’s what to do:

  1. Append the FBX to Navisworks 2014
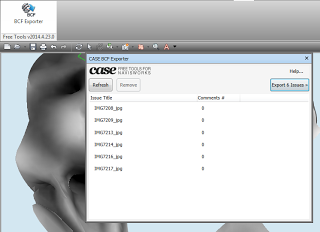
  2. Use the addin and method here to export from Navisworks viewpoints to BCF issues
  3. Import to Revit or your software of choice using the relevant BCF importer

 “used to generate a branching tree structure to support overhangs in 3D printing. The results are still a work-in-progress, but usually require significantly less material than other support structure techniques, and as the models get larger, also significantly improve print times. “

Learn more:
Meshmixer – 3D Mashups & Remixes

In related Maker news, download 123D Design for multiple platforms including desktop:
Autodesk 123D Design

Have you ever wondered how people match real world camera movement (such as from an aerial fly over) with a 3D virtual model?  Enter Autodesk MatchMover, included in various Autodesk Suites.  It essentially allows you to put a proposed building model into real life camera footage.

Matchmoving is the computation of the global 3D geometry of a scene including camera path, internal parameters, and moving object. By exporting the real 3D camera path and parameters to animation software, the position and motion of virtual cameras can be accurately established. With the motion of the virtual cameras, new, matched image sequences can be created whose virtual objects are seamlessly composited into live action footage. 

Here is a very basic example.  The Handycam was captured with 123D, then placed into real life footage at the end of this video:


More at
Autodesk MatchMover 2014: About Autodesk MatchMover

For some time, I have been looking for a way to get 3D geometry from any format, make it into a nice, Revit-friendly SAT and then use it in massing or visualizations.  Can Memento help me with this?  Answer – not really.

What it can do:

  • Import and Export formats: OBJ and RCM (Recap)
  • allows users to easily (?) fix meshes for digital use or fabrication
  • fix topology or texture issues (holes, spikes, tunnels, particles, etc.) prior to downstream use

First, download and install it:
Direct Download Link

Read more at:
Autodesk Labs Project Memento

Ok, now that you have installed it… I previously explored point cloud geometry workflows at:
https://wrw.is/2013/06/using-point-cloud-tools-to-convert-any.html

Upon opening an OBJ file, Memento will create an associated RCM (Recap mesh) in the same folder.  Here’s what I did (this is a failed workflow):

  1. Downloaded an SKP of something interesting
  2. Imported to 3dsMax, cleaned it up a bit, exported to OBJ using Deep Creator preset
  3. Imported OBJ to MeshMixer, exported to XYZ as per this guide
  4. Imported the XYZ to Recap, and used decimation at 50mm (note, there is a Recap update at http://updatesdl.autodesk.com/updates/files/autodeskrecap_sp1_for43.24_x64.msp)

I realised at this point that you can’t make an RCM file from Recap… What a pain!  So, looks like we need to make one using Recap Photo.  To use Recap Photo, upload some images to Autodesk 360.

This time, I sort of succeeded by:

  1. Importing an interesting model into Revit
  2. Making a Walkthrough that circled the object, and exported to a set of JPGs
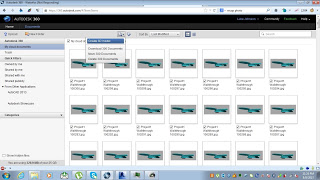
  3. Uploaded them to Autodesk 360
  4. Selected them and clicked on the little Create 3D button (only 250 images will be accepted for processing)
  5. Waited overnight for the model to process…
  6. Opened Autodesk 360 and downloaded the file .obj.zip
  7. Now, use Memento to open and edit the OBJ – and try to fix the holes in it.

My first experience with Memento wasn’t great … I was expecting a Fix All button 🙁

  1. Opened the OBJ in Memento
  2. Click find defects (middle of top of the screen)
  3. After they are found, click next or previous, then click Fix
  4. Rinse and repeat thousands of times

Note: Memento will not run on Windows XP.


Heads-up via

I rarely advertise for paid programs.  In this case, the program is still useful in Trial mode, so I’ll make an exception.

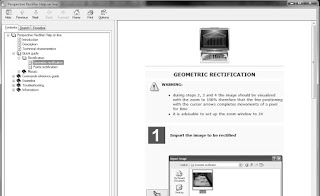
Basically, download the trial and install it.  Then open Help and go to Geometric rectification.  Follow the steps and guess what?  You can use a single photo of a building as a scaled, rectified background to help you model an existing elevation.

Unlike Photofly / 123D Catch, you don’t need a stack of images to make this happen, just one.

You can then use Export button to export a DXF file with a PNG linked in – all at the correct scale.  To bring this into Revit, I just drafted some lines in AutoCAD around the image frame in the DXF and exported those 4 lines to a DWG.  This was linked / imported into a Revit view.  Then, I placed the PNG in the same Revit view and used the 4 lines to scale the image appropriately.

The only real caveat with the Trial version is that it watermarks the image severely – but if you just want to use it as a reference, it is fine.

Download link:
Download

Company site:
Perspective Rectifier

I have spent hours trying to figure out how to take actual camera locations from 123D (Photofly) and get them into Revit as ‘real’ cameras (3D views).  I thought it would be cool to be able to use a real-life camera location in Revit, because then you would already have the existing scenery as a background image (because 123D Catch would have used it in processing the model).  This was partly in response to this comment.

Its easy to export an FBX from 123D Catch, and open that in 3ds Max – you get cameras, yay.  You can use FBXIMPORT in AutoCAD and you get the named views (cameras), yay.

However, I have not been able to find an equivalent process for Revit.  At this point, I have to admit defeat.

My big idea was to convert the FBX into IFC with view information in the schema, and then open that IFC in Revit.  Sadly, I kept coming up against problems.  AutoCAD Architecture can import FBX and then export IFC, but the 3D views do not seem to come through.

One possible workaround would to compose your presentation in Showcase – you can export from Revit to Showcase, and you can also export an FBX from 123D and bring that into Showcase too.  But I want a purely Revit way.

If you have any thoughts on how to make this happen, PLEASE comment 🙂

Here is a list of links and notes that you may find useful.  There are some really cool resources on IFC available now – read on below:

NOTES on FBX and IFC
Autodesk sign in is required on 123D Catch to actually activate the Export feature to allow exporting of FBX.

Explanation of the export formats available from 123D (formerly Photofly):

Menu Command Format Contents
saveas .3dp The 3D photo scene contains cameras, reference points, 3D mesh, reference lines, and distance measures. This is the native format for Project Photofly.
export .dwg The drawing contains reference points and reference lines.
.fbx The Autodesk FBX asset exchange file contains the 3D cameras, the photo textured 3D mesh, reference points, reference lines, and reference labels.
.rzi The ImageModeler file is a subset of the 3dp file based on what was selected at the time the photo scene was exported.
.obj The OBJect file contains the photo textured 3D mesh.
.ipm The Inventor Publisher Mobile file contains the photo textured 3D mesh and can be viewed with the free Inventor Publisher Viewer available in the Apple iTunes App Store.
.las The binary LASer file contains the 3D point cloud that was automatically extracted from the pixels of the source photographs. The LAS file format version is 1.2.

via
http://labs.blogs.com/its_alive_in_the_lab/2011/09/viewing-ipm-files-generated-by-project-photofly.html

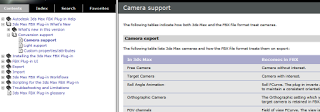
Camera Support – 3ds max and FBX

http://download.autodesk.com/us/fbx/20112/3dsmax/files/WS1a9193826455f5ff6026605b1181237e94650be.htm

AutoCAD Architecture IFC export information
http://exchange.autodesk.com/autocadarchitecture/enu/online-help/browse#WS73099cc142f4875510b13df10ec0b2c48a-7a62.htm

3D views can be export FROM Revit TO AutoCAD Architecture
http://wikihelp.autodesk.com/Revit/enu/2013/Help/00001-Revit_He0/1468-Document1468/2171-Print_Ex2171/2172-Export2172/2245-Structur2245/2251-Exportin2251

List of IFC softwares, tools and viewers
http://www.buildingsmart-tech.org/implementation/get-started/ifc-toolboxes/ifc-toolboxes-summary

IFC schema information for views (plans, sections, 3d views etc)
Context
http://www.buildingsmart-tech.org/ifc/IFC2x4/rc2/html/schema/ifcrepresentationresource/lexical/ifcgeometricrepresentationcontext.htm
Subcontext
http://www.buildingsmart-tech.org/ifc/IFC2x4/rc2/html/schema/ifcrepresentationresource/lexical/ifcgeometricrepresentationsubcontext.htm

DDSViewer – can view DWG and IFC

  • also a very easy way to open DWG and save as PDF!

http://www.dds-cad.net/132x2x0.xhtml
To get a free version of the DDS Viewer, visit the ftp server and download DDSViewer.exe
IfcWebViewer – online web viewer for IFC using WebGL
http://code.google.com/p/ifcwebserver/wiki/IfcWebViewer


Exporting cameras as .3ds files using Flame
http://wikihelp.autodesk.com/Flame_Premium/enu/2013/Help/01_Flame_Premium_–_Flame/2037-3D_Compo2037/2267-Action%3A_2267/2274-Importin2274/2276-3ds_Max_2276

Vectorworks and 3ds
http://www.scribd.com/doc/34074946/128/Importing-and-Exporting-in-3ds-Format

Showcase can import views from FBX files
http://download.autodesk.com/global/docs/showcase2013/en_us/index.html?url=files/Help_ImportSettings.htm,topicNumber=d30e2896

IFC to OBJ:
IfcOpenShell