I was approached by the creator of BIM Bicycle to assist in writing a post, check it out at:
7 Quick BIM Management Tips
Not a bad read 🙂
AI Empowered Project Management
I was approached by the creator of BIM Bicycle to assist in writing a post, check it out at:
7 Quick BIM Management Tips
Not a bad read 🙂
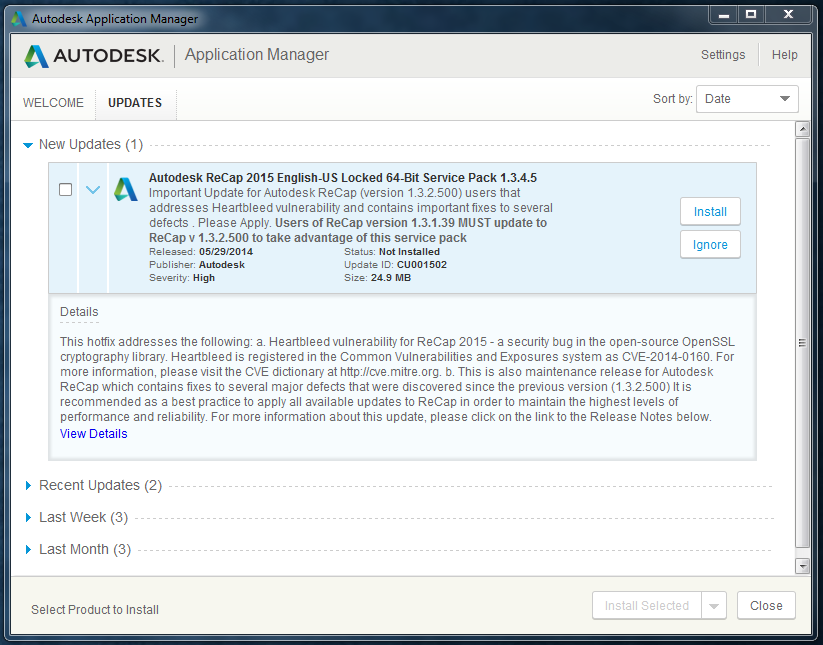
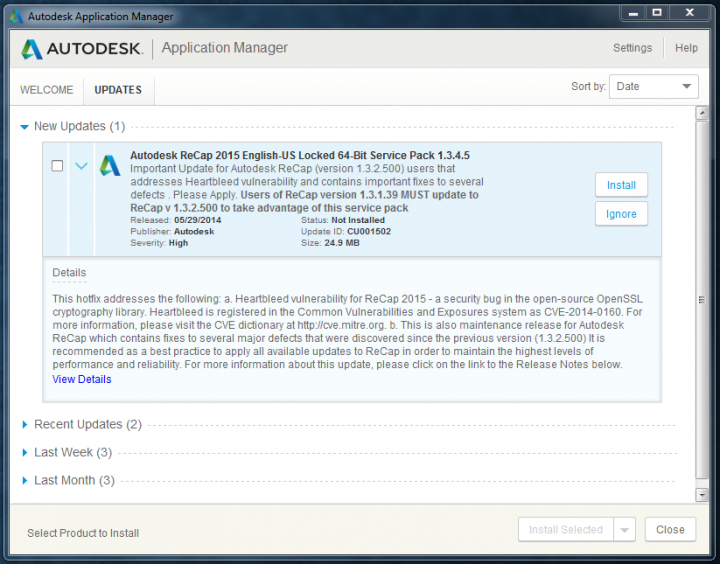
Readme:
http://download.autodesk.com/SWDLDDLM/Updates/ReCap/Autodesk_ReCap_2015_Hotfix1.html
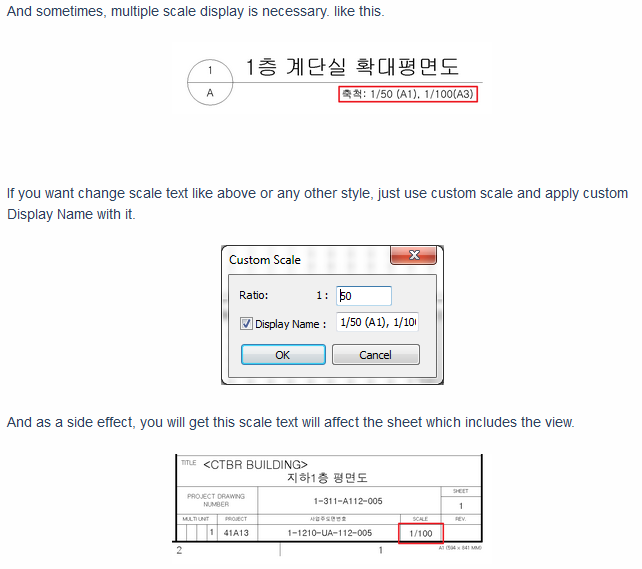
If you want to show multiple scale types or use custom text in your Scale display, you can use a Custom Scale. Check out this tip from Enjoy Revit:
I recommend trying the Explode button:
Press the structure button to browse down through the model’s assembly structure or component hierarchy. You can use this to isolate specific components in your model, hiding everything else.
After hitting reset , now try the explode button
and then manipulate the slider that appears at the top of the window to move the various model components outwards from the centre to form an exploded view.
Aside from the need to support a huge array of formats, the viewer is really good at streaming large models – displaying them at appropriate levels of detail – and allowing you to get in and work with the structure of these models.
via full post:
A sneak peek at the new Autodesk 360 viewer – Through the Interface
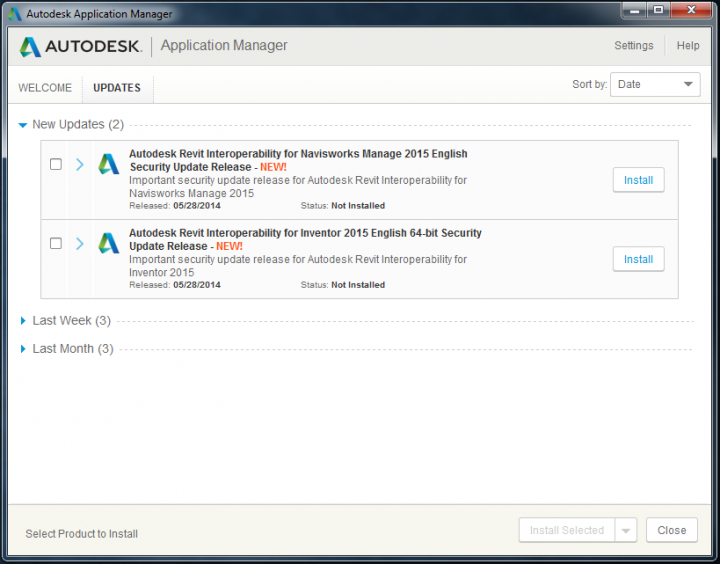
You should see this in your Autodesk Application Manager:
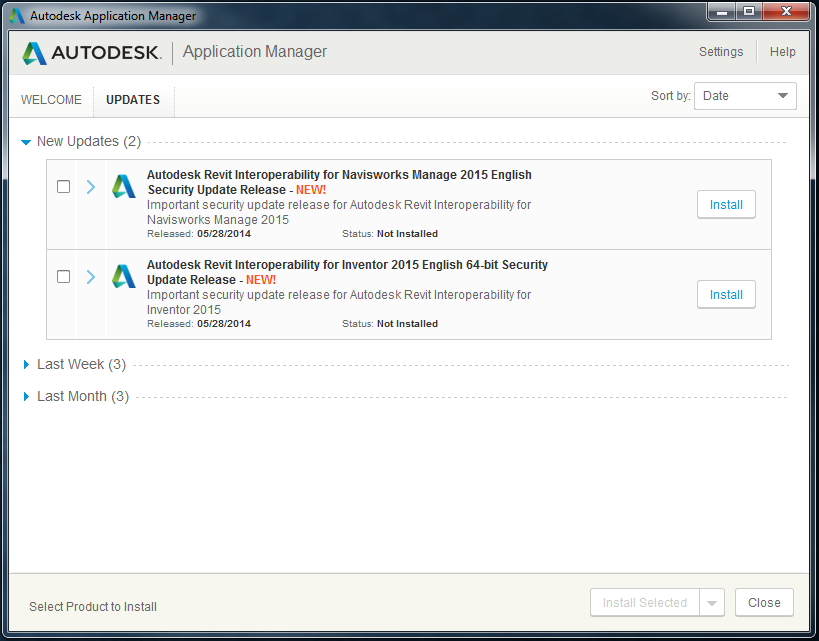
These are both to address heartbleed vulnerability. File names:
RXN2015UR2.exe
RXI2015UR2x64.exe
There is a macro at:
Finding those constraining dimensions | Boost Your BIM
As one of the reviews states, this is a “very fast” way to open and view FBX files.
New in FBX Review v1.2
Download at:
Autodesk FBX Review – Windows 64 Bit – Autodesk Exchange Apps
Or for iOS, Mac OS, Win 8 see below:


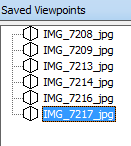
Part of working in a BIM environment is putting together all of the little pieces that you know and turning it into a useful workflow. Do you have a 3D file, such as an FBX, that has some camera views saved in it, and you would like to convert these to BCF, perhaps for eventual import to Revit or some other application?
Navisworks can help here. It is pretty smart when it comes to most 3D formats. Importing an FBX will bring in camera views as Saved Viewpoints. If you have an FBX file from 123D Catch, it will contain Camera views that match the actual camera locations. Here’s what to do:

Quotes:
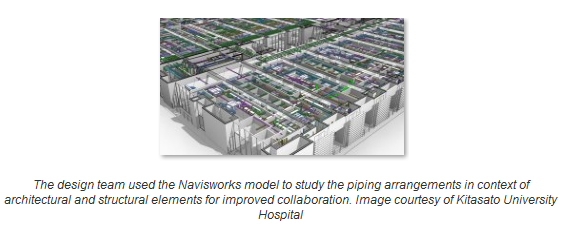
Throughout the design and construction process, the project team used Building Information Modeling (BIM) solutions from Autodesk, including Autodesk Revit Architecture for 3D architectural design and project visualization, Autodesk Navisworks Manage for whole project visualization and coordination, AutoCAD for project documentation, and Autodesk 3ds Max Design for advanced 3D rendering and animation.
…
The team also used Navisworks Manage to perform formal clash detection. “For a building with such complex functions as this hospital, there is normally a great deal of rework that needs to be done during construction,” says Fujiki. “But on this project, Autodesk BIM software helped us identify and solve coordination issues during the design process. This helped reduce the amount of expensive rework during construction-improving construction efficiency and quality, which ultimately benefits our client.”
…
The project team also used Navisworks to evaluate construction logistics. For example, models of several large construction cranes were added to the Navisworks model to study crane placement. The crane arm was rotated to check the range of the crane and identify placements that involve the least amount of rotation. “The value of the Revit and Navisworks models increased as construction complexity increased,” reflects Hosoda. “Autodesk BIM solutions provided a more thorough grasp of the whole building and had a major impact on the understanding of the workers at the site.”
Read the whole article:
78717-First Experience with BIM Proves Highly Successful for Japanese Designers Collaborating on Complex and Advanced Hospital Design
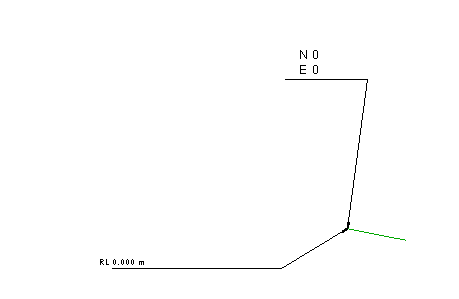
When exporting to IFC, you may find that Revit feeds the Survey Coordinates (or shared coordinates) to the resulting IFC file, when in fact you want it to be based on Project Coordinates.
If your project team is using origin-to-origin linking, it will be almost vital that you neutralize the Revit survey coordinates immediately prior to exporting to IFC.
This is quite easy:
Your resulting IFC file won’t be confused about which coordinate system to use – it should now Append to Navisworks and other software using the same origin-to-origin coordinate system as that in the originating Revit project.