Warning: some have had unexpected results, use with care.
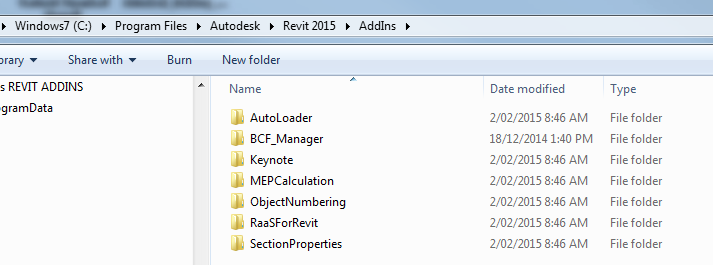
Update: one reader discovered that C:Program FilesAutodeskRevit 2015AddIns is yet another path that Revit uses. The script below has not been modified to act on that path, but if you have problems after running the tool, perhaps moving the items out of this folder to a backup folder will help. This user had the following errors in the Journal:
“managed exception occurred” and “An item with the same key has already been added” and ExceptionCode=0xe0434352
… If you are experiencing a problem with Revit starting up, it could be due to a problem with one or more of your addins. As you probably know, Revit looks in a couple of key directories for *.addin files, and then it loads your addins based on what it finds. Also, in current versions of Revit it also looks in an ApplicationPlugins folder at the .bundle folders.
I created a Powershell script that looks in each of these three folders (for Revit 2015) and then renames the addin files and bundle folders, meaning that you can then open Revit 2015 in “addin-free mode”. The script requires that you are loading addins from the default AppData and ProgramData folders.
Important note: there are two scripts that are intended to work as a toggle, and for troubleshooting purposes only. After you run the Enable script, do not run it again. Make sure you run the Disable script next.
Here is the intended workflow:
- Download and unzip the ps1 files
- Ensure all Autodesk products are closed
- Run the 1_DisableRevitAddons.ps1 script to disable all Revit 2015 addins
- Start Revit
- If it starts, you know that some addin is causing your problem
- Close Revit
- Run the 2_EnableRevitAddons.ps1 script to restore the addin and bundle folder names
You can download both Powershell scripts here
Here is a quick Screencast showing it in action:
And some sample code for the disable script:
 cd $env:ALLUSERSPROFILEAutodeskRevitAddins2015
 Dir | Rename-Item –NewName { $_.name –replace “.addin“,”.addin.disabled” }
 cd $env:ALLUSERSPROFILEAutodeskApplicationPlugins
 Dir | Rename-Item –NewName { $_.name –replace “.bundle“,”.bundle.disabled” }
 cd $env:APPDATAAutodeskRevitAddins2015
 Dir | Rename-Item –NewName { $_.name –replace “.addin“,”.addin.disabled” }
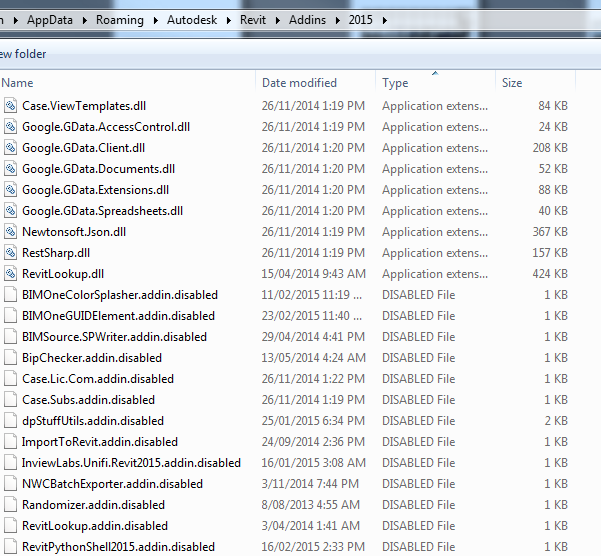
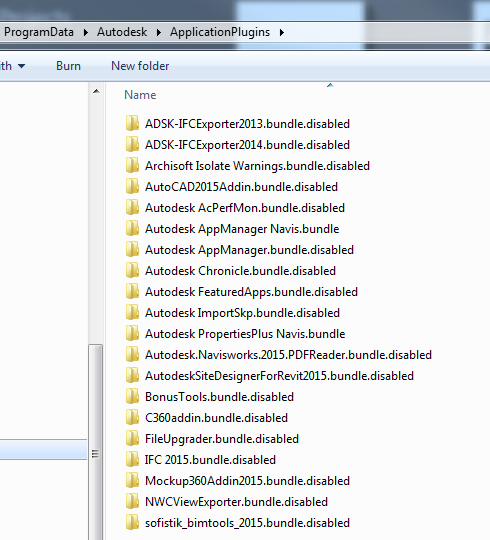
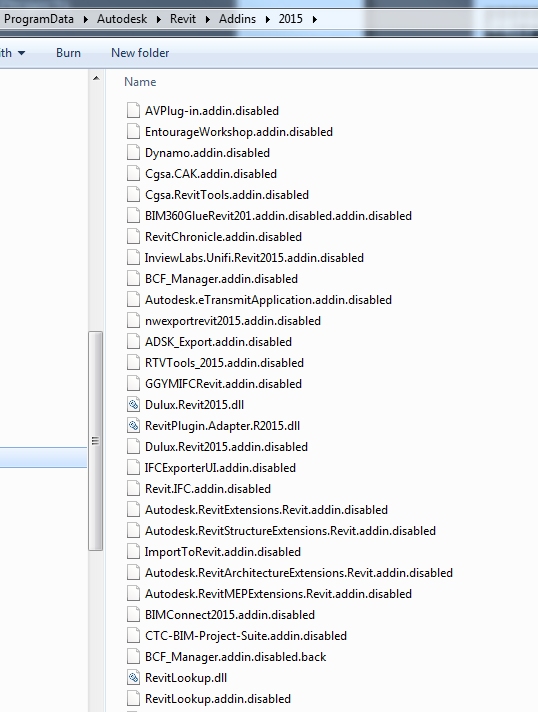
After running the Disable script, you will end up with something like this:
Important: This is an extreme troubleshooting measure, and should be used with great care. Use at your own risk!
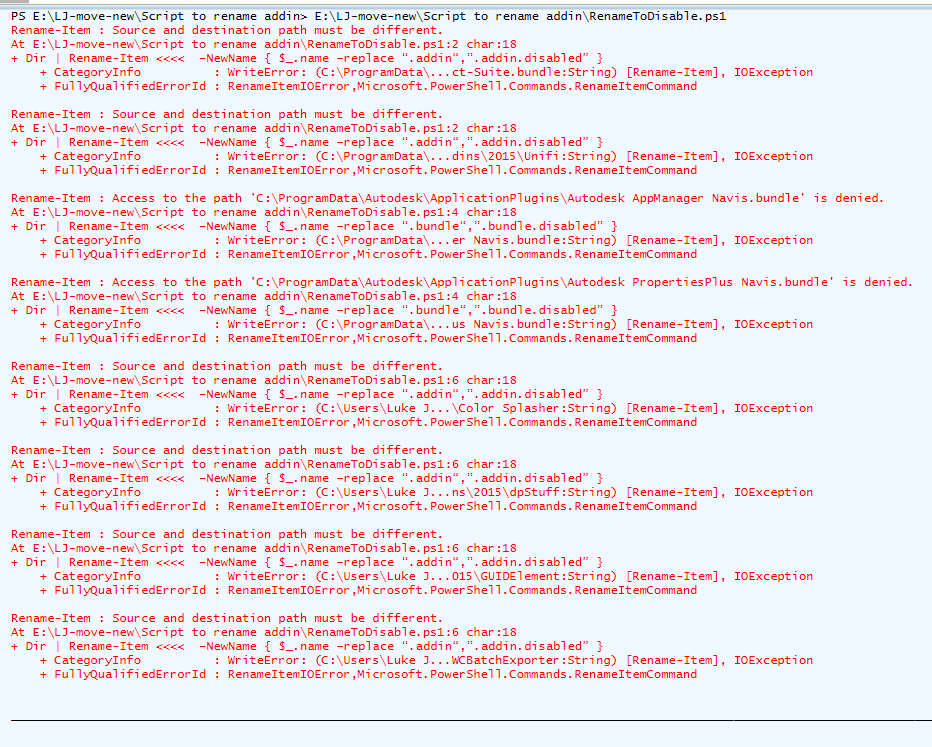
Here are some of the warnings / errors from the Powershell output. Some of these are due to the fact that I had Navisworks open and it could not rename those *.bundle folders. Various Autodesk products share the ApplicationPlugins folder, so it may have some unintended consequences on other products. Having said that, it seemed to work ok on my system.


