Yes, I’m going to do this. I’m going to write another post about a widely used term and try to untangle reality from the fiction. Let’s talk about the term “AI”… Mr Gates wrote a compelling article recently about AI Agents specifically, and even Mr Clippy got a slightly dishonourable mention. But hold on to your chatbots hats, because we are going to go right back to basics…
First, let’s define some terms related to AI.
Intelligence
The faculty of understanding; intellect.
Artificial
made or constructed by human skill, especially in imitation of, or as a substitute for, something which is made or occurs naturally;
Now, we might assume that Artificial Intelligence means something man-made that has the faculty of understanding, right? Right?
As a verb, to understand means to know or realise the meaning of words, a language, what somebody says, etc.
Now, let’s compare this with a common definition of artificial intelligence…
the study and development of computer systems that can copy intelligent human behaviour.
Or, on Wikipedia:
Artificial intelligence (AI) is the intelligence of machines or software, as opposed to the intelligence of humans or animals.
And finally, AGI:
An artificial general intelligence (AGI) is a hypothetical type of intelligent agent. If realised, an AGI could learn to accomplish any intellectual task that human beings or animals can perform.
Now, you may ask, “what’s with all the definitions?” My personal feeling is that the perception of commonly available AI tech progress is largely overestimated and misunderstood, and that the ultimate aspirations of AGI are some distance away. So what’s with all the AI hype?
A few things definitely changed in the past couple of years. Tools claiming to be AI became widespread, and the technology started to be viewed as useful and cool. Let’s start with OpenAI and ChatGPT. It took the world by storm! It has a massive budget and huge backing. But what is it really?
ChatGPT, PaLM / Bard, and LLaMa are all Large Learning Models. They consume massive amounts of data, build a kind of neural network, and then you can converse with them. But guess what? They don’t have the human faculty of understanding. They are effectively guessing what the next word should be based on context and a massive set of data and processing power. Almost all Copilot-like technology works on this basis, except you can introduce your own contextual data into the model. LLMs must be trained on data that was ultimately produced by humans when in its “most raw form.”
Is it cool? Yes. Is it useful? Sure. Can it save you time? Yep. Is it anywhere near human intelligence? Of course not. You can’t measure a faculty of true understanding based on outputs and interactions. Understanding happens on the inside. I don’t believe I’m saying anything too controversial, but I do believe we should occasionally ask the question “what level of AI tech do we really have right now?”
What about image generation, specifically text-to-image models like DALL-E 3, Imagen, and Midjourney? These actually use some variation of an LLM – the input text is converted and fed to a generative image model. That model has been trained on massive amounts of text and image data scraped from all over the place. It seems creative but isn’t it really a tool that adapts and morphs known images into some new variation? Again, they must be trained on data that was ultimately produced by humans when in its “most raw form.”
Perhaps I’m oversimplifying, but does the current global state of AI tech approach anywhere near the creativity and original ingenuity of a human? Not even close. They are powerful tools that are transformative and disruptive. But they are really Super Guess Makers. They produce contextual linear things that ultimately are a version of “the system knows billions of types of representational data, and it can try to build you something like what it already knows.”
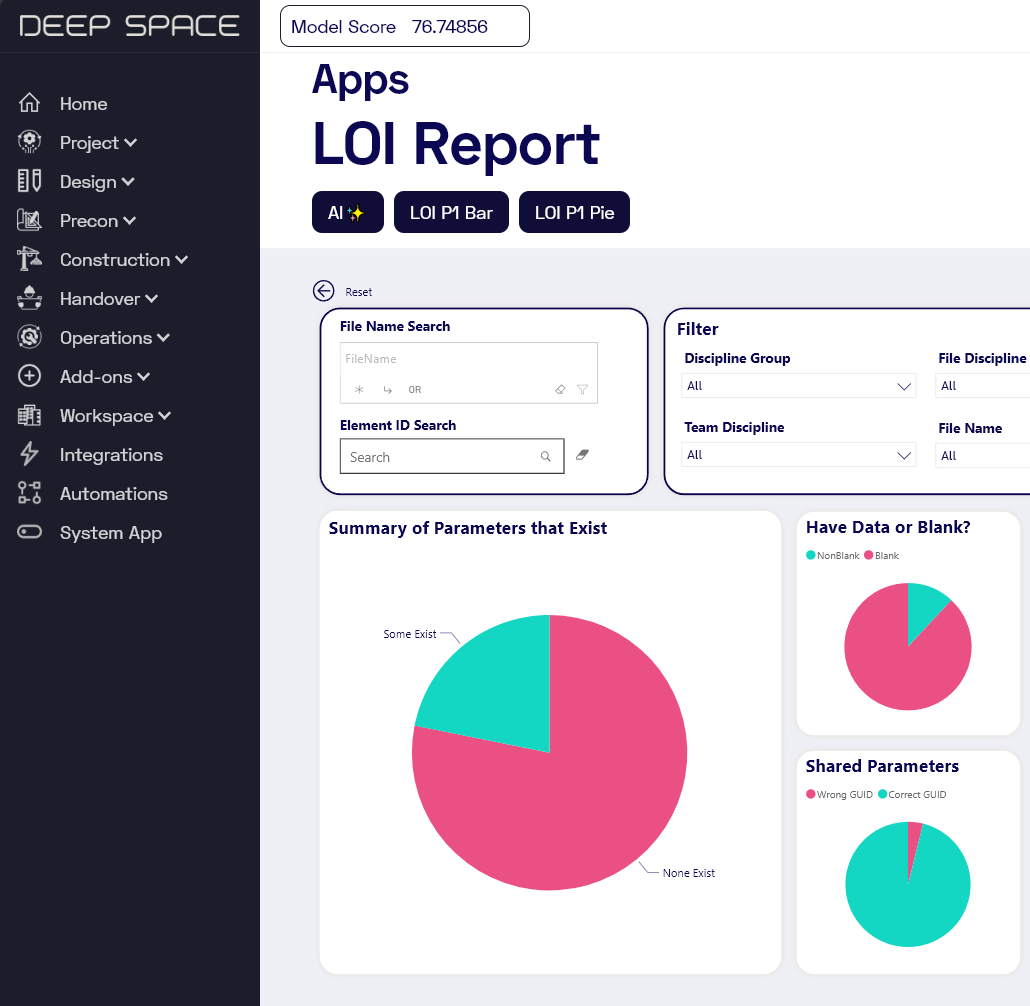
I want to introduce you to a new term. At Deep Space, we have a proprietary data framework that we call Core Thread Technology. Part of that technology framework is Embodied Intelligence. Let’s define it..
Embodied Intelligence is found when a computerised system has inbuilt comprehension of data classification, relationships, workflows, and qualitative measures. This inbuilt comprehension is encoded into the system by humans based on a depth of real world experiences, probably over decades.
Does Deep Space have AGI right now? No.
But Deep Space does have Embodied Intelligence.
We have already established that the majority of cool and powerful AI tech currently available has been trained on raw data originally and usually attributed to human agents. I believe the AI term itself is really too generous for the majority of the currently available tech. But Embodied Intelligence is a practical term that embraces the fact that there are experienced industry leaders who can legitimately train a system in specific ways to maximise productivity.
That is what we are doing for Digital Design and Construction at Deep Space right now.