Here is an interesting set of videos from Hagerman & Company, Inc.
It includes videos on:
- Key Plans in Revit
- Keynoting with Note Blocks
- Floor Finishes using Parts Tool
Check them out at:
Hagerman videos – YouTube
Playlist embedded below:
AI Empowered Project Management
Here is an interesting set of videos from Hagerman & Company, Inc.
It includes videos on:
Check them out at:
Hagerman videos – YouTube
Playlist embedded below:
For example, there is this 2002 course on Computational Design for Housing, and you can download a ZIP file containing all of the Study Materials.
A few other courses of interest:
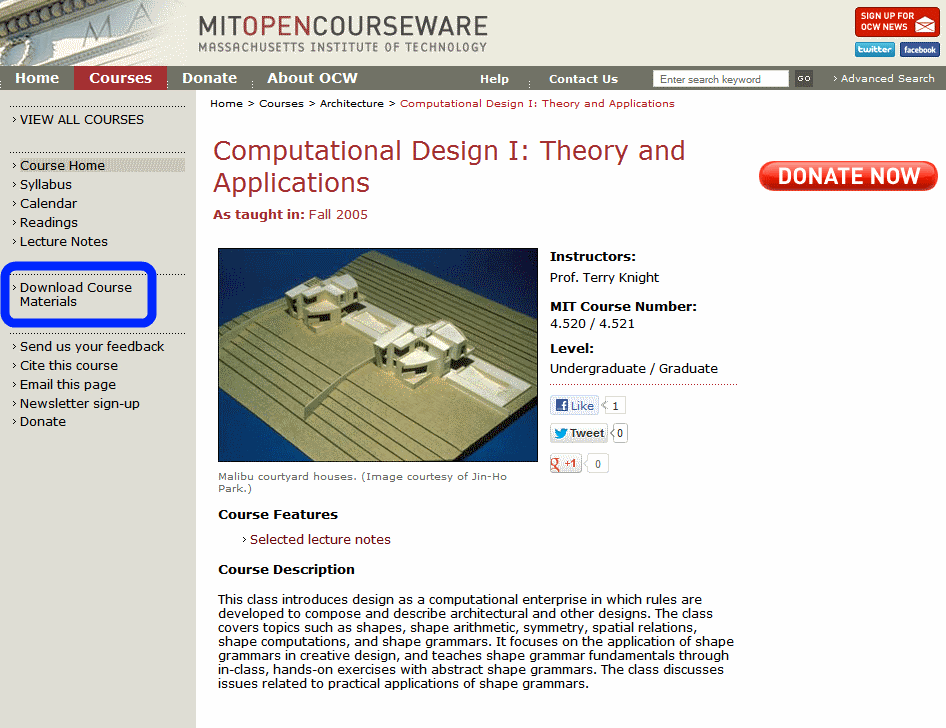
Computational Design I: Theory and Applications, Fall 2005
Inquiry into Computation and Design, Fall 2006
Drawings & Numbers: Five Centuries of Digital Design, Fall 2002
Just click on the Download Course Materials link in the left sidebar of any of the OpenCourseWare pages to access the ZIP package for that course:
Check out more architectural courses at:
Architecture | Courses | MIT OpenCourseWare
Masking can be a real pain in Revit. Sometimes you just want to hide some bits of geometry on multiple views, but it is difficult to actually model what you want in 3D. So you may resort to Masking Regions in Detail Groups, Copy-Paste Aligned – but all of that is suboptimal.
Today there was a great tip on Masking in multiple views over at Shades of Grey:
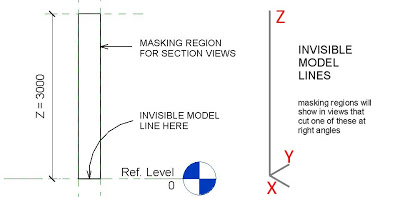
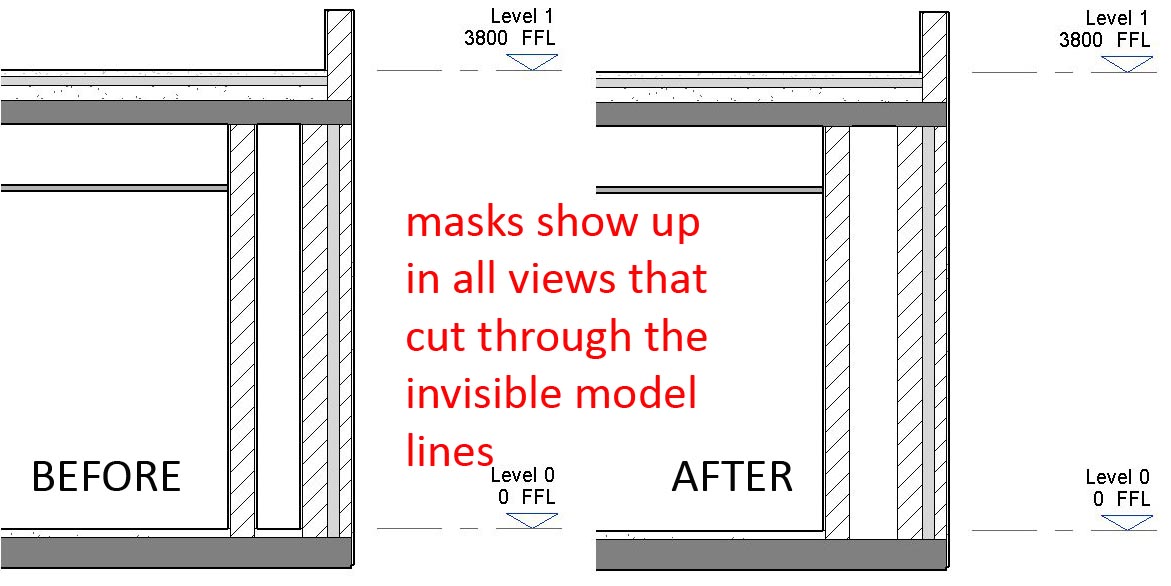
I could use a masking region, but this is like going back to CAD drafting … separate regions in each affected view. What if I place the mask into a generic model family? If this family has a vertical model line (use invisible lines) the masking region will show up in any plan where the cut plane intersects the model line.
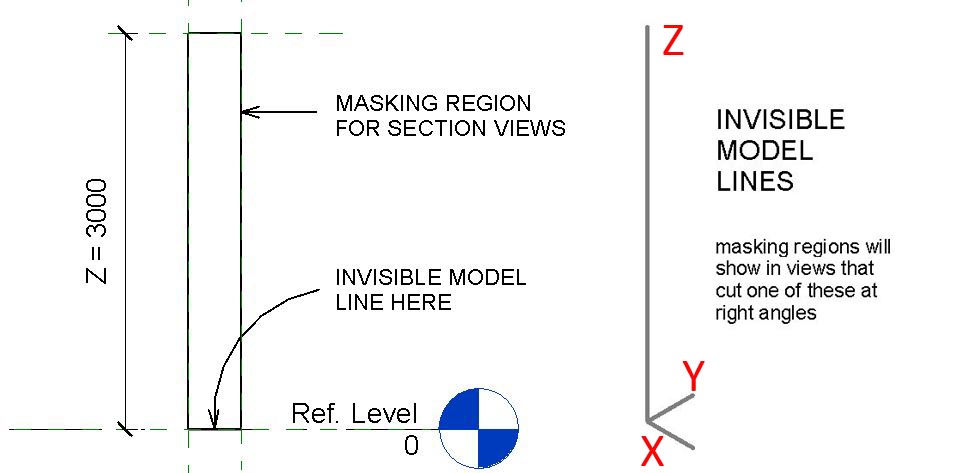
Extending this idea into 3 dimensions I can create a family with 3 model lines (X,Y,Z) and 3 masking regions. Give it instance parameters to control the size of this “virtual box” and it will mask out the finish layers for any view that cuts through the duct at right angles.
Read more:
Shades of Grey: MACAVITY UNMASKED
I’m a big fan of Keyboard Shortcuts. Revit, Windows, AutoCAD – I believe they are all faster when you use keys instead of the mouse alone. I have previously posted about Revit keyboard shortcuts on various occasions.
However, this little utility is centred around teaching you the Windows and Microsoft Office keyboard shortcuts that will help you most …
Download and install Keyrocket
(direct link)
Run it by pressing Windows+K
You can easily search through keyboard shortcuts for various programs.
It will give you little tips from the tray when it thinks you could use a particular shortcut.
via
Learn Windows and Office Keyboard Shortcuts the Easy way • Raymond.CC
There are a number of lists provided in a recent KnowledgeSmart post – these basically summarise the main problems people are currently having with Revit. Things like:
• Resetting Shared Coordinates (when they go wrong – which they do!)
• Use of Copy Monitor & Limitations
• Use of Phasing & Limitations
• Managing Project / Shared Parameters
• Wall / Window / Door layer clean-ups
• Managing who draws / owns cross discipline elements such as Ceilings / Slabs / Stairs
So… all of you bored Revit bloggers out there, now is the time – pick something on one of these lists from this post and Wow us with your expertise and brilliance…
You need to move your Stand Alone Autodesk license to a new computer, either permanently or temporarily.
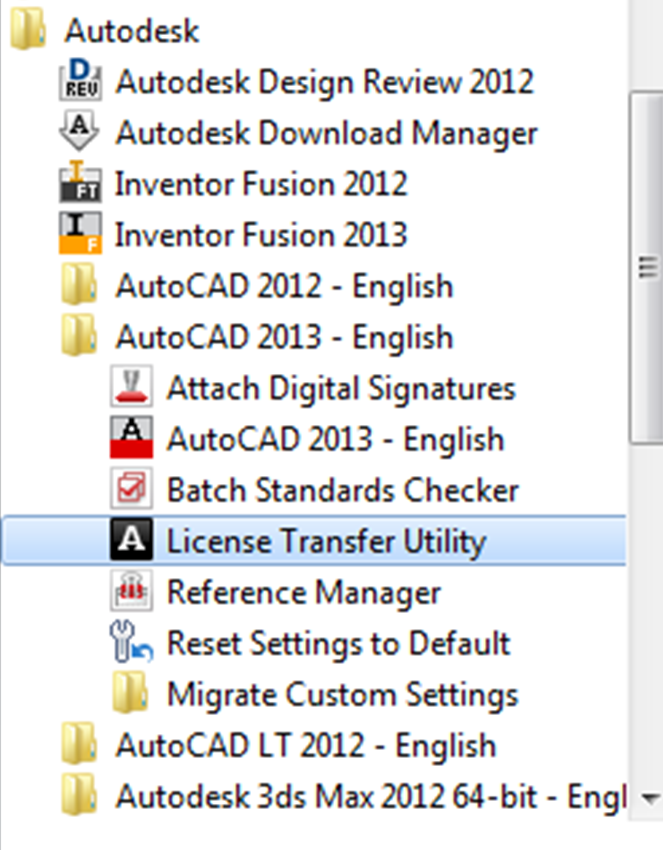
Most Autodesk products (including those available for Mac) include a tool called the License Transfer Utility (LTU) that enables online license transfer of stand-alone licenses from one machine to another over the Internet.
Note: The LTU is only available with our 2010 and later products. If you’re using a 2009 or earlier version, use the Portable License Utility instead.
Read more at:
How to Transfer Stand-Alone Licenses Online
This is so funny! One Raspberry Pi to receive your text input and display it on an LCD, another to capture the webcam image and stream it back to the web…
Sometimes live here:
Raspberry Pi Webcam
How he did it:
http://jeremyblythe.blogspot.co.uk/2012/05/raspberry-pi-webcam.html
BTW, if you don’t know what a Raspberry Pi is, go here.
Its just something that Revit does not Want:
NET USE * /DELETE /Y
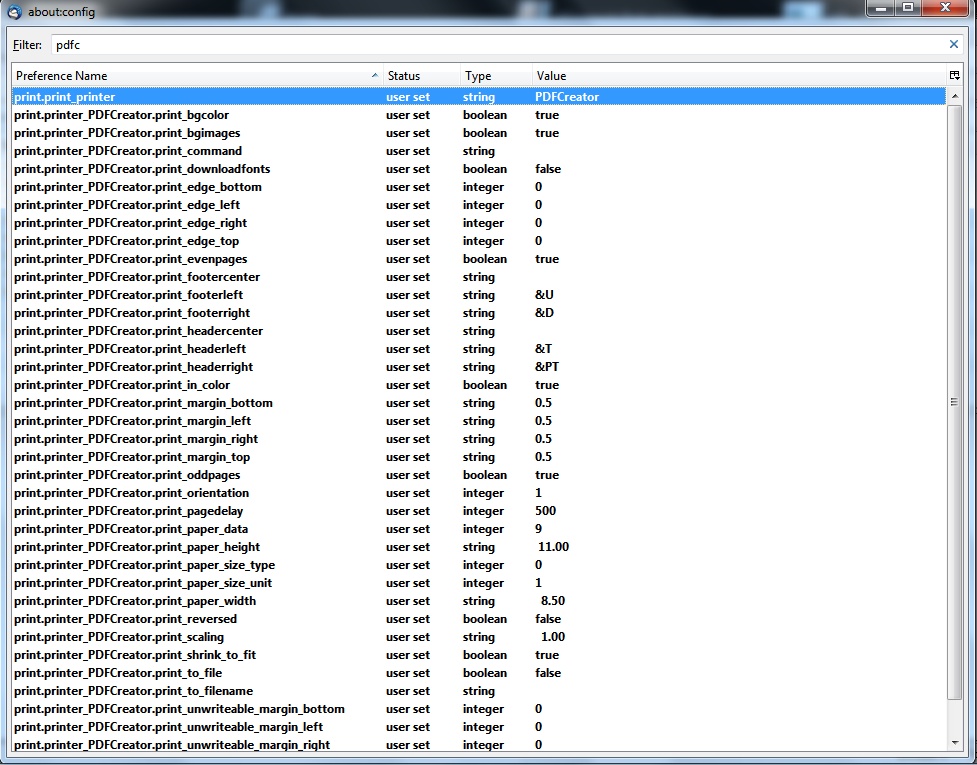
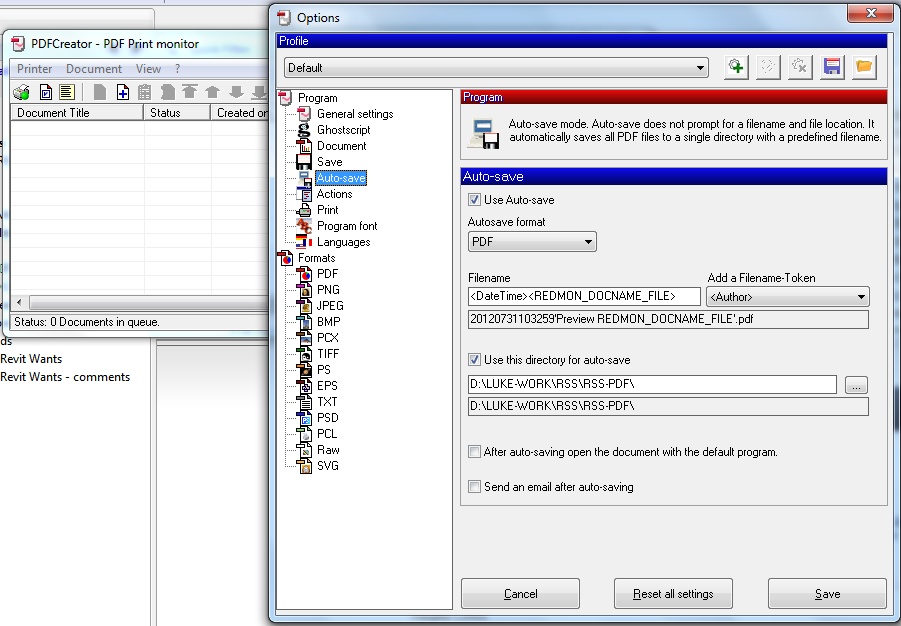
I previously posted about my large library of archived Revit blog posts. I then got a request from Mr Stewart to shed some light on how I automate the RSS to PDF process. It is a lengthy process, and I’m sure there are easier and better ways, but here is how I did it:
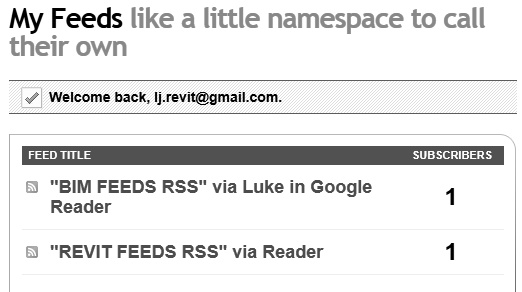

Here is an example of the kind of PDF output I get – link here. The formatting is perhaps suboptimal, but most images are retained and the text can be indexed by a search program like Google Desktop.
Graham’s message:
Graham H Stewart BIM Associate at Ramboll UK
To: Luke Johnson
Date: July 11, 2012
Hi luke
Seen you blog regarding automation of rss feed via PDF
. Can you shed some light on this as I would like to know more
Cheers
G
#livefromitaly
Sent from LinkedIn for iPad
Another request I received was about how I sort and organise all the info I collect. I will add some info on this later: