There are at least three reasons why this is a great product:
- the new driver package, which provides an onscreen display for the quick selection of shortcuts using the SpaceMouse Wireless. They call it the “Radial Menu”. You can customize the Radial Menu to take the place of traditional keyboard shortcuts (but there is a still definitely a place for the higher end pro devices, as you cannot use “multi-selecting” keyboard modifiers like Ctrl or Shift (which you can find on SMP / SPP) via the radial menus as you can’t “hold” them on the radial menu while navigating with the cap)
- wireless tech combined with 6 degrees of freedom for 3D editing
- the competitive price point (more accessible to many users than the SpacePilot Pro)
Let’s just say that I have already ordered mine…
Documentation:
Press Release
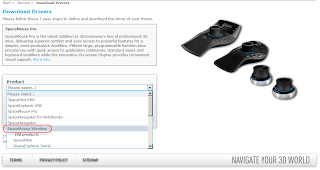
Drivers:
Release notes
According to the release notes, 3DxWare64: includes all x64 (64-bit) Windows driver and plug-in software for all currently supported 3D except SpacePilot Pro.
Note: if the above underlining was too subtle, you can download and use this new driver package and get the “Radial Menu” with your current 3Dconnexion device!
You can also use the driver page at:
http://www.3dconnexion.com/service/drivers.html

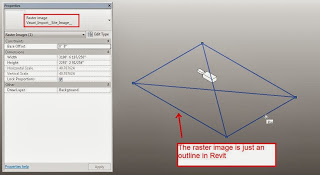
Product Images: