The second post in this series is focused on the Project Browser. The first post in the series described how to get your user interface and lab environment ready…
Note:
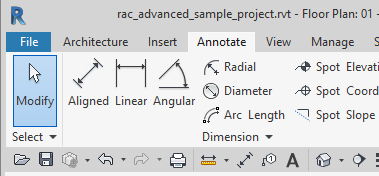
Please open Revit, and open the rac_advanced_sample_project.rvt
Please download and import the supplied KeyboardShortcuts.xml
You can download the rac_advanced_sample_project here
Let’s learn about the Revit Project Browser…
If we use the Project Browser effectively, we will be better and faster at Revit.
Search:
- Use Project Browser Search – always
Search Exercise:
- Switch to Site view
- Search for “shrub” in the Project Browser (right-click to start the search command)
- Place some more Planting around the carpark
Keyboard shortcut tip: try pressing Q for Move
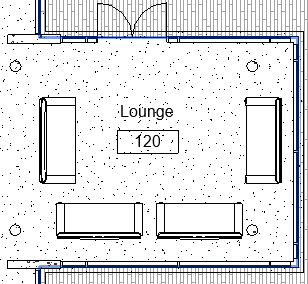
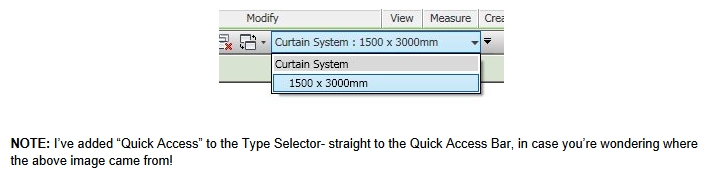
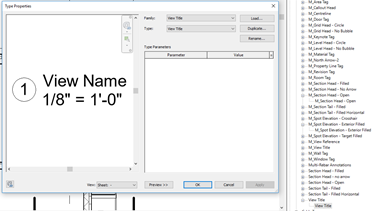
Type Properties:
Type Properties Exercise:
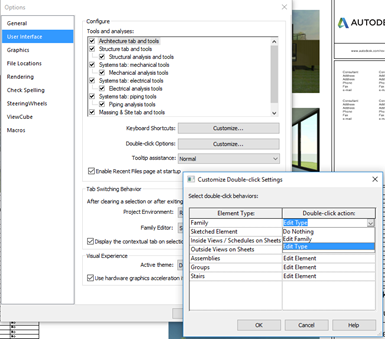
- Right-click on a Type in the PB to get to Type Properties…
- Try it for a shrub type
- Edit the Height
- Remember: we can double-click on the shrub to jump to type properties
Family Preview:
Notice the Preview for supported types!
Click Preview button next to a Shrub type to try it
Surprising how many families are supported with this preview feature…
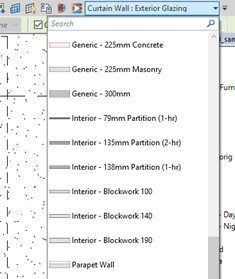
Type Deletion:
Right-click on multiple Types to Delete them all at once:
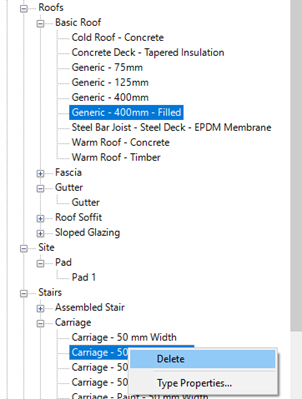
Type Deletion Exercise:
- Try selecting Roof – Steel Bar Joist – Steel Deck – EPDM Membrane
- And
- Stair – Carriage – Carriage – Paint – 50 mm Width
- And deleting both types at once
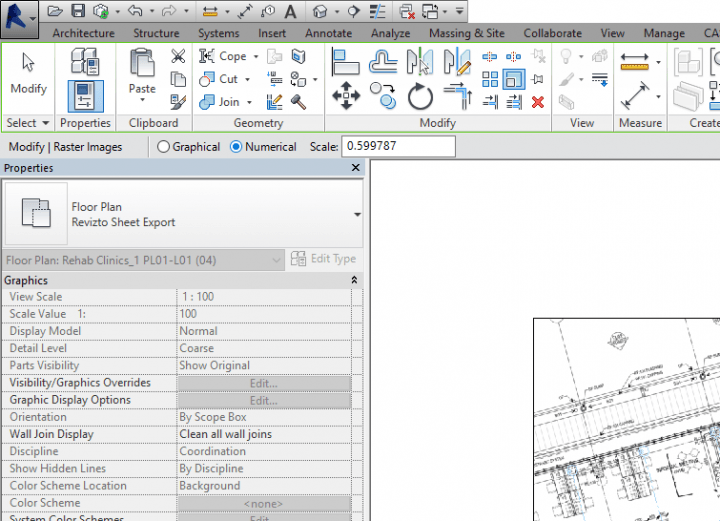
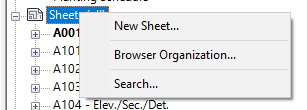
Browser Organisation for Sheets:
You can Filter Sheets in the Project Browser by the “Print Set” – that is, by saved sheet selection.
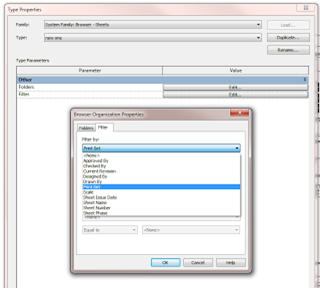
Sheet Browser Exercise:
- Type BO to start Browser Organisation without mouse
- Change Sheets to By Set
- Check how that works
- Click OK
- Change back to All
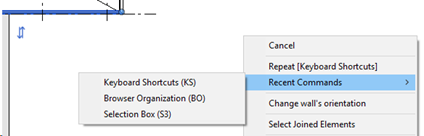
Right-click for multiple ‘new’ commands
Sheet:
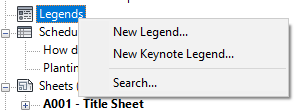
Legends:
Schedules:
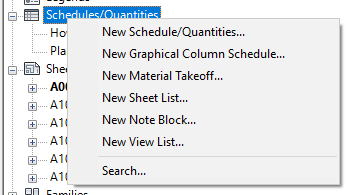
New Schedule Exercise:
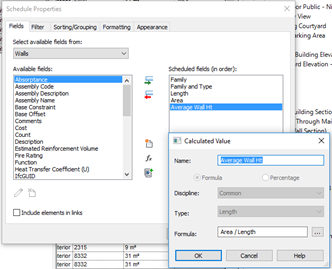
- Make a new Wall Schedule with this method
- While you are it, add a calculated value for Average Wall Ht like this:

- Then pick one of the Walls and Highlight in Model
- Then immediately pick the Section Box tool from the QAT
- The Set Workplane to the wall (QAT)
- Add dimension (QAT), to verify the schedule results
Right-click in the Project Browser:
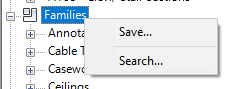
Right-click Families node to Save All Families:
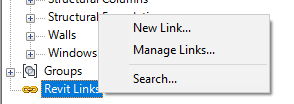
Right-click Revit Links for New Link and Manage Links:
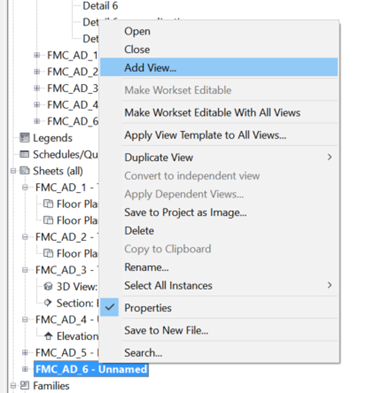
Right-click a Sheet to Add a view:
Right-click sheet exercise:
- Make a new A1 sheet with right-click in the PB
- Add View
- Add newly created Wall Schedule – will be too big
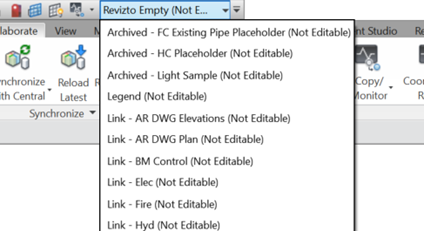
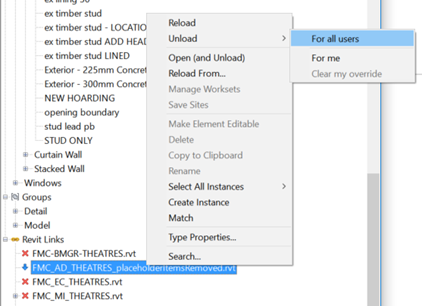
Revit Links:
You can Unload for yourself or everyone from the Project Browser:
Family Management:
Did you know that the Project Browser Families node provides access to more than just traditional component families?
For example, you can use the Project Browser to quickly select different types of Filled Regions:
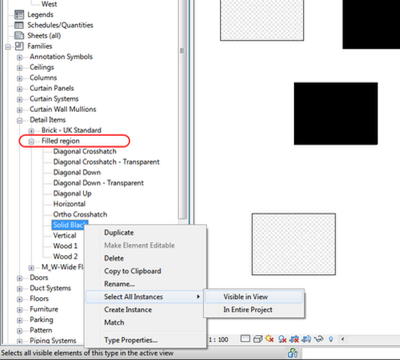
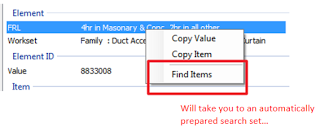
System Family Management and RevitLookup Exercise:
- Select All Instances of Concrete filled region
- There should be 1
- But where is it? In a workshared project we would see the view workset.
- Go to Add-ins
- Revit Lookup – snoop current selection
- Find the OwnerViewId
- Copy the Name
- Use Search in Project Browser
- Found it!
In Part 3, we will have a closer look at Revit Keyboard Shortcuts.