Stairs and railings in Revit can be extremely frustrating.
In fact, I’m often annoyed that I can’t even model a Railing in-place, as the Railing category isn’t available for in-place families!
So, how do you make an unusual ‘custom’ railing connection work?
In 10 steps:
- Create a 3D view with section box around the connection you would like to resolve
- Export this 3D view to a DWG file.
- Create a new Generic Model family.
- Import the 3D DWG.
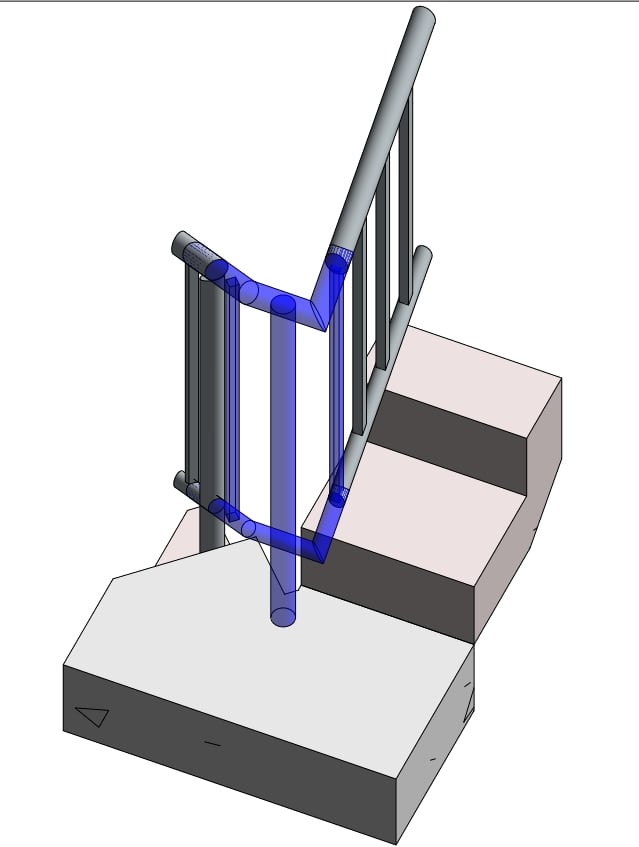
- Using the context you have now imported, model the rest of the baluster / railing connection. I recommend that you use Reference Lines and then create Sweeps using ‘Pick Lines’.
- After you have modeled the custom 3D geometry in the Generic Model family, create a Baluster Post family.
- Load the Generic Model family into the Baluster Post family.
- Load the Baluster Post family into the Project.
- Apply your new custom Baluster Post to the Start / Corner / End post of the Railing you are trying to correct.
- In the Baluster Post family, rotate and move the Generic Model family around until it is in the right place and reload into the Project.
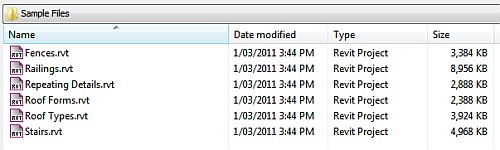
For a sample project showing one of these connections, open the following file:
For a sample Baluster Post family, download the following file: