Great tip from Philip Chan. Basically:
- Make a Material Take-off / Multi Category
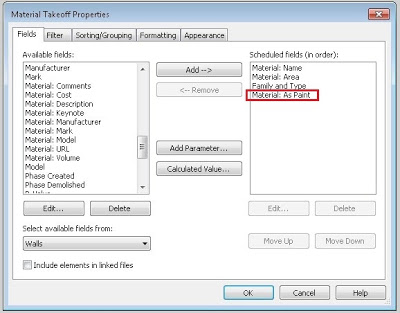
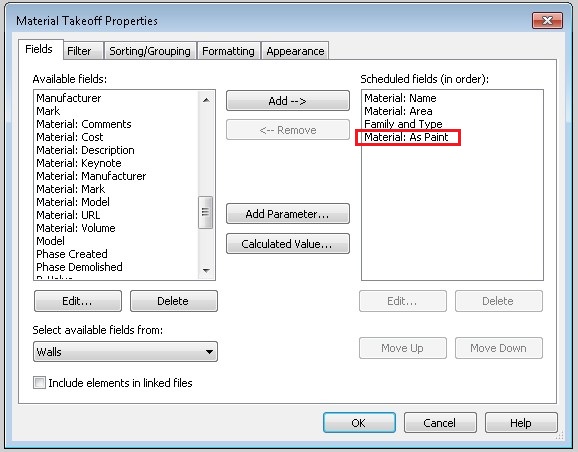
- Add the Material: As Paint parameter
- Filter by this parameter = Yes (now the schedule is only showing painted surfaces)
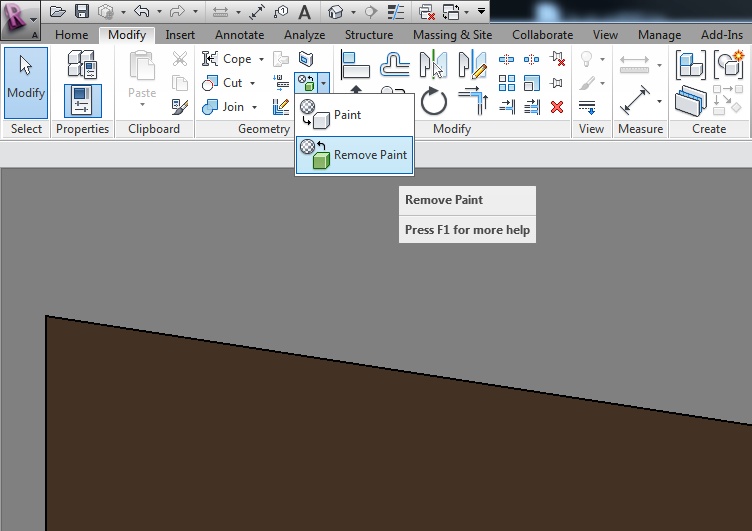
From here, you can right click on a row in the Schedule and click “Show” – this will open a relevant view and highlight the element that is hosting the Split Face. Nice!
Here’s his workflow:
Next window allows me to add fields to my schedule, I then notice there is a field/parameter called “Material: as paint”. Sounds like something suitable in this occasion.
As I move on to the filter tab, something interesting shows up…
I can now set the “Material: as paint” to equal to “Yes”, which means I tell Revit that this schedule only look for the “Paint” surface on all walls; the next filter rule, I can even set it to a specific material to be included in this schedule.

The last thing is to tell Revit to calculate total area for this particular material.
Once this is done. Volia! I can now let Revit to keep track on all my “paint” surface.
via