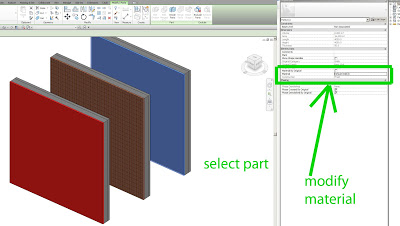
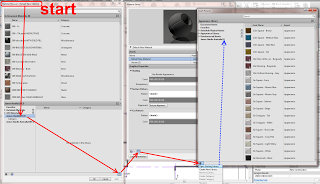
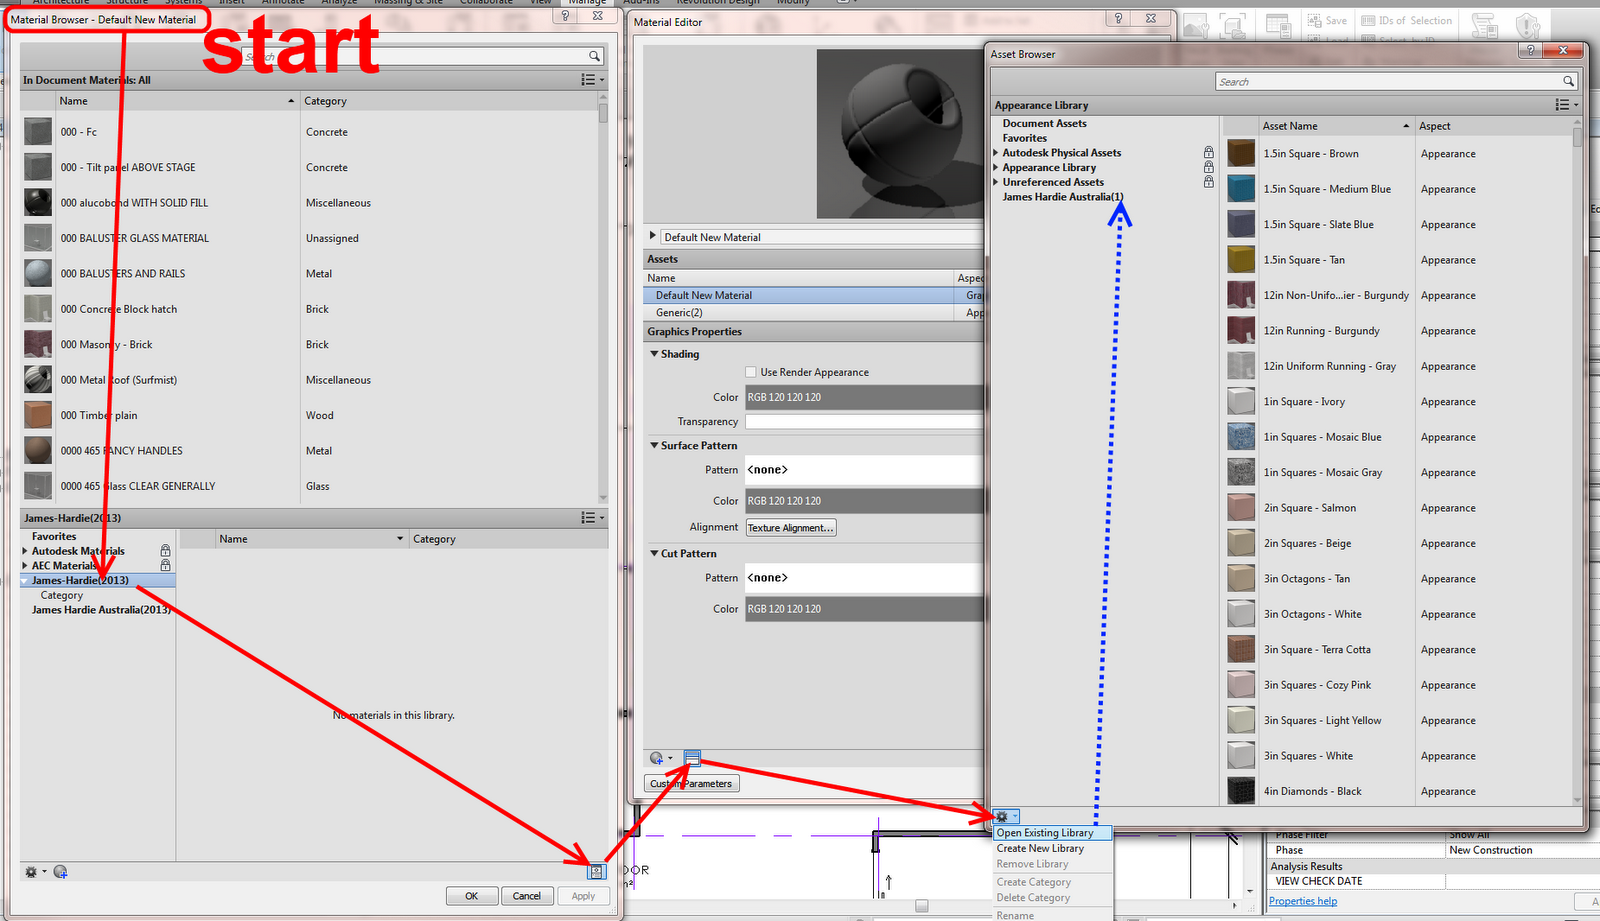
You want to be able to network and directly reference material libraries and resources.  You can do this using symbolic links in Windows 7 / 8, where the OS and applications think they are dealing with a local resource, when in fact it can be on the network.

Disclaimer:  I’m sure that there will still be some quirks and issues with this method – I doubt that it is the perfect solution.

This is the essential command:
To create a symbolic link type into the Command Prompt box
mklink /D
: This need to be exactly as per the location of the local machine path
e.g. “c:Program FilesCommon FilesAutodesk SharedMaterialsTexturesbluescope Lysaght”
*Don’t forget to use the double quotes, if it is not identical the library wont work.
: This is the location of your network files
e.g. “s:bluescope Lysaght
*blueScope lysaght is the folder name

Check out this PDF for a more detailed description:
http://www.steelselect.com/download_centre/file.php?id=5039
(accessible via SteelSelect page here)

This method is also discussed at:
http://www.revitforum.org/third-party-add-ins-api-r-d/2883-colorbond%AE-steel-texture-library-revit-lysaght-content-beta-version-6.html#post87933
(but guess what, XP can’t handle these symbolic links)

In the past, having multiple instances of a Linked RVT was quite problematic if you wanted to apply different materials to each instance.  Parts have mostly solved that problem (thanks to Steve for reminding us).

Here is a quick how-to:

  1. Place a Wall with multiple layers into one RVT file
  2. Link that into another RVT (the host)
  3. Make 3 copies of the linked RVT in the host project
  4. Tab select a Wall that resides in one of the links while working in the host file
  5. Click Divide Parts
  6. Select one layer of the wall (the Part)
  7. In Properties Palette, untick Material by Original
  8. Set Material as desired using Properties
  9. Rinse and repeat steps 4 to 9 for each layer / material option you want to explore

Here is the fix:
If you unload the material library from the template, save it, close Revit, reopen, create a project from your template and add the Material Library there: not a problem. It’s all there.

Now getting back to answer number one: it stays there. The above workflow is a definitive solution to the problem. Once loaded into the project you can reload the Material Library in your template. Then and when you create a new project from that template there won’t be a problem. It’s like the entire problem never existed.

via
RevitForum Blog: Material Library weirdness

What is the U-Value?  It is:
Also known as the U-factor or coefficient of heat transmission, a measure of the rate of non-solar heat loss or gain through a material or assembly. U-values gauge how well a material allows heat to pass through.
http://www.daviddarling.info/encyclopedia/U/AE_U-value.html

autodesk.de recently carried a detailed post on formulas related to the U-value.

Read more at:
Google Translate
of
http://www.autodesk.de/adsk/servlet/pc/item?siteID=403786&id=20378691

Summary

To get the U value of a wall structure, add the sum of the heat transfer coefficients for the wall types specified thermal resistance R T by this value to be used as a divisor.

With walls so:

U = 1 / (Rt (from Revit) 0.17 (K · m) / W)
formel_03

Doug Bowers posted a very informative how-to recently about Autodesk Material Libraries.  He shows you how to create a material library, add materials to it, and then share it with other users.

A couple of points I found particularly interesting:

  • Depending on the security permissions on the library file or folder containing the file, users may be able to add additional materials to the company standard or only be able to utilize materials contained in the library.
  • Materials placed in the company folder are no longer linked to the original material and may be modified, resulting in a different definition of the material in the company library than the material in the folder from which it was originally copied.

Read more at:
Sharing Autodesk Materials Throughout An Organization | Applying Technology to Architecture

Along similar lines, check out:
Upgrading Revit 2012 Material Libraries in Revit 2013
and 
Materials in Revit 2013 – the saga continues


Good post over at Andekan on Revit Materials in 2013 – I have reposted three things I found particularly insightful below.

First of all – a slight correction.  The Andekan post states that:
You can’t open the asset browser unless you open a project material in the material editor.

This is actually not true.  You can open the Asset Editor and the Asset Browser without opening Materials.  Just set a Keyboard Shortcut to  Additional Settings:Material Assets.  This will open the Asset Editor.  Then click the ‘lines’ icon to open the Asset Browser.  Its kinda messed up, but you can do it.

Now, on to some good stuff from the post:

Entire Materials can live in .adsklib files:
you can take a whole material from inside your project (called “In Document” materials), including all of its different property sets (now called “Assets”), and add it to any number of external libraries that you create. You can also add materials from one library to another. Libraries that you create are stored as standalone .adsklib files, just like the “materials” libraries (read “appearance properties”) of prior versions, so they can be ported and shared between installations with ease.

.adsklibs can contain Assets AND Materials

Libraries
These are groups of materials and/or assets that exist outside of any particular project or family. They are saved as standalone .adsklib files, and it’s important to note that a single library can contain both materials and assets. This makes perfect sense: if materials are made up of different assets, then a “materials” library must somehow contain appearance, physical, and thermal assets as well.

How to update and maintain .adsklib Libraries 
5. You can only edit materials and assets that are inside of a project. In a library, you are limited to viewing the names of materials and assets, and to performing basic functions like Rename or Delete. If you want to edit a material or asset that’s in one of your libraries, you have to: 1) bring it into a project, 2) make your edits, then 3) add it back into the library to overwrite the original version, and finally 4) remove the copy that’s inside the project (if you don’t want it there).

Read more / via
Andekan � Blog

If you Open a 2012 adsklib file in the Material Browser in Revit 2013, chances are you won’t see any materials (even though Revit claims to be ‘upgrading’ the library).  You need to open the .adsklib in the Asset Browser to expose the 2012 Appearance Properties for use in Revit 2013.

To quickly get at your 2012 Appearance Properties, go:

  1. Manage
  2. Additional Settings
  3. Material Assets
  4. Click the ‘lines’ icon
  5. Click the ‘gears’ icon
  6. Open the Library (it will upgrade and add (1) to the file name)
  7. You can see your 2012 Appearance Properties.

To actually get this into a Material, the process from the Material Browser starts something like this:

To apply these appearance properties to Materials, watch the 43 second video:

Needless to say, the whole Materials UI concept and process in Revit 2013 is kinda scary?

Some info from Wikihelp:
In Revit 2012, libraries contain property sets and do not contain any materials. If you use the Material Browser to load a Revit 2012 .adsklib or .adstlib file, materials will not display and therefore a warning symbol will display next to the library name. The data in Revit 2012 property sets will be migrated as assets in Revit 2013. In order to access Revit 2012 property sets as Revit 2013 assets, you must use the Asset Browser to load the Revit 2012 libraries. 
via
Upgrading Revit 2012 Libraries – WikiHelp

We found that on one project, the Materials Browser would load very slowly when the ‘Appearance’ tab was activated.  If the dialog was closed and re-opened with the ‘Materials’ tab activated, there was no lag.

The Solution?  Purge your Render Appearance Property Sets (make sure you know the implications of this).

After purging these, the lag went away.  However, and it is a big ‘however‘ – this resulted in some of our renders no longer working correctly.

If I first went into the few materials that used property sets and set them to ‘By Property Set’ and not ‘Independent’, Revit did not purge the necessary data and the renders were still ok.