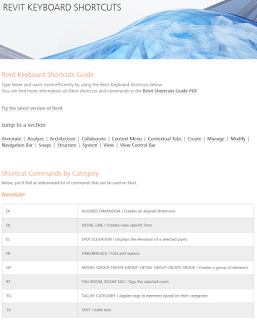
A couple of interesting new endeavors have appeared online recently that I wanted to share. The first is from Autodesk, and they are encouraging you to learn and use keyboard shortcuts. I have posted about keyboard shortcuts plenty of times in the past. I’m not sure this particular site will help me much, because over the years I have customized my Revit shortcuts and they don’t match up with the default anymore 🙂

Check it out at:
Revit Shortcuts | Keyboard Shortcuts and Commands | Autodesk

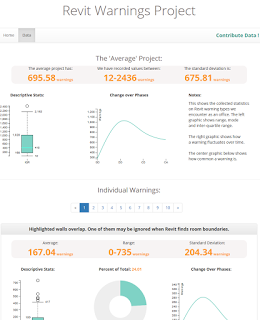
I have also posted previously about warnings and error reports (including how to solve them). The Revit Warnings Project  wants to take your Revit error reports and turn them into some useful, browse-able statistics data and graphs. It is an interesting read, if only to see how your errors compare to some others. I would like to see the Revit Warnings Project expanded to included recommended solutions to the warnings too.

My less-serious take on Revit Warnings and Errors can be viewed here:
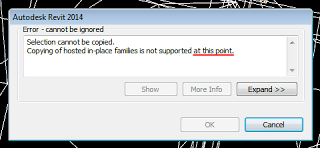
What Revit Wants: Funny Revit Error Messages
If you paste a heap of elements from one Revit model to another, you may come across this error:
“There are identical instances in the same place. This will result in double counting in schedules.”

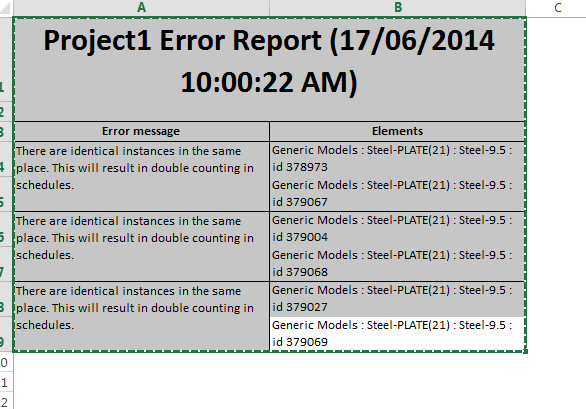
If you want to quickly select and delete the duplicate elements, here is one possible method. Basically, we are parsing the element IDs (every second one) from the Error Report and then quickly selecting them in Revit.

This relies on an Error Report that only has “identical instances” error messages (see images at end):
  1. Export the Error Report
  2. Open the HTML file directly in Excel
  3. Select all of Columns A and B, then Ctrl+C
  4. Switch to the XLS template (download here), click in cell A1 and Ctrl+V
  5. This will fill up the table, and using formulas it will find every second element ID. It ignores the first ID, because this “should” be the original one. The template file is good for around 600 data rows (255 identical items), but formulas can be extended to more elements if necessary.
    (EDIT: the main concatenate formula is at its “limit” at Row 513, anything below this is ignored – Excel doesn’t like it bigger than this, so I recommend you either:
    – do this operation 300 duplicates at a time or
    – make a new concatenate formula for rows 513 to 1026 etc…
    its still going to be quicker than clicking every duplicate manually in Revit 🙂
  6. Scroll down to the end of the data that you have pasted and click the Row Label for the first empty row
  7. Ctrl+Shift+End
  8. Delete (this prunes the formulas and element ID list)
  9. Click in cell H3 (this has the list of element IDs)
  10. Ctrl+C
  11. Switch to Revit and start the “Select Elements by ID” command
  12. Ctrl+V
  13. Click OK
  14. Duplicate elements are now selected – press Delete

 You might get some unexpected results (broken systems etc) depending on your project type. Use with care…

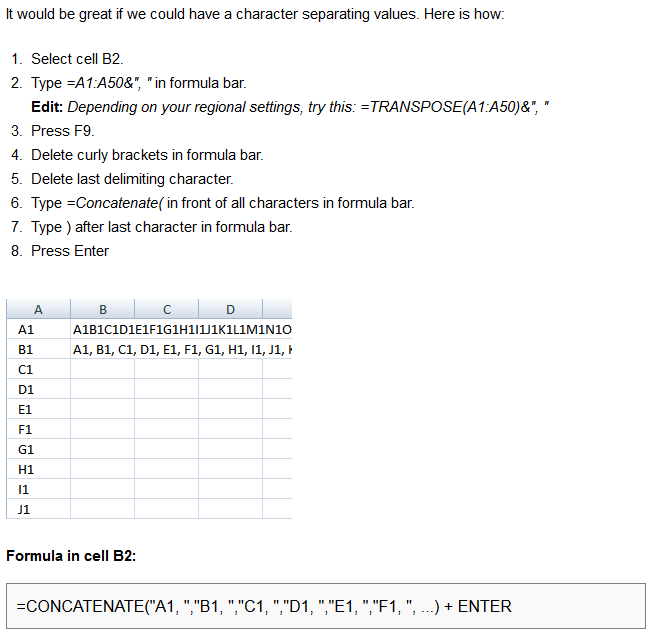
This page helped with quickly making a long CONCATENATE list.

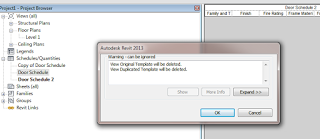
Nasty little bug picked up by Jason Kunkel.  Basically, you make View Template based on a Schedule View.  Then, when you go to delete that original Schedule View, Revit will prompt you with a “View:ViewTemplateName will be deleted” message.  Pressing OK deletes the View Template and therefore leaves any Schedule views with the Template orphaned

I also discovered that if you Duplicate the Template you made as discussed above, and then delete the original Schedule View, it will prompt to delete BOTH the original Template and the duplicated Template!

I tested this using latest update of Revit 2013.

From Jason’s blog:
When you go to delete it, Revit tells you that it is going to delete them.  And then it does.  Poof.  Gone.  Any schedule that had that View Template assigned is now set to NONE.  On top of that, any View Template that was copied from the prior ones are “linked” as well, so this could be pretty disruptive to your schedule View Templates.

Read more / via
View Template and Schedule Hiccup | RVIT – Revit rants, tips, and junk

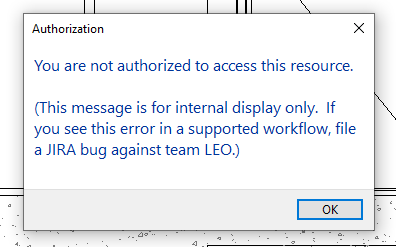
Go Team Leo:

emgjtkuuyaalp58-2464261

Helpful…

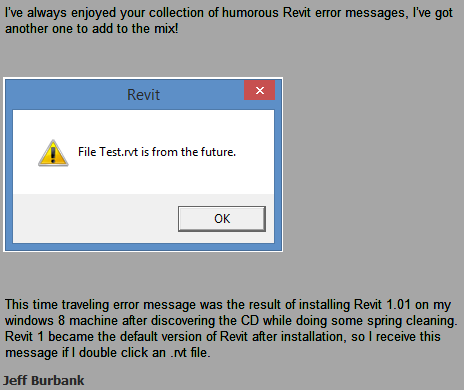
Revit time travel?

Ever felt this way? (via (@apertedesign)

Even Revit knows that new features will be added in the future:

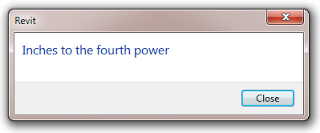
This post used to be titled Another dimension beyond XYZ?  Inches to the fourth power …
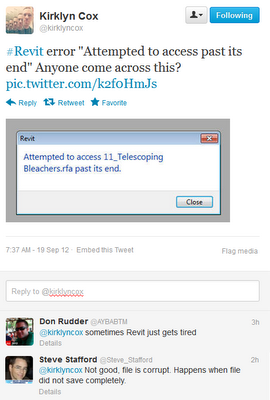
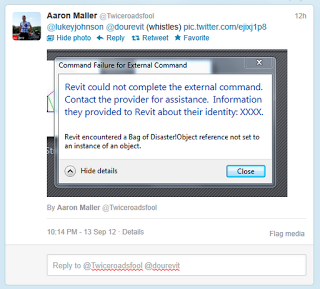
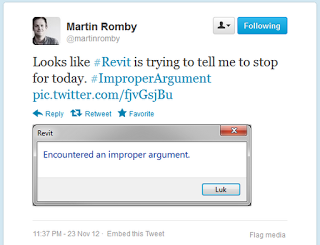
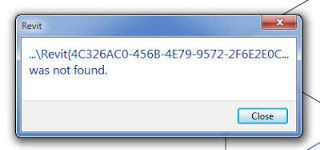
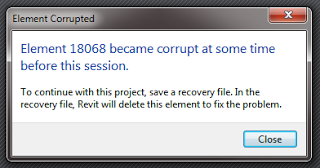
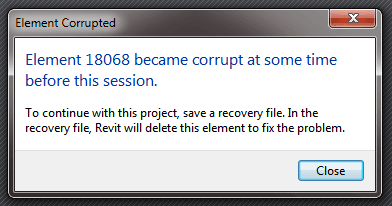
but I have decided to collect funny Revit error messages and put them all here.

I received this message from Revit recently:

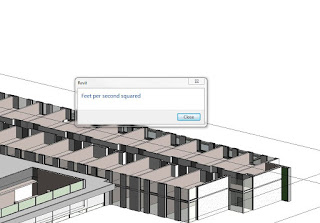
Then this tweeted image reminded me of it:

via Twitter / architect_face: Anyone had this error before? …
Evidently, Revit sometimes gets a bit confused by certain combinations of formulas and / or units?
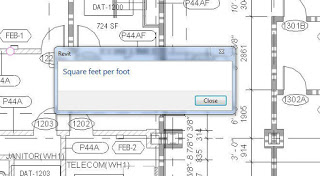
EDIT:  Here’s another good one-

Image result for /Warning Square-Foot.png

via
Square feet per foot dialog | BD Mackey Consulting | The Revit Geek Blog

EDIT:   And some more-

LOL. It’s funny but it’s not legit- I made the app, and the error…

And some warnings:

EDIT: Another one

and one from Aaron Maller

EDIT:  More will be added below–

Another square feet per foot:


This one via Revit OpEd: These are not the Warnings You are Looking For


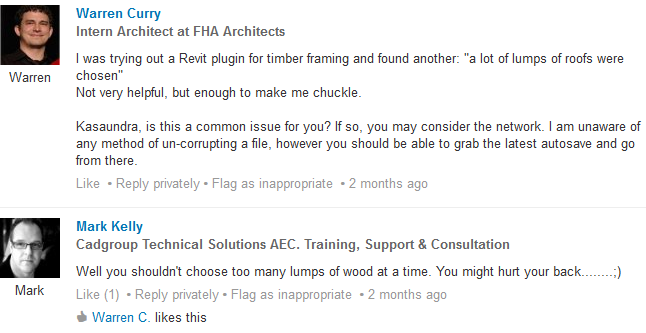
“Lumps of Roofs”

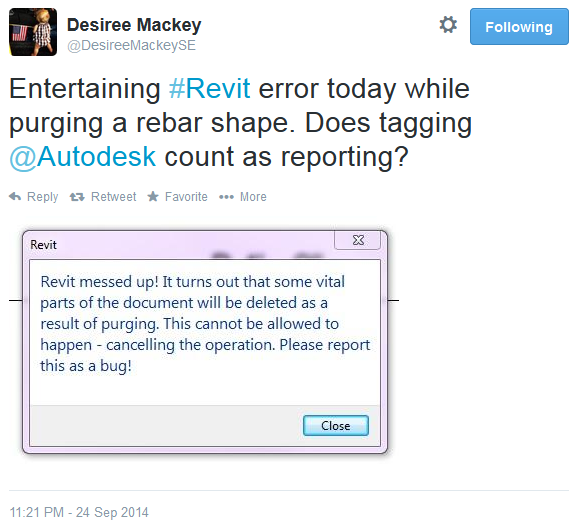
Still not sure if this one was real:

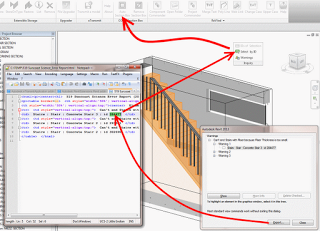
Be careful of those ridiculously large journal files:

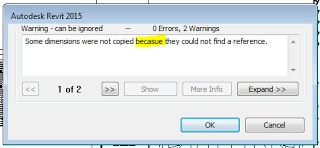
‘becasue’

More:

You have a project with heaps of Warnings / Errors, but you are struggling to find the associated elements.  Here is a quick way:

  1. The first problem is that not all of us can remember 6 random digits easily, but we also can’t copy the element ID direct from the Warnings box (yet).  So… I use Notepad++ (you could easily use Firefox or IE – all of these programs all you to Reload the source error report HTML file when you re-export it).  
  2. Export your Error Report to some neutral location like C:TEMP  
  3. Open the Error Report in Notepad++ / Firefox / IE (you could also use this method if you prefer)
  4. Now you can simply copy the element ID to the Clipboard (Ctrl+C)
  5. Go to a 3D view in which the element will be visible (use the 33 reasons if you need to)
  6. Use Select by ID (tear it off the Ribbon if you like by holding Ctrl)
  7. Paste the Element ID (Ctrl+V)
  8. Use COINS Auto Section Box
  9. Your Warning / Error element will be visible and highlighted

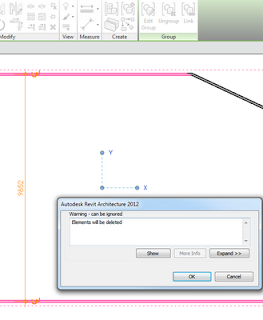
You are about to delete a number of model elements, but you are concerned about how many tags and dimensions are going to be affected by this deletion event.

Here is a quick way to check:

  1. Select the elements you intend to delete
  2. Click Group, then 
  3. Click Link
  4. A warning dialog will show up, saying “Elements will be deleted”
  5. Click Expand, then Export and save a list of the affected elements
  6. Click Cancel
  7. Click undo (to undo the Group command)

Now, you can use that list to check check or correct the affected detail items.

You may also be interested in these posts:
Find all instances of a detail object and report them to a file

Quickly review Error Report by parsing Element ID in spreadsheet

I find the Error Report – Warning – Select by ID process to be a little unwieldy in Revit (at the moment).

Here is a little process that may speed things up for you when reviewing a Error Report in Revit.

  1. Save Error Report to HTML
  2. Open HTML Error Report
  3. Copy data to Excel spreadsheet.
  4. Use RIGHT formula to extract only the id number to a new column.
    eg =RIGHT(C3,7)
  5. Copy the cell containing the id number to the ‘Select Elements by ID’ dialog in Revit.

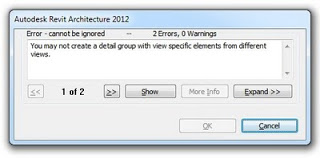
Here is how to do it:

  1. Select the detail item.
  2. Right-click > Select All Instances > In Entire Project
  3. Attempt ‘Group’ command

It will fail with an error like this:

However the resulting Error Report contains the view names that all these elements exist in…

Click Expand >> and then Export…
Save the Error Report to a file and have fun going through them one by one 🙂