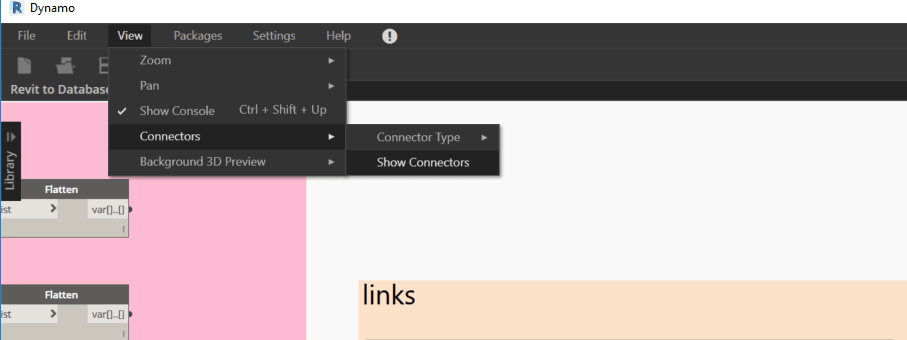
Big messy Dynamo graph? Can’t see through the jungle?
Then try:
- View – Connectors – Show Connectors OFF
- View – Background 3D Preview – Show Grid OFF
AI Empowered Project Management
Big messy Dynamo graph? Can’t see through the jungle?
Then try:
At Virtual Built, we typically create a federated Revit model for every project we work on. This allows us to run a host of automated processes on the links, right from the federated file.
Recently we received a dataset for a high rise building. The Architect had used 5 typical linked ‘module’ files, copied throughout a master file.
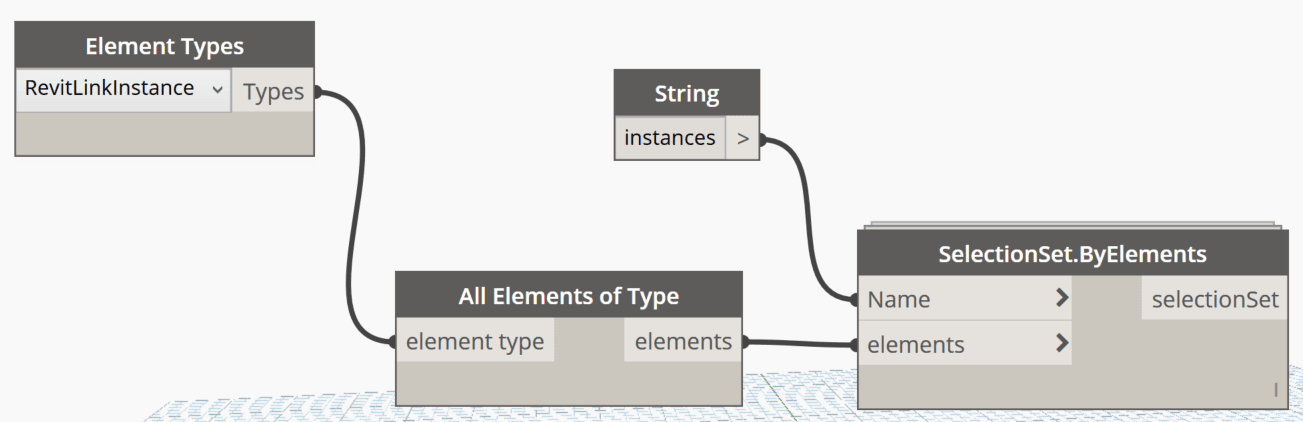
Initially, I used a Dynamo script to collect all the link instances into a saved selection set. I could then copy / paste aligned the link instances into our federated Revit model:
This works fine, but in this models there were also nested consultant links inside the Architectural linked modules. So we have:
Architectural container file -> Architectural module files -> Consultant nested links
We want:
Federated Central file -> Everything else (no nested links)
Next challenge: how can we quickly promote those nested links into our federated model? Well, we currently have the module files populated, so how can we leverage those positions to promote the nested links?
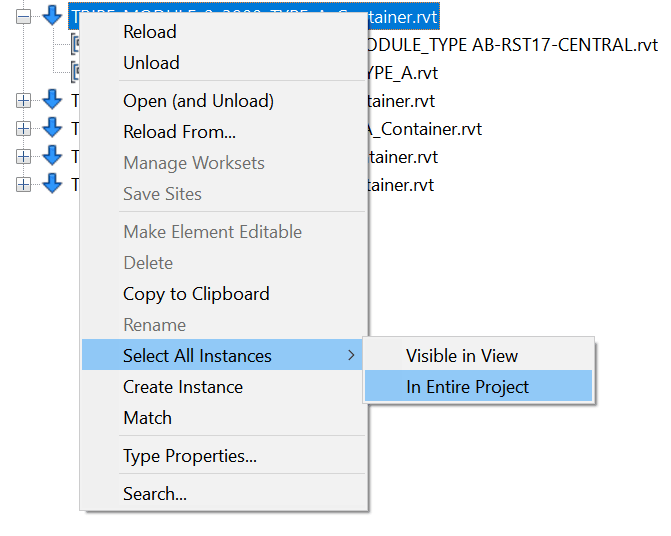
It is a bit hacky, but here is how I went about it. For each module file:
After populating the detached Federated Central file, we just need to Bind and then Copy / Paste the free instances:
The only thing we technically ‘broke’ or lost in this process is the module link->nested link relationship. So if someone decides to move one of the nested links in the module link, obviously that won’t replicate into the Federated Central file.
Hope this helps some of you out there building or dealing with large federated models.
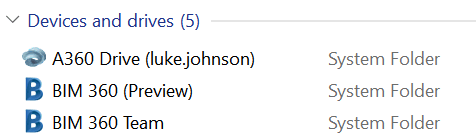
I’m looking into ways to batch initialize Revit models onto the new BIM 360 Docs (Document Management) platform. It is a work in progress at the moment – in Revit 2018, I think that there is limited ability to use newer API features for creating a Cloud ModelPath for batch processing. But more on that later…
For now, I wanted to replicate a folder structure from a local network onto the BIM 360 Docs platform. To do this, you just need the Desktop Connector + Preview installed, and then you copy and paste the data.
Here are the steps:
@echo off
chcp 65001 >nul
for /r "C:\Your\Folder\Path\Here" %%d in (.) do dir /a:-d "%%~fd" > "%%~dpnd\DirectoryFilePlaceholder.txt"

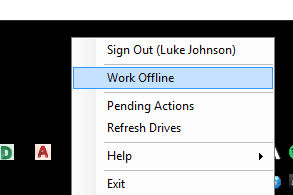
To force the sync you may have to toggle the ‘Offline’ status in the tray.
You can review sync state with the ‘Pending Actions’ link from the system tray:

After the file structure is copied and synced, you will be able to see it in BIM360 Docs.
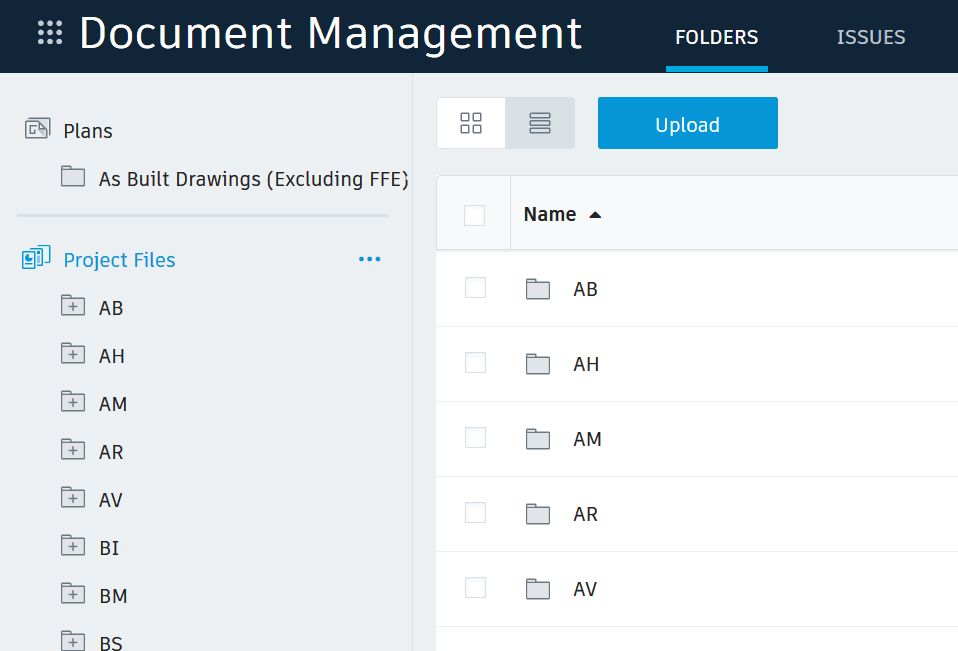
You can then proceed with adding Permissions or uploading other files.
New versions of Firefox removed some support for extensions that allowed multiple tab rows.
Update:
toolkit.legacyUserProfileCustomizations.stylesheets pref in the about:config is still set to true
Here is how you can enable it:

After Firefox 65 method comes from here
Before Firefox 65 method comes from user fh1 at this link

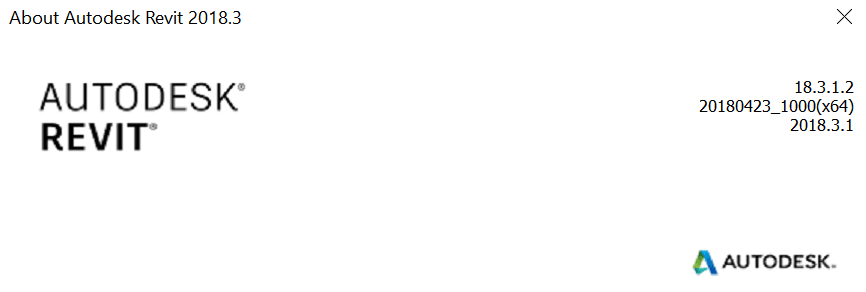
This hotfix corrects an issue with non-English languages where the PnID Modeler functionality did not load correctly after appling Revit 2018.3 Update.
Some notes from readme below…
Additional software applied by this update
Collaboration for Revit 2018.3.1 Update, Dynamo Core 1.3.2.2480 and Dynamo Revit 1.3.2.2480
With this install the following will be updated: Revit 2018, Collaboration for Revit 2018, and Dynamo. The updated version of the Dynamo Revit add-in does not include a desktop shortcut and can be accessed from the Visual Programming panel found on the Manage ribbon tab. If multiple versions of the Dynamo Revit add-in are installed, a dialog will prompt you to select which version to launch.
After this update is applied, there will be two versions of Dynamo Core installed, 1.2.2.373 and 1.3.2.2480.
Known Issues with applying the update.
Autodesk Uninstall Tool
After this update is applied, attempts to uninstall Revit 2018 using the Autodesk Uninstall Tool may become unresponsive during the Dynamo Revit uninstall process. To avoid this problem, uninstall Dynamo Revit first and then continue with the uninstall of Revit 2018.
After a new version of Revit comes out, we all take some time to catch up. Revit API developers often have to get up and running really quickly so they can upgrade their apps for Revit 2019 compatibility. The first few things you will need are: the Revit 2019 SDK and help file, RevitLookup installed, and an understanding of What’s New in the Revit 2019 API.
To install RevitLookup for Revit 2019, head over to this page and grab the latest version, currently 2019.0.0.1. Put RevitLookup.addin and RevitLookup.dll into one of your Revit Addins folders, like:
%appdata%\Roaming\Autodesk\Revit\Addins\2019\
To install the Revit SDK, follow these steps:

This will basically unzip a whole heap of Revit API samples and goodness into a folder of your choosing. The key thing I look for initially is the RevitAPI.chm help file. I put this somewhere I can get to it easily (like OneDrive).
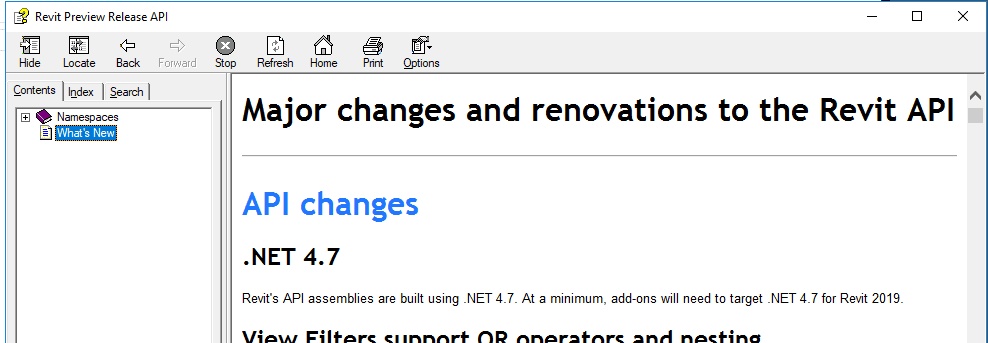
Until http://www.revitapidocs.com/ is updated for Revit 2019, the help files is the best way to access information about the Revit 2019 API.
Useful links, mostly from Jeremy over at The Builder Coder:
My Revit API 2019 Notes:
I came across this link to a Dynamo seminar by Sol Amour delivered in Wellington about a month ago. I have had a bit of contact with Sol over the years and he is a Dynamo pro. Cool to see that Dynamo Nodes got mentioned too.
Check out the seminar here.
As you can tell by his headshot, he means business 🙂


There is some more information about the event at this link.
New Export Functionality: – Allow creating formulas in Revit parameters that will export to IFC. Details upcoming in the Wiki.
Export Bug Fixes: – More fixes to correct “unexpected errors” of certain entity type values.

Get it here:
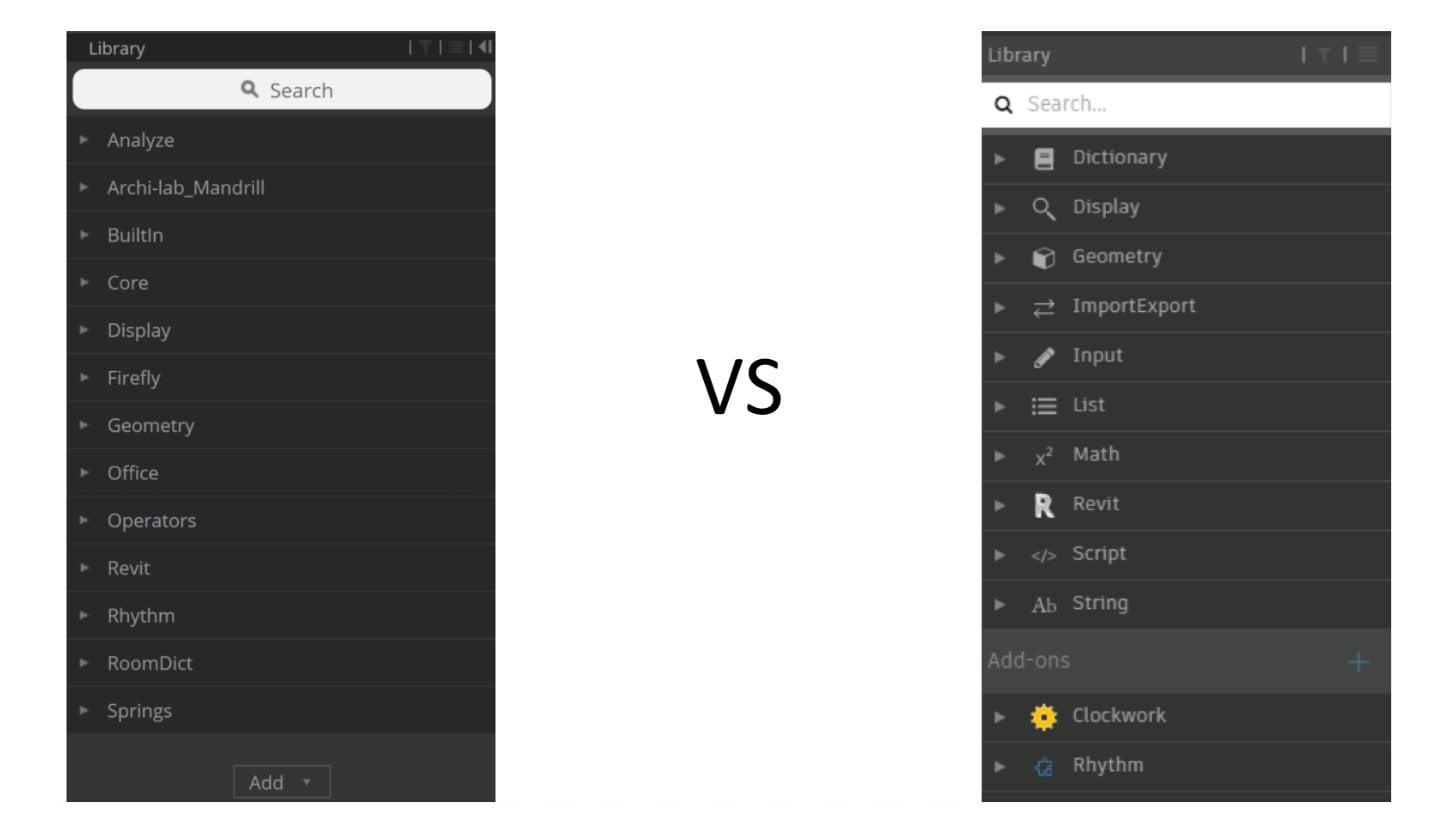
The official build of Dynamo 2.0 is here. There are some big changes, so here are my key takeaways:
Download at this link
Read the official post at this link
Previously the Desktop Connector was built for BIM 360 Team projects running C4R. With the shift to B3D (BIM 360 Docs) platform, you need to:
From the help:
This plugin is a connector that establishes BIM 360 Docs as a recognized data source for the Desktop Connector – making it available in your desktop folder and file structure for easy file management.
As with Desktop Connector, this means your BIM 360 Docs files are replicated in a connected drive. You can manage files in BIM 360 Docs through the connected drive, just as you would any other folder on your machine. Changes made on the desktop are automatically uploaded to BIM 360 Docs.
How do you get it?
After install, you will see this in Windows Explorer: