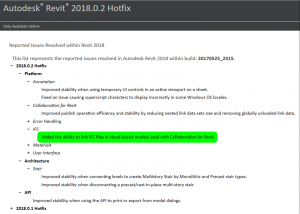
This latest update for Revit 2018 has the usual bug fixes and stability improvements, but also enables IFC linking to Revit when using cloud hosted IFC files and Collaboration for Revit.
Category: Revit
Wow.
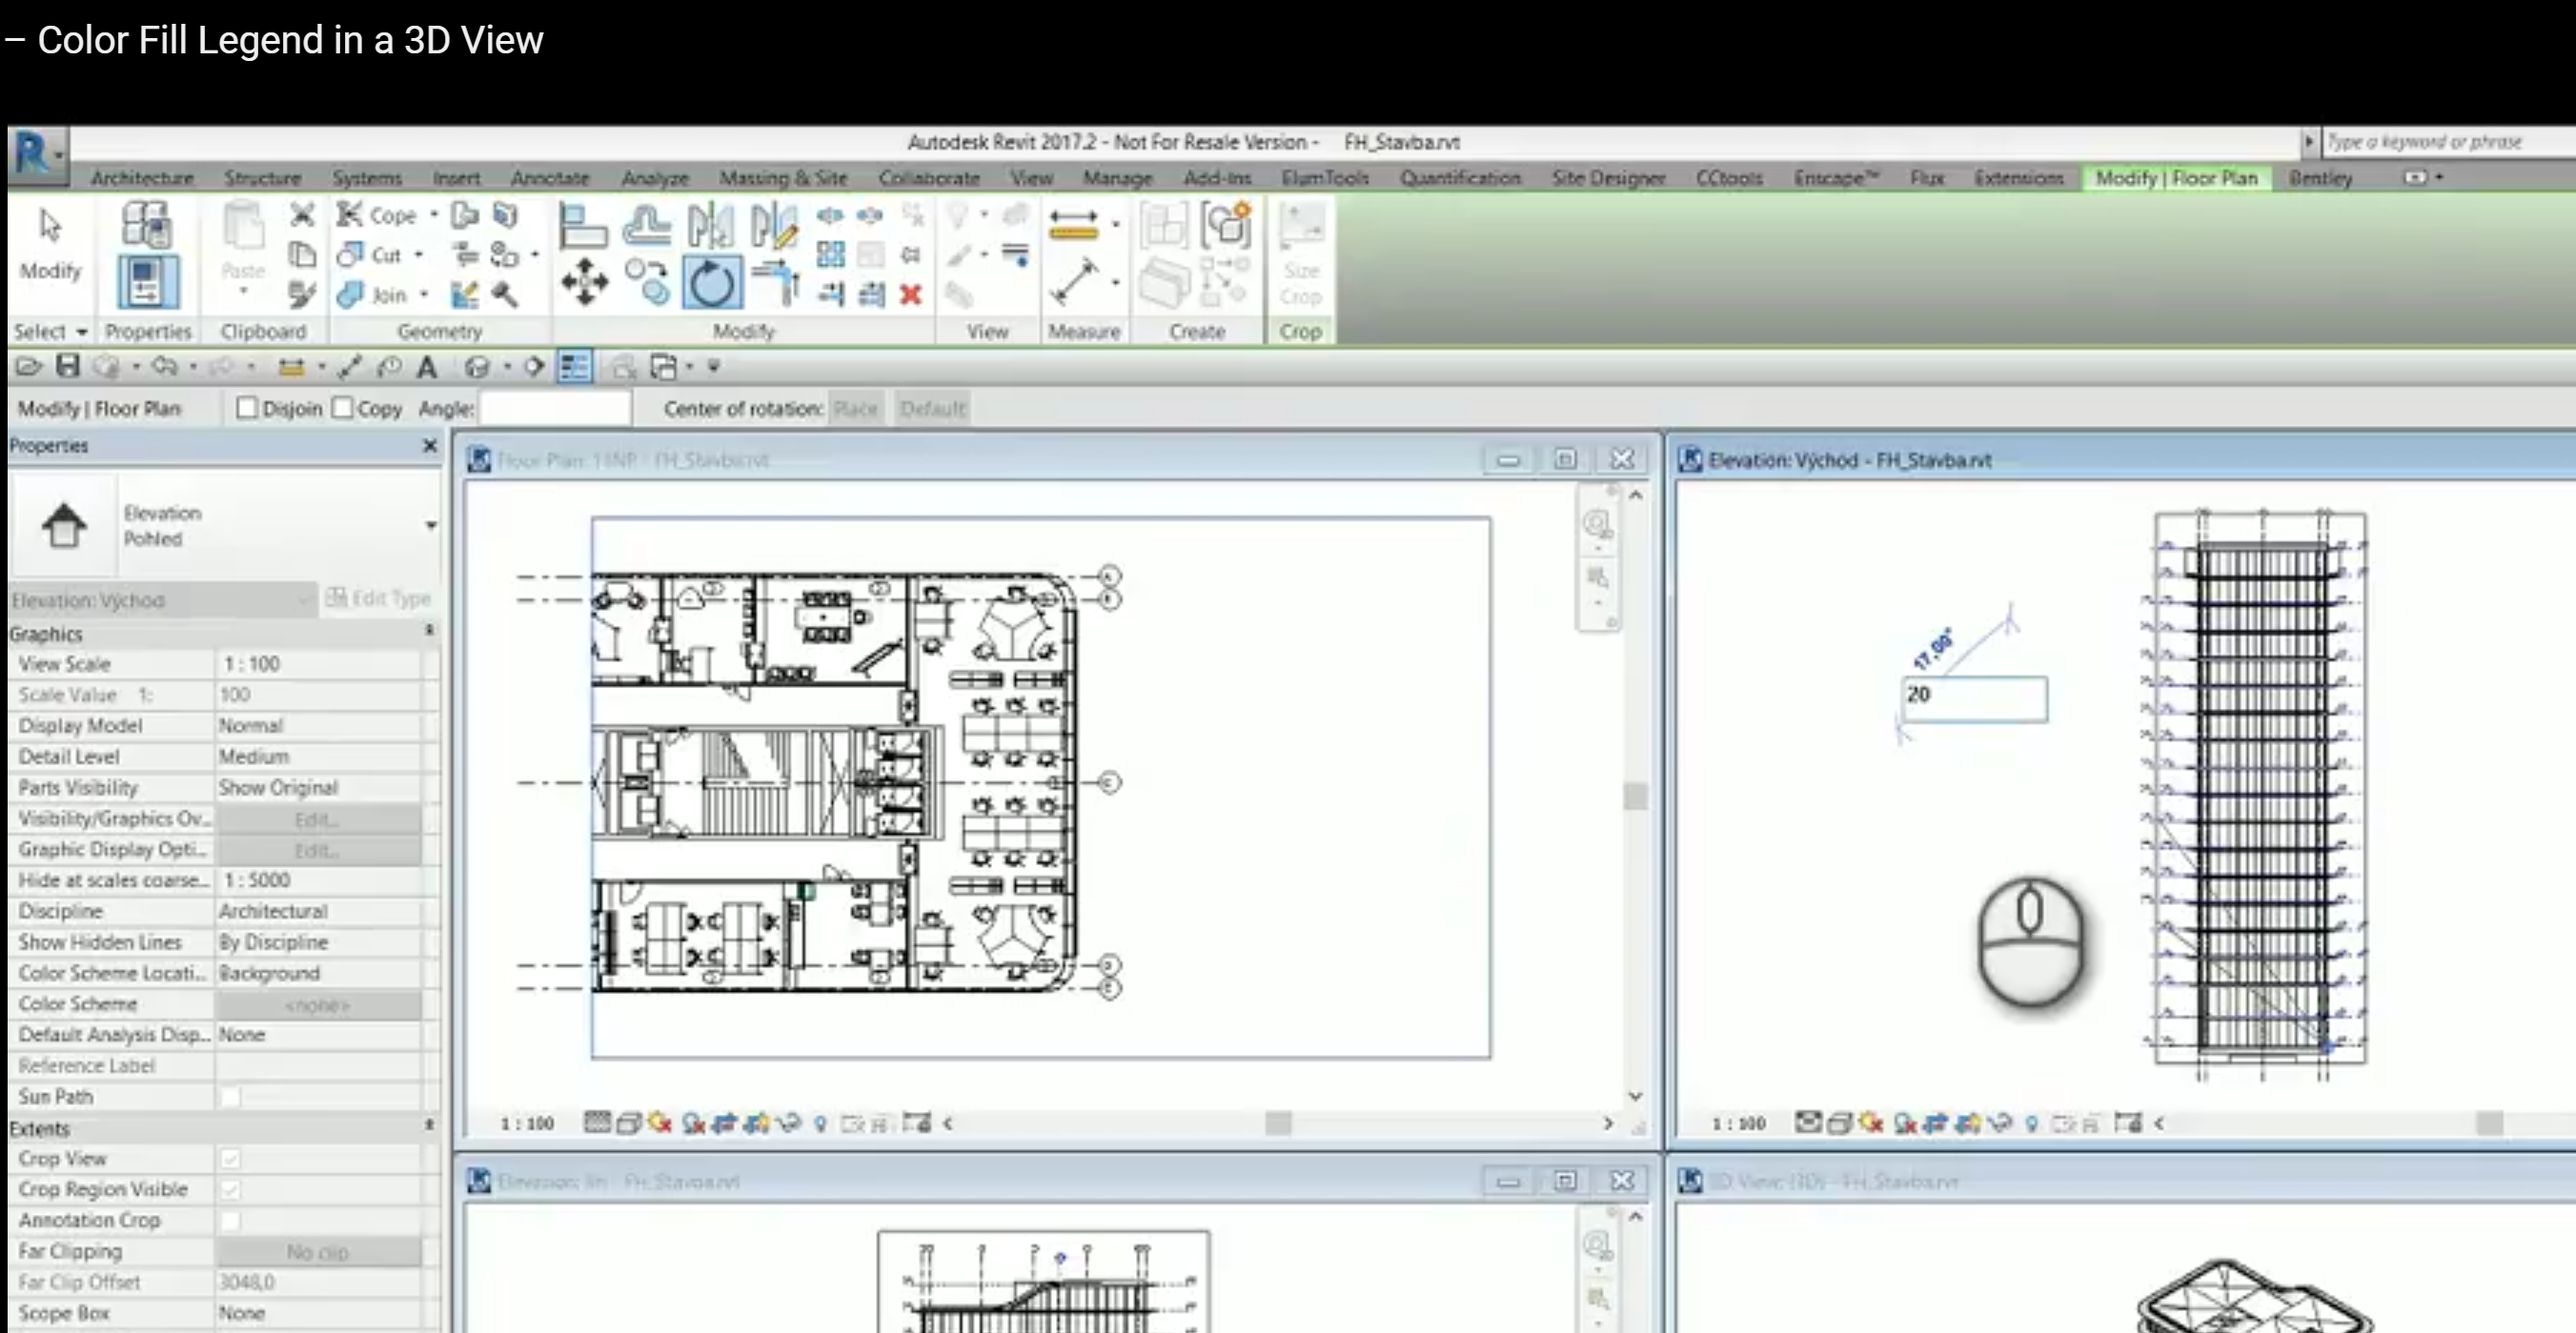
This is one of the best workarounds I have seen for years in Revit! Did you know that you can rotate a Revit Floor Plan view in 3 dimensions?
Try it now:
- Go to a Floor Plan view and make sure the Crop Region is turned on
- Now open a Section or Elevation View
- Tile the windows in Revit so you can see both views
- Select the Crop Region in the Floor Plan view
- Switch to the Section or Elevation view (the Crop Region is still selected)
- Start the Rotate command in the Section or Elevation view
- Rotate the Floor Plan away from the horizontal plane. Try 20 degrees.
- Experiment with the above process until you have created a sort of forced orthographic view… but Revit thinks it is a Floor Plan! You may have to switch between some sections running perpendicular to each other and keep rotating the Floor Plan crop region until you capture the view you want.
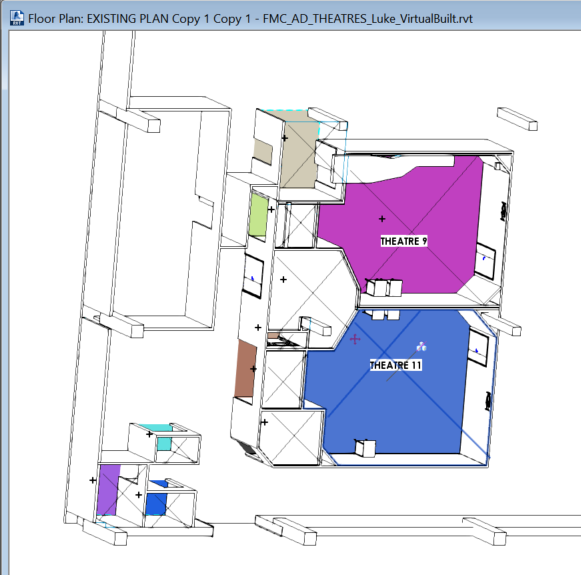
This means you can have Rooms showing. Which means you can have a Room Color Scheme showing up in a ‘kind of’ 3D view in Revit. This is awesome!
It is also a nice way to see how View Range works. As you experiment with the View Range of this special Floor Plan, you will see more or less of the elements (a bit like a 3D section box).
Not sure of the limitations or problems yet, but I had to share 🙂
Thanks to pepar for sharing on slack, and cadconsulting for making the video.
If you have used Copy / Monitor to copy some elements from a Revit Link file, and those elements change, you will get a “Instance of link needs Coordination Review” message. How do you adopt or ignore those changes?
In the example below, grids were copied from a Revit control file. The control file has been updated, and one grid has moved. Revit detects this change, and using the process below, you can update your elements to match the changed element. Here is how…
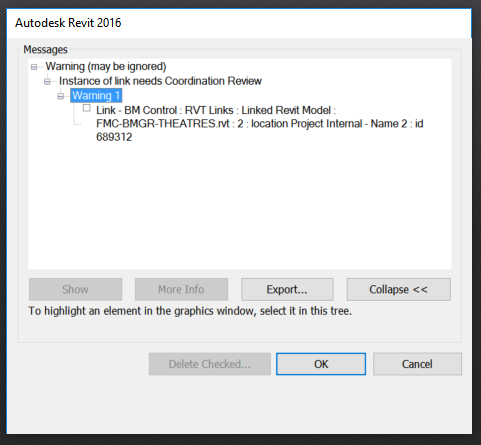
Upon opening your Revit file you will get this message:
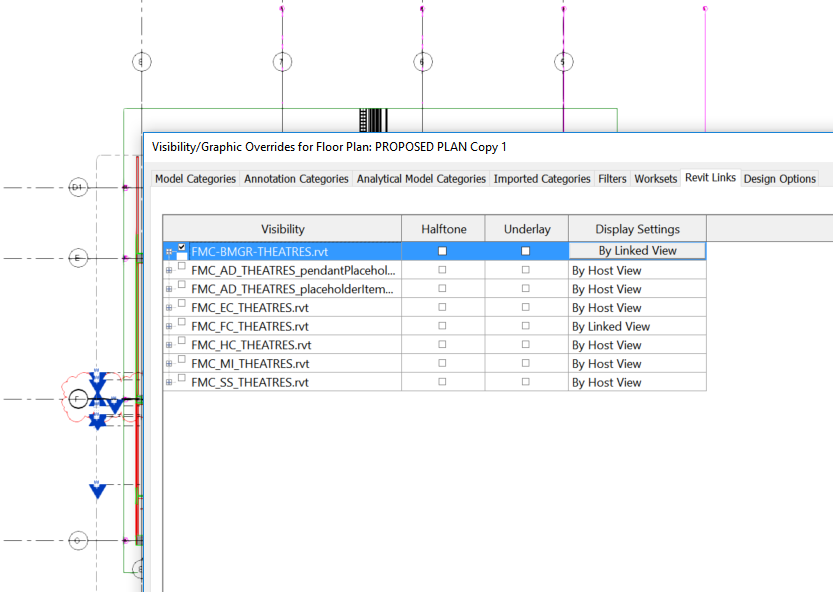
Go to a view where you can see the Link that needs to be reviewed:
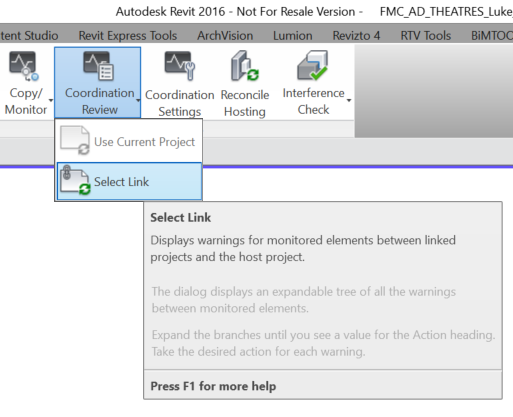
Then, start the Coordination Review process:
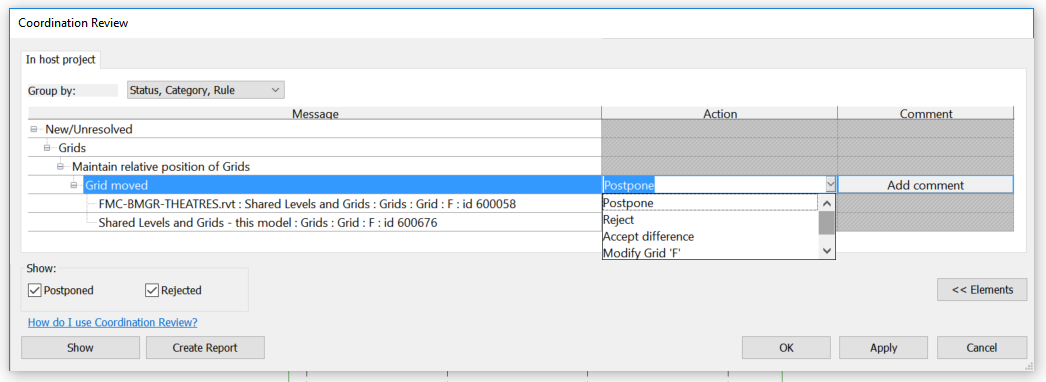
After picking the link, you will get a list of items and the potential actions:
Choose Modify if you want the element in your model to be modified to match the Link. Then press Apply.
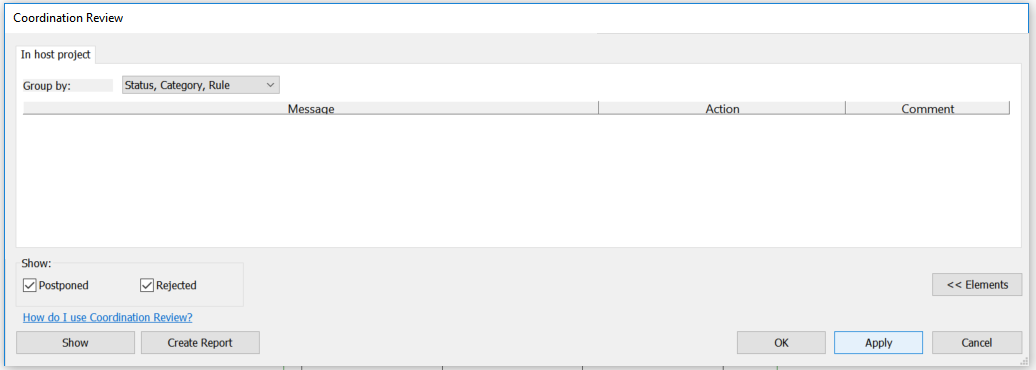
You should now see a clear dialog box. Your Coordination Review is complete:
There is a big difference between a Revit user, and someone who has really mastered the software. The more you learn, the faster you get, the more you can learn! In this blog series, we will cover topics like:
- Productivity Improvement through User interface tips and Keyboard shortcuts
- View filters and View templates
- Free addins
- Some Dynamo
- And More…
There are plenty of ways to do things in Revit… but we are looking for the fastest and best way. We want to maximise productivity and quality.
Targeting ‘Expert’ users so we will move quickly in general.
A lot of productivity gains come from user interface and shortcuts. Save 2 seconds every time, it all adds up quickly.
Try to take a few things away with you from this series that will save you time each and every day.
We will separate our tips and workflows into these major categories:
- Productivity – faster ways of doing things
- Workflows – better or alternative ways of doing things
- Management – ways to better manage the Revit model
These tips were put together for a recent lab session using Revit 2018, and they are basically in note form along with steps to take in Revit.
The first post in this series is focused on setting up the Revit UI.
Setting Up Revit UI for Maximum Productivity
Note:
Please open Revit, and open the rac_advanced_sample_project.rvt
Please download and import the supplied KeyboardShortcuts.xml
Productivity -> Double-click
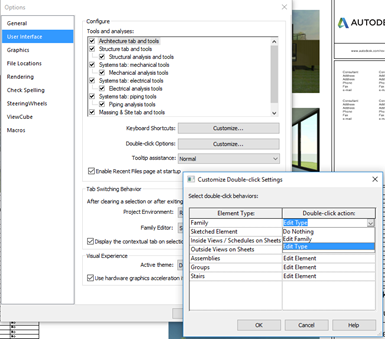
In Revit Options, change default for Family to Edit Type:
Try double-clicking on a Door now.
Double clicking a Wall will automatically start the Edit Profile command
Productivity ->UI – QAT
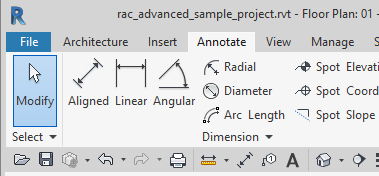
Showing below the ribbon will allow you to add more tools.
Do this now.
Certain Revit tools should always live on the QAT. Add them now:
- The Revit built in auto section box tool (since 2016)
- Save and Load Selection
- Set and Show Workplane – for quick 3D modelling
- Manage Links
- Dynamo
- Dynamo Player
If you have a reasonable size screen, you could add somewhere around 20 buttons to the Quick Access Toolbar.
Some other easy productivity gains:
- Filter
- Align (but should really be a keyboard shortcut)
- External Tools – NWC Export
- Revitlookup,
My main workstation (2016):
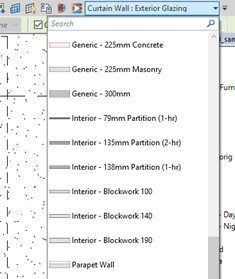
Type Selector can be added to QAT:
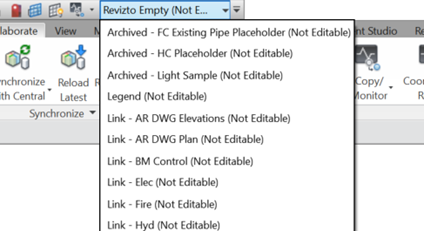
Workset Chooser can also be added to QAT:
Productivity ->UI – Ribbon
Ribbon
Re arranging ribbon menus…
Hold down Ctrl and set it up like this:
Panels:
- Undocking
- Possible to set up tool palette on other monitor?
- Re-docking back in place
Management -> Content Locations
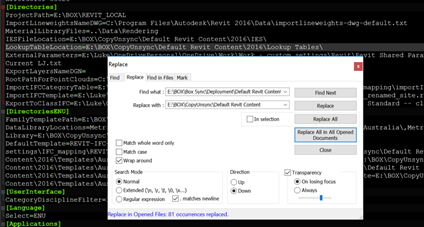
Changing the home of your Revit content with NotePad++ and revit.ini
Management-> Renaming Places List in Open / Save Dialog
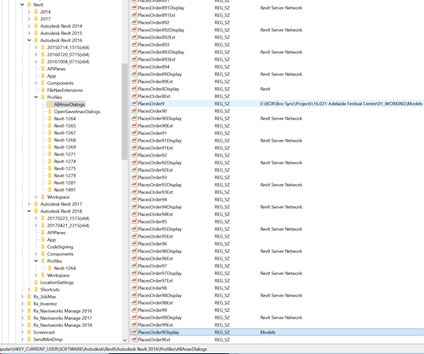
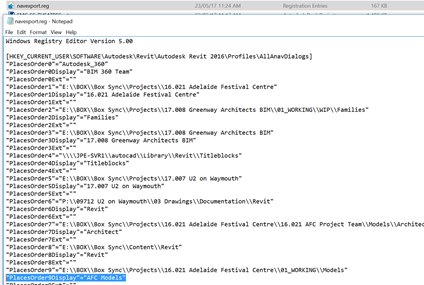
You need to find the PlacesOrderxDisplay value for a given entry…
In this Registry key:
[HKEY_CURRENT_USER\SOFTWARE\Autodesk\Revit\Autodesk Revit 2016\Profiles\AllAnavDialogs]
Easiest way is to export that AllAnavDialogs to .reg file, edit in Notepad, then Merge back.
Effect will be immediate in Revit.
Note:
Please close and re-open Revit to commit the changes to UI (in case of a crash later)
Open the rac_advanced_sample_project.rvt
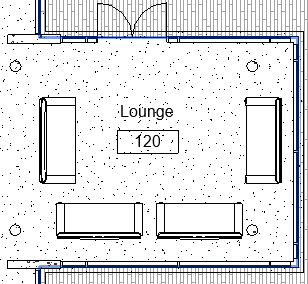
Navigate to 01 – Entry Level – Furniture Layout
Place some Furniture in the Lounge
UI Shortcuts -> Productivity
Right-click- Repeat
Right-click- Recent Commands !
Recent commands will also help ‘teach’ you the Keyboard Shortcuts:
Right-click Create Similar
I use this a lot – you usually have a similar object floating around and it makes sense to start the creation tool directly from that element
Right-click to get to Properties and Browsers – You can turn System and Project Browsers on and off quickly
- Try turning PB and Properties on and off with right-click
- Even inside the PB, you can switch Properties on and off
- Good for minimal screen real estate
An interesting but sometimes blunt process that happens in firms is ‘ranking’ their Revit users by proficiency. There are various reasons to do this, and some of them make sense. In an ideal world, all of your Revit users are simply awesome and you have no skills problems. But yeah, real life ain’t that way is it?
So how do you go about it? And do you use those ratings primarily?
- To change how you run projects, or
- how you deliver training,
- or both?
I touched on the ‘Five Stages of a Revit User’ and the ‘6 Phases of a Revit User‘ in this post:
What Revit Wants: Revit users – Five Stages vs 6 Phases vs Hype Cycle
And KnowledgeSmart have shared a 3-tiered system here:
The KnowledgeSmart Blog: 3 Levels of Revit Proficiency
Personally, I think the success of Revit in your firm is likely more affected by culture and attitude. Are people being forced to implement something they don’t like or understand? That could be an uphill battle…
Check out this post for more on using Revit with the right attitude and mindset.
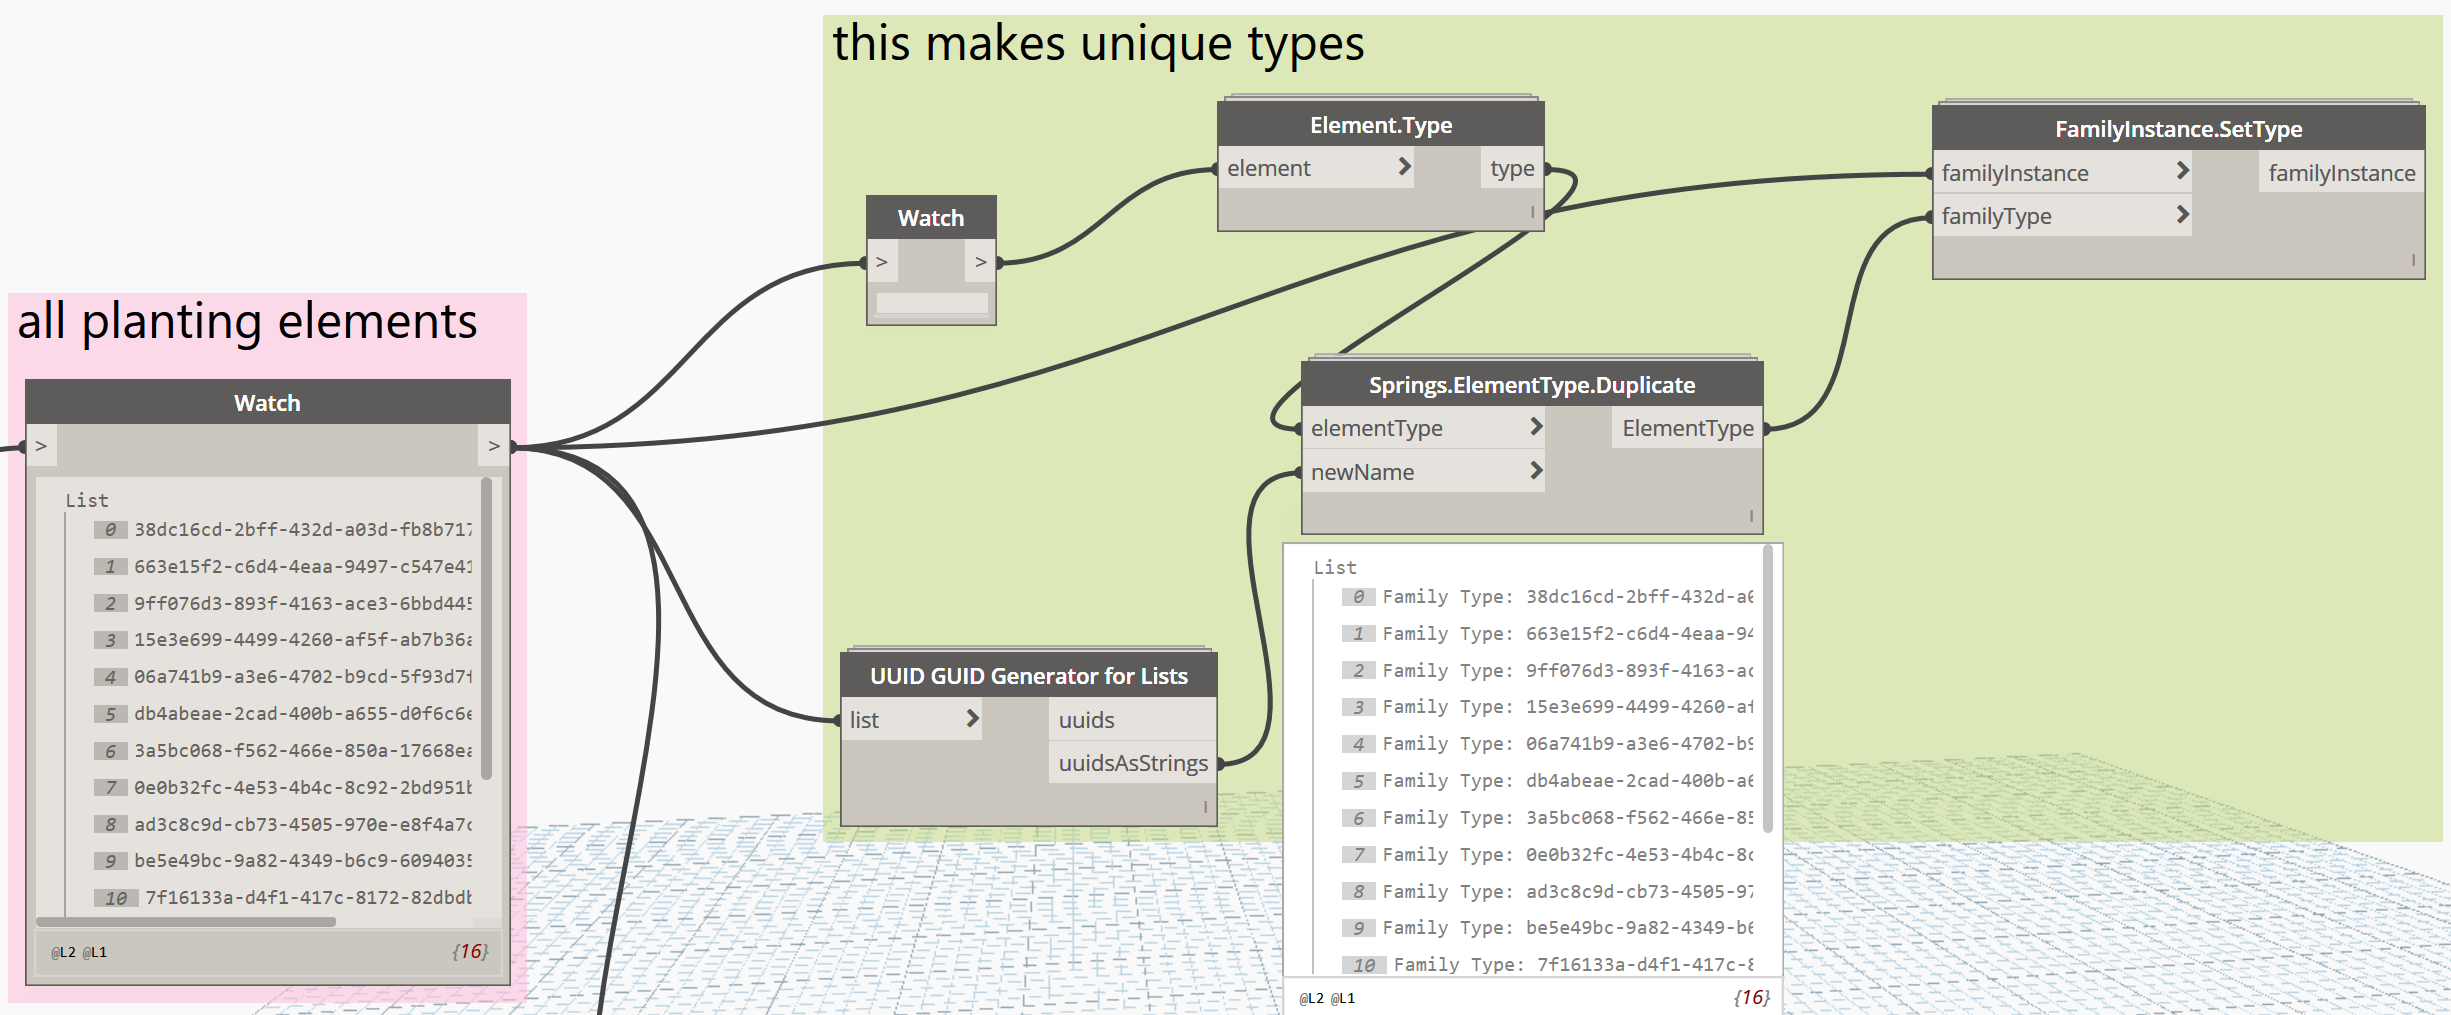
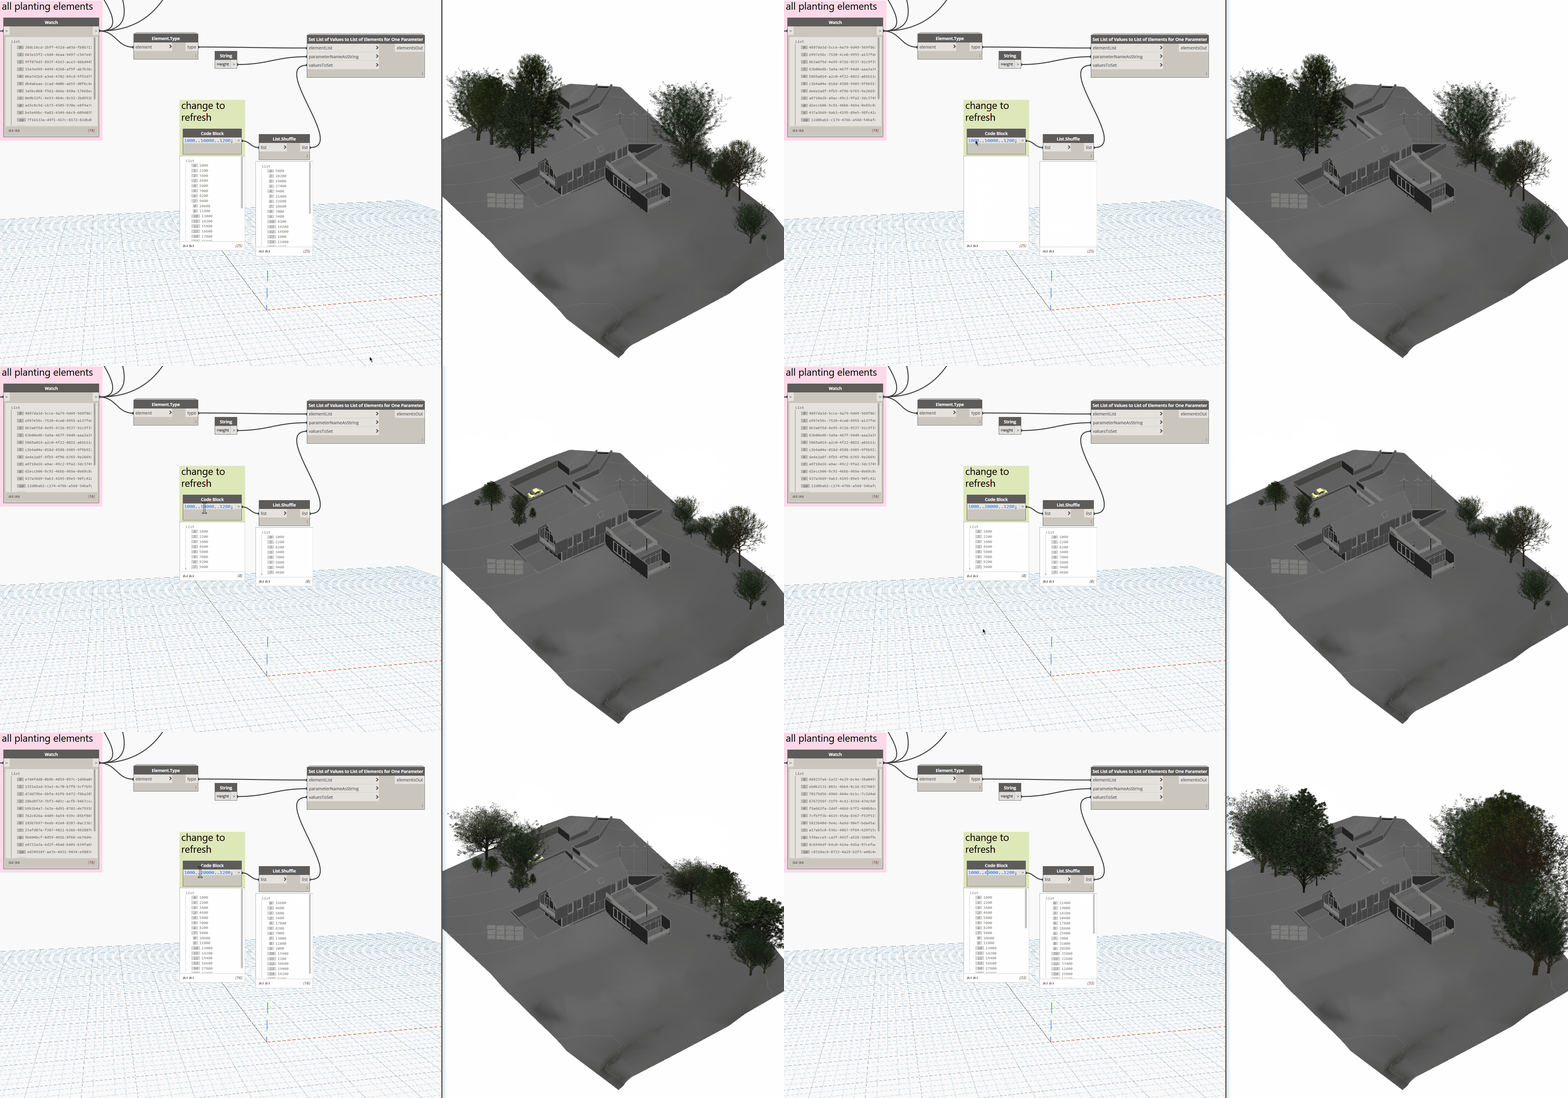
There have been different ways of accomplishing this over the years. Now, with Dynamo, I would use this simple two step process:
- Create a unique type for each Planting or Entourage element (as Height is a Type parameter)
- Randomize a list of values and write them into the Height parameter
It is super easy with Dynamo. Here is how you make the unique types (GUID from Bakery, Duplicate Type from Springs, SetType from Clockwork):
Then, just push the random values in, like this (the Set List node is in Bakery too):
My last attempt at this was here.
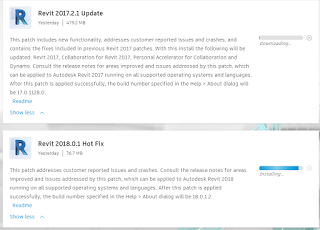
2018 has received its first little update, but the 2017 is a bit more significant. More info and links below…
Revit 2018.0.1 Hot Fix
Download
Readme
Release Notes
Details:
- Improved stability when using the pick line tool.*
- Improved data integrity of the local project files after download operation when using Collaboration for Revit.
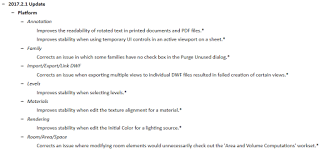
Revit 2017.2.1 Update
Download
Readme
Release Notes
Details:
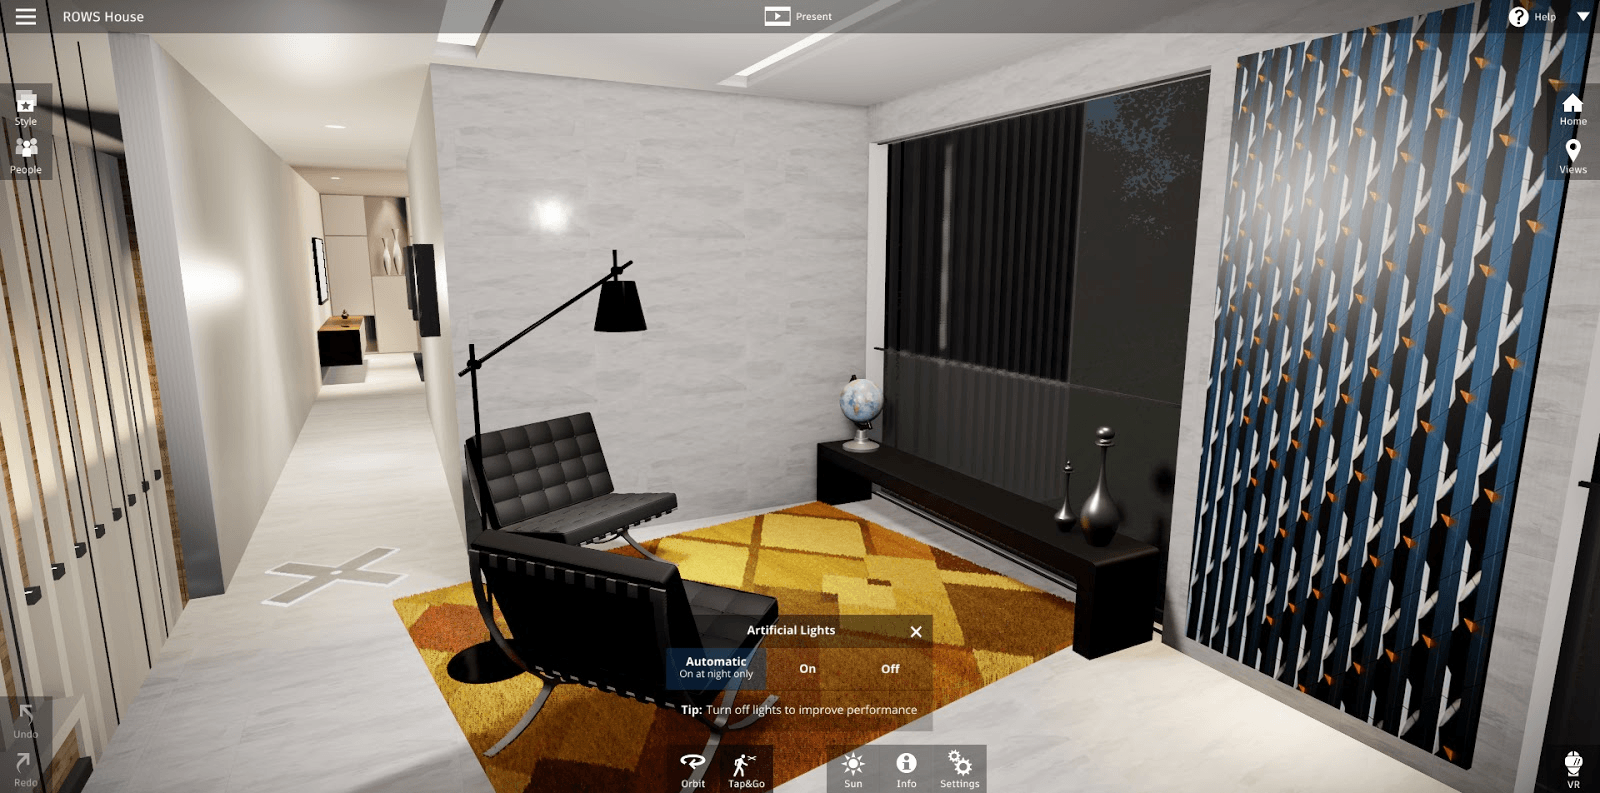
Autodesk’s answer to realtime rendering from Revit is continuing its steady development. Now known as Autodesk Revit Live (formerly Autodesk LIVE), the new features include being able to choose visual styles for RPC, and support for Revit LT.
Direct download:
http://up.autodesk.com/2017/LIVE/Autodesk_LIVE_V1_EN_Win_64bit_dlm.sfx.exe
Online release notes:
https://knowledge.autodesk.com/support/live/downloads/caas/downloads/content/autodesk-live-10-release-notes.html
New features:
Description
|
|
LIVE Service |
|
Virtual Reality |
|
People Styles and Animation |
|
Header |
|
Textures |
|
Publishing |
|
Revit LT support |
|
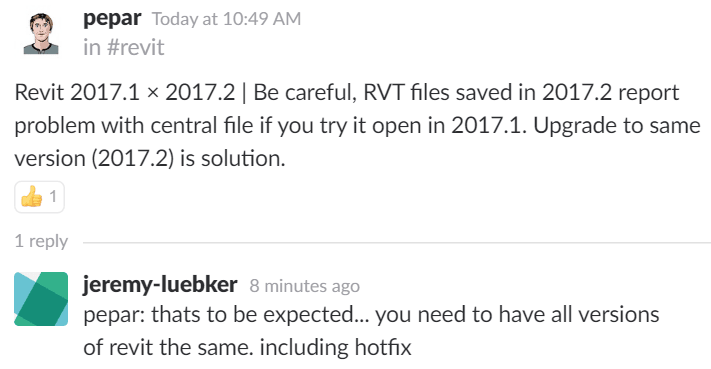
This has been a ‘best practice’ rule for a while now, but it still applies, even in 2017. You should not mix Revit 2017.1 and 2017.2 on a single Central File.
This was flagged by pepar in the BIM Experts Slack Group.
This Bakery node or the Revit Properties extension may assist you in checking Revit build.
Details:
Interesting addition to DWG export:
Adds the option to export to DWG/DXF and DGN in True Color (RGB Values), as specified in the view.
I previously used some weird round trips via DGN to get the True Colors to DWG working.
Download link:
http://up.autodesk.com/2017/RVT/Autodesk_Revit_2017_2.exe
Release Notes:
http://revit.downloads.autodesk.com/download/2017_2_RVT/Docs/RelNotes/Autodesk_Revit_2017_2_ReleaseNotes.html