After you fire up Revit 2011 for the first time, I recommend you have a look at the new Options dialog.

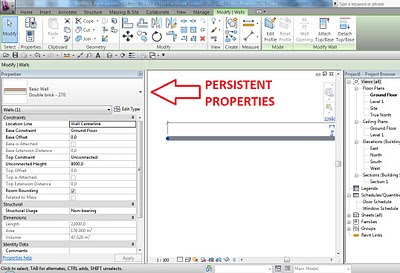
The User Interface tab is new, but some of the options on it are old (moved from the General tab). The most interesting part is the Tab Display Behaviour options.


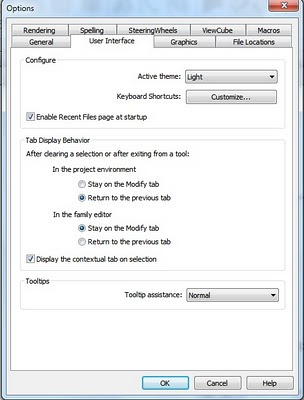
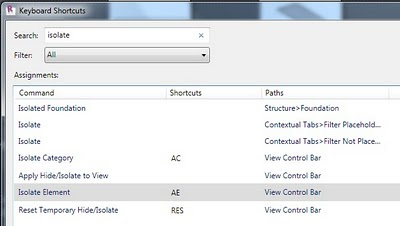
The options here are quite self explanatory. At least now we can make some decisions about how we want to work. Do you want the contextual tab to automatically become active, or would you prefer to go there yourself if you need it? Did you notice you can access the Keyboard Shortcuts dialog from this tab?

Also new in the Revit 2011 Options is the ability to control the appearance of temporary dimensions. This is on the Graphics tab.
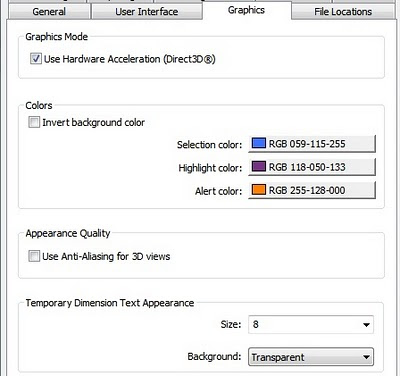
While you are here, make sure you set your user name properly, add any custom Render paths and set up your Family and Template library locations.

The existence of the Adaptive Component feature isn’t really a secret. But it is one of the coolest things about Revit 2011. Imagine a family that lets you push and pull points in 3D space…and imagine that those points then drive all the geometry inside the family.

It is very nearly cool. However, I say ‘nearly’ because there are definitely some serious limitations. Autodesk has come out and listed some of these limitations, such as:
adaptive components can only be placed in a conceptual mass family, an in-place mass, a curtain panel by pattern family, or another adaptive component family.

This is a real shame, because this is going to be one of the most powerful modelling tools in Revit 2011. If only we could use them in all categories!

Look out for some very cool forms in the next few weeks, as users start to get the hang of Adaptive Components. And look out for some very neat workarounds and tricks to get the most from this new feature.

You may have seen the long list of fixes already available for Revit 2011. Perhaps the first release will be stable, perhaps it won’t, but many of you might like to consider running Revit 2011 in a virtual environment (at least to start with).

I wanted to play around with Revit MEP and Revit Structure, so I :

  1. Set up a virtual PC,
  2. Installed Windows 7 64-bit, and then
  3. Installed the Revit software.

This is a stable and safe way to test Revit in a ‘sandbox’ type environment – where really bad things shouldn’t happen. There are some minor issues – it can be difficult to get 3D Hardware acceleration working in a virtual environment. But for testing purposes, its great.

The virtualisation software that I used was VirtualBox, as this allows for 64-bit guest operating systems.

If you don’t have a copy of Windows 7 64-bit handy, you can download the media from the internet. You can also reset the activation period to allow for 120 days use.

Please note that you will need some decent hardware to virtualise Revit in a 64-bit environment 🙂

Over the next few weeks, you are going to be flooded with information about the new versions of Revit. Rather than posting extremely detailed and exhaust-ive (-ing) blog posts, I thought I would give you some very concise information about some New Features in Revit 2011. Starting with:

The Persistent Properties Palette


Finally we can now choose to show a Persistent Properties Palette! Some features of this item:

  • When nothing is selected, this Palette shows the Properties of the current view, which allows for quick and easy editing of View related items (View Range etc)
  • When you choose to insert a component (Door, Window etc), you use this palette to ‘choose’ which family and type you wish to insert.
  • When you select an item, the properties for that item are displayed and can be modified.
  • If there is a thumbnail version of an item available, this palette will display the thumbnail.

Stay tuned for more Revit 2011 Secrets, and bring on April 8th!