Fellow Expert Elite Karam Baki has posted an interesting workaround for ‘converting’ between differently hosted Revit families. The term converting isn’t quite accurate, really we are just ‘nesting’ the hosted family into another family until we get to the hosting type that we want. There are times when this will help you, but other times you may go through all of this and then decide “hey, I should have just rebuilt that family properly from the start because Revit keeps crashing now” 🙂
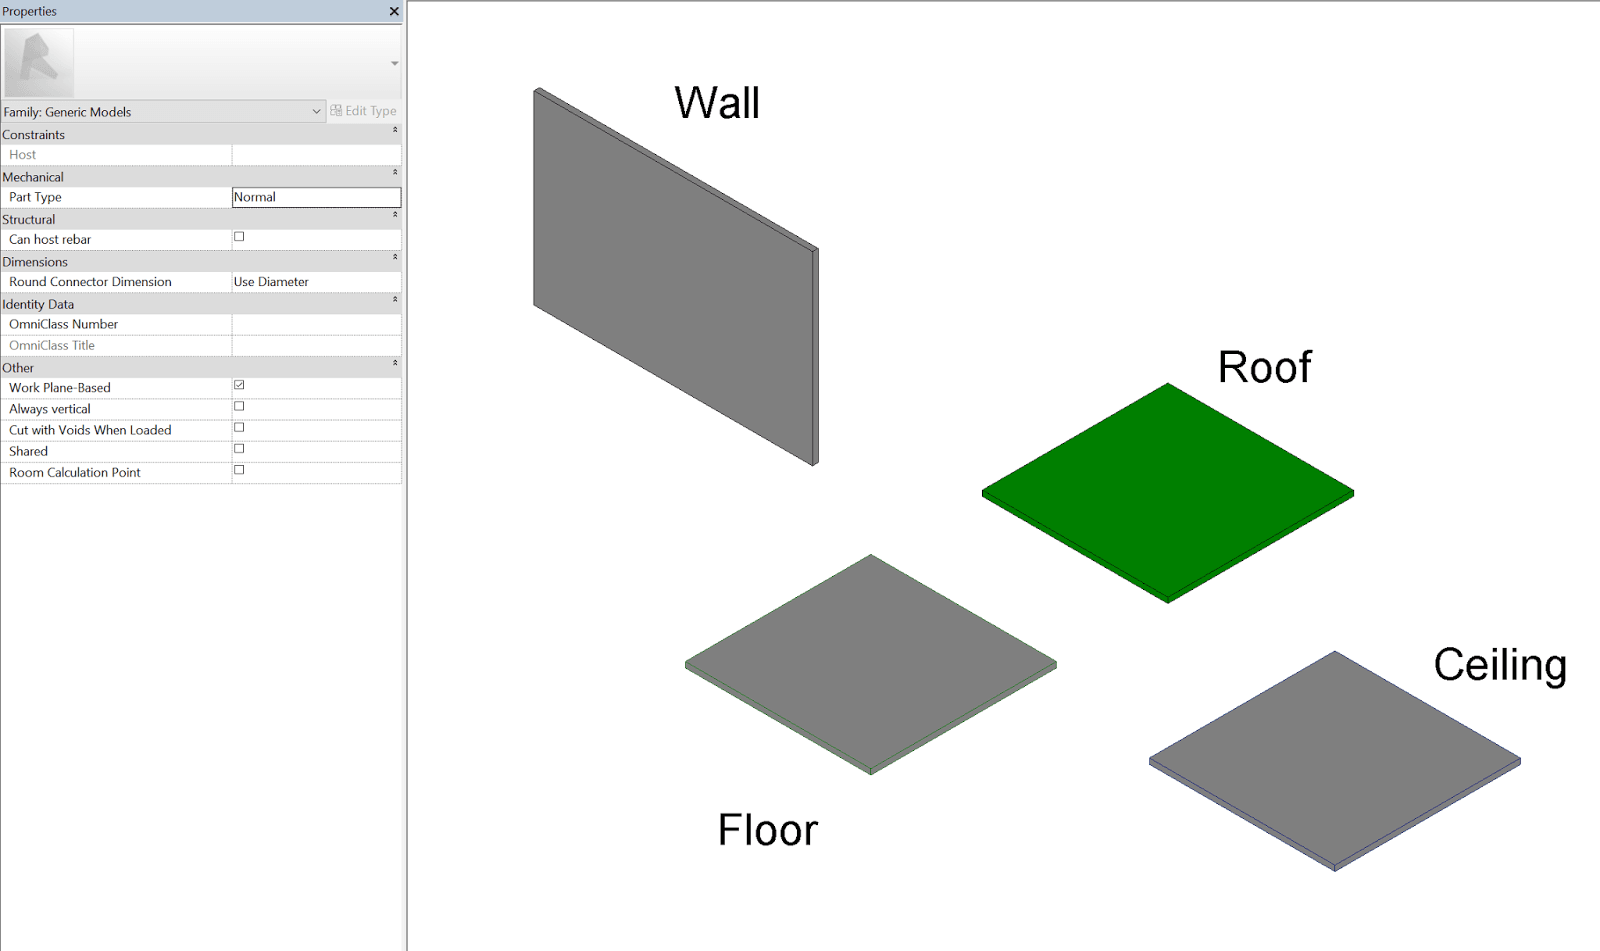
Here’s the basic steps:

  1. Use a special middleman family with System category elements living inside it… (Karam has provided one on Google Drive)
  2. Load your hosted family into that special family and host it onto the object that it wants (Wall, Floor, Ceiling, Roof)
  3. Work with parameters as needed, link them through etc if needed.
  4. Save As ‘unhosted’ version of your family
  5. If needed, nest this again into a new, clean family based on whatever category / hosting you want
  6. Get origins, void cuts, openings working and link through the necessary parameters…

As a general comment, I’d say you should test thoroughly in your own environment, because this whole workflow is not really ‘#GoodRevit’ in the sense that we are breaking certain rules to get the results we want.

Along similar lines, you may remember the Copy / Monitor hack that allows converting between some different types of hosting:
Convert Family from Wall to Face based

Back in 2011 I posted about some related workflows, including the necessary steps to get System family elements in a normal Component family:
Save an In-Place Family as an RFA for use in another project
Create a Component Family with Category set to Walls (or other system family category)

You can also make unhosted Doors and Windows from scratch, like this:
Making unhosted components like unhosted Doors and Windows

Original post by Karam Baki:
Revit Tip: Save Time Converting Revit Families – Autodesk Community

You can watch his video here:

Have you created a heap of wall based families that you would like convert to face based?  Jarod Schultz provides a nice workaround for this.  Essentially, you Link and then Copy/Monitor the elements, then when you use the Edit Family button, Revit swaps them to Face based for you!

“Get into a 3D view so it is easier to see your linked file and the lighting fixture. We are now going to use the “Copy/Monitor -> Select Link” tool to “Copy” in the light fixture.”

Read the whole post at:
Jarod Schultz: Revit Wall/Face Based Family Trick | Jarod Schultz

EDIT

This workflow can be used to convert any hosted Family to a Workplane based or unhosted versions, as David describes here:

  1. Place an instance of the family you want to hack in the drawing area. You can insert multiple ones at the same time;
  2. Save the file and close it;
  3. Open a new Revit file from no template. This ensures it is completely empty and Revit will thus create this hacked copy when we do step #6;
  4. Link the previously saved model into this new file;
  5. Go to the Collaborate Tab>Copy/Monitor>Select Link and pick the linked file. Once in C/M mode, click Coordination Settings and make sure that the family types you want to hack are set to “Copy Type”;
  6. Click the Copy button and pick the families you want to hack;
  7. Finish and exit from this mode when you’re done.

Very cool and advanced workaround by Jose Fandos over at Andekan:
We will route around this limitation by first inserting the annotation family into another face-based family, and using this intermediary face-based family to place the annotation the way we want into the final Lighting Fixture.
via
Symbols for Lighting Fixtures Showing in Plan – Andekan � Blog

He also demonstrates that some Lighting Fixtures will display the Maintain Annotation Orientation checkbox, but some will not, and how to work around this.

EDIT Current category guide post:
https://wrw.is/2013/09/new-crowdsourced-and-open-source.html

In Revit, some families have Cut Dominance, some are Cuttable, and some respect various View Range rules in various ways.

These behaviours may further be affected by the Family Template that they were created from, whether they are Hosted or non-Hosted, whether they are Shared or not Shared.

Wouldn’t it be awesome if there was a document that went through each Family Category and described its unique properties!  I have asked Autodesk for this before, but to no avail (SR# 1-9298685321 – The help file does not describe the unique properties of each Category).

Andy Milburn shares my feeling on this matter:
… I wish I know where to find a clear explanation of all these rules.
at
Shades of Grey: CUT ! CUT ! CUT !

What about the Families Guide?

I may not have all the answers, but I have posted many times about the differences between certain Family Categories.  See some links below:

Cuttable vs Non-cuttable Family Category Properties

View Ranges (and TOLERANCES) Explained *REPOST*
Things like –
Walls shorter than 6 feet (approximately 1.83 meters) are not cut, even if they intersect the cut plane, and
There are a few categories for which an element located above the cut plane but partially below the top clip is shown in plan. These categories include windows, casework, and generic model. These objects are shown as viewed from above.

Project Family Category Type Instance
which Categories do not have Types, or which Category has Types but no Instances?

Making unhosted components like unhosted Doors and Windows

Create a Component Family with Category set to Walls (or other system family category)
Yes, it is possible.

Plan regions have no effect on Topography – workarounds

buildz: Wall Trimming Method
Cut Dominance in action

Sometimes you may want to use a Door or Window family that is not hosted by a particular wall.  That way, if the host wall is deleted, the unhosted component will still persist.  Here’s how:

  1. New – Family – Generic Model
  2. Draw something
  3. Family Category and Parameters – change to Door or Window
  4. You may wish to set to Work Plane Based (so you can schedule by Level)
  5. Save
  6. Load into project
  7. ‘Door’ command – you can choose your unhosted Door family, but it does not need to be placed in a wall.  It can ‘live’ independently.

These unhosted components can be useful if you want to retain schedule information for a door that has been removed from the project design.  You can make an unhosted door that only has a few invisible symbolic lines in it – nothing that will print, but it will still schedule and can have a Description like “Door deleted from Construction Set”.